How to Use HC-12: Examples, Pinouts, and Specs
Introduction
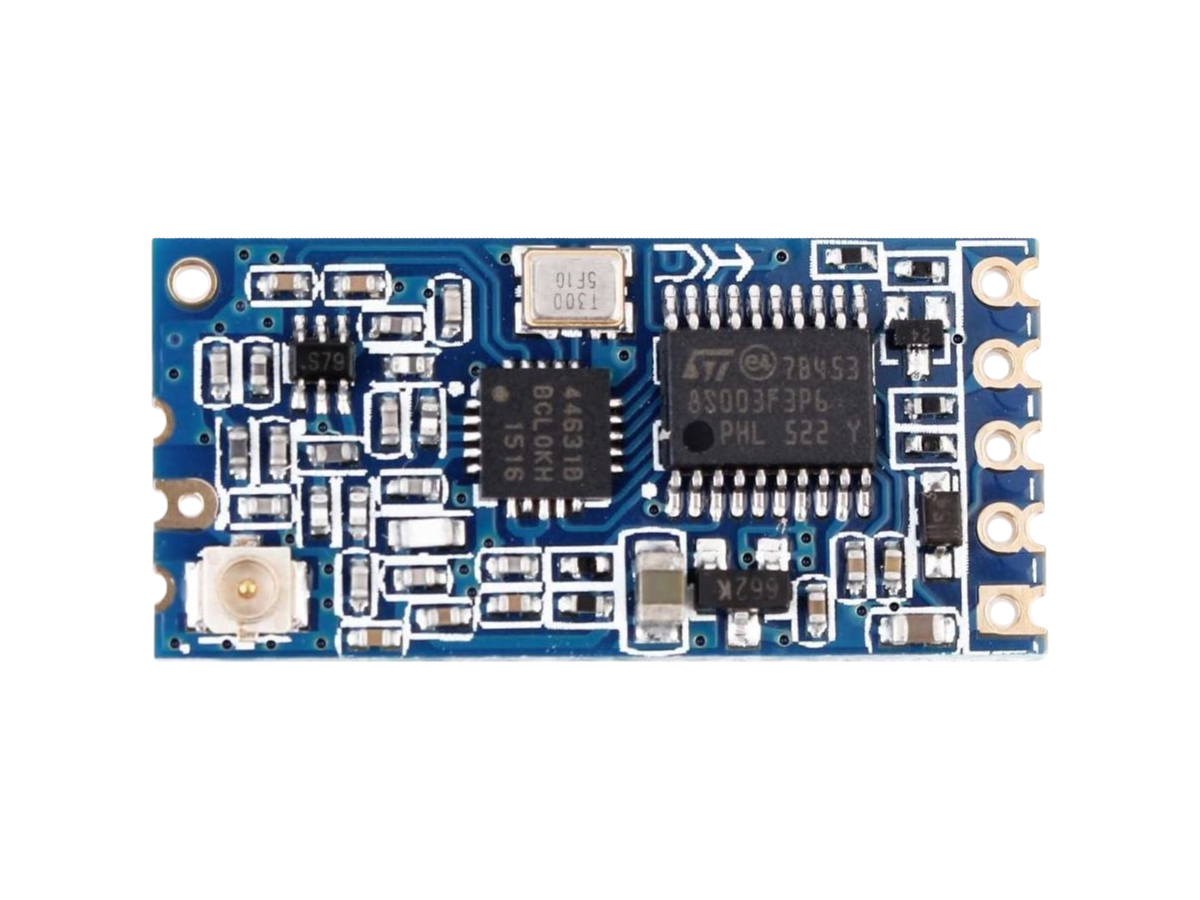
The HC-12 is a wireless serial communication module that operates in the 433 MHz frequency range, enabling long-range data transmission of up to 1,000 meters in open space. It is designed for ease of use with a simple UART (Universal Asynchronous Receiver-Transmitter) interface, making it an excellent choice for applications requiring reliable wireless communication.
Explore Projects Built with HC-12


Explore Projects Built with HC-12
Common Applications and Use Cases
- Remote control systems (e.g., drones, robots)
- Wireless sensor networks
- Internet of Things (IoT) devices
- Home automation systems
- Industrial monitoring and control
Technical Specifications
The HC-12 module is highly versatile, with adjustable transmission power and multiple communication modes. Below are its key technical details:
Key Technical Details
| Parameter | Specification |
|---|---|
| Frequency Range | 433.4 MHz to 473.0 MHz |
| Modulation Type | GFSK (Gaussian Frequency Shift Keying) |
| Communication Range | Up to 1,000 meters (open space) |
| Supply Voltage | 3.2V to 5.5V |
| Operating Current | 16 mA (transmitting at 20 dBm) |
| Sleep Current | < 22 µA |
| Baud Rate | 1,200 to 115,200 bps (default: 9,600) |
| Transmission Power | Adjustable (1 mW to 100 mW) |
| Operating Temperature | -40°C to +85°C |
| Dimensions | 27.8 mm x 14.4 mm x 4 mm |
Pin Configuration and Descriptions
The HC-12 module has 4 main pins for operation. Below is the pinout and description:
| Pin Name | Pin Number | Description |
|---|---|---|
| VCC | 1 | Power supply input (3.2V to 5.5V) |
| GND | 2 | Ground |
| TXD | 3 | UART Transmit pin (connect to RX of MCU) |
| RXD | 4 | UART Receive pin (connect to TX of MCU) |
Usage Instructions
The HC-12 module is straightforward to use and can be integrated into a variety of circuits. Below are the steps and best practices for using the module:
How to Use the HC-12 in a Circuit
- Power the Module: Connect the VCC pin to a 3.3V or 5V power source and the GND pin to ground.
- Connect UART Pins:
- Connect the TXD pin of the HC-12 to the RX pin of your microcontroller (e.g., Arduino UNO).
- Connect the RXD pin of the HC-12 to the TX pin of your microcontroller.
- Set the Baud Rate: Ensure the baud rate of your microcontroller matches the HC-12's default baud rate (9,600 bps) or configure it as needed.
- Configure the Module (Optional): Use AT commands to adjust settings such as transmission power, channel, and baud rate. For example:
- To set the baud rate to 19,200 bps:
AT+B19200 - To set the transmission power to maximum:
AT+P8
- To set the baud rate to 19,200 bps:
- Send and Receive Data: Use the UART interface to send and receive data wirelessly.
Important Considerations and Best Practices
- Antenna: Always attach an appropriate 433 MHz antenna to the module for optimal performance.
- Power Supply: Use a stable power supply to avoid communication issues.
- Distance and Obstacles: The communication range may decrease in environments with obstacles or interference.
- Mode Selection: The HC-12 supports four modes (FU1, FU2, FU3, FU4). FU3 is the default mode and is suitable for most applications.
Example: Connecting HC-12 to Arduino UNO
Below is an example of how to use the HC-12 with an Arduino UNO to send and receive data:
Circuit Diagram
- HC-12 VCC → Arduino 5V
- HC-12 GND → Arduino GND
- HC-12 TXD → Arduino Pin 10 (SoftwareSerial RX)
- HC-12 RXD → Arduino Pin 11 (SoftwareSerial TX)
Arduino Code
#include <SoftwareSerial.h>

// Define SoftwareSerial pins for HC-12
SoftwareSerial HC12(10, 11); // RX = Pin 10, TX = Pin 11

void setup() {
  Serial.begin(9600);       // Start Serial Monitor at 9600 bps
  HC12.begin(9600);         // Start HC-12 communication at 9600 bps
  Serial.println("HC-12 Test");
}

void loop() {
  // Check if data is available from HC-12
  if (HC12.available()) {
    String received = HC12.readString(); // Read data from HC-12
    Serial.print("Received: ");
    Serial.println(received);           // Print received data to Serial Monitor
  }

  // Check if data is available from Serial Monitor
  if (Serial.available()) {
    String toSend = Serial.readString(); // Read data from Serial Monitor
    HC12.print(toSend);                  // Send data to HC-12
  }
}
Troubleshooting and FAQs
Common Issues and Solutions
No Communication Between Modules
- Solution: Ensure both modules are set to the same channel and baud rate using AT commands.
- Tip: Use the
AT+RXcommand to verify the current settings.
Reduced Communication Range
- Solution: Check the antenna connection and ensure there are minimal obstacles between modules.
- Tip: Increase the transmission power using the
AT+Pcommand.
Module Not Responding to AT Commands
- Solution: Ensure the module is in command mode by sending
ATand checking for anOKresponse. - Tip: Use a USB-to-TTL adapter to directly communicate with the module for debugging.
- Solution: Ensure the module is in command mode by sending
Interference with Other Devices
- Solution: Change the communication channel using the
AT+Ccommand to avoid conflicts.
- Solution: Change the communication channel using the
FAQs
Q1: Can the HC-12 communicate with other 433 MHz devices?
A1: No, the HC-12 is designed to communicate only with other HC-12 modules due to its proprietary protocol.
Q2: How do I reset the HC-12 to factory settings?
A2: Send the AT+DEFAULT command to reset the module to its default configuration.
Q3: What is the maximum data rate of the HC-12?
A3: The HC-12 supports a maximum baud rate of 115,200 bps.
Q4: Can I use the HC-12 with a 3.3V microcontroller?
A4: Yes, the HC-12 is compatible with both 3.3V and 5V logic levels.
By following this documentation, you can effectively integrate the HC-12 module into your projects for reliable wireless communication.