Cirkit Designer Logo
Cirkit Designer
Your all-in-one circuit design IDE
Home / 
Component Documentation

How to Use 12v RGB LED Strip: Examples, Pinouts, and Specs

Image of 12v RGB LED Strip
Cirkit Designer LogoDesign with 12v RGB LED Strip in Cirkit Designer

Introduction

The 12V RGB LED Strip is a flexible and versatile lighting solution that combines red, green, and blue LEDs to produce a wide spectrum of colors. These strips are commonly used for accent lighting, backlighting, task lighting, and decorative lighting in both residential and commercial environments. They can be used to enhance the aesthetic of a room, highlight architectural features, or provide mood lighting.

Explore Projects Built with 12v RGB LED Strip

Use Cirkit Designer to design, explore, and prototype these projects online. Some projects support real-time simulation. Click "Open Project" to start designing instantly!
Wi-Fi Controlled RGB LED Strip with ESP32 and MOSFETs
Image of nalog wiring RGB: A project utilizing 12v RGB LED Strip in a practical application
This circuit is designed to control a 12V RGB LED strip using an ESP32 microcontroller and nMOS transistors. The ESP32 adjusts the color and brightness of the LEDs, while the power supply and DC-DC converter provide the necessary voltages for the LEDs and microcontroller.
Cirkit Designer LogoOpen Project in Cirkit Designer
RGB LED Strip Color Controller with Potentiometers and Power Switch
Image of potbased decoration: A project utilizing 12v RGB LED Strip in a practical application
This circuit controls an RGB LED strip using three potentiometers, each potentiometer likely adjusts the intensity of one color channel (red, green, blue) of the LED strip. A rocker switch is used to power the circuit on and off, and an 18650 Li-Ion battery provides the power source. The common connection of the LED strip is connected to the negative terminal of the battery, while the positive terminal goes through the rocker switch to the potentiometers and then to the individual color channels.
Cirkit Designer LogoOpen Project in Cirkit Designer
220V to 12V LED Strip Lighting System
Image of Effect of light on plant growth: A project utilizing 12v RGB LED Strip in a practical application
This circuit consists of a 220V AC power source connected to an AC-to-DC converter, which steps down the voltage to 12V DC to power a series of three 12V white LED strips. The LED strips are connected in parallel to the output of the converter, sharing a common ground. The circuit is designed to convert household AC voltage to a lower DC voltage suitable for powering LED lighting.
Cirkit Designer LogoOpen Project in Cirkit Designer
Arduino-Controlled RGB LED Strip Lighting System with 220V to 24V Power Transformer
Image of asd: A project utilizing 12v RGB LED Strip in a practical application
This circuit controls multiple RGB LED strips using an Arduino UNO, powered by a 220V to 24V transformer. The Arduino is programmed to turn the RGB LEDs on and off in a sequence, with each color channel (red, green, blue) connected to specific digital output pins on the Arduino.
Cirkit Designer LogoOpen Project in Cirkit Designer

Explore Projects Built with 12v RGB LED Strip

Use Cirkit Designer to design, explore, and prototype these projects online. Some projects support real-time simulation. Click "Open Project" to start designing instantly!
Image of nalog wiring RGB: A project utilizing 12v RGB LED Strip in a practical application
Wi-Fi Controlled RGB LED Strip with ESP32 and MOSFETs
This circuit is designed to control a 12V RGB LED strip using an ESP32 microcontroller and nMOS transistors. The ESP32 adjusts the color and brightness of the LEDs, while the power supply and DC-DC converter provide the necessary voltages for the LEDs and microcontroller.
Cirkit Designer LogoOpen Project in Cirkit Designer
Image of potbased decoration: A project utilizing 12v RGB LED Strip in a practical application
RGB LED Strip Color Controller with Potentiometers and Power Switch
This circuit controls an RGB LED strip using three potentiometers, each potentiometer likely adjusts the intensity of one color channel (red, green, blue) of the LED strip. A rocker switch is used to power the circuit on and off, and an 18650 Li-Ion battery provides the power source. The common connection of the LED strip is connected to the negative terminal of the battery, while the positive terminal goes through the rocker switch to the potentiometers and then to the individual color channels.
Cirkit Designer LogoOpen Project in Cirkit Designer
Image of Effect of light on plant growth: A project utilizing 12v RGB LED Strip in a practical application
220V to 12V LED Strip Lighting System
This circuit consists of a 220V AC power source connected to an AC-to-DC converter, which steps down the voltage to 12V DC to power a series of three 12V white LED strips. The LED strips are connected in parallel to the output of the converter, sharing a common ground. The circuit is designed to convert household AC voltage to a lower DC voltage suitable for powering LED lighting.
Cirkit Designer LogoOpen Project in Cirkit Designer
Image of asd: A project utilizing 12v RGB LED Strip in a practical application
Arduino-Controlled RGB LED Strip Lighting System with 220V to 24V Power Transformer
This circuit controls multiple RGB LED strips using an Arduino UNO, powered by a 220V to 24V transformer. The Arduino is programmed to turn the RGB LEDs on and off in a sequence, with each color channel (red, green, blue) connected to specific digital output pins on the Arduino.
Cirkit Designer LogoOpen Project in Cirkit Designer

Technical Specifications

Key Technical Details

  • Operating Voltage: 12V DC
  • Current Consumption: Varies depending on the length of the strip and color brightness (typically measured in mA per meter)
  • Power Consumption: Varies, often rated in Watts per meter
  • Color Range: Red, Green, Blue (can mix to produce various colors)
  • Luminous Intensity: Dependent on LED density and brightness (measured in lumens per meter)
  • LED Density: Number of LEDs per meter (e.g., 30, 60, 120 LEDs/m)
  • Lifespan: Typically 25,000+ hours
  • Operating Temperature: -25°C to +60°C
  • Protection Rating: May vary (e.g., IP20 for no waterproofing, IP65 for splash-proof, IP67 for waterproof)

Pin Configuration and Descriptions

Pin Description
V+ Power supply (12V DC)
R Red color control
G Green color control
B Blue color control

Usage Instructions

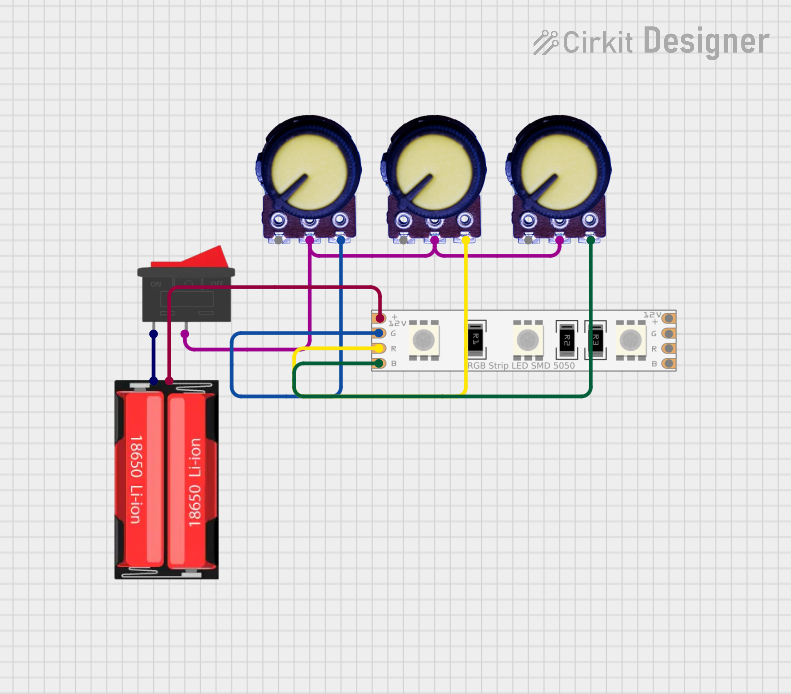
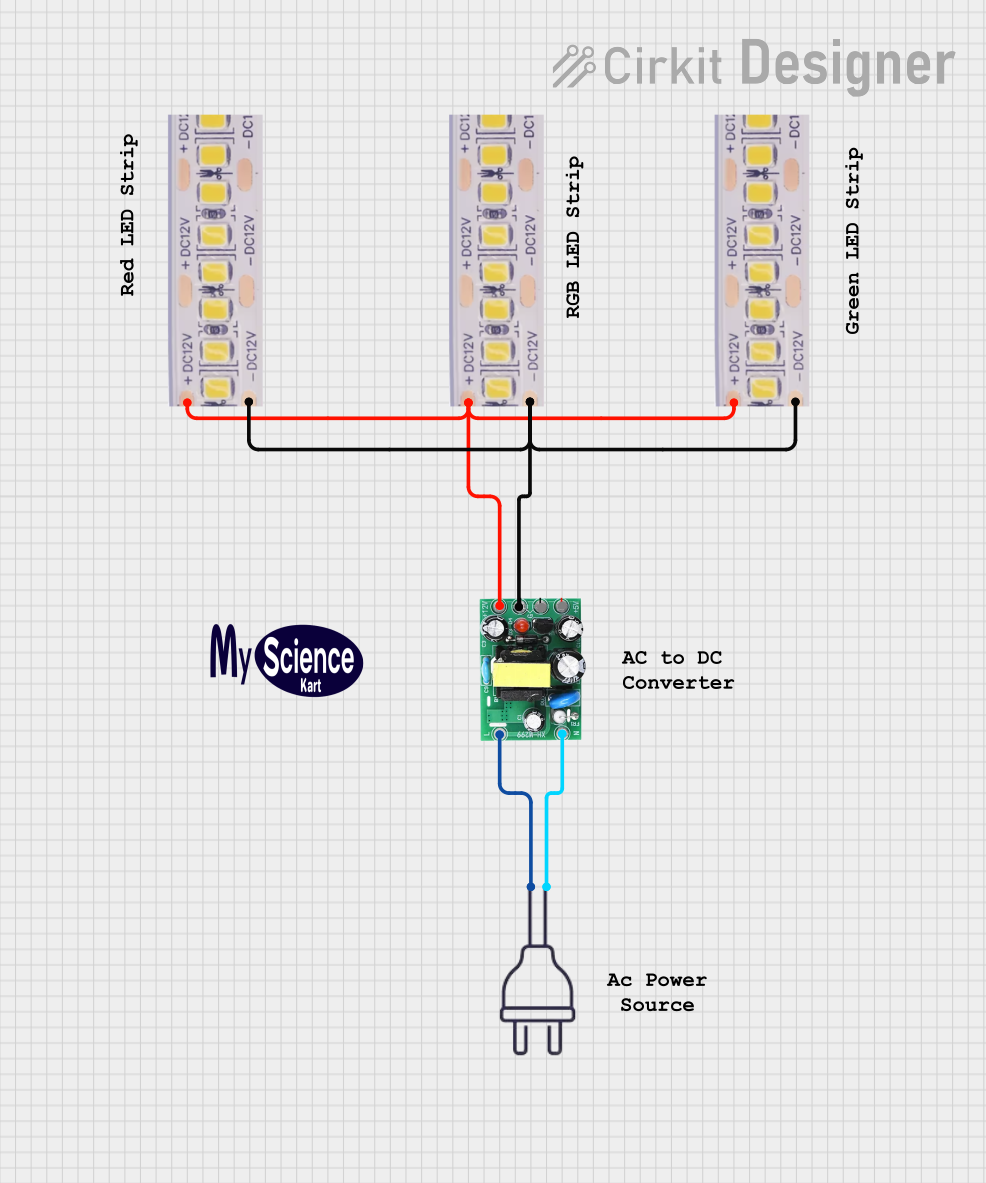
Connecting to a Power Source

  1. Ensure your power supply is rated for 12V DC and can handle the current required by the length of the LED strip you are using.
  2. Connect the V+ pin to the positive terminal of your power supply.
  3. Connect the common ground of the R, G, and B pins to the negative terminal of your power supply.

Controlling the Colors

To control the colors of the RGB LED strip, you can use a variety of methods, including:

  • RGB LED controllers (with or without remote control)
  • PWM (Pulse Width Modulation) signals from a microcontroller like an Arduino UNO

Best Practices

  • Avoid bending the LED strip at sharp angles to prevent damage.
  • Ensure proper heat dissipation to extend the lifespan of the LEDs.
  • Use appropriate connectors or soldering techniques to ensure reliable connections.
  • If cutting the strip to size, only cut along the designated cut lines.

Example Arduino UNO Code

// Define the pins for the RGB LED strip
const int redPin = 9;    // Red pin connected to the PWM pin 9
const int greenPin = 10; // Green pin connected to the PWM pin 10
const int bluePin = 11;  // Blue pin connected to the PWM pin 11

void setup() {
  // Set the RGB LED pins as output
  pinMode(redPin, OUTPUT);
  pinMode(greenPin, OUTPUT);
  pinMode(bluePin, OUTPUT);
}

void loop() {
  // Set the color to purple
  analogWrite(redPin, 255);   // Red at full brightness
  analogWrite(greenPin, 0);   // Green off
  analogWrite(bluePin, 255);  // Blue at full brightness

  // Keep the color for 5 seconds
  delay(5000);

  // Turn off the LED strip
  analogWrite(redPin, 0);
  analogWrite(greenPin, 0);
  analogWrite(bluePin, 0);

  // Wait for 2 seconds before the next loop iteration
  delay(2000);
}

Troubleshooting and FAQs

Common Issues

  • LEDs not lighting up: Check power supply connections and ensure the voltage is 12V DC. Verify that the strip is connected correctly with the correct polarity.
  • Uneven color distribution: Ensure that the LED strip has not been bent or damaged. Check for loose connections or poor solder joints.
  • Flickering lights: This may be due to a low-quality power supply or insufficient current. Ensure the power supply is rated for the total current draw of the strip.

FAQs

Q: Can I cut the LED strip to fit my space? A: Yes, but only cut along the designated cut lines to avoid damaging the strip.

Q: How do I connect multiple strips together? A: You can connect multiple strips in series or parallel, but ensure the power supply can handle the increased current draw.

Q: Is it possible to control the LED strip with a smartphone? A: Yes, if you use a compatible RGB LED controller with Bluetooth or Wi-Fi connectivity.

Q: Can I use the RGB LED strip outdoors? A: It depends on the protection rating of the strip. Use an IP65 or higher rated strip for outdoor applications.

For further assistance, consult the manufacturer's documentation or contact technical support.