How to Use Adafruit Circuit Playground Bluefruit: Examples, Pinouts, and Specs
Introduction
The Adafruit Circuit Playground Bluefruit is a versatile and feature-rich development board that combines the functionality of various sensors and components with the ease of use of the Arduino environment. It is equipped with a Nordic nRF52840 processor with Bluetooth Low Energy (BLE) support, making it ideal for creating interactive projects and wearable devices that can connect to smartphones and tablets. With its built-in sensors, such as an accelerometer, temperature sensor, and capacitive touch pads, along with a suite of NeoPixels for colorful visual feedback, the Circuit Playground Bluefruit is a powerful platform for both beginners and experienced makers.
Explore Projects Built with Adafruit Circuit Playground Bluefruit
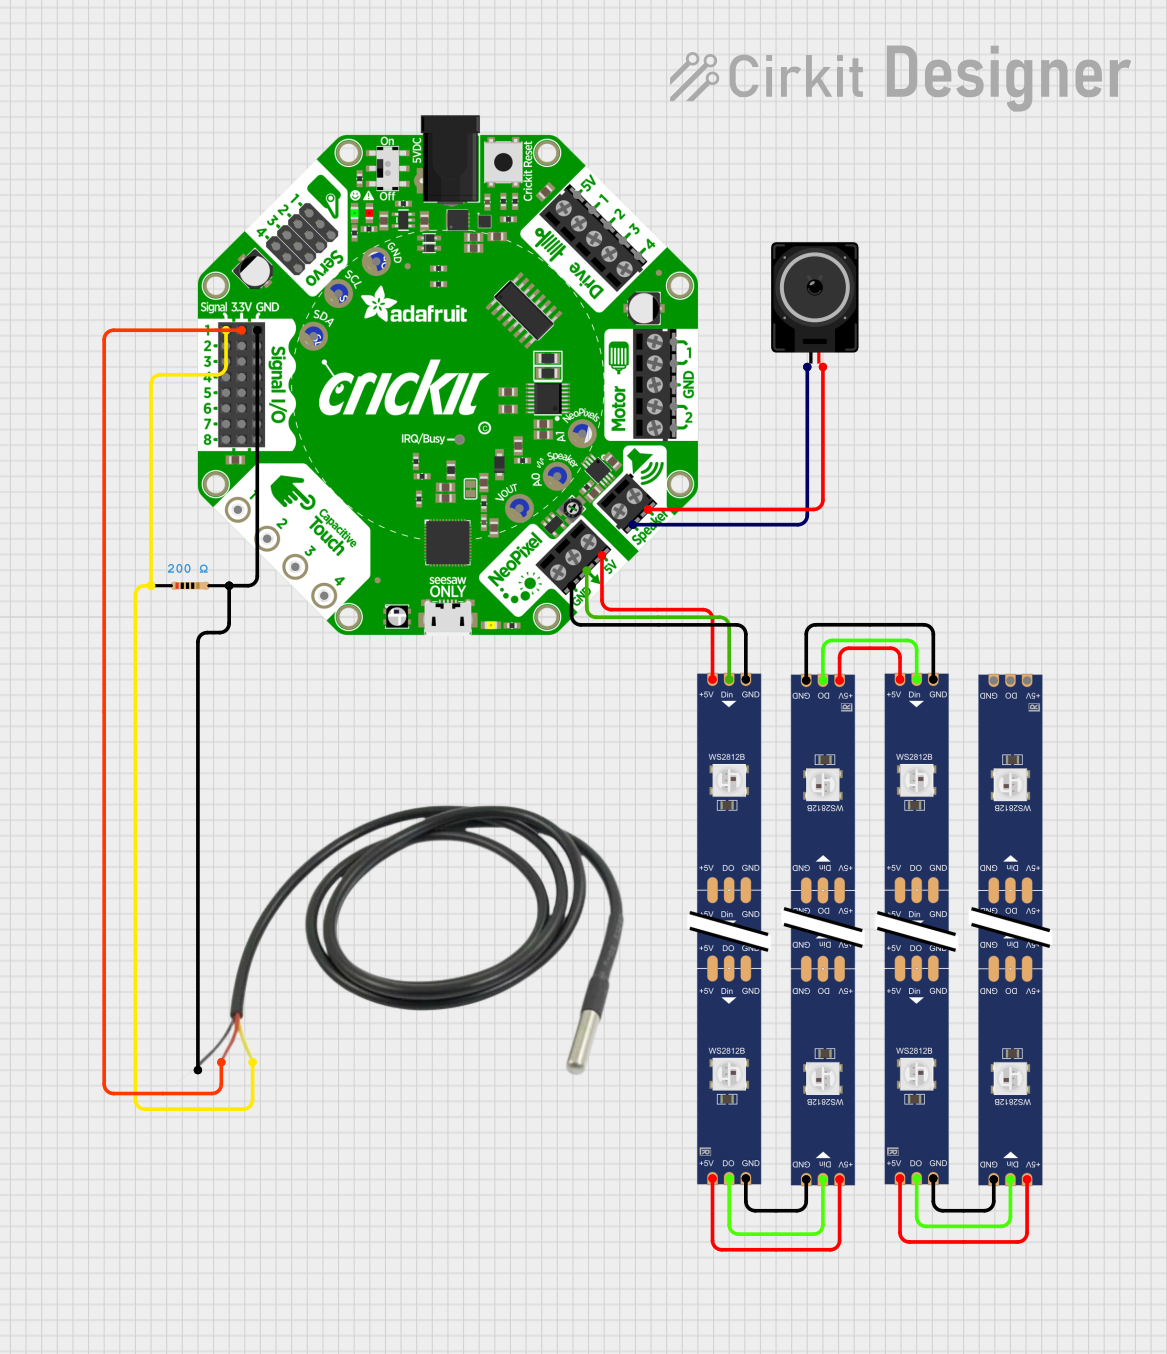
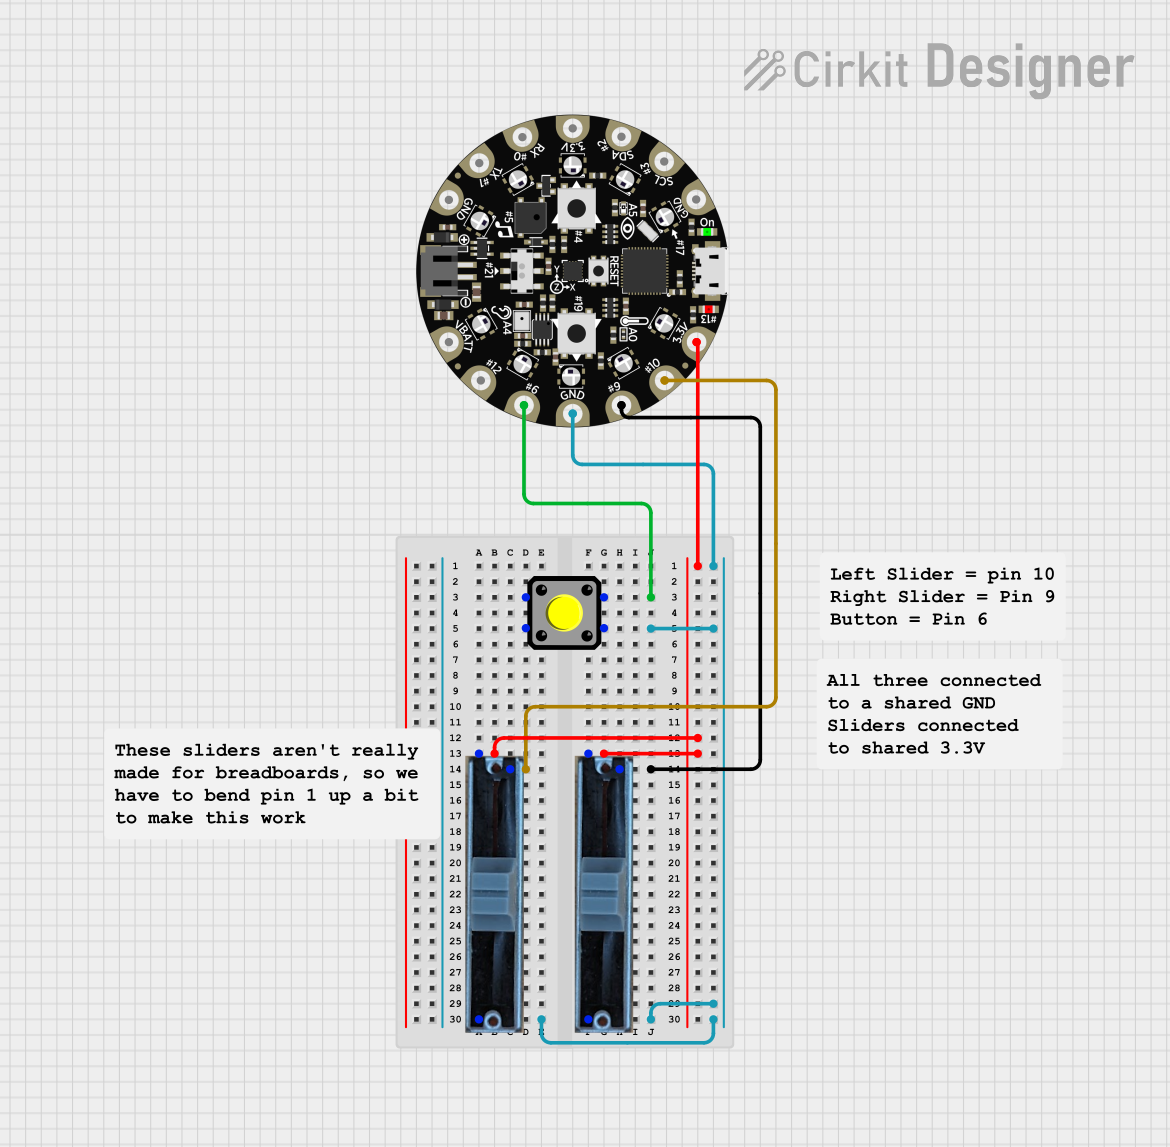

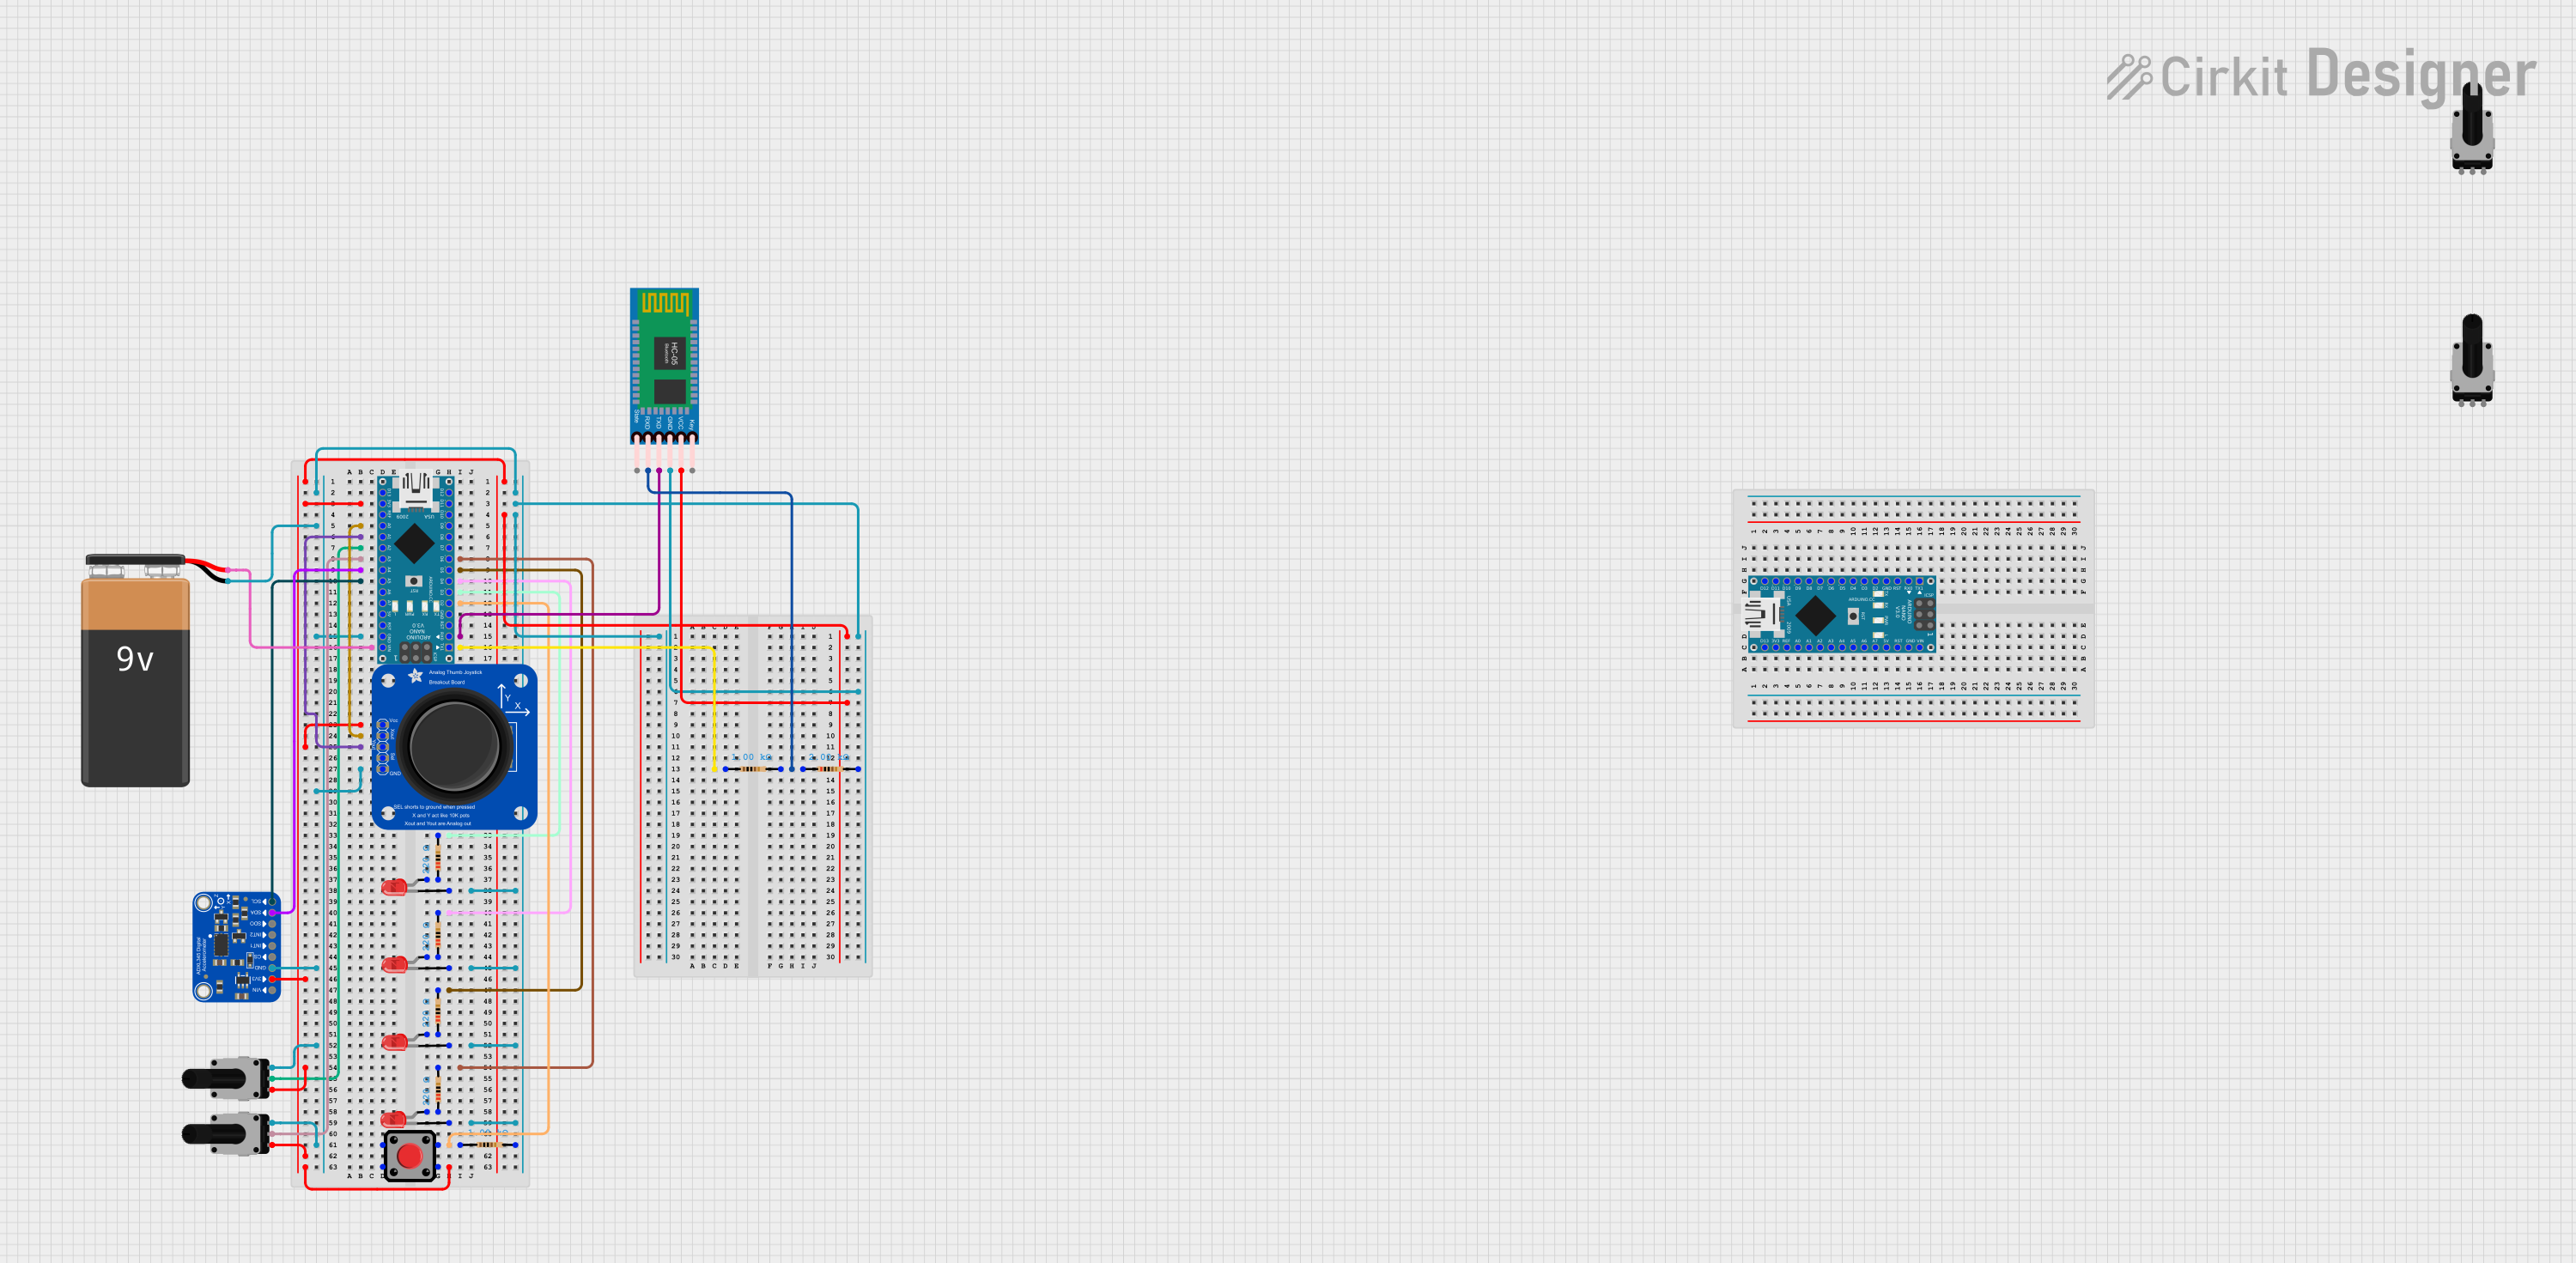
Explore Projects Built with Adafruit Circuit Playground Bluefruit
Common Applications and Use Cases
- Educational projects and STEM learning
- Wearable electronics and fashion tech
- Interactive art installations
- Prototyping IoT devices
- DIY game controllers
- Bluetooth-enabled sensors and peripherals
Technical Specifications
Key Technical Details
- Microcontroller: Nordic nRF52840
- Operating Voltage: 3.3V
- Input Voltage (recommended): 4.5V to 5.5V via battery port or USB
- Digital I/O Pins: 10
- PWM Channels: 10
- Analog Input Channels: 7
- Flash Memory: 1 MB
- SRAM: 256 KB
- Bluetooth: Bluetooth Low Energy (BLE 5.0)
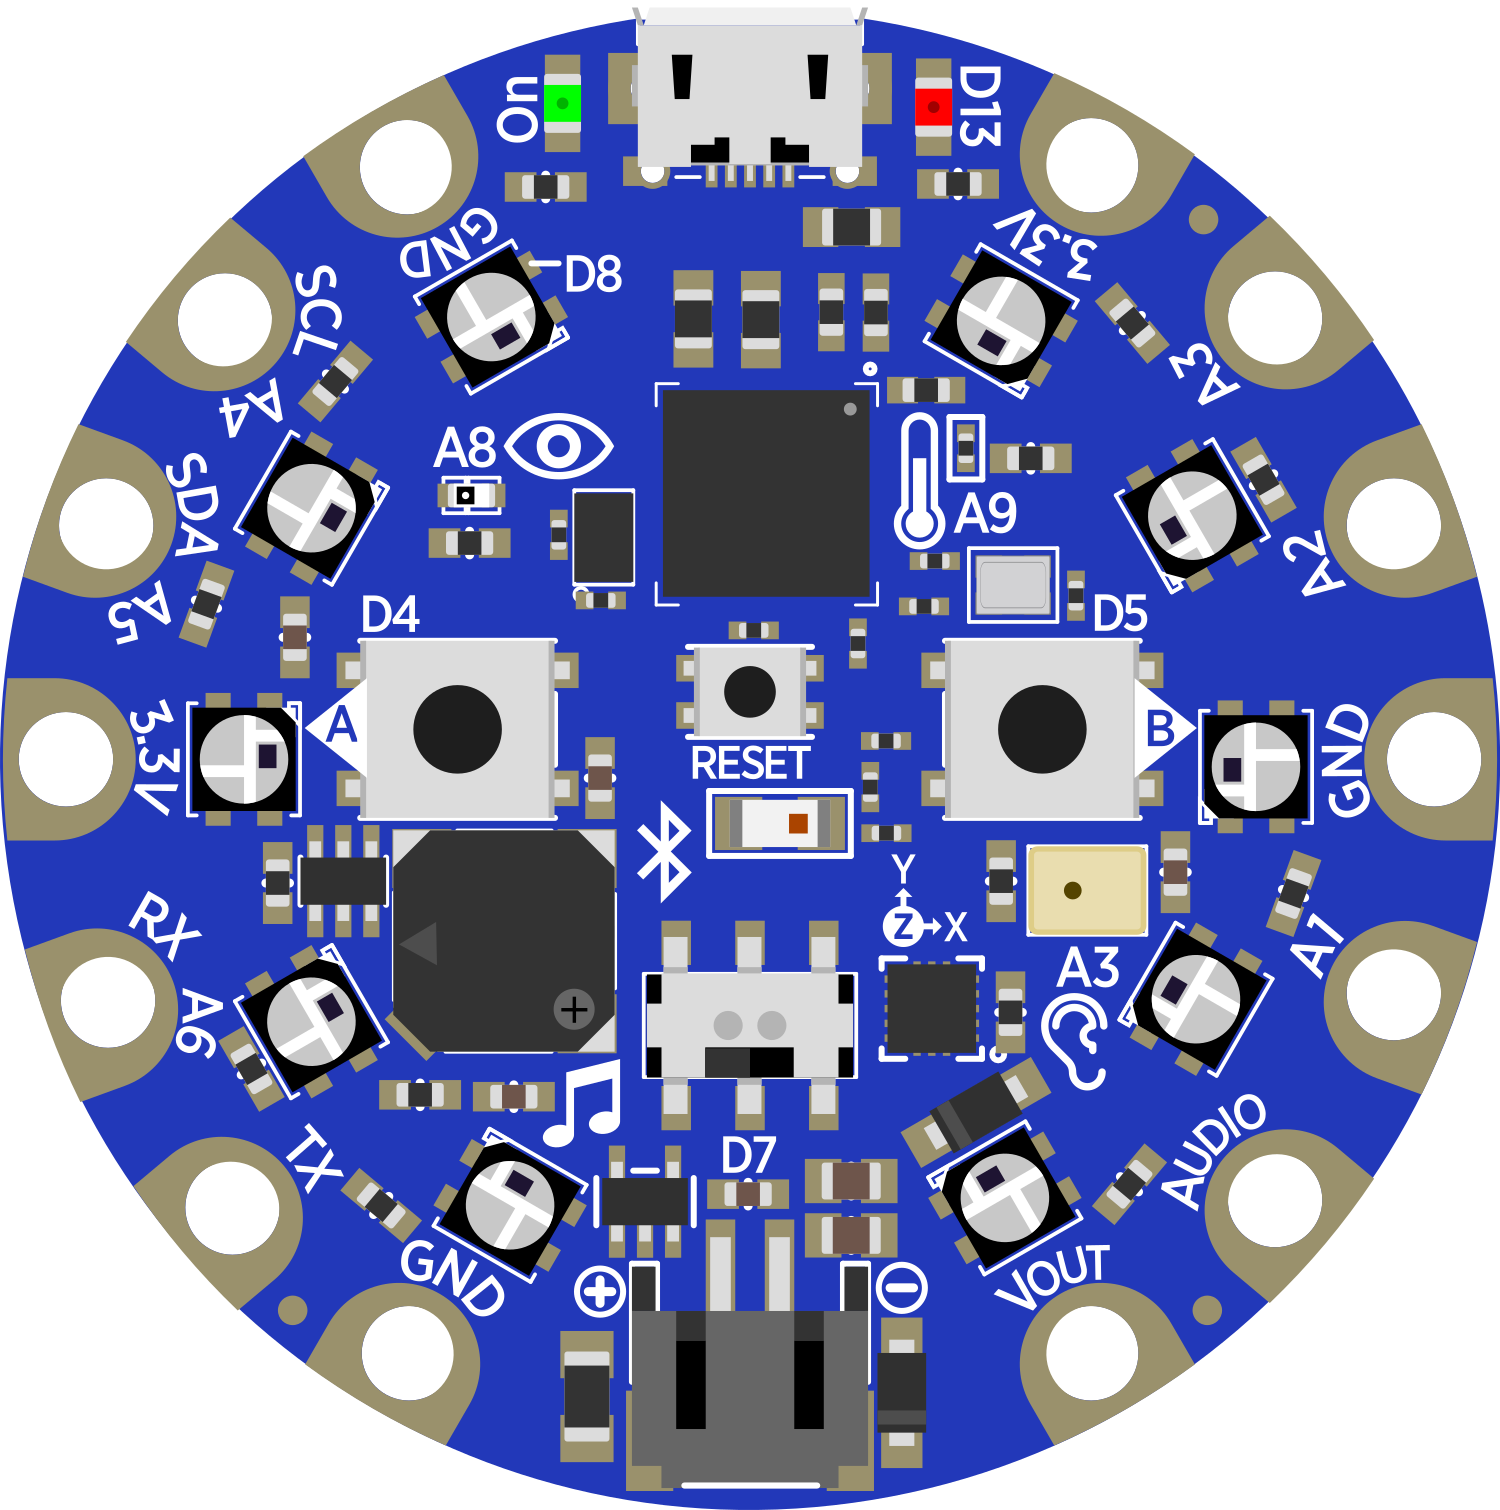
Pin Configuration and Descriptions
| Pin Number | Function | Description |
|---|---|---|
| A1 | Analog Input | Capacitive touch sensor |
| A2 | Analog Input | Capacitive touch sensor |
| A3 | Analog Input | Capacitive touch sensor |
| A4 | Analog Input | Capacitive touch sensor |
| A5 | Analog Input | Capacitive touch sensor |
| A6 | Analog Input | Capacitive touch sensor |
| A7 | Analog Input | Capacitive touch sensor |
| TX | Digital I/O | Transmit pin for serial communication |
| RX | Digital I/O | Receive pin for serial communication |
| 13 | Digital I/O | Built-in LED, can be used for PWM |
Usage Instructions
How to Use the Component in a Circuit
Powering the Board:
- Connect the Circuit Playground Bluefruit to a computer or a battery pack via the micro-USB port.
- Ensure that the input voltage is within the recommended range.
Programming the Board:
- Install the Arduino IDE and add the Adafruit Circuit Playground board package.
- Select the Circuit Playground Bluefruit board from the Tools > Board menu.
- Connect the board to your computer with a micro-USB cable.
Interacting with Onboard Sensors and Components:
- Use the provided libraries from Adafruit to interact with the onboard sensors and components.
- For example, to read values from the accelerometer, use the
Adafruit_LIS3DHlibrary.
Using Bluetooth Functionality:
- Utilize the
Adafruit_BluefruitLE_nRF51orAdafruit_BluefruitLE_nRF52library to enable BLE communication. - Follow the library examples to create BLE services and characteristics.
- Utilize the
Important Considerations and Best Practices
- Always disconnect the board from power sources before making or altering connections.
- When using the capacitive touch sensors, ensure that the connected objects are conductive.
- To prevent damage to the board, avoid exposing it to liquids or high humidity environments.
- When soldering headers or components to the board, use proper soldering techniques to avoid cold joints or overheating the board.
Troubleshooting and FAQs
Common Issues Users Might Face
Board not recognized by the computer:
- Ensure the micro-USB cable is properly connected and is a data cable, not just a charging cable.
- Try a different USB port or cable if the problem persists.
Bluetooth not working:
- Verify that the BLE library is correctly installed and that the board is in range of the BLE device.
- Check that the BLE device is not already connected to another device.
Sensors not responding:
- Confirm that the correct libraries are installed and that the sensor pins are not being used for other purposes.
- Check the code for proper initialization of sensors.
Solutions and Tips for Troubleshooting
- Always start by checking connections and ensuring that the board is powered correctly.
- Consult the Adafruit forums and guides for specific troubleshooting steps related to the Circuit Playground Bluefruit.
- Update the board's firmware and libraries to the latest versions to resolve any known issues.
Example Code for Arduino UNO
#include <Adafruit_CircuitPlayground.h>

void setup() {
  // Initialize the Circuit Playground board
  CircuitPlayground.begin();
}

void loop() {
  // Read the value from the first capacitive touch sensor
  int touchValue = CircuitPlayground.readCap(1);

  // If the sensor is touched, turn on the built-in LED
  if (touchValue > 30) {
    CircuitPlayground.redLED(HIGH);
  } else {
    CircuitPlayground.redLED(LOW);
  }

  // Delay for a bit to avoid rapid toggling
  delay(100);
}
Note: The above code is an example of using the capacitive touch sensor to control the built-in LED. The readCap() function reads the capacitive touch sensor value, and the redLED() function controls the built-in LED. Adjust the touch threshold value (30 in this case) as needed for your specific application.
Remember to wrap the code comments as needed to limit line length to 80 characters. This ensures readability and maintains a clean, professional appearance in the code.