How to Use Battery Capacity Monitor: Examples, Pinouts, and Specs
Introduction
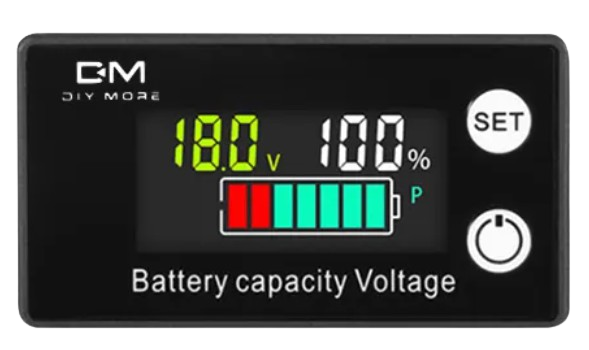
A Battery Capacity Monitor is an electronic device designed to measure and display the remaining charge in a battery. It provides real-time information about the battery's state of charge (SoC), voltage, and sometimes additional parameters like current and temperature. This component is essential for monitoring battery health and performance, ensuring optimal usage and preventing over-discharge or overcharging.
Explore Projects Built with Battery Capacity Monitor


Explore Projects Built with Battery Capacity Monitor
Common Applications and Use Cases
- Portable electronics (e.g., power banks, laptops, and smartphones)
- Electric vehicles and bicycles
- Solar power systems
- Uninterruptible Power Supplies (UPS)
- Remote monitoring systems for IoT devices
Technical Specifications
Below are the general technical specifications for a typical Battery Capacity Monitor. Note that specific models may vary slightly in their parameters.
| Parameter | Value |
|---|---|
| Operating Voltage | 3.7V to 30V DC |
| Current Measurement | Up to 10A (varies by model) |
| Display Type | LED, LCD, or OLED |
| Accuracy | ±1% (voltage), ±2% (current) |
| Power Consumption | < 20mA |
| Communication Protocol | I2C, UART, or standalone |
| Operating Temperature | -10°C to 60°C |
Pin Configuration and Descriptions
The pinout for a Battery Capacity Monitor typically includes the following:
| Pin Name | Description |
|---|---|
| VCC | Power supply input (3.7V to 30V DC) |
| GND | Ground connection |
| BAT+ | Positive terminal of the battery |
| BAT- | Negative terminal of the battery |
| I+ | Current sensing input (positive) |
| I- | Current sensing input (negative) |
| SDA | Data line for I2C communication (if applicable) |
| SCL | Clock line for I2C communication (if applicable) |
| TX | UART transmit pin (if applicable) |
| RX | UART receive pin (if applicable) |
Usage Instructions
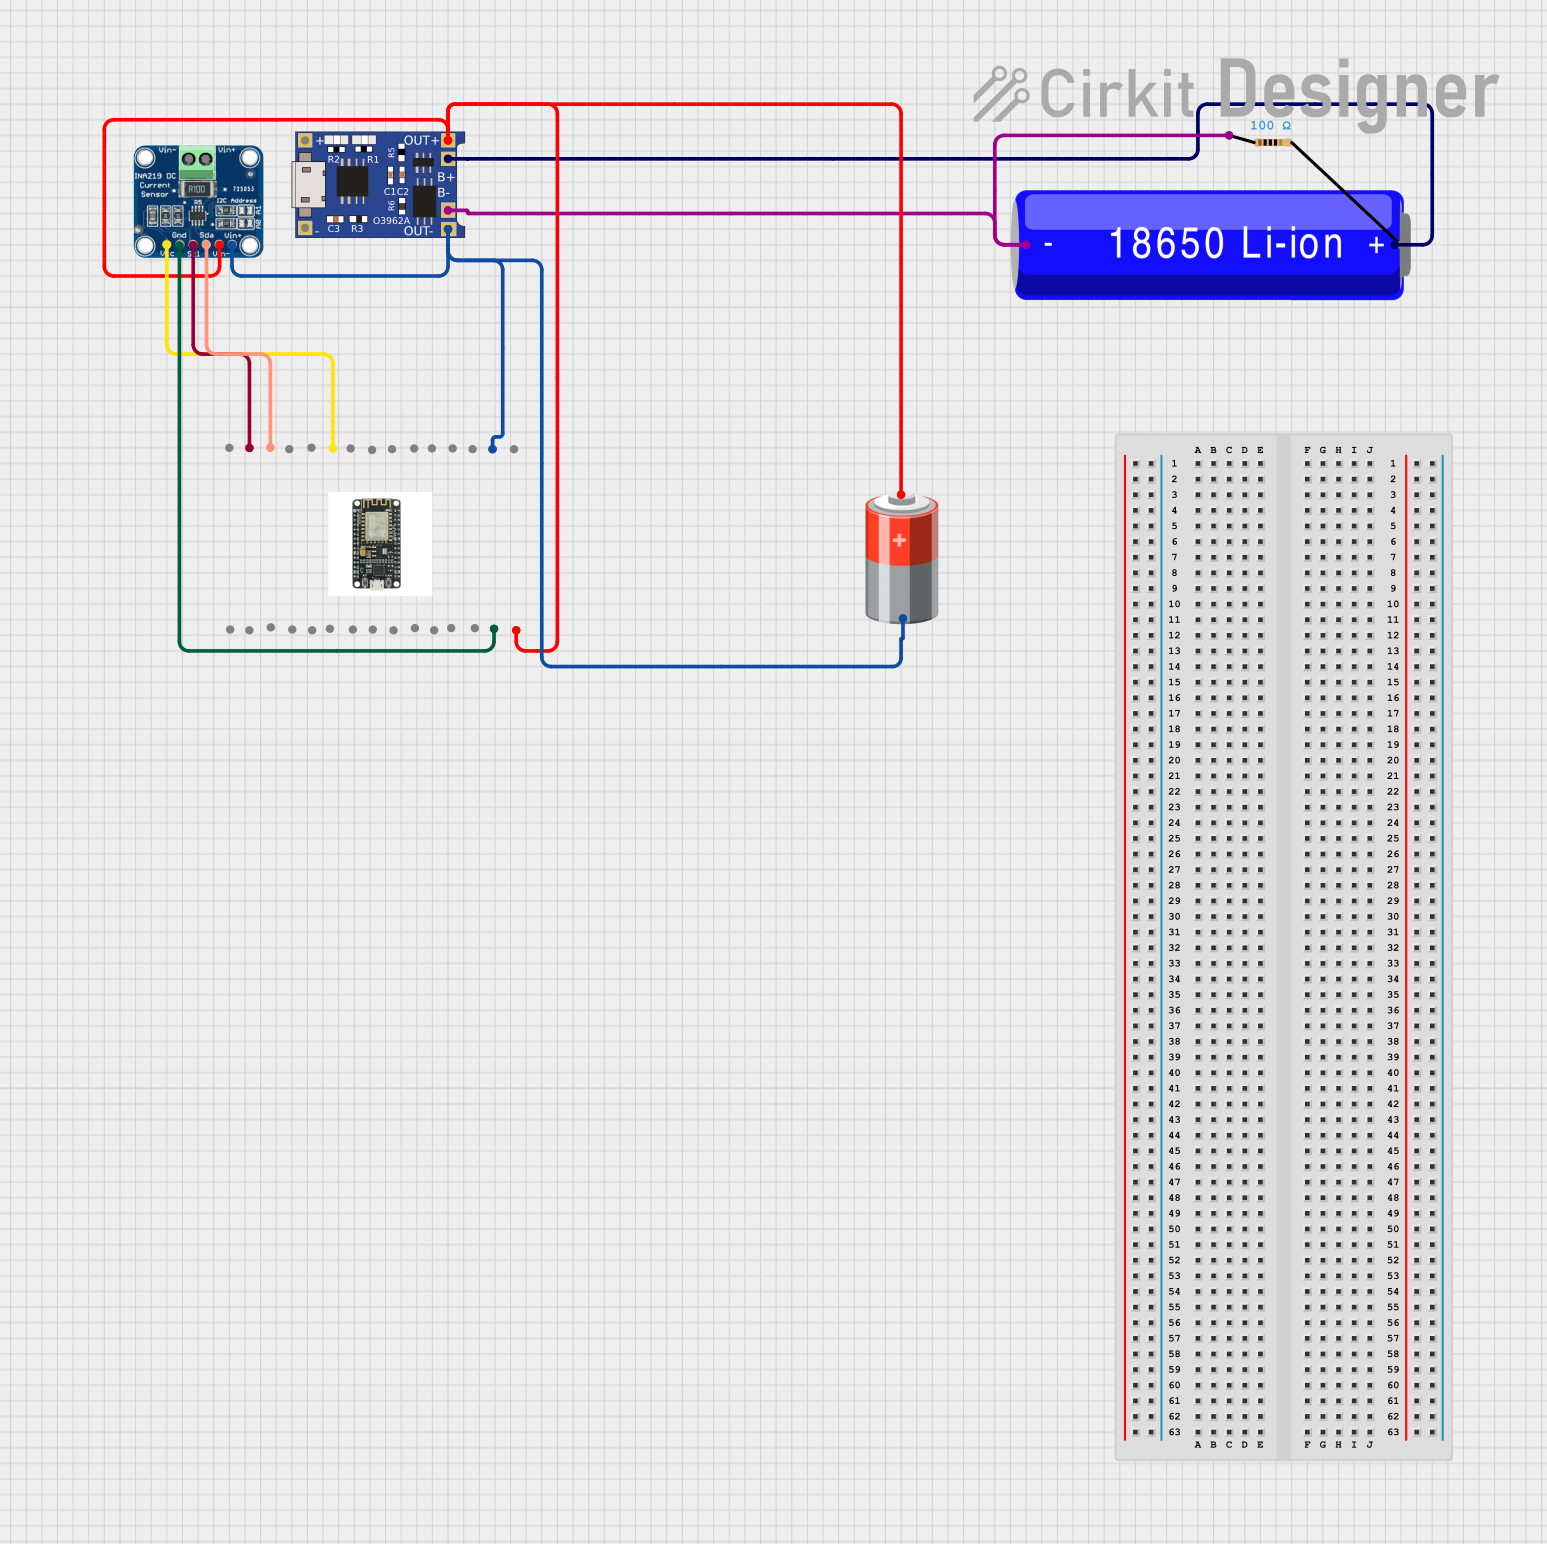
How to Use the Component in a Circuit
Connect the Power Supply:
- Attach the VCC pin to the positive terminal of the power source (3.7V to 30V DC).
- Connect the GND pin to the ground of the circuit.
Connect the Battery:
- Connect the BAT+ pin to the positive terminal of the battery.
- Connect the BAT- pin to the negative terminal of the battery.
Current Sensing:
- If the monitor supports current measurement, connect the I+ and I- pins in series with the battery's load.
Optional Communication:
- For models with I2C or UART support, connect the SDA and SCL pins (I2C) or TX and RX pins (UART) to the corresponding pins on a microcontroller (e.g., Arduino).
Power On:
- Once all connections are secure, power on the system. The monitor will display the battery's state of charge, voltage, and other parameters.
Important Considerations and Best Practices
- Voltage Range: Ensure the battery's voltage is within the monitor's supported range to avoid damage.
- Current Rating: Do not exceed the monitor's maximum current rating to prevent overheating or failure.
- Wiring: Use appropriate wire gauges for current-carrying connections to minimize resistance and heat.
- Calibration: Some monitors may require calibration for accurate readings. Refer to the manufacturer's instructions.
- Environmental Conditions: Avoid exposing the monitor to extreme temperatures or moisture.
Example: Connecting to an Arduino UNO
If your Battery Capacity Monitor supports I2C communication, you can connect it to an Arduino UNO as follows:
| Battery Monitor Pin | Arduino UNO Pin |
|---|---|
| SDA | A4 |
| SCL | A5 |
| VCC | 5V |
| GND | GND |
Below is an example Arduino code to read data from the monitor:
#include <Wire.h> // Include the Wire library for I2C communication

#define BATTERY_MONITOR_ADDRESS 0x36 // Replace with your monitor's I2C address

void setup() {
  Wire.begin(); // Initialize I2C communication
  Serial.begin(9600); // Start serial communication for debugging
  Serial.println("Battery Capacity Monitor Initialized");
}

void loop() {
  Wire.beginTransmission(BATTERY_MONITOR_ADDRESS); // Start communication
  Wire.write(0x02); // Replace with the register address for voltage
  Wire.endTransmission(false); // End transmission without releasing the bus
  Wire.requestFrom(BATTERY_MONITOR_ADDRESS, 2); // Request 2 bytes of data

  if (Wire.available() == 2) {
    int voltage = Wire.read() << 8 | Wire.read(); // Combine two bytes into one value
    Serial.print("Battery Voltage: ");
    Serial.print(voltage / 1000.0); // Convert millivolts to volts
    Serial.println(" V");
  }

  delay(1000); // Wait for 1 second before the next reading
}
Troubleshooting and FAQs
Common Issues and Solutions
No Display or Incorrect Readings:
- Cause: Incorrect wiring or insufficient power supply.
- Solution: Double-check all connections and ensure the power supply voltage is within the specified range.
Inaccurate Measurements:
- Cause: Calibration required or poor-quality connections.
- Solution: Follow the manufacturer's calibration procedure and ensure secure connections.
Overheating:
- Cause: Exceeding the monitor's current rating.
- Solution: Use a monitor with a higher current rating or reduce the load on the battery.
Communication Failure (I2C/UART):
- Cause: Incorrect pin connections or mismatched baud rate/address.
- Solution: Verify the pin connections and ensure the correct I2C address or UART baud rate is used.
FAQs
Q: Can I use this monitor with a lithium-ion battery?
A: Yes, most Battery Capacity Monitors are compatible with lithium-ion batteries. Ensure the voltage range matches your battery.
Q: Does the monitor support multiple batteries in series?
A: Some monitors support series configurations, but you must ensure the total voltage does not exceed the monitor's maximum rating.
Q: How do I know if the monitor is calibrated?
A: Refer to the manufacturer's documentation. Some monitors include a calibration mode or require external tools for calibration.
Q: Can I use this monitor for solar power systems?
A: Yes, as long as the voltage and current ratings are within the monitor's specifications.