How to Use 12v Blue LED: Examples, Pinouts, and Specs

Introduction
A 12V Blue LED is a semiconductor light source that emits blue light when an electric current passes through it. LEDs are known for their long life and energy efficiency compared to traditional incandescent bulbs. The 12V Blue LED is commonly used in various applications such as indicator lights, automotive lighting, DIY electronics projects, and decorative lighting.
Explore Projects Built with 12v Blue LED
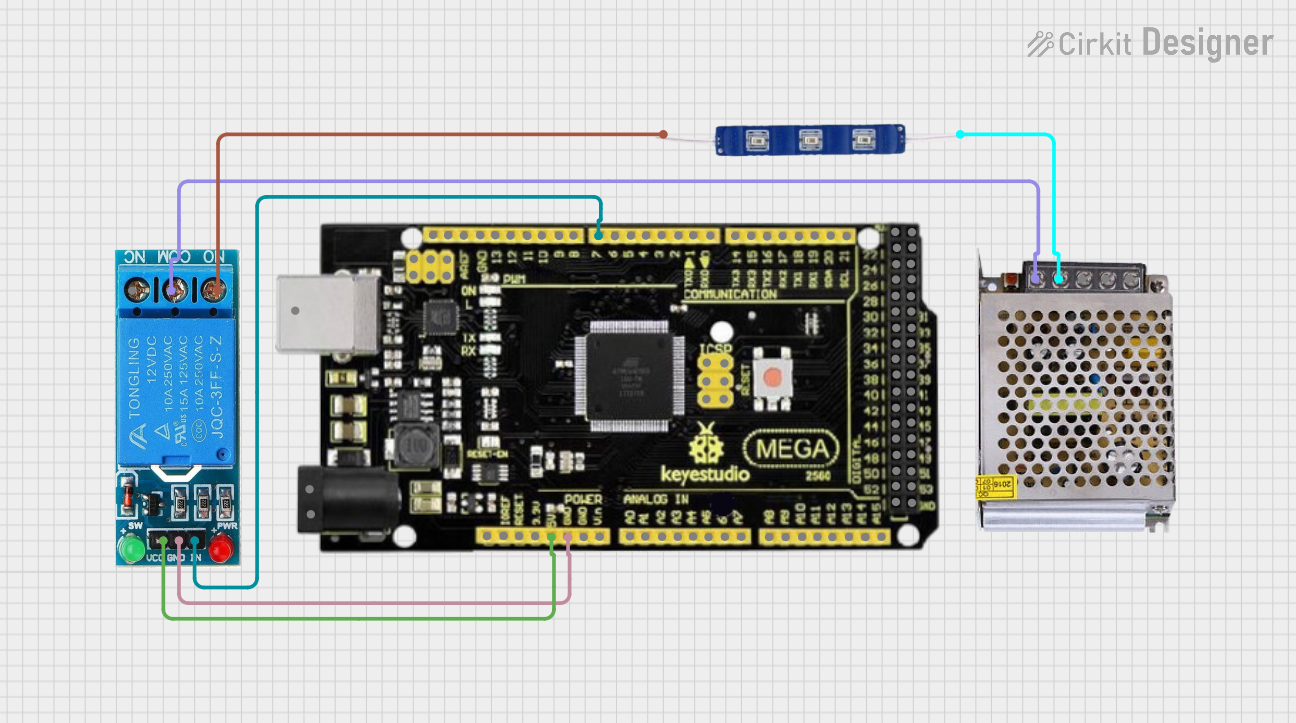
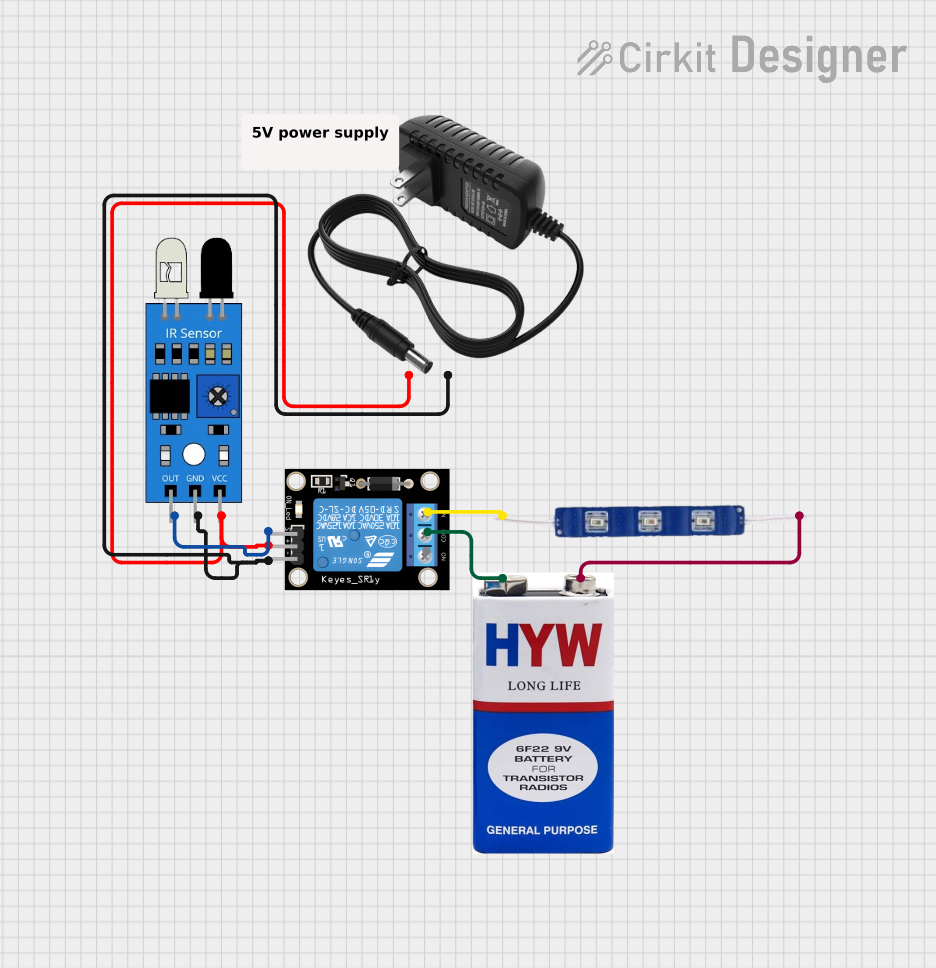


Explore Projects Built with 12v Blue LED
Technical Specifications
General Characteristics
- Color: Blue
- Forward Voltage (Vf): 12 Volts
- Forward Current (If): 20 mA (typical)
- Luminous Intensity: Measured in mcd (millicandela), varies by specific model
- Wavelength: Approximately 465-475 nm (nanometers)
- Viewing Angle: Specified in degrees, varies by specific model
Pin Configuration and Descriptions
| Pin Number | Description |
|---|---|
| 1 | Anode (+) |
| 2 | Cathode (-) |
Note: The longer lead (leg) of the LED is typically the anode, and the shorter lead is the cathode.
Usage Instructions
Connecting to a Circuit
To use the 12V Blue LED in a circuit, follow these steps:
- Identify the Anode and Cathode: Determine which lead is the anode and which is the cathode.
- Current Limiting Resistor: Although the LED operates at 12V, it is crucial to use a current-limiting resistor to prevent damage. Calculate the resistor value using Ohm's Law:
R = (Vsource - Vf) / If. For a 12V source, a resistor may not be necessary, but it is recommended to use one for safety. - Wiring: Connect the anode to the positive side of the power source through the current-limiting resistor, and the cathode to the negative side (ground).
Best Practices
- Avoid exposing the LED to voltages higher than its rated forward voltage.
- Use a current-limiting resistor to protect the LED from excessive current.
- Do not exceed the maximum forward current specification.
- Ensure proper polarity when connecting the LED to a circuit.
Example Arduino UNO Connection
// Define the LED pin
const int ledPin = 13; // Most Arduino UNO boards have an onboard LED on pin 13

void setup() {
  pinMode(ledPin, OUTPUT); // Set the LED pin as an output
}

void loop() {
  digitalWrite(ledPin, HIGH); // Turn on the LED
  delay(1000);                // Wait for 1 second
  digitalWrite(ledPin, LOW);  // Turn off the LED
  delay(1000);                // Wait for 1 second
}
Note: When connecting a 12V LED to an Arduino, ensure that the Arduino can provide a 12V output or use an external 12V power source with a common ground.
Troubleshooting and FAQs
Common Issues
- LED Not Lighting Up: Check the polarity of the connections. Ensure the anode is connected to the positive side and the cathode to the negative side.
- LED Burnt Out: This may occur if the LED was subjected to a current higher than its rated forward current. Always use a current-limiting resistor.
FAQs
Q: Can I connect a 12V LED directly to a 12V power source? A: While it is possible, it is not recommended. A current-limiting resistor is advised to prevent potential damage from voltage spikes.
Q: How do I know if my LED is burnt out? A: If the LED does not light up when the correct voltage is applied, and all connections are correct, the LED may be burnt out.
Q: Can I use a 9V battery to power the 12V LED? A: The LED may light up with a 9V battery but will not reach its full brightness. It is best to use a 12V power source.
Q: What resistor value should I use with my 12V LED? A: If you are using a 12V power source, a small resistor (e.g., 47 ohms) can be used to protect against voltage spikes. Calculate the exact value using Ohm's Law if necessary.
This documentation provides a comprehensive guide to using a 12V Blue LED. Always follow safety precautions and best practices to ensure the longevity and proper functioning of the LED.