
How to Use PICAXE-28X: Examples, Pinouts, and Specs
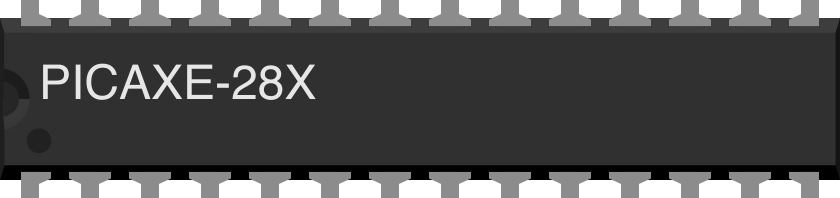
 Design with PICAXE-28X in Cirkit Designer
Introduction
The PICAXE-28X, manufactured by Revolution Education Ltd, is a versatile 28-pin microcontroller designed for ease of use in educational, hobbyist, and prototyping applications. It features built-in support for BASIC programming, making it accessible for beginners while still offering advanced functionality for experienced users. With multiple input/output (I/O) options, the PICAXE-28X is ideal for controlling sensors, motors, LEDs, and other electronic components.
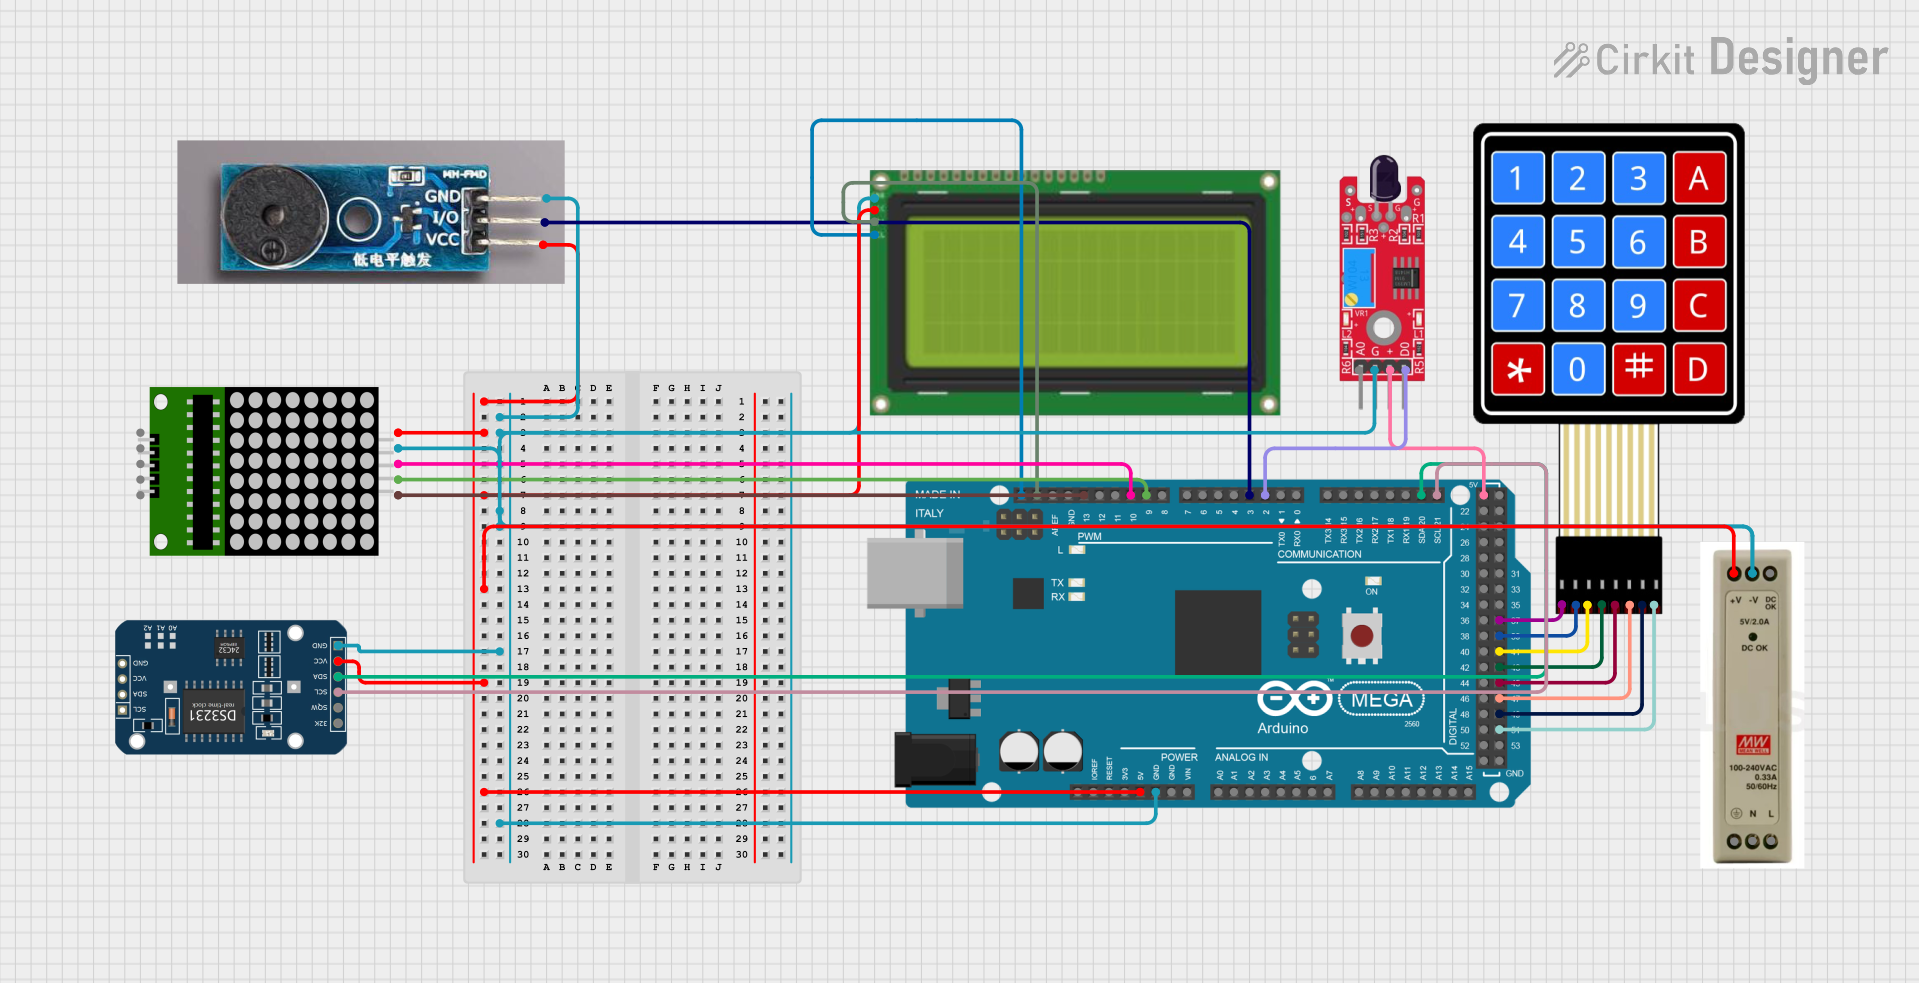
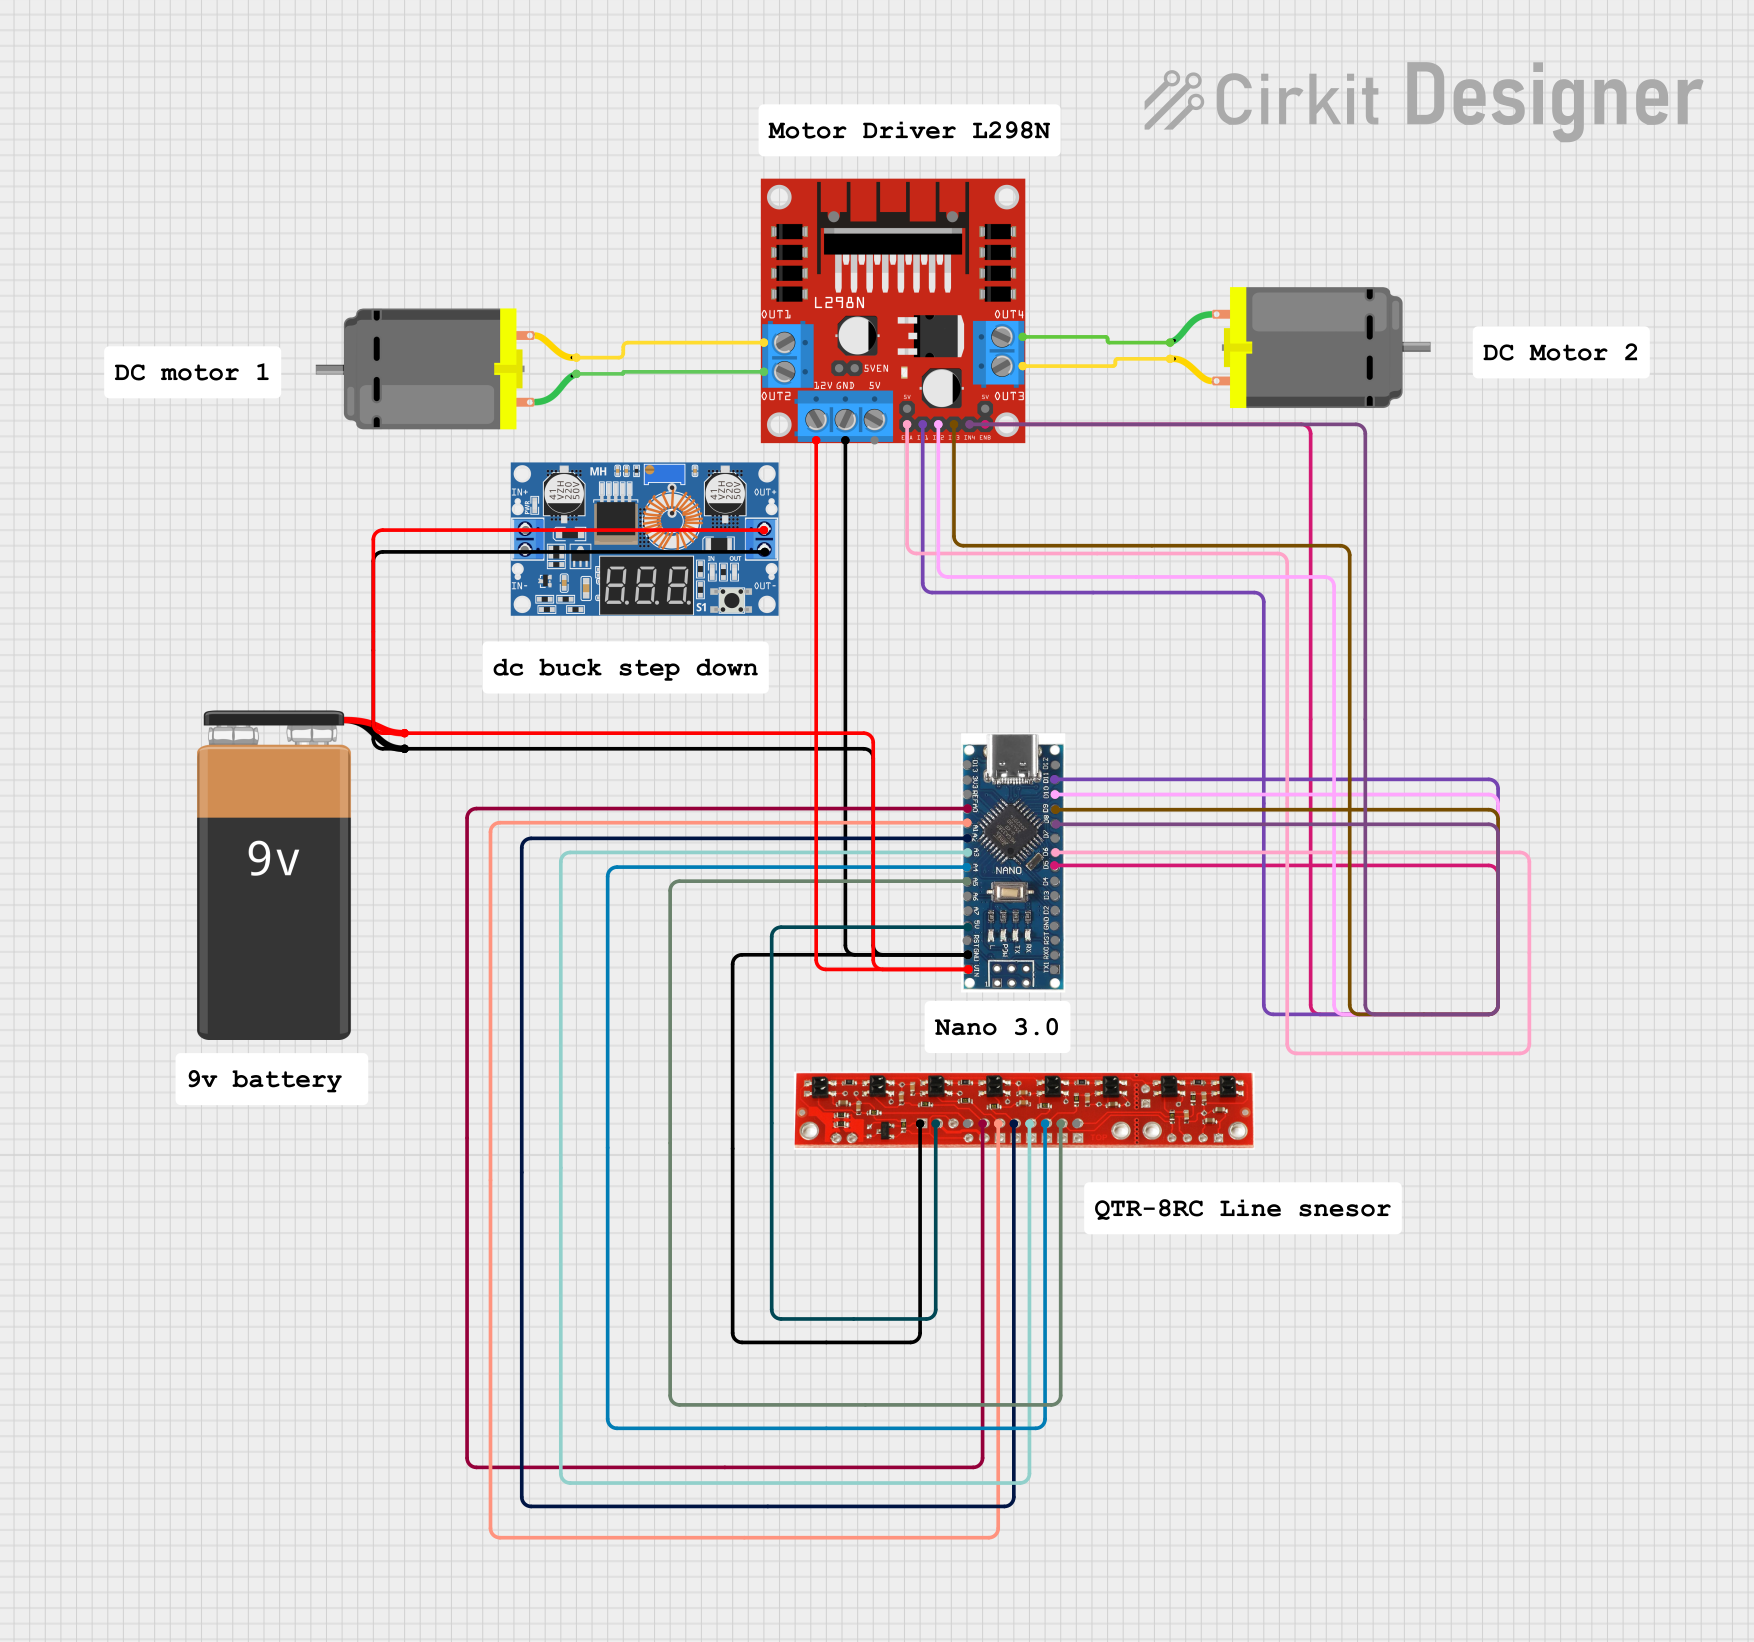
Explore Projects Built with PICAXE-28X
 Open Project in Cirkit Designer
 Open Project in Cirkit Designer
 Open Project in Cirkit Designer
 Open Project in Cirkit Designer
Explore Projects Built with PICAXE-28X
Open Project in Cirkit DesignerOpen Project in Cirkit DesignerOpen Project in Cirkit DesignerOpen Project in Cirkit DesignerCommon Applications
- Robotics and automation projects
- Educational tools for learning microcontroller programming
- Home automation systems
- Data logging and sensor interfacing
- Prototyping and small-scale production
Technical Specifications
The following table outlines the key technical details of the PICAXE-28X microcontroller:
| Parameter | Specification |
|---|---|
| Manufacturer | Revolution Education Ltd |
| Part ID | PICAXE-28X |
| Operating Voltage | 4.5V to 5.5V |
| Clock Speed | 4 MHz (internal resonator) |
| I/O Pins | 22 (16 digital, 6 analog) |
| Programming Language | BASIC |
| Communication Protocols | Serial (RS-232), I2C, SPI |
| Memory | 256 bytes EEPROM, 2048 bytes program |
| Power Consumption | ~2 mA (active), ~50 µA (sleep mode) |
| Package Type | DIP-28 |
Pin Configuration and Descriptions
The PICAXE-28X has a 28-pin dual in-line package (DIP) layout. Below is the pin configuration:
| Pin Number | Pin Name | Description |
|---|---|---|
| 1 | V+ | Positive power supply (4.5V to 5.5V) |
| 2 | Serial In | Serial programming input |
| 3 | Serial Out | Serial programming output |
| 4 | Reset | Active-low reset input |
| 5-12 | I/O 0-7 | General-purpose digital I/O pins |
| 13-18 | Analog 0-5 | Analog input pins (also configurable as digital) |
| 19-22 | I/O 8-11 | General-purpose digital I/O pins |
| 23 | SCL | I2C Clock Line |
| 24 | SDA | I2C Data Line |
| 25-27 | I/O 12-14 | General-purpose digital I/O pins |
| 28 | GND | Ground |
Usage Instructions
How to Use the PICAXE-28X in a Circuit
- Power Supply: Connect the V+ pin (pin 1) to a 5V power source and the GND pin (pin 28) to ground.
- Programming: Use the PICAXE programming cable to connect the Serial In (pin 2) and Serial Out (pin 3) pins to your computer. Install the PICAXE Editor software to write and upload BASIC programs.
- I/O Connections: Connect sensors, actuators, or other components to the I/O pins. Configure the pins as input or output in your program.
- Analog Inputs: Use pins 13-18 for reading analog signals (e.g., from potentiometers or temperature sensors).
- Communication: Utilize the I2C or SPI pins for interfacing with other devices like displays or additional microcontrollers.
Important Considerations
- Always use a decoupling capacitor (e.g., 0.1 µF) between the V+ and GND pins to stabilize the power supply.
- Avoid exceeding the maximum voltage or current ratings for the I/O pins (20 mA per pin).
- Use pull-up or pull-down resistors for unused input pins to prevent floating states.
- Ensure proper grounding for all connected components to avoid noise or erratic behavior.
Example Code for Arduino-like Functionality
Below is an example of a simple program to blink an LED connected to I/O pin 0:
' Blink an LED connected to I/O pin 0
' Ensure the LED has a current-limiting resistor (e.g., 330 ohms)

main:
  high 0          ' Turn on the LED
  pause 1000      ' Wait for 1 second
  low 0           ' Turn off the LED
  pause 1000      ' Wait for 1 second
  goto main       ' Repeat the loop
Interfacing with Arduino UNO
The PICAXE-28X can communicate with an Arduino UNO via serial or I2C. For example, to send data from the PICAXE to the Arduino, configure the PICAXE as an I2C master and the Arduino as a slave.
Troubleshooting and FAQs
Common Issues
The microcontroller does not respond to programming commands.
- Solution: Check the programming cable connections and ensure the correct COM port is selected in the PICAXE Editor software. Verify that the power supply is stable and within the operating range.
The program runs erratically or the microcontroller resets unexpectedly.
- Solution: Add a decoupling capacitor between V+ and GND. Ensure that the power supply can provide sufficient current.
Analog readings are inconsistent.
- Solution: Use a stable reference voltage and ensure proper grounding. Avoid long wires for analog sensors to minimize noise.
I2C communication is not working.
- Solution: Verify the pull-up resistors (typically 4.7 kΩ) on the SCL and SDA lines. Check the I2C addresses of connected devices to avoid conflicts.
FAQs
Q: Can the PICAXE-28X be powered by batteries?
A: Yes, it can be powered by 4 AA batteries (6V) or a 5V regulated power supply.
Q: What is the maximum current the I/O pins can handle?
A: Each I/O pin can source or sink up to 20 mA, with a total maximum of 90 mA for all pins combined.
Q: Can I use the PICAXE-28X with a breadboard?
A: Yes, the DIP-28 package is breadboard-friendly, making it easy to prototype circuits.
Q: Is the PICAXE-28X compatible with external EEPROMs?
A: Yes, it supports I2C communication, allowing you to interface with external EEPROMs or other I2C devices.
This concludes the documentation for the PICAXE-28X microcontroller. For further details, refer to the official datasheet or user manual provided by Revolution Education Ltd.