How to Use LMD1820X: Examples, Pinouts, and Specs
Introduction
The LMD1820X is a high-power motor driver integrated circuit (IC) designed for controlling DC motors in a variety of applications. It is capable of driving high current loads, which makes it suitable for use in robotics, industrial automation, and automotive applications. The LMD1820X provides a convenient and efficient way to control the speed, direction, and torque of motors.
Explore Projects Built with LMD1820X


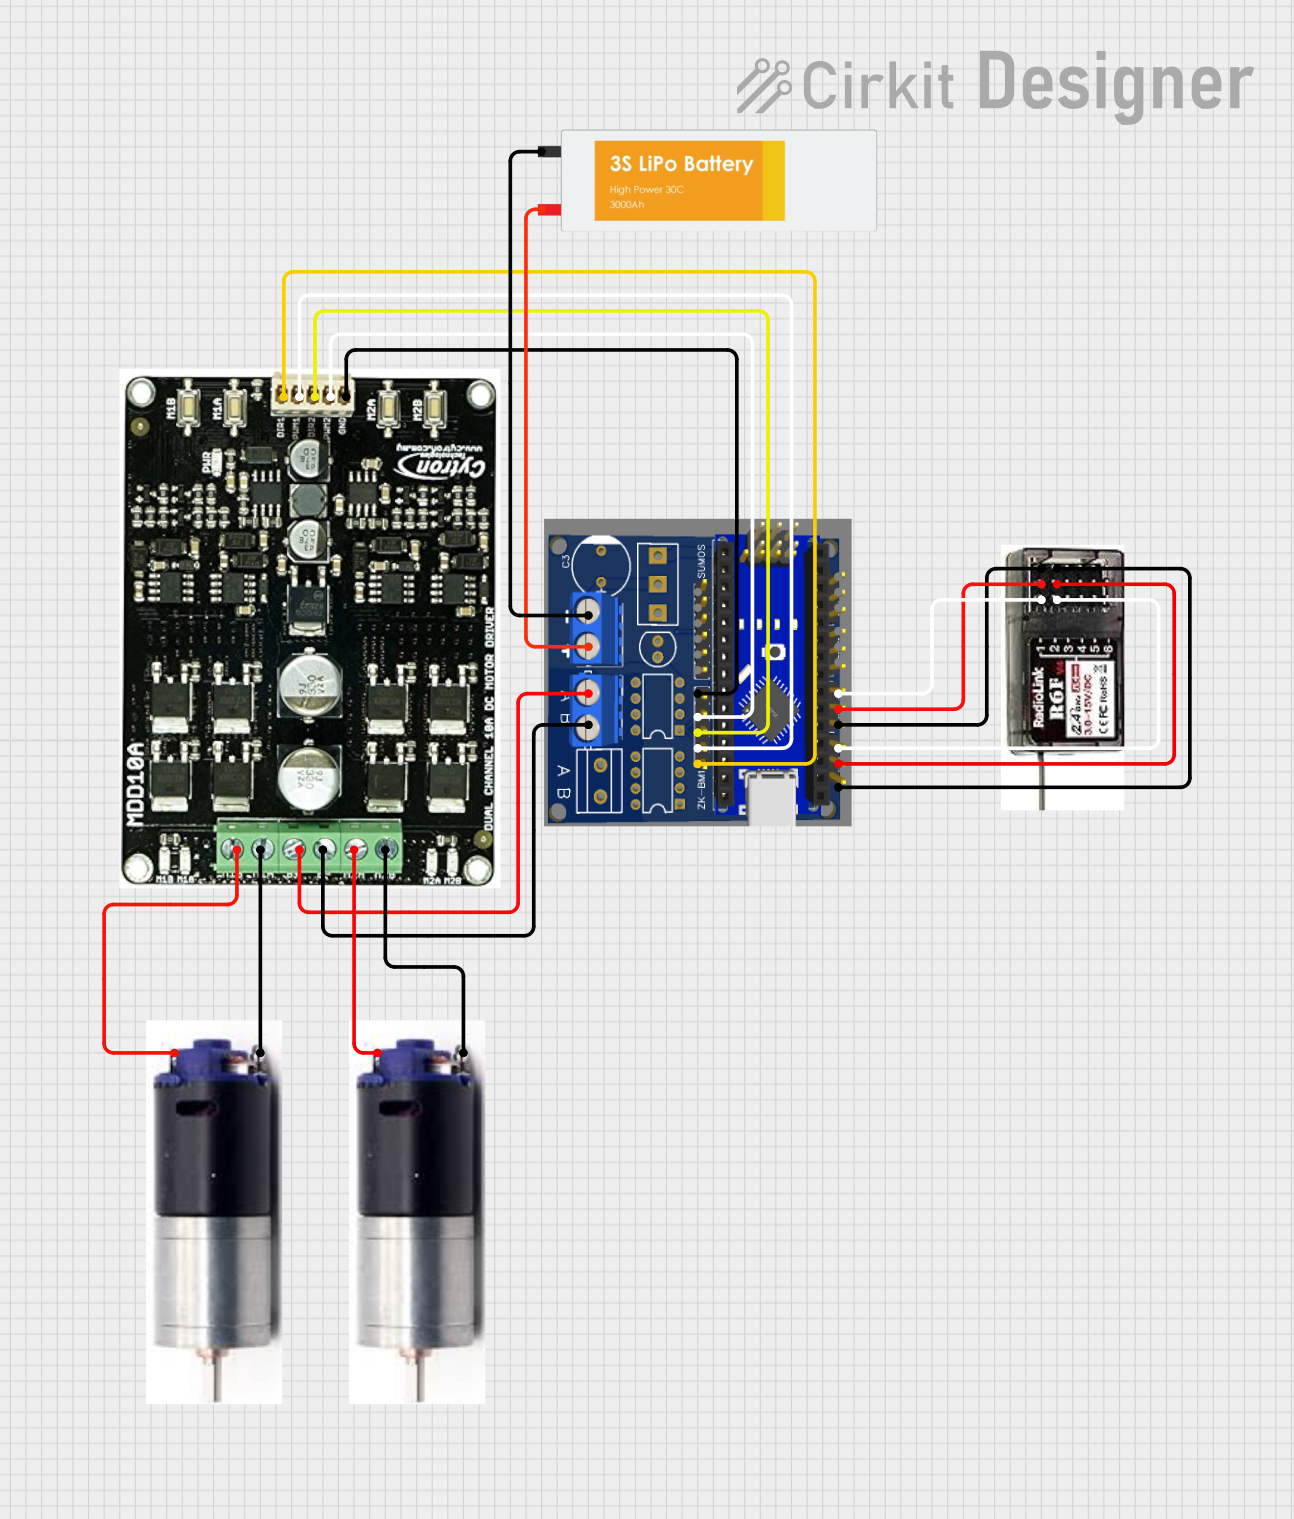
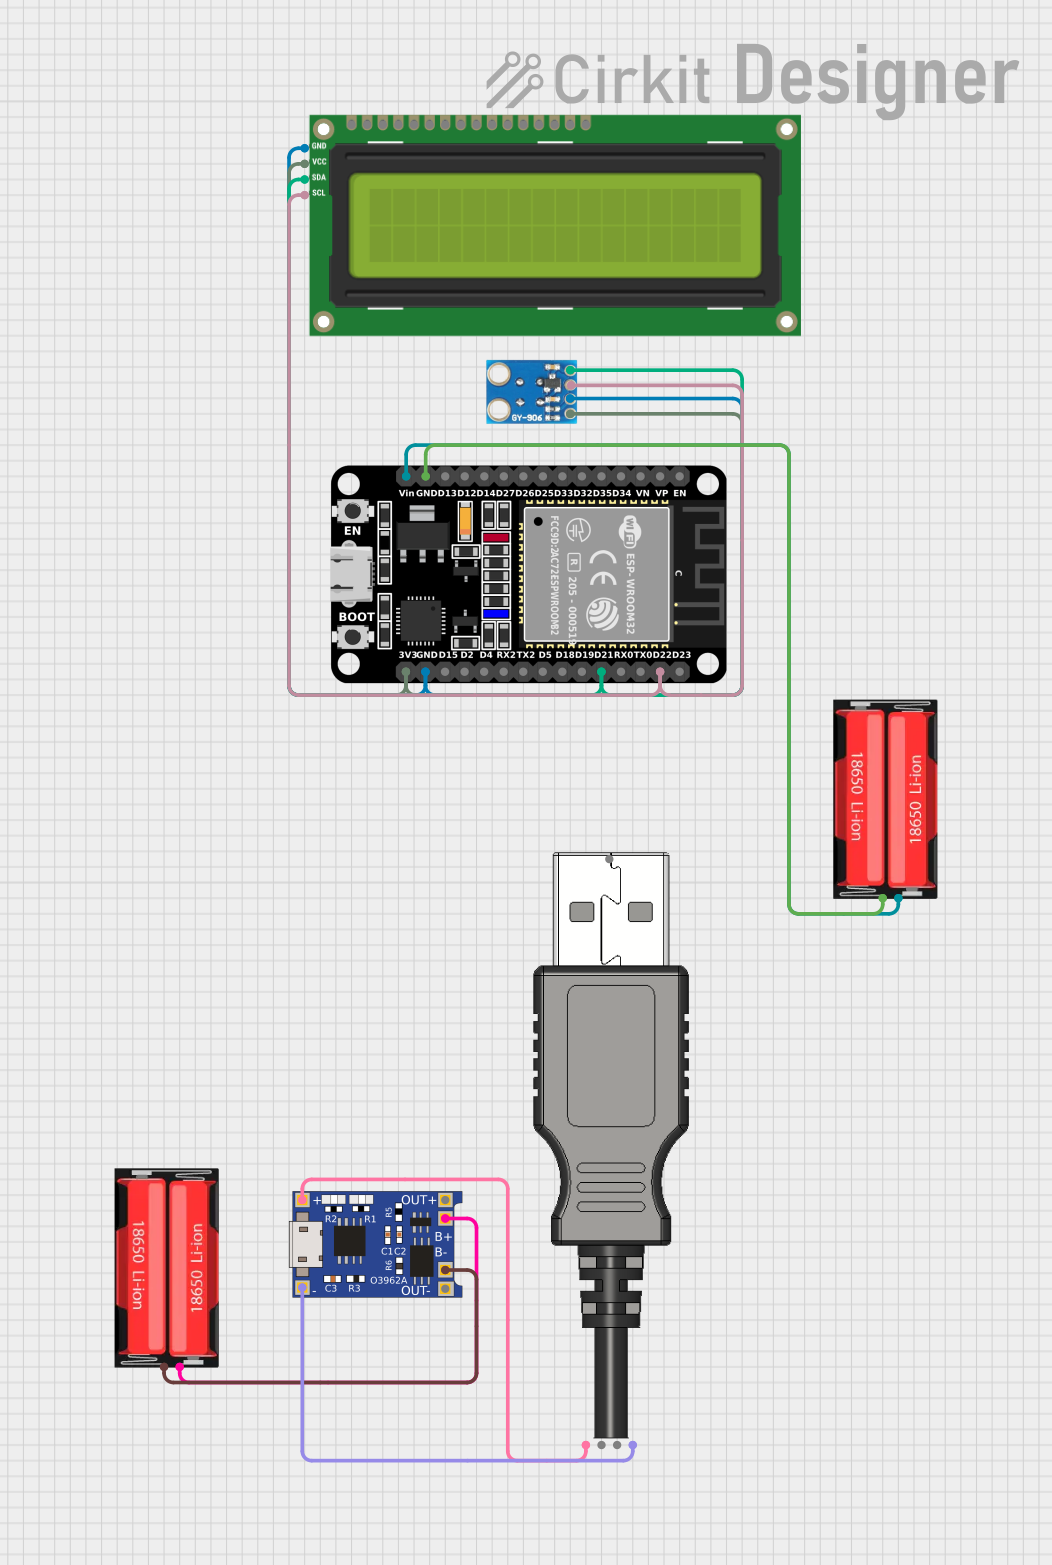
Explore Projects Built with LMD1820X
Common Applications and Use Cases
- Robotics: Actuator and motor control
- Industrial automation: Conveyor belts, CNC machines
- Automotive: Electric vehicle powertrain systems
- Hobbyist projects: Remote-controlled vehicles, custom automation projects
Technical Specifications
Key Technical Details
- Supply Voltage (Vcc): 12V to 55V
- Continuous Output Current (Io): Up to 3A
- Peak Output Current: Up to 6A (non-repetitive)
- Internal Clamp Diodes for Back-EMF Protection
- Thermal Shutdown Feature
- PWM Control Interface
Pin Configuration and Descriptions
| Pin Number | Pin Name | Description |
|---|---|---|
| 1 | Vcc | Power supply voltage (12V to 55V) |
| 2 | GND | Ground connection |
| 3 | Control | Logic input for PWM control |
| 4 | Direction | Logic input to control motor direction |
| 5 | Output A | Motor output connection A |
| 6 | Output B | Motor output connection B |
| 7 | Sense | Current sense output |
| 8 | Shutdown | Logic input for thermal shutdown feature |
Usage Instructions
How to Use the Component in a Circuit
- Connect the power supply to the Vcc and GND pins, ensuring that the voltage is within the specified range.
- Connect the motor to the Output A and Output B pins.
- Apply a PWM signal to the Control pin to regulate the speed of the motor.
- Set the Direction pin high or low to control the rotation direction of the motor.
- Optionally, connect the Sense pin to an analog input of a microcontroller to monitor the current draw of the motor.
- Use the Shutdown pin to enable or disable the thermal shutdown feature as needed.
Important Considerations and Best Practices
- Always ensure that the power supply voltage does not exceed the maximum rating.
- Use appropriate heat sinking to manage the IC's temperature during operation.
- Implement proper decoupling techniques by placing capacitors close to the power pins of the IC.
- Ensure that the PWM frequency is within the IC's operational range for optimal performance.
- Use the internal clamp diodes to protect against back-EMF from inductive loads.
Troubleshooting and FAQs
Common Issues Users Might Face
- Motor not running: Check the power supply connections and ensure that the PWM signal is being applied correctly.
- Overheating: Ensure adequate heat sinking and verify that the current does not exceed the continuous output rating.
- Erratic motor behavior: Confirm that the Direction and Control pins are receiving the correct logic levels.
Solutions and Tips for Troubleshooting
- If the motor does not run, verify the connections and measure the voltage at the motor outputs.
- In case of overheating, reduce the load or improve heat dissipation.
- For erratic behavior, use an oscilloscope to check the integrity of the PWM signal and logic inputs.
FAQs
Q: Can the LMD1820X be used with microcontrollers like Arduino? A: Yes, the LMD1820X can be interfaced with an Arduino or similar microcontroller to control motors.
Q: What is the maximum PWM frequency that can be used with the LMD1820X? A: The maximum PWM frequency should be checked in the datasheet, but typically it is around a few kHz.
Q: How can I increase the current handling capability of the LMD1820X? A: To handle higher currents, you can parallel multiple LMD1820X ICs, but ensure proper current sharing and thermal management.
Example Code for Arduino UNO
// Define the pins connected to the LMD1820X
const int pwmPin = 3; // Control pin
const int dirPin = 4; // Direction pin

void setup() {
  pinMode(pwmPin, OUTPUT);
  pinMode(dirPin, OUTPUT);
}

void loop() {
  // Set motor direction to clockwise
  digitalWrite(dirPin, HIGH);

  // Ramp up the speed
  for (int speed = 0; speed <= 255; speed++) {
    analogWrite(pwmPin, speed);
    delay(10);
  }

  // Ramp down the speed
  for (int speed = 255; speed >= 0; speed--) {
    analogWrite(pwmPin, speed);
    delay(10);
  }

  // Change motor direction to counter-clockwise
  digitalWrite(dirPin, LOW);

  // Repeat the ramp up and down process
  // ...
}
Note: The code provided is a basic example to control a motor using the LMD1820X with an Arduino UNO. Adjust the pin assignments and logic according to your specific application. Always ensure that the PWM signal is within the operational range of the LMD1820X.