
How to Use Servo: Examples, Pinouts, and Specs
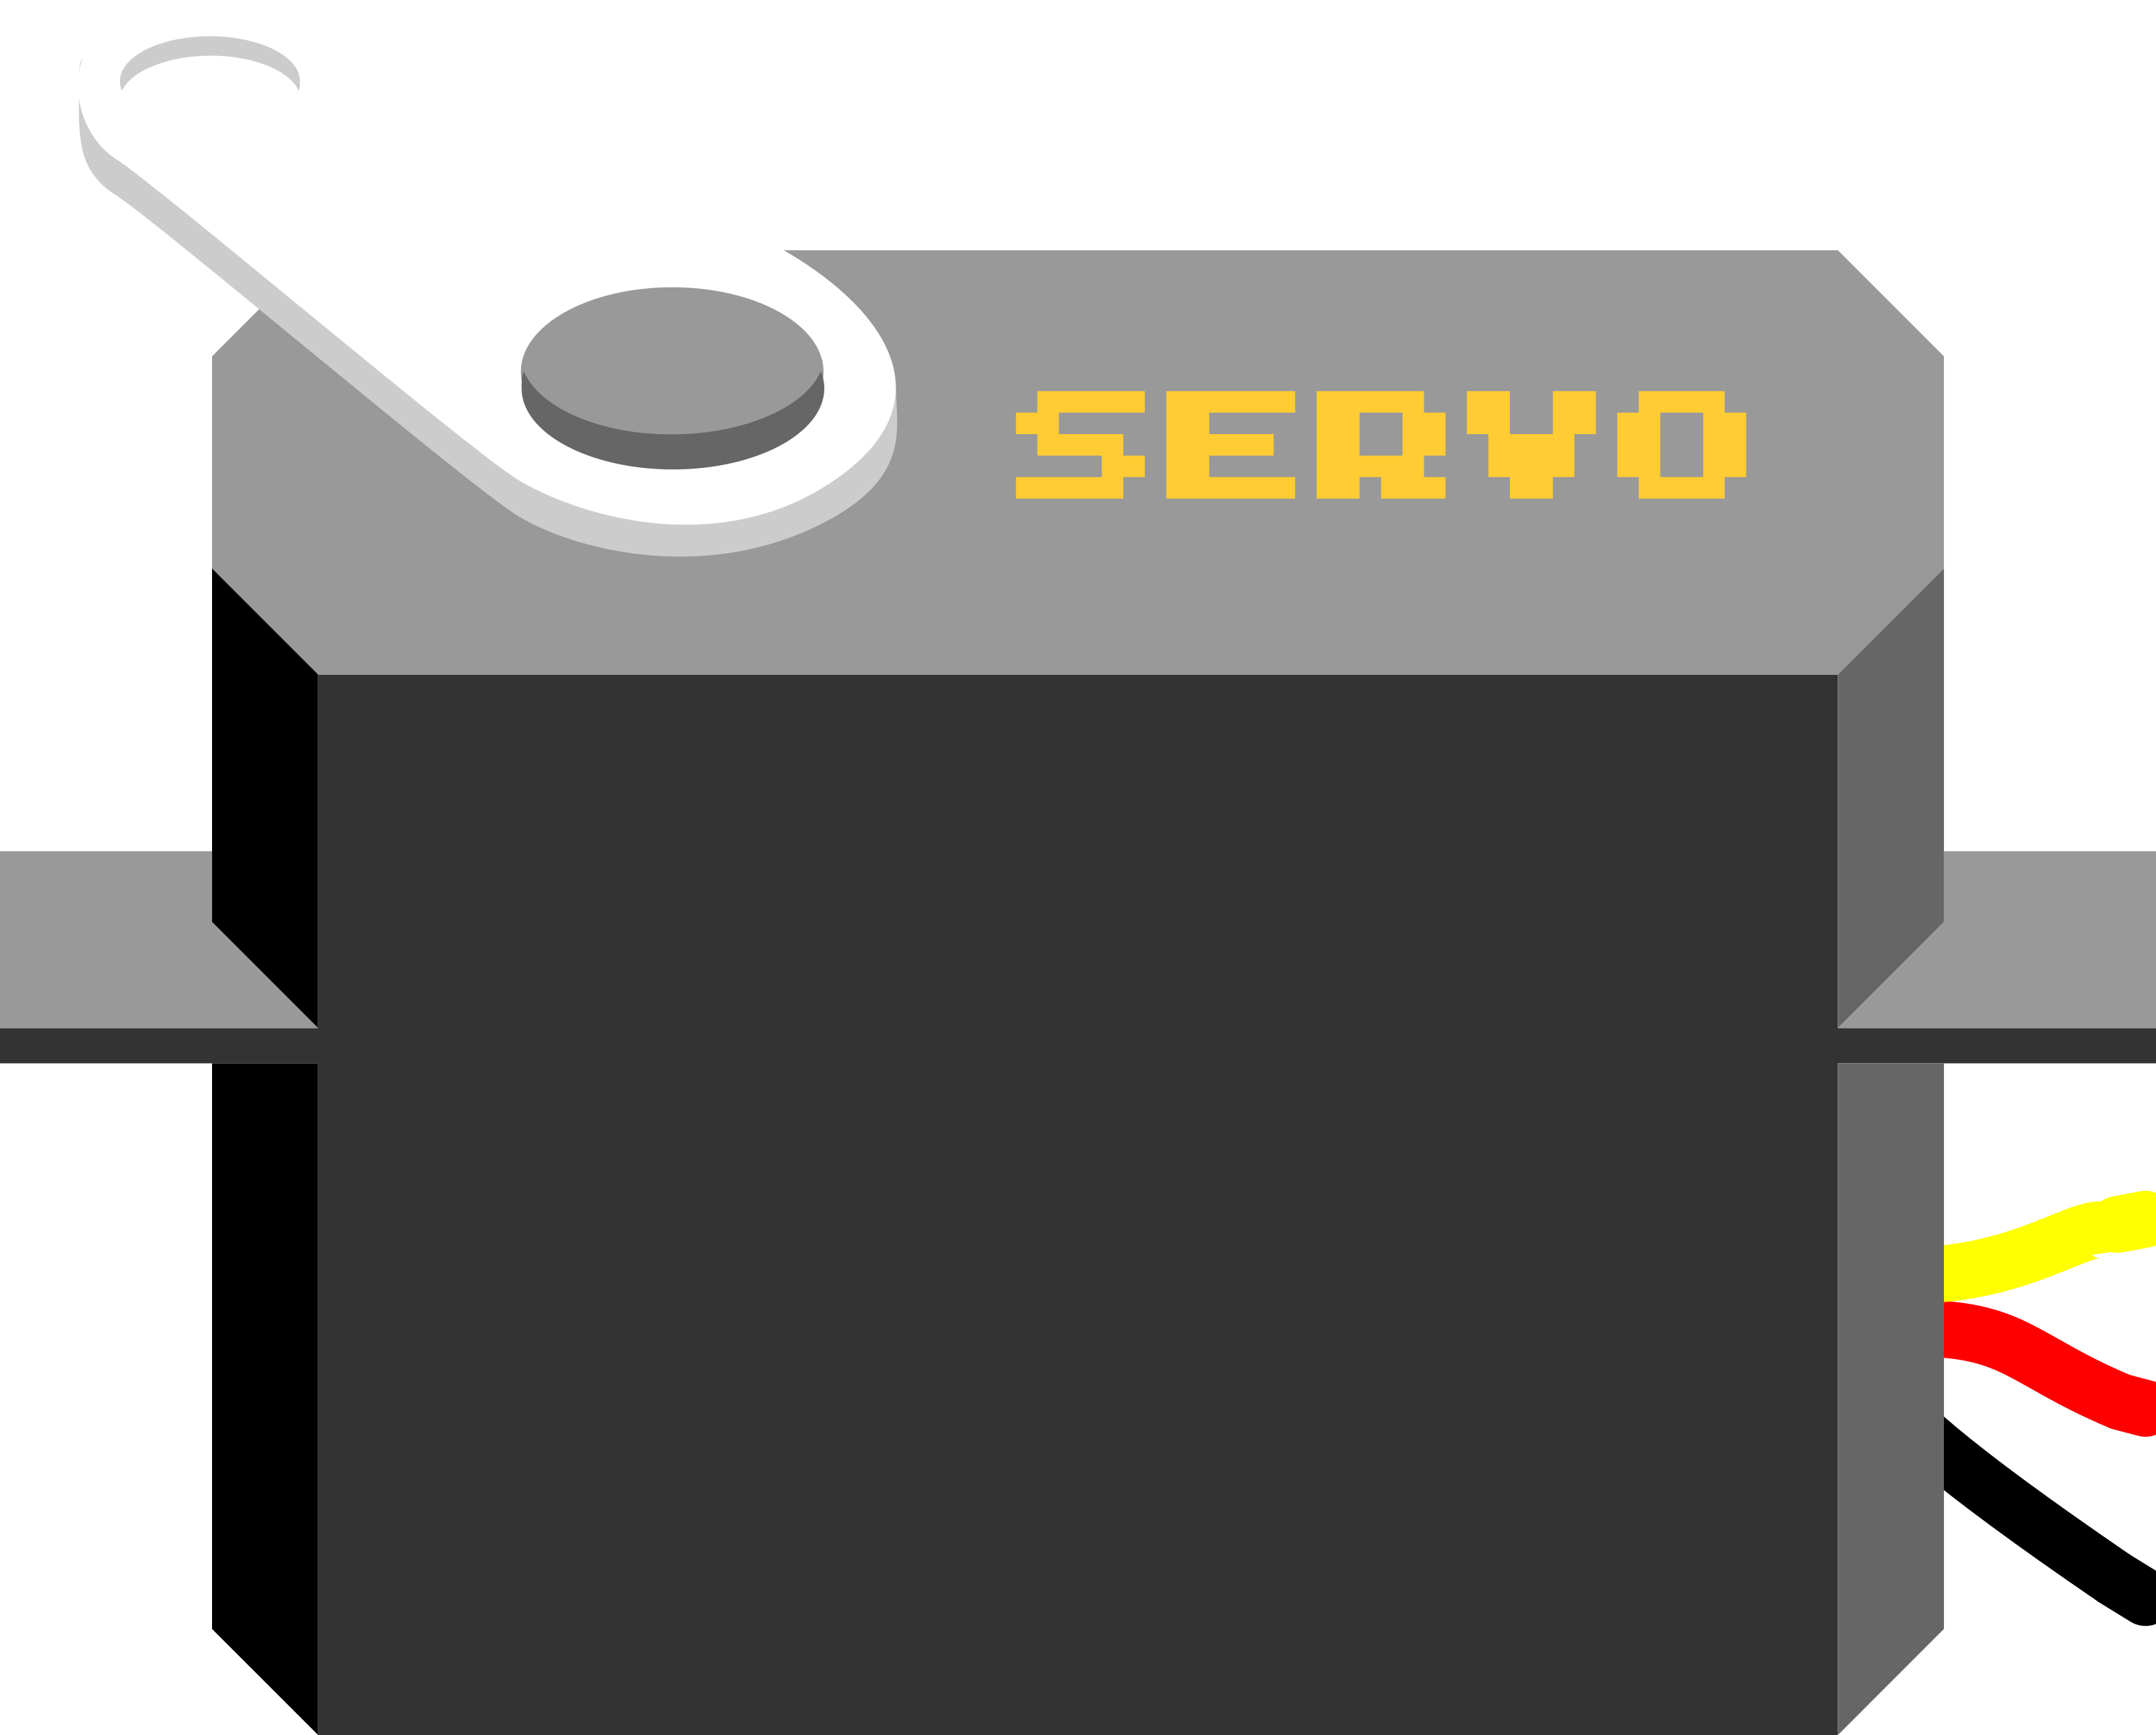
 Design with Servo in Cirkit Designer
Introduction
A servo is a rotary actuator that allows for precise control of angular position, velocity, and acceleration. It consists of a motor coupled to a sensor for position feedback, along with a control circuit. Servos are widely used in robotics, automation, remote-controlled vehicles, and other applications requiring precise motion control. Their ability to move to a specific angle makes them ideal for tasks such as steering mechanisms, robotic arms, and camera gimbals.
Explore Projects Built with Servo
 Open Project in Cirkit Designer
 Open Project in Cirkit Designer
 Open Project in Cirkit Designer
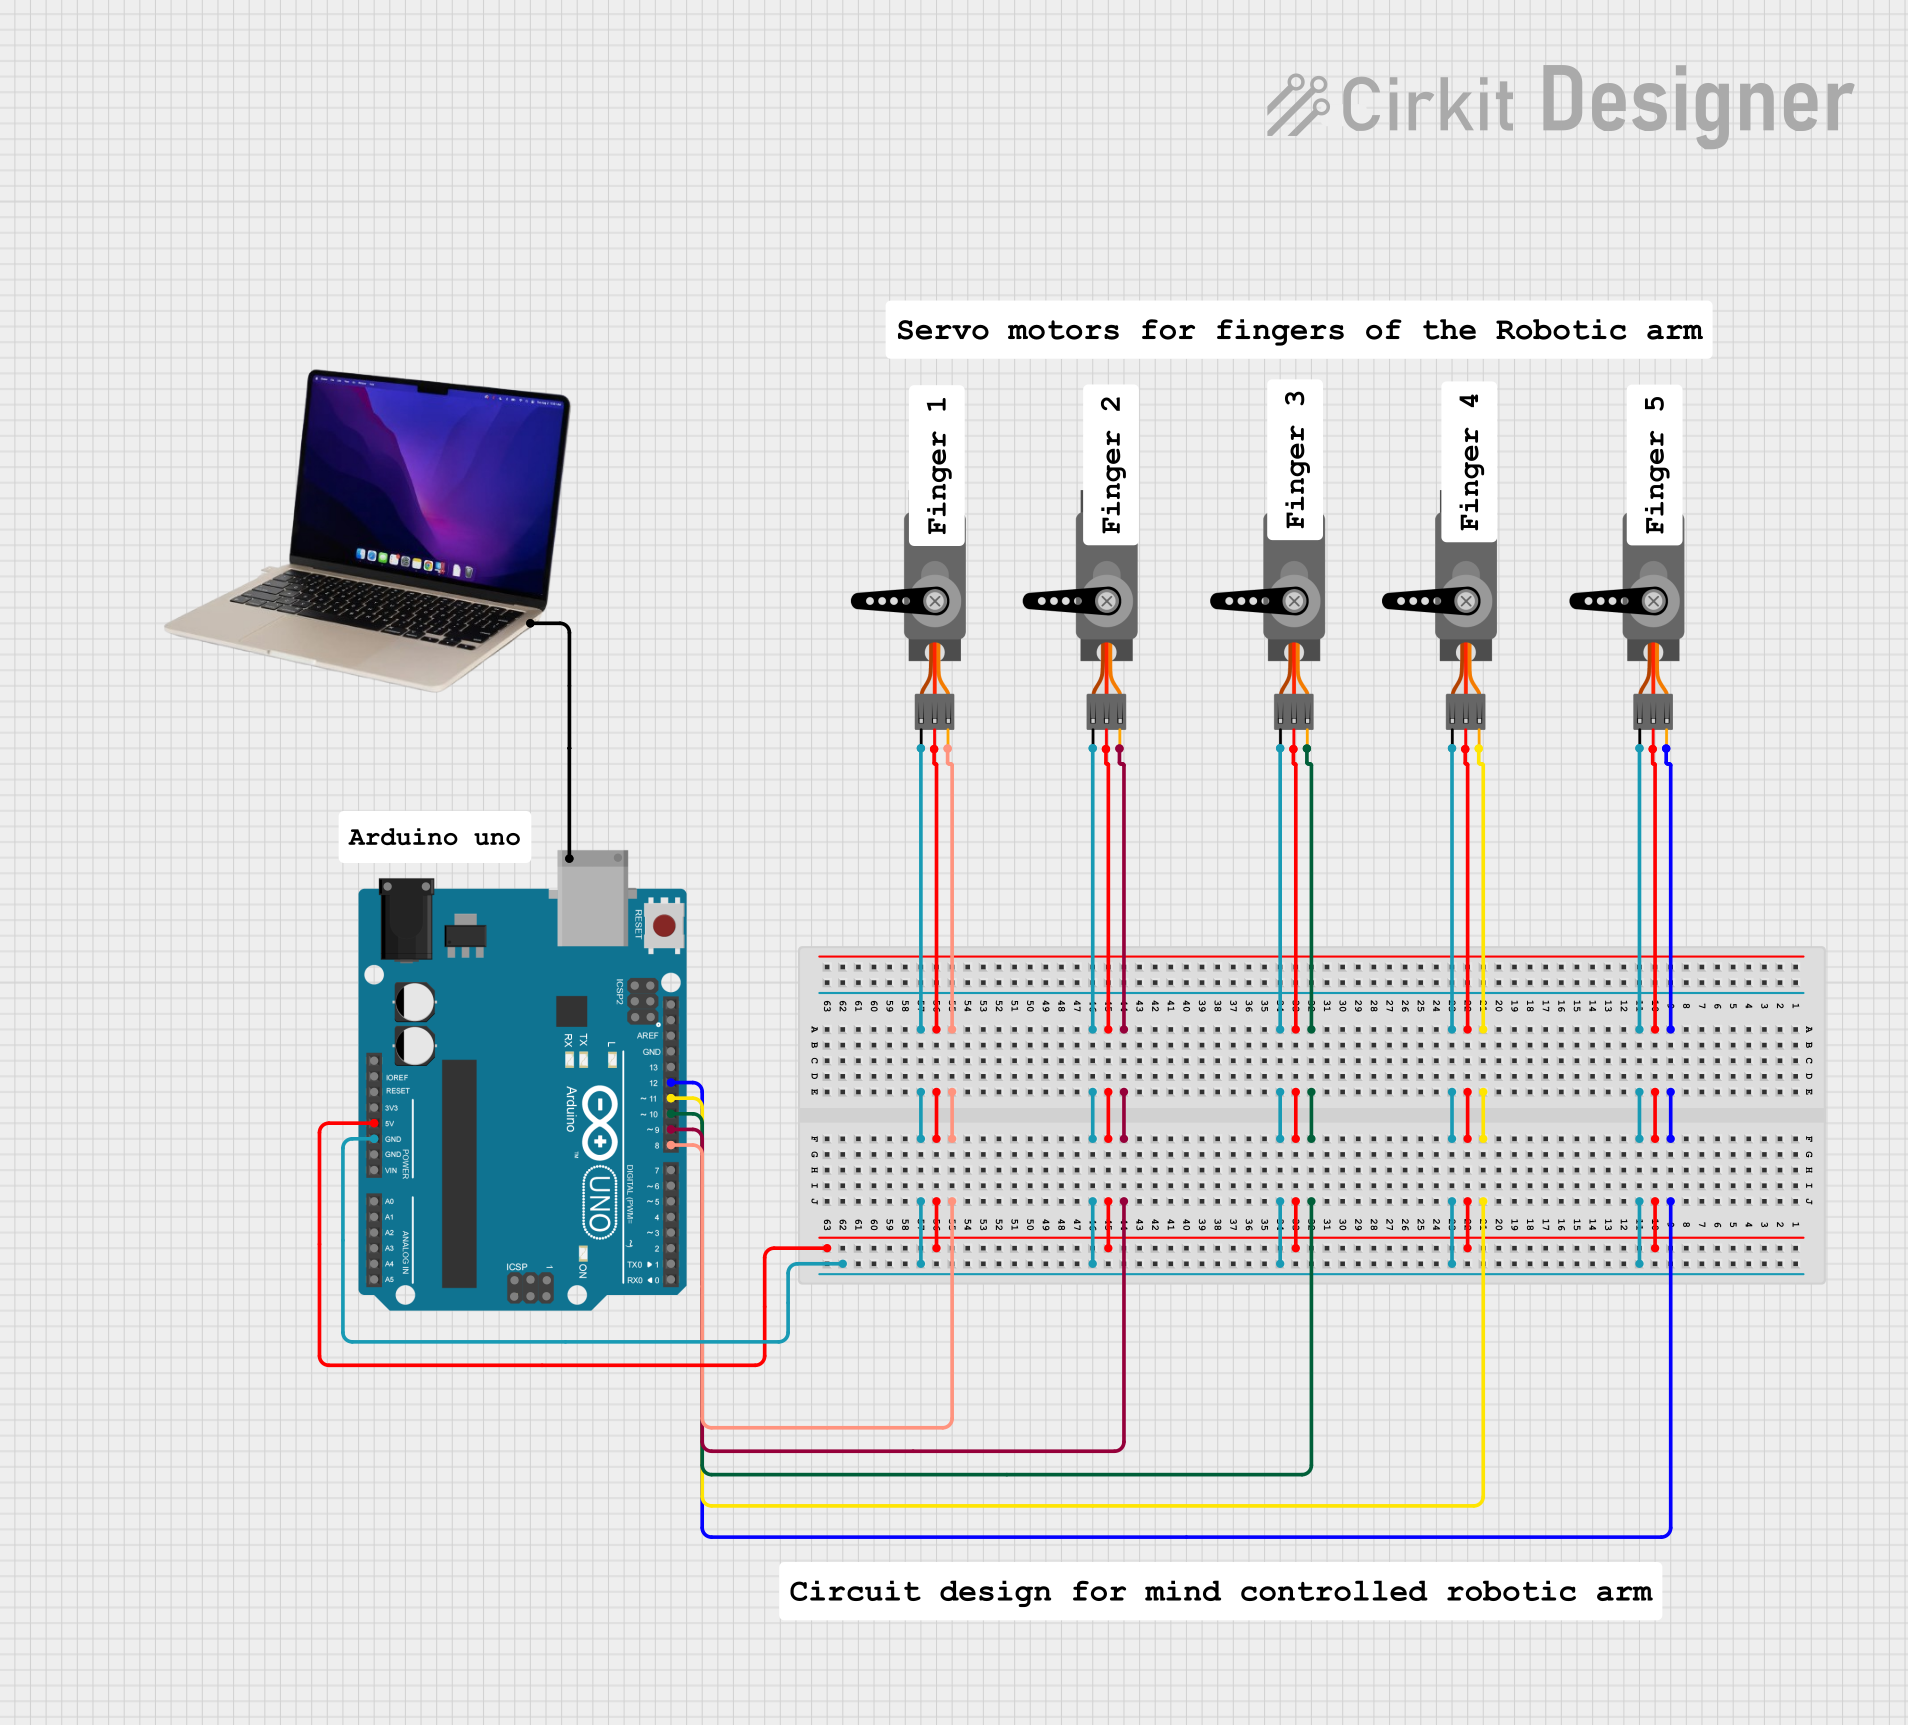 Open Project in Cirkit Designer
Explore Projects Built with Servo
Open Project in Cirkit DesignerOpen Project in Cirkit DesignerOpen Project in Cirkit DesignerOpen Project in Cirkit DesignerTechnical Specifications
Below are the general technical specifications for a standard hobby servo. Note that specifications may vary depending on the specific model and manufacturer.
General Specifications
- Operating Voltage: 4.8V to 6V (typical)
- Operating Current: 100mA to 1A (depending on load)
- Torque: 1.5 kg-cm to 25 kg-cm (varies by model)
- Rotation Range: 0° to 180° (standard), 360° for continuous rotation servos
- Control Signal: Pulse Width Modulation (PWM)
- Pulse Width Range: 1ms (0°) to 2ms (180°)
- Neutral Position: 1.5ms (90°)
- Frequency: 50Hz (typical)
Pin Configuration
Servos typically have three wires for connection. The table below describes the pin configuration:
| Wire Color | Pin Name | Description |
|---|---|---|
| Red | VCC | Power supply (4.8V to 6V) |
| Brown/Black | GND | Ground |
| Orange/White | Signal | PWM control signal |
Usage Instructions
How to Use a Servo in a Circuit
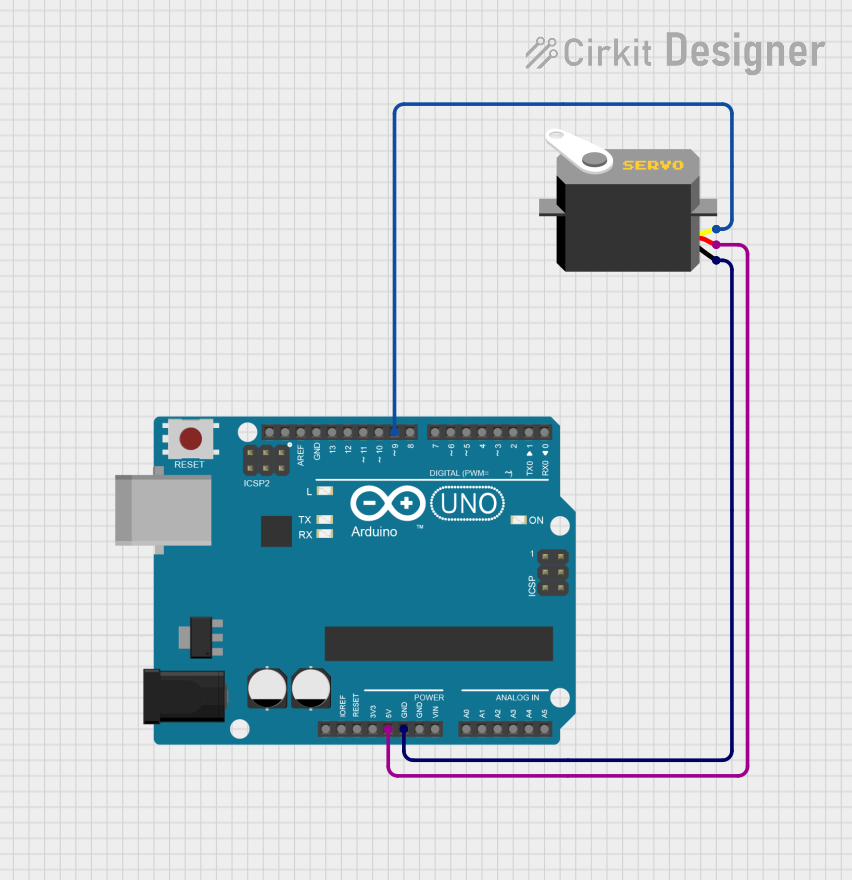
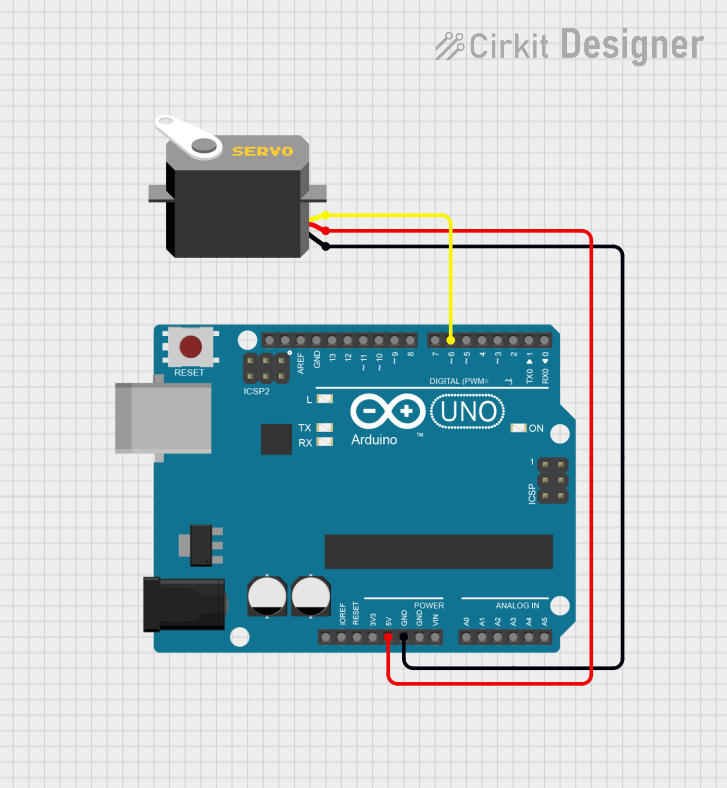
- Power the Servo: Connect the red wire to a 5V or 6V power source and the black/brown wire to ground.
- Control Signal: Connect the signal wire to a PWM-capable pin on your microcontroller (e.g., Arduino).
- PWM Signal: Generate a PWM signal with a frequency of 50Hz. Adjust the pulse width to control the servo's angle:
- 1ms pulse width moves the servo to 0°.
- 1.5ms pulse width moves the servo to 90° (neutral position).
- 2ms pulse width moves the servo to 180°.
Important Considerations
- Power Supply: Ensure the power supply can provide sufficient current for the servo, especially under load.
- Avoid Overloading: Do not exceed the torque rating of the servo to prevent damage.
- Signal Stability: Use a stable PWM signal to avoid jittery or erratic movements.
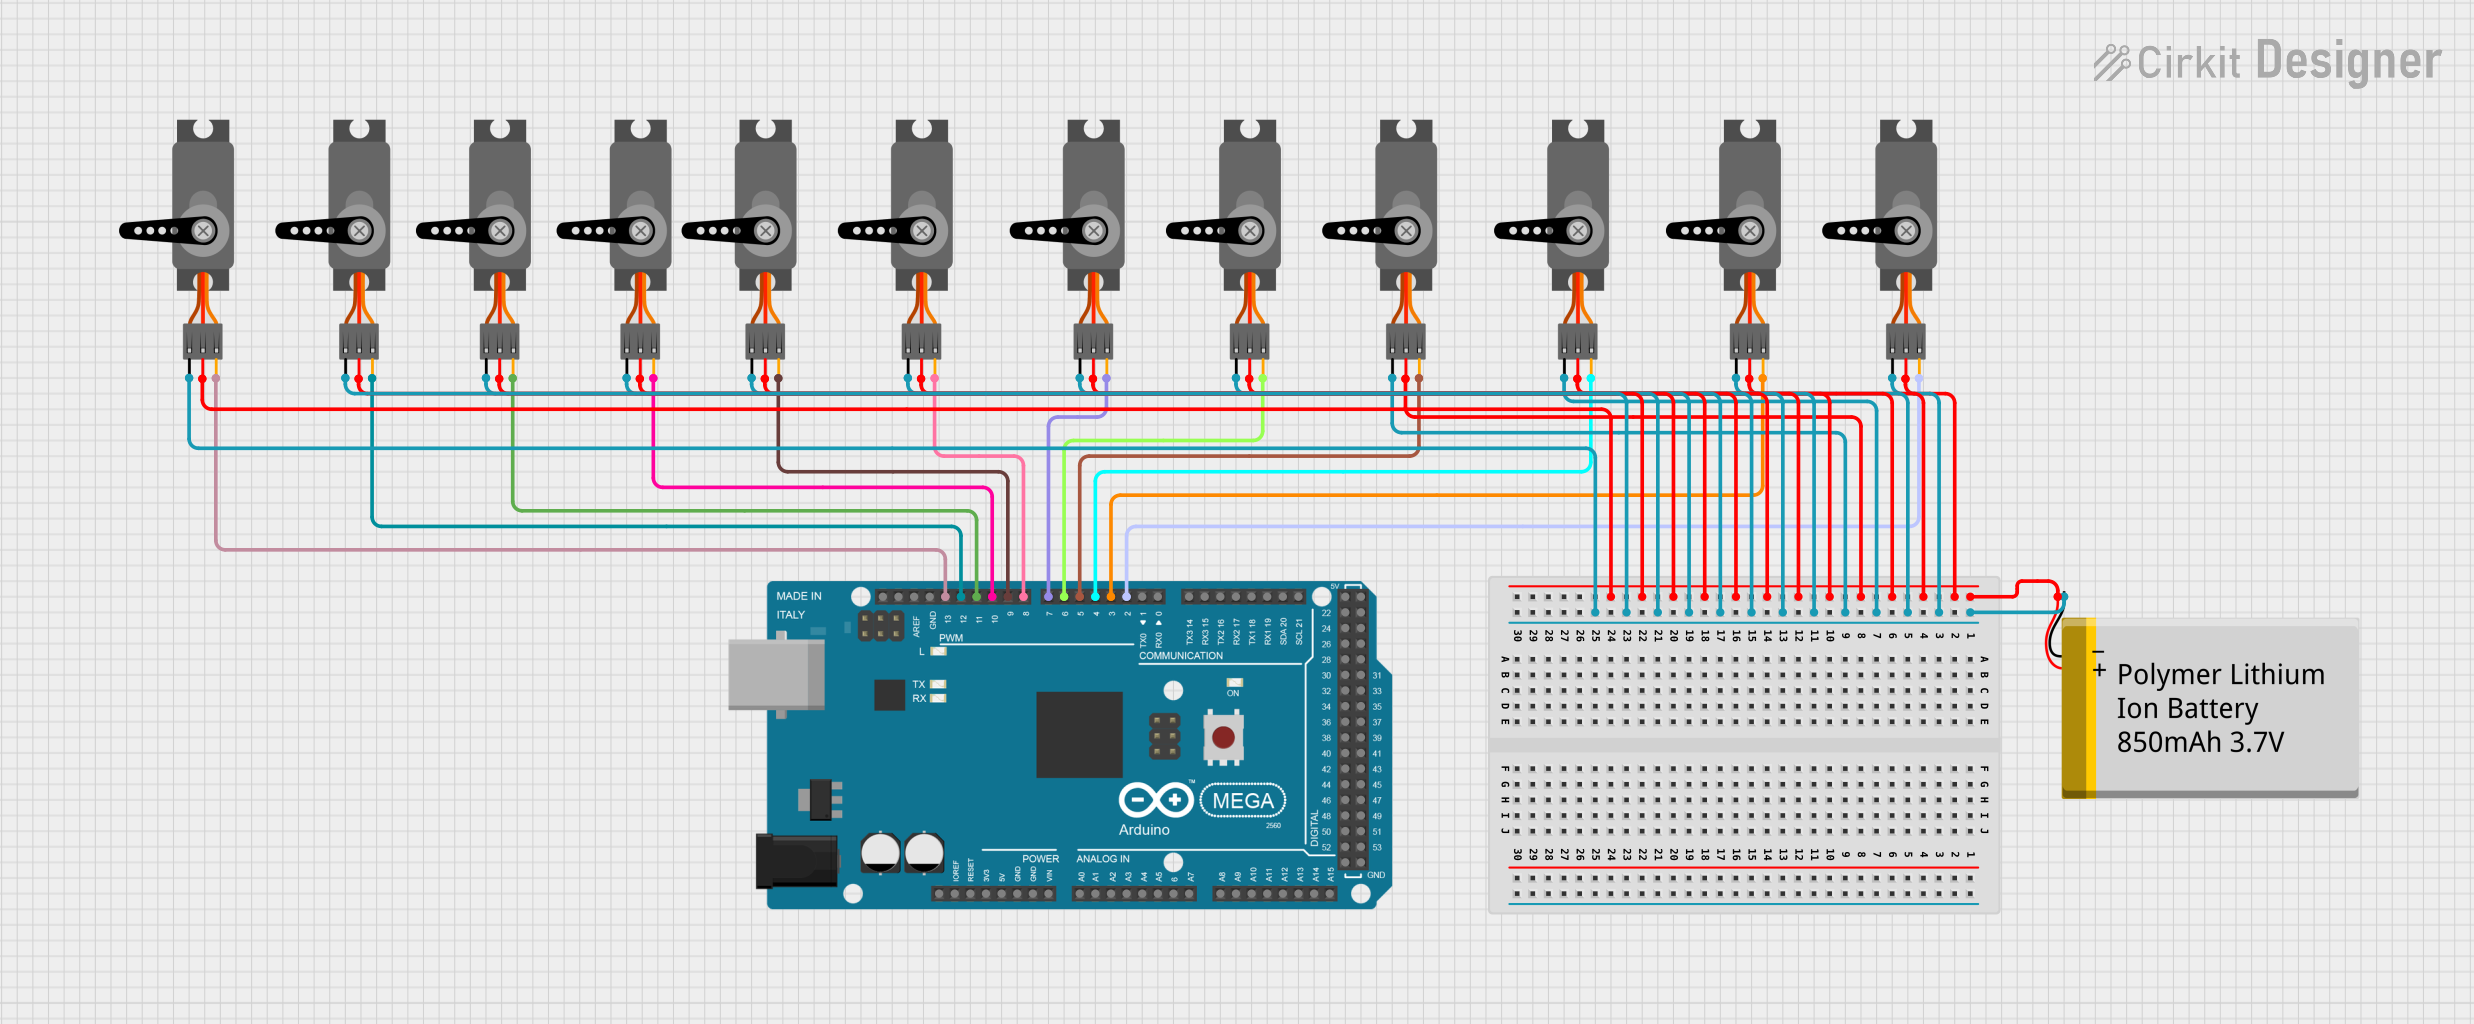
- External Power: For multiple servos, use an external power source to avoid overloading the microcontroller's power supply.
Example: Controlling a Servo with Arduino UNO
Below is an example code to control a servo using an Arduino UNO:
#include <Servo.h> // Include the Servo library

Servo myServo; // Create a Servo object to control the servo

void setup() {
  myServo.attach(9); // Attach the servo to pin 9 on the Arduino
}

void loop() {
  myServo.write(0); // Move the servo to 0 degrees
  delay(1000);      // Wait for 1 second

  myServo.write(90); // Move the servo to 90 degrees
  delay(1000);       // Wait for 1 second

  myServo.write(180); // Move the servo to 180 degrees
  delay(1000);        // Wait for 1 second
}
Code Explanation
- The
Servolibrary simplifies controlling the servo. - The
attach()function links the servo to a specific PWM pin. - The
write()function sets the servo's angle (0° to 180°). - Delays are used to allow the servo to reach the desired position before the next command.
Troubleshooting and FAQs
Common Issues
Servo Not Moving:
- Cause: Insufficient power supply.
- Solution: Use a power source capable of providing enough current.
Jittery Movements:
- Cause: Unstable PWM signal or electrical noise.
- Solution: Ensure a clean PWM signal and use decoupling capacitors if necessary.
Overheating:
- Cause: Overloading the servo or continuous operation under high torque.
- Solution: Reduce the load or allow the servo to cool down periodically.
Servo Moves Erratically:
- Cause: Incorrect wiring or signal interference.
- Solution: Double-check connections and ensure proper grounding.
FAQs
Q: Can I power the servo directly from the Arduino?
A: While possible for small servos, it is recommended to use an external power source to avoid overloading the Arduino.Q: How do I control multiple servos?
A: Use multiple PWM pins on the microcontroller or a dedicated servo driver board.Q: Can a servo rotate continuously?
A: Standard servos have a limited range (0° to 180°). For continuous rotation, use a continuous rotation servo.Q: What happens if I exceed the torque rating?
A: Exceeding the torque rating can damage the servo's gears or motor. Always operate within the specified limits.