
How to Use Dagu DGServo 9g header connector (female): Examples, Pinouts, and Specs

 Design with Dagu DGServo 9g header connector (female) in Cirkit Designer
Introduction
The Dagu DGServo 9g Header Connector (Female) is a compact and reliable connector designed specifically for use with Dagu DGServo 9g servos. This component facilitates easy and secure connections between the servo and a circuit or control system, making it an essential accessory for robotics, automation, and hobbyist projects. Its durable design ensures consistent performance and minimizes wear and tear from repeated connections.
Explore Projects Built with Dagu DGServo 9g header connector (female)
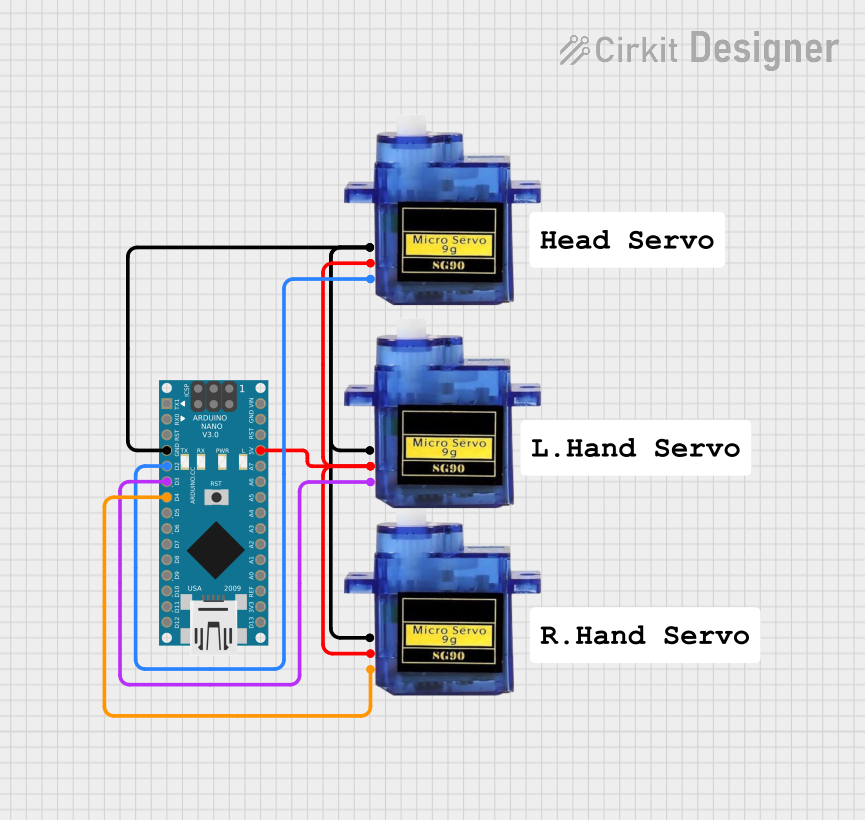 Open Project in Cirkit Designer
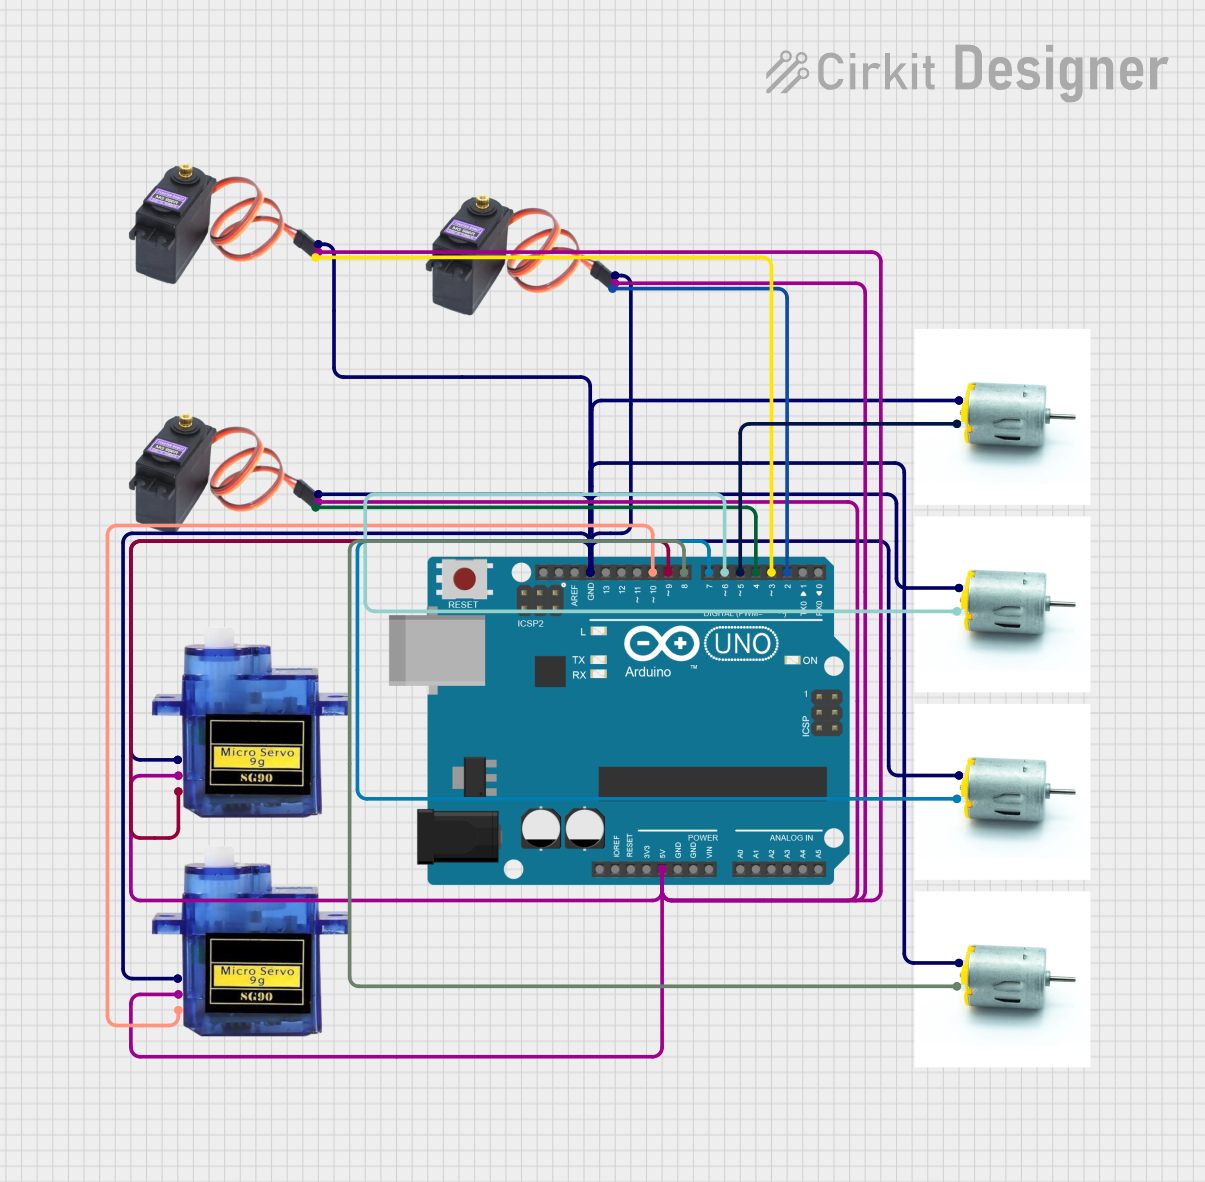 Open Project in Cirkit Designer
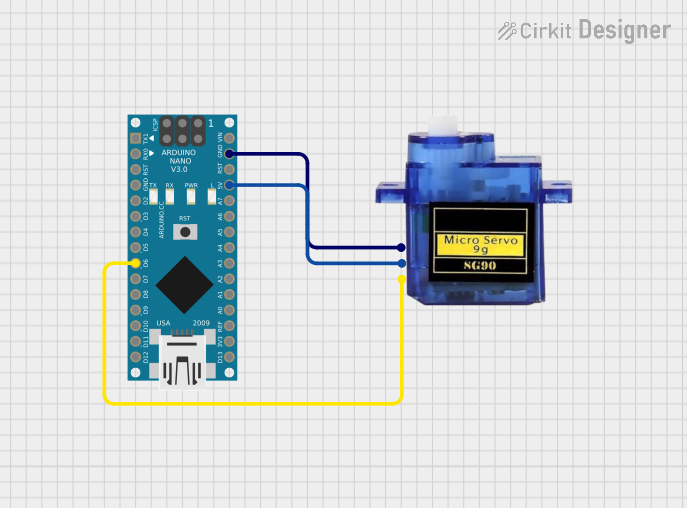 Open Project in Cirkit Designer
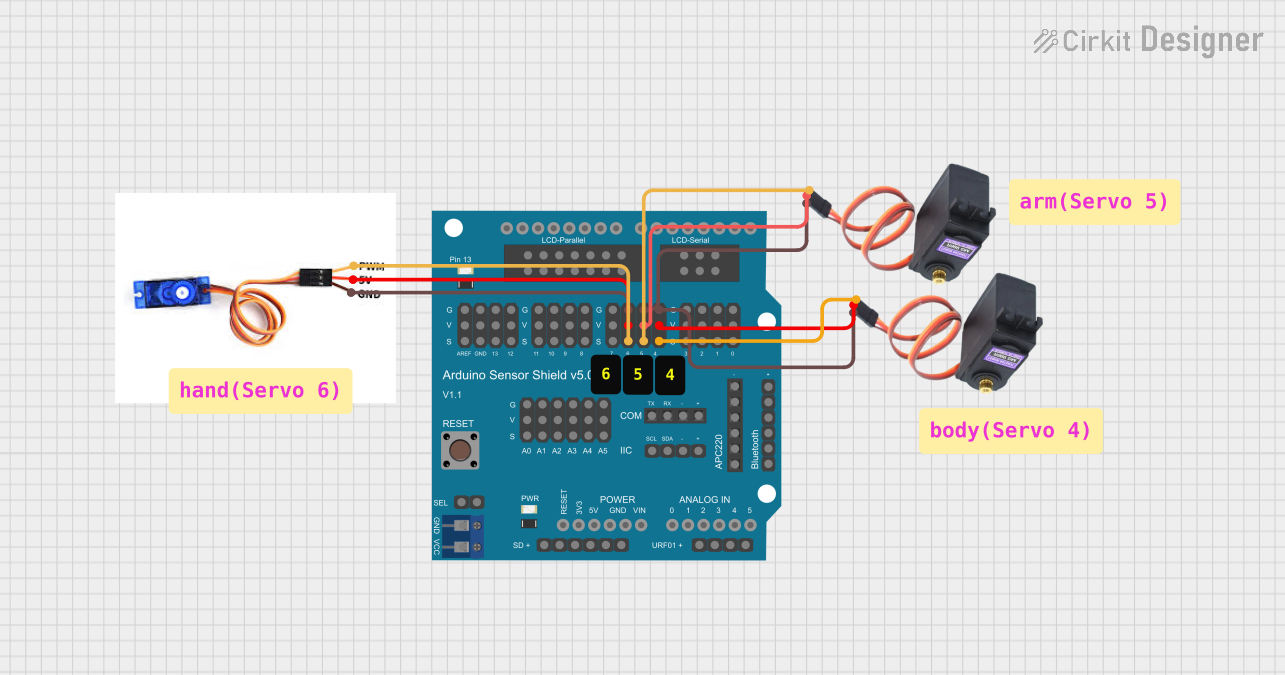 Open Project in Cirkit Designer
Explore Projects Built with Dagu DGServo 9g header connector (female)
Open Project in Cirkit DesignerOpen Project in Cirkit DesignerOpen Project in Cirkit DesignerOpen Project in Cirkit DesignerCommon Applications and Use Cases
- Robotics projects requiring servo motor control
- Automation systems with modular servo connections
- Prototyping and testing circuits with Dagu DGServo 9g servos
- Educational kits and DIY electronics projects
Technical Specifications
The Dagu DGServo 9g Header Connector (Female) is designed to meet the needs of servo motor connections with the following specifications:
Key Technical Details
| Parameter | Specification |
|---|---|
| Connector Type | Female Header |
| Compatible Servo Model | Dagu DGServo 9g |
| Number of Pins | 3 |
| Pin Pitch | 2.54 mm |
| Material | Plastic housing with metal pins |
| Current Rating | Up to 2A |
| Voltage Rating | Up to 50V |
| Operating Temperature | -20°C to 85°C |
Pin Configuration and Descriptions
The Dagu DGServo 9g Header Connector (Female) has three pins, which correspond to the standard servo pinout:
| Pin Number | Pin Name | Description |
|---|---|---|
| 1 | Signal | PWM signal input for servo control |
| 2 | VCC | Power supply for the servo (4.8–6V) |
| 3 | GND | Ground connection |
Usage Instructions
How to Use the Component in a Circuit
- Identify the Pinout: Ensure that the servo's male connector aligns with the female header's pin configuration (Signal, VCC, GND).
- Connect to a Microcontroller:
- Attach the Signal pin to a PWM-capable pin on your microcontroller (e.g., Arduino UNO).
- Connect the VCC pin to a 5V power source (or as specified by the servo's requirements).
- Connect the GND pin to the ground of your circuit.
- Secure the Connection: Ensure the servo's male connector is firmly inserted into the female header to avoid loose connections.
- Test the Setup: Use a simple servo control program to verify the connection and functionality.
Important Considerations and Best Practices
- Power Supply: Ensure the power supply meets the voltage and current requirements of the servo to avoid damage.
- Avoid Overloading: Do not exceed the current rating of the connector (2A).
- Proper Alignment: Double-check the alignment of the male and female connectors to prevent reversed connections.
- Use with Arduino UNO: The Dagu DGServo 9g Header Connector (Female) is compatible with Arduino UNO and other microcontrollers. Below is an example code snippet for controlling a servo using this connector.
Example Code for Arduino UNO
#include <Servo.h> // Include the Servo library

Servo myServo; // Create a Servo object

void setup() {
  myServo.attach(9); // Attach the servo to pin 9 on the Arduino
  // Ensure the Signal pin of the connector is connected to pin 9
}

void loop() {
  myServo.write(0); // Move the servo to 0 degrees
  delay(1000); // Wait for 1 second

  myServo.write(90); // Move the servo to 90 degrees
  delay(1000); // Wait for 1 second

  myServo.write(180); // Move the servo to 180 degrees
  delay(1000); // Wait for 1 second
}
Troubleshooting and FAQs
Common Issues Users Might Face
Servo Not Responding:
- Cause: Incorrect wiring or loose connections.
- Solution: Verify the pin connections (Signal, VCC, GND) and ensure they are secure.
Servo Jittering or Erratic Movement:
- Cause: Insufficient power supply or electrical noise.
- Solution: Use a stable power source and consider adding a capacitor across the power lines to filter noise.
Connector Overheating:
- Cause: Exceeding the current rating of the connector.
- Solution: Ensure the servo's current draw does not exceed 2A.
Reversed Servo Movement:
- Cause: Incorrect PWM signal or reversed Signal/GND connections.
- Solution: Check the Signal pin connection and verify the control code.
Solutions and Tips for Troubleshooting
- Use a multimeter to check the voltage and continuity of the connections.
- Test the servo and connector with a known working setup to isolate the issue.
- If the connector shows signs of wear or damage, replace it to ensure reliable performance.
By following this documentation, users can effectively integrate the Dagu DGServo 9g Header Connector (Female) into their projects and troubleshoot common issues with ease.