How to Use Wind Sensor Rev. P: Examples, Pinouts, and Specs
Introduction
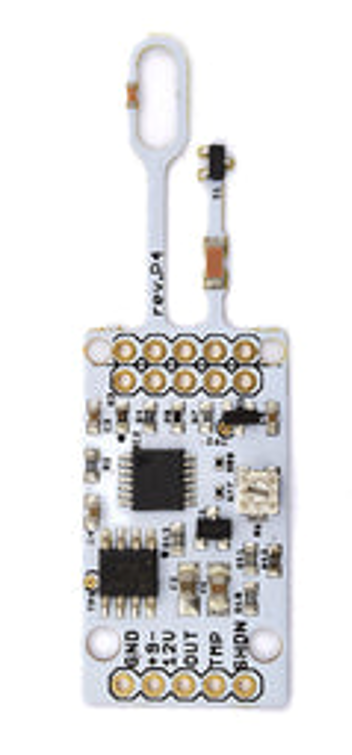
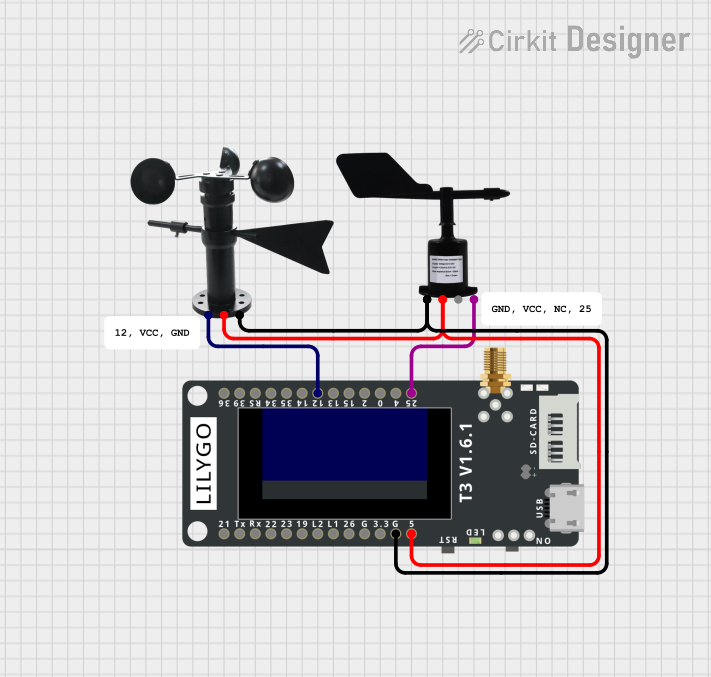
The Wind Sensor Rev. P by Modern Devices is a highly sensitive device designed to measure wind speed and direction. It is widely used in meteorological applications, environmental monitoring, and other projects requiring accurate wind data. This sensor operates on the principle of heat dissipation, where wind cools a heated element, and the resulting temperature change is used to calculate wind speed. Its compact design and ease of integration make it a popular choice for hobbyists, researchers, and professionals alike.
Explore Projects Built with Wind Sensor Rev. P
Explore Projects Built with Wind Sensor Rev. P
Common Applications
- Weather stations and meteorological studies
- Environmental monitoring systems
- IoT-based wind measurement projects
- Educational and research experiments
- Integration with microcontrollers like Arduino for DIY projects
Technical Specifications
Below are the key technical details for the Wind Sensor Rev. P:
| Parameter | Value |
|---|---|
| Operating Voltage | 10 - 12 V DC |
| Operating Current | ~100 mA |
| Output Signal | Analog voltage (proportional to wind speed) |
| Wind Speed Range | 0 to 150 mph (0 to ~67 m/s) |
| Response Time | < 1 second |
| Operating Temperature | -40°C to 85°C |
| Dimensions | 1.5" x 1.5" (sensor board size) |
Pin Configuration
The Wind Sensor Rev. P has a simple 3-pin interface for easy integration:
| Pin | Name | Description |
|---|---|---|
| 1 | VCC | Power supply input (10-12 V DC) |
| 2 | GND | Ground connection |
| 3 | OUT | Analog output signal (proportional to wind speed) |
Usage Instructions
How to Use the Wind Sensor Rev. P in a Circuit
- Power the Sensor: Connect the VCC pin to a 10-12 V DC power source and the GND pin to the ground of your circuit.
- Read the Output: The OUT pin provides an analog voltage signal proportional to the wind speed. This signal can be read using an analog input pin on a microcontroller, such as an Arduino.
- Calibrate the Sensor: The sensor output needs to be calibrated to convert the analog voltage into wind speed (e.g., mph or m/s). Refer to the manufacturer's calibration data for accurate conversion formulas.
Important Considerations
- Power Supply: Ensure a stable 10-12 V DC power source to avoid inaccurate readings.
- Placement: Install the sensor in an open area free from obstructions to ensure accurate wind measurements.
- Calibration: Use the calibration data provided by Modern Devices to map the analog output to wind speed values.
- Protection: If used outdoors, consider protecting the sensor from extreme weather conditions to prolong its lifespan.
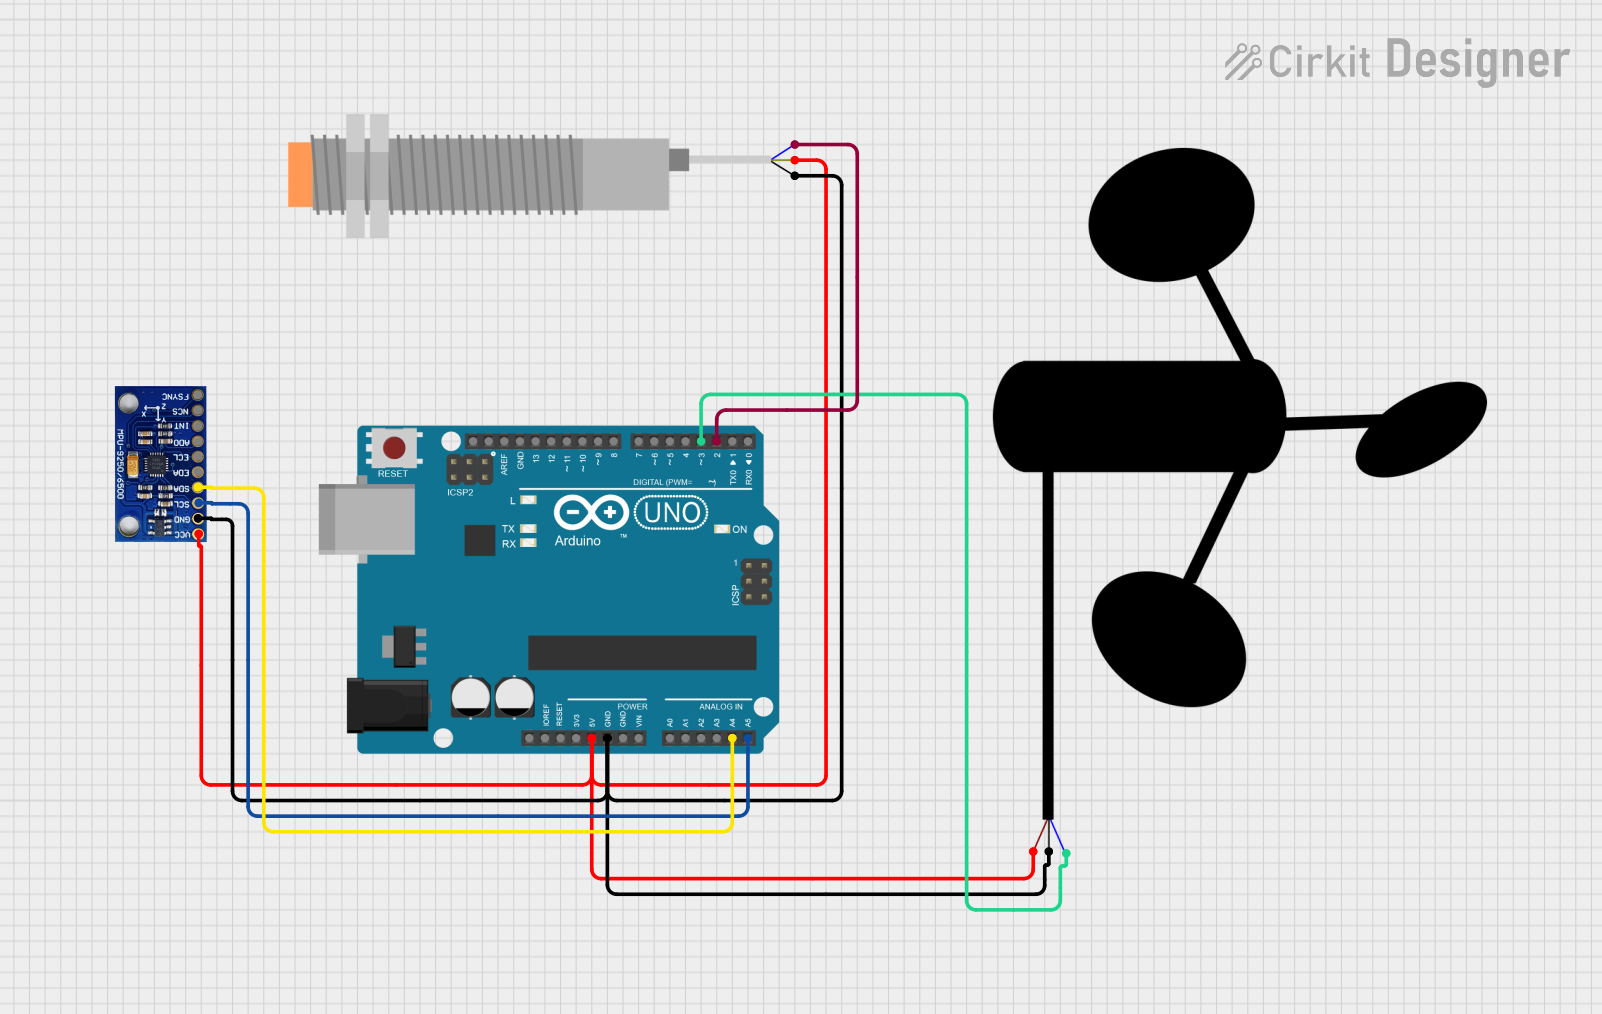
Example: Connecting to an Arduino UNO
Below is an example of how to connect and read data from the Wind Sensor Rev. P using an Arduino UNO:
Circuit Connections
- Connect the VCC pin of the sensor to the Arduino's Vin pin (powered by a 12 V DC adapter).
- Connect the GND pin of the sensor to the Arduino's GND pin.
- Connect the OUT pin of the sensor to the Arduino's A0 analog input pin.
Arduino Code
// Wind Sensor Rev. P Example Code
// Reads the analog output from the wind sensor and converts it to wind speed.
// Ensure the sensor is properly calibrated for accurate results.

const int windSensorPin = A0; // Analog pin connected to the sensor's OUT pin
float voltage;               // Variable to store the sensor's output voltage
float windSpeed;             // Variable to store the calculated wind speed

void setup() {
  Serial.begin(9600); // Initialize serial communication for debugging
}

void loop() {
  // Read the analog value from the sensor (0-1023)
  int sensorValue = analogRead(windSensorPin);

  // Convert the analog value to voltage (assuming 5V reference)
  voltage = sensorValue * (5.0 / 1023.0);

  // Convert voltage to wind speed using calibration data
  // Example formula: windSpeed = (voltage - 0.4) * 32.4;
  // Replace with the actual formula provided by the manufacturer
  windSpeed = (voltage - 0.4) * 32.4;

  // Print the results to the Serial Monitor
  Serial.print("Voltage: ");
  Serial.print(voltage);
  Serial.print(" V, Wind Speed: ");
  Serial.print(windSpeed);
  Serial.println(" mph");

  delay(1000); // Wait 1 second before the next reading
}
Notes
- Replace the example formula in the code with the actual calibration formula provided by Modern Devices for accurate wind speed calculations.
- Use a 12 V DC adapter to power the Arduino through the Vin pin when using the Wind Sensor Rev. P.
Troubleshooting and FAQs
Common Issues and Solutions
No Output Signal
- Cause: Incorrect wiring or insufficient power supply.
- Solution: Double-check the connections and ensure the power supply is within the specified range (10-12 V DC).
Inaccurate Readings
- Cause: Sensor not calibrated or placed in a poor location.
- Solution: Use the manufacturer's calibration data and ensure the sensor is installed in an open area free from obstructions.
Fluctuating Output
- Cause: Electrical noise or unstable power supply.
- Solution: Use a decoupling capacitor (e.g., 0.1 µF) across the VCC and GND pins to filter noise.
Sensor Damage
- Cause: Exposure to extreme weather conditions or incorrect voltage.
- Solution: Protect the sensor with a weatherproof enclosure and ensure the power supply is within the specified range.
FAQs
Q: Can the Wind Sensor Rev. P measure wind direction?
A: No, the Wind Sensor Rev. P is designed to measure wind speed only. For wind direction, additional sensors are required.
Q: Can I use the sensor with a 5 V power supply?
A: No, the sensor requires a 10-12 V DC power supply for proper operation.
Q: How do I convert the analog output to wind speed?
A: Use the calibration formula provided by Modern Devices to map the analog voltage to wind speed. The formula may vary depending on the specific sensor and environmental conditions.
Q: Is the sensor waterproof?
A: The sensor is not fully waterproof. If used outdoors, it should be protected from rain and extreme weather conditions.
Q: Can I use the sensor with other microcontrollers?
A: Yes, the sensor can be used with any microcontroller that has an analog input pin and supports a 10-12 V power supply.