How to Use 20x4 I2C LCD Panel: Examples, Pinouts, and Specs
Introduction
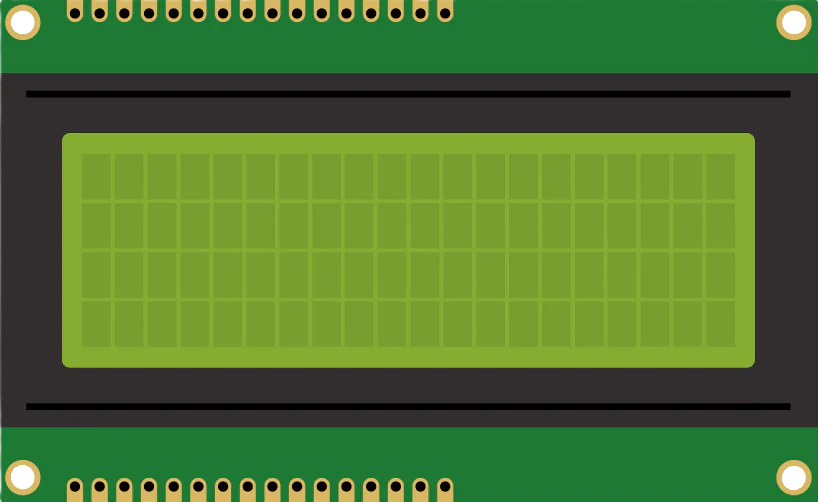
The 20x4 I2C LCD Panel is a versatile and user-friendly display module designed for embedded systems and microcontroller projects. It features a 20-character by 4-line display, allowing for the presentation of a significant amount of text and data. The I2C interface simplifies wiring and reduces the number of pins required for communication, making it an ideal choice for projects with limited I/O availability.
Explore Projects Built with 20x4 I2C LCD Panel


Explore Projects Built with 20x4 I2C LCD Panel
Common Applications and Use Cases
- Microcontroller Projects: Displaying sensor data, system status, and user interfaces.
- Embedded Systems: Providing user feedback and system information.
- DIY Electronics: Creating custom displays for hobby projects.
- Educational Projects: Teaching and learning about I2C communication and display technologies.
Technical Specifications
Key Technical Details
| Specification | Value |
|---|---|
| Display Type | 20x4 Character LCD |
| Interface | I2C |
| Operating Voltage | 5V DC |
| Operating Current | 20mA (typical) |
| Backlight | LED (with adjustable brightness) |
| Character Size | 2.95mm x 4.75mm |
| Dimensions | 98mm x 60mm x 12mm |
| I2C Address | 0x27 (default) |
Pin Configuration and Descriptions
| Pin Number | Pin Name | Description |
|---|---|---|
| 1 | GND | Ground |
| 2 | VCC | Power Supply (5V) |
| 3 | SDA | I2C Data Line |
| 4 | SCL | I2C Clock Line |
Usage Instructions
How to Use the Component in a Circuit
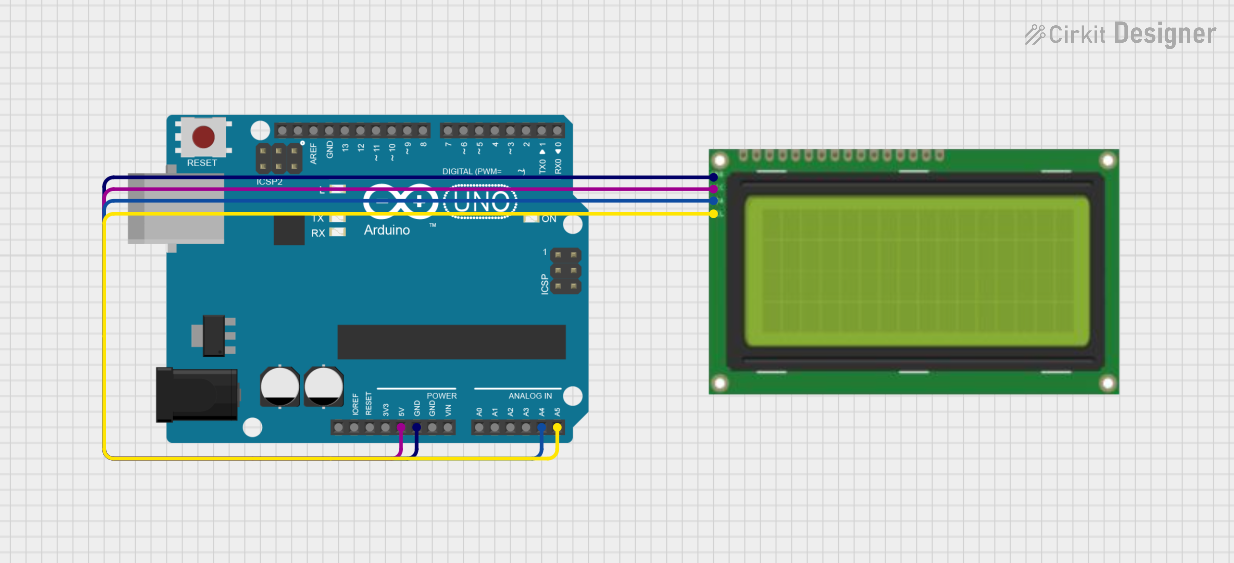
Wiring the LCD Panel:
- Connect the GND pin of the LCD to the ground (GND) of the microcontroller.
- Connect the VCC pin of the LCD to the 5V power supply of the microcontroller.
- Connect the SDA pin of the LCD to the SDA pin of the microcontroller (A4 on Arduino UNO).
- Connect the SCL pin of the LCD to the SCL pin of the microcontroller (A5 on Arduino UNO).
Installing the Required Library:
- Open the Arduino IDE.
- Go to Sketch > Include Library > Manage Libraries.
- Search for "LiquidCrystal I2C" and install the library by Frank de Brabander.
Example Code:
#include <Wire.h>
#include <LiquidCrystal_I2C.h>

// Set the LCD address to 0x27 for a 20x4 display
LiquidCrystal_I2C lcd(0x27, 20, 4);

void setup() {
  lcd.begin();
  lcd.backlight(); // Turn on the backlight
  lcd.setCursor(0, 0); // Set cursor to column 0, row 0
  lcd.print("Hello, World!"); // Print a message to the LCD
}

void loop() {
  // You can add code here to update the display
}
Important Considerations and Best Practices
- Power Supply: Ensure that the LCD panel is powered with a stable 5V supply to avoid flickering or malfunction.
- I2C Address: The default I2C address is 0x27. If you have multiple I2C devices, ensure there are no address conflicts.
- Contrast Adjustment: Some LCD panels have a potentiometer for contrast adjustment. Adjust it for optimal display readability.
- Backlight Control: Use the
lcd.backlight()andlcd.noBacklight()functions to control the backlight.
Troubleshooting and FAQs
Common Issues and Solutions
No Display or Garbled Characters:
- Solution: Check the wiring connections. Ensure the SDA and SCL lines are correctly connected. Verify the I2C address.
Flickering Display:
- Solution: Ensure a stable 5V power supply. Check for loose connections.
Backlight Not Working:
- Solution: Use the
lcd.backlight()function in your code. Verify the backlight control pin is not damaged.
- Solution: Use the
Contrast Issues:
- Solution: Adjust the contrast potentiometer on the LCD panel.
FAQs
Q: How do I change the I2C address of the LCD panel?
- A: The I2C address can be changed by modifying the address jumpers on the back of the LCD module. Refer to the module's datasheet for specific instructions.
Q: Can I use this LCD panel with a 3.3V microcontroller?
- A: The LCD panel is designed for 5V operation. Using it with a 3.3V microcontroller may require a level shifter for the I2C lines.
Q: How do I display custom characters?
- A: Use the
lcd.createChar()function to define custom characters. Refer to the LiquidCrystal I2C library documentation for details.
- A: Use the
This documentation provides a comprehensive guide to using the 20x4 I2C LCD Panel in your projects. Whether you are a beginner or an experienced user, following these instructions will help you integrate the display effectively and troubleshoot common issues.