
How to Use Li-Po Battery 3S 11.1V: Examples, Pinouts, and Specs
 Design with Li-Po Battery 3S 11.1V in Cirkit Designer
Introduction
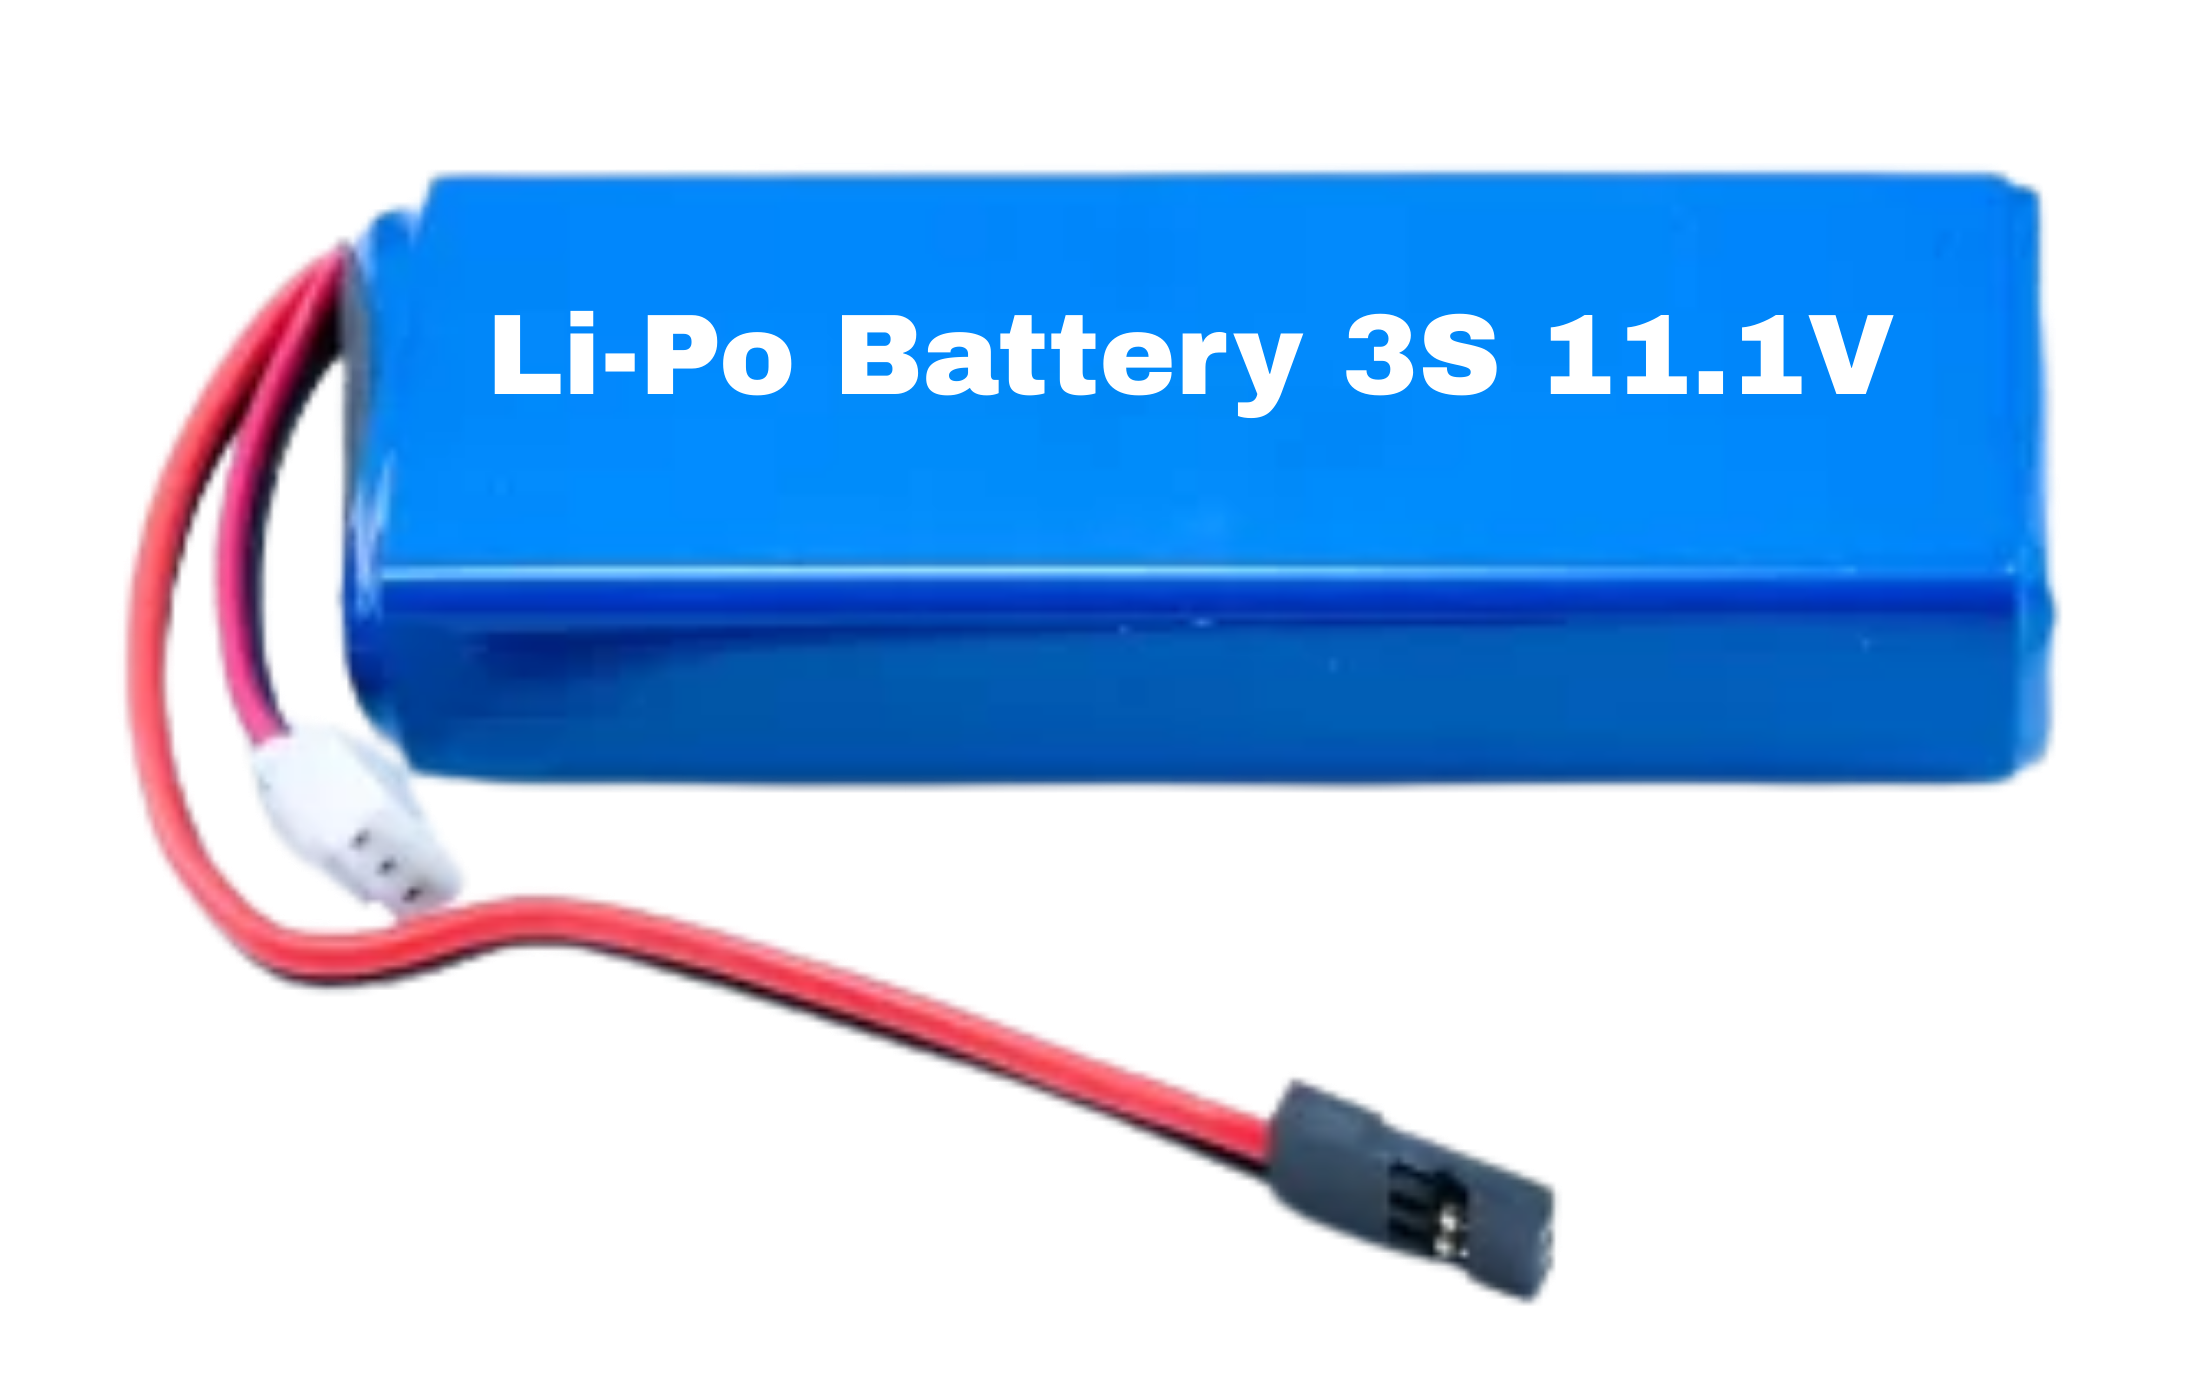
The Li-Po Battery 3S 11.1V is a lithium polymer battery manufactured by Arduino (Part ID: UNO). It consists of three cells connected in series, providing a nominal voltage of 11.1V. Known for its high energy density and lightweight design, this battery is widely used in applications requiring compact and efficient power sources.
Explore Projects Built with Li-Po Battery 3S 11.1V
 Open Project in Cirkit Designer
 Open Project in Cirkit Designer
 Open Project in Cirkit Designer
 Open Project in Cirkit Designer
Explore Projects Built with Li-Po Battery 3S 11.1V
Open Project in Cirkit DesignerOpen Project in Cirkit DesignerOpen Project in Cirkit DesignerOpen Project in Cirkit DesignerCommon Applications
- Remote-controlled (RC) vehicles such as cars, boats, and planes
- Drones and quadcopters
- Portable electronic devices
- Robotics and embedded systems
- Backup power supplies for small electronics
Technical Specifications
The following table outlines the key technical details of the Li-Po Battery 3S 11.1V:
| Parameter | Specification |
|---|---|
| Nominal Voltage | 11.1V |
| Cell Configuration | 3S (Three cells in series) |
| Capacity | Varies (commonly 1000mAh to 5000mAh) |
| Maximum Discharge Rate | Typically 20C to 50C |
| Charging Voltage | 12.6V (4.2V per cell) |
| Minimum Discharge Voltage | 9.0V (3.0V per cell) |
| Connector Type | XT60, JST, or similar |
| Weight | Varies based on capacity (e.g., ~150g for 2200mAh) |
| Dimensions | Varies based on capacity |
Pin Configuration
The battery typically includes two connectors:
- Main Power Connector: Supplies power to the load.
- Balance Connector: Used for charging and monitoring individual cell voltages.
| Pin | Connector Type | Description |
|---|---|---|
| 1 | Main Power (+) | Positive terminal for power output |
| 2 | Main Power (-) | Negative terminal for power output |
| 3 | Balance Pin 1 | Positive terminal of Cell 1 |
| 4 | Balance Pin 2 | Positive terminal of Cell 2 |
| 5 | Balance Pin 3 | Positive terminal of Cell 3 |
| 6 | Balance Pin (-) | Common ground for all cells |
Usage Instructions
How to Use the Li-Po Battery in a Circuit
Connect the Main Power Connector:
- Attach the positive and negative terminals to the load or power input of your device.
- Ensure the connector type matches your device (e.g., XT60 or JST).
Charging the Battery:
- Use a Li-Po balance charger to charge the battery.
- Set the charger to the correct cell count (3S) and capacity (e.g., 2200mAh).
- Connect the balance connector to the charger for safe and balanced charging.
Monitoring Voltage:
- Use a Li-Po voltage alarm or monitor to ensure the battery does not discharge below 9.0V.
- Over-discharging can permanently damage the battery.
Connecting to Arduino UNO:
- Use a voltage regulator (e.g., LM7805) or a DC-DC step-down converter to step down the voltage to 5V for Arduino UNO.
- Example connection:
- Battery positive terminal → Voltage regulator input
- Voltage regulator output → Arduino UNO VIN pin
- Battery negative terminal → Arduino UNO GND pin
Important Considerations and Best Practices
- Avoid Overcharging: Never charge the battery above 12.6V.
- Avoid Over-discharging: Stop using the battery when the voltage drops below 9.0V.
- Storage: Store the battery at ~3.8V per cell (11.4V total) for long-term storage.
- Safety: Do not puncture, crush, or expose the battery to fire or water.
- Charging Current: Use a charging current of 1C or lower (e.g., 2.2A for a 2200mAh battery).
Arduino UNO Example Code
Below is an example code to monitor the battery voltage using an Arduino UNO:
// Li-Po Battery Voltage Monitoring with Arduino UNO
// Connect the battery's positive terminal to an analog pin via a voltage divider
// Ensure the voltage divider scales the 11.1V to within the 0-5V range of the Arduino

const int voltagePin = A0; // Analog pin connected to the voltage divider
const float voltageDividerRatio = 5.7; // Adjust based on your resistor values

void setup() {
  Serial.begin(9600); // Initialize serial communication
}

void loop() {
  int sensorValue = analogRead(voltagePin); // Read the analog pin value
  float batteryVoltage = (sensorValue / 1023.0) * 5.0 * voltageDividerRatio;

  Serial.print("Battery Voltage: ");
  Serial.print(batteryVoltage);
  Serial.println(" V");

  delay(1000); // Wait for 1 second before the next reading
}
Note: Use a voltage divider circuit to scale the battery voltage to a safe range for the Arduino's analog input pins. For example, use a 10kΩ and 47kΩ resistor to divide the voltage.
Troubleshooting and FAQs
Common Issues
Battery Not Charging:
- Cause: Incorrect charger settings or damaged balance connector.
- Solution: Verify the charger is set to 3S mode and check all connections.
Battery Swelling:
- Cause: Overcharging, over-discharging, or physical damage.
- Solution: Stop using the battery immediately and dispose of it safely.
Low Runtime:
- Cause: Battery capacity degradation or high load current.
- Solution: Replace the battery if it no longer holds sufficient charge.
Arduino Not Powering On:
- Cause: Incorrect voltage or connection.
- Solution: Use a voltage regulator to step down the voltage to 5V.
FAQs
Q1: Can I use this battery directly with Arduino UNO?
A1: No, the 11.1V output exceeds the Arduino UNO's recommended input voltage. Use a voltage regulator or step-down converter.
Q2: How do I safely dispose of a damaged Li-Po battery?
A2: Discharge the battery completely, then take it to a local recycling center that accepts Li-Po batteries.
Q3: What is the maximum current this battery can supply?
A3: The maximum current depends on the battery's capacity and discharge rate (e.g., a 2200mAh 20C battery can supply up to 44A).
Q4: Can I charge the battery without a balance charger?
A4: No, always use a balance charger to ensure safe and even charging of all cells.