How to Use Goliath Watercool: Examples, Pinouts, and Specs

Introduction
The Goliath Watercool is a high-performance water cooling system engineered to provide efficient heat dissipation for large computer systems. By maintaining low temperatures, the Goliath Watercool ensures optimal performance and reliability for demanding applications such as data centers, gaming rigs, and professional workstations. Its robust design and advanced features make it a popular choice for enthusiasts and professionals seeking to enhance their system's cooling capabilities.
Explore Projects Built with Goliath Watercool
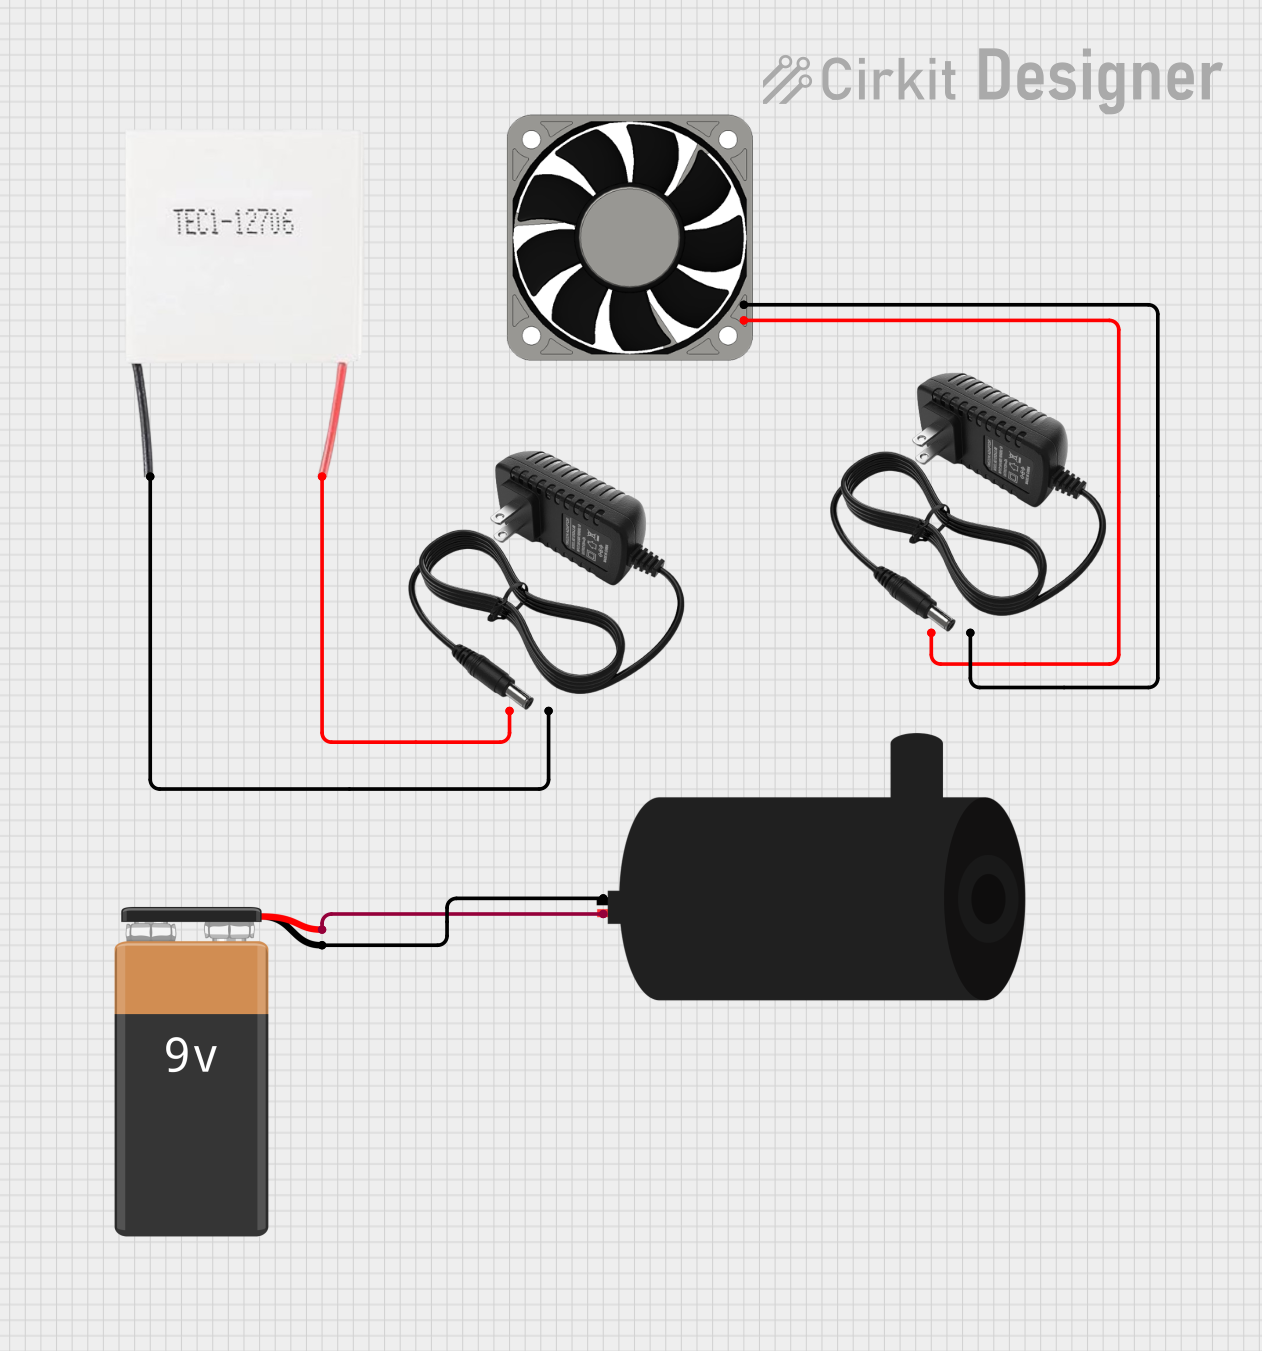
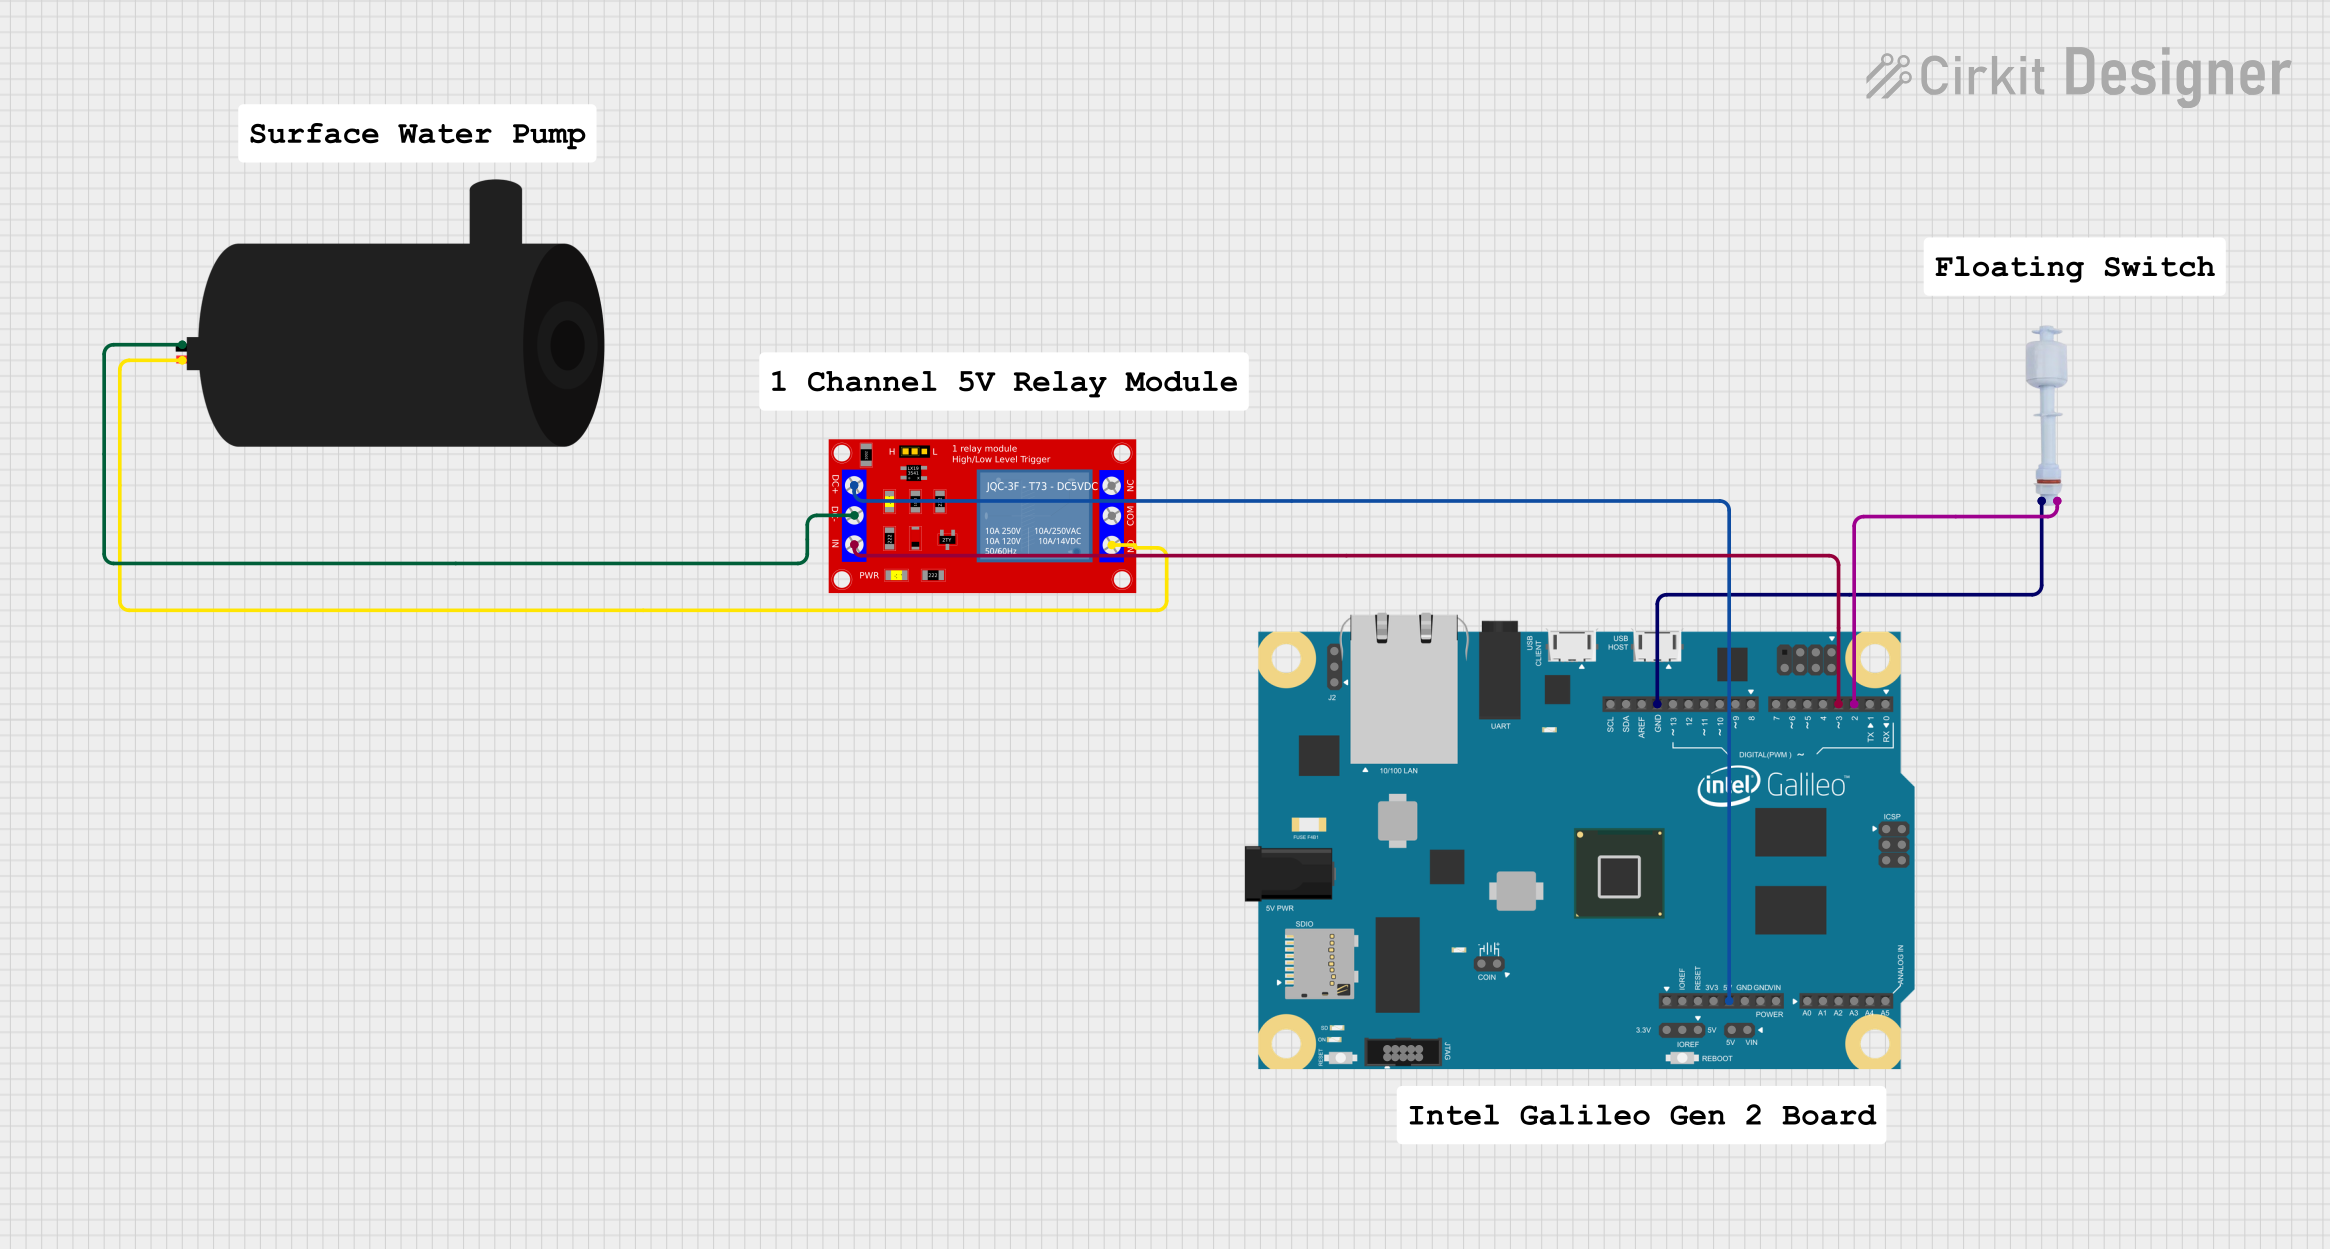
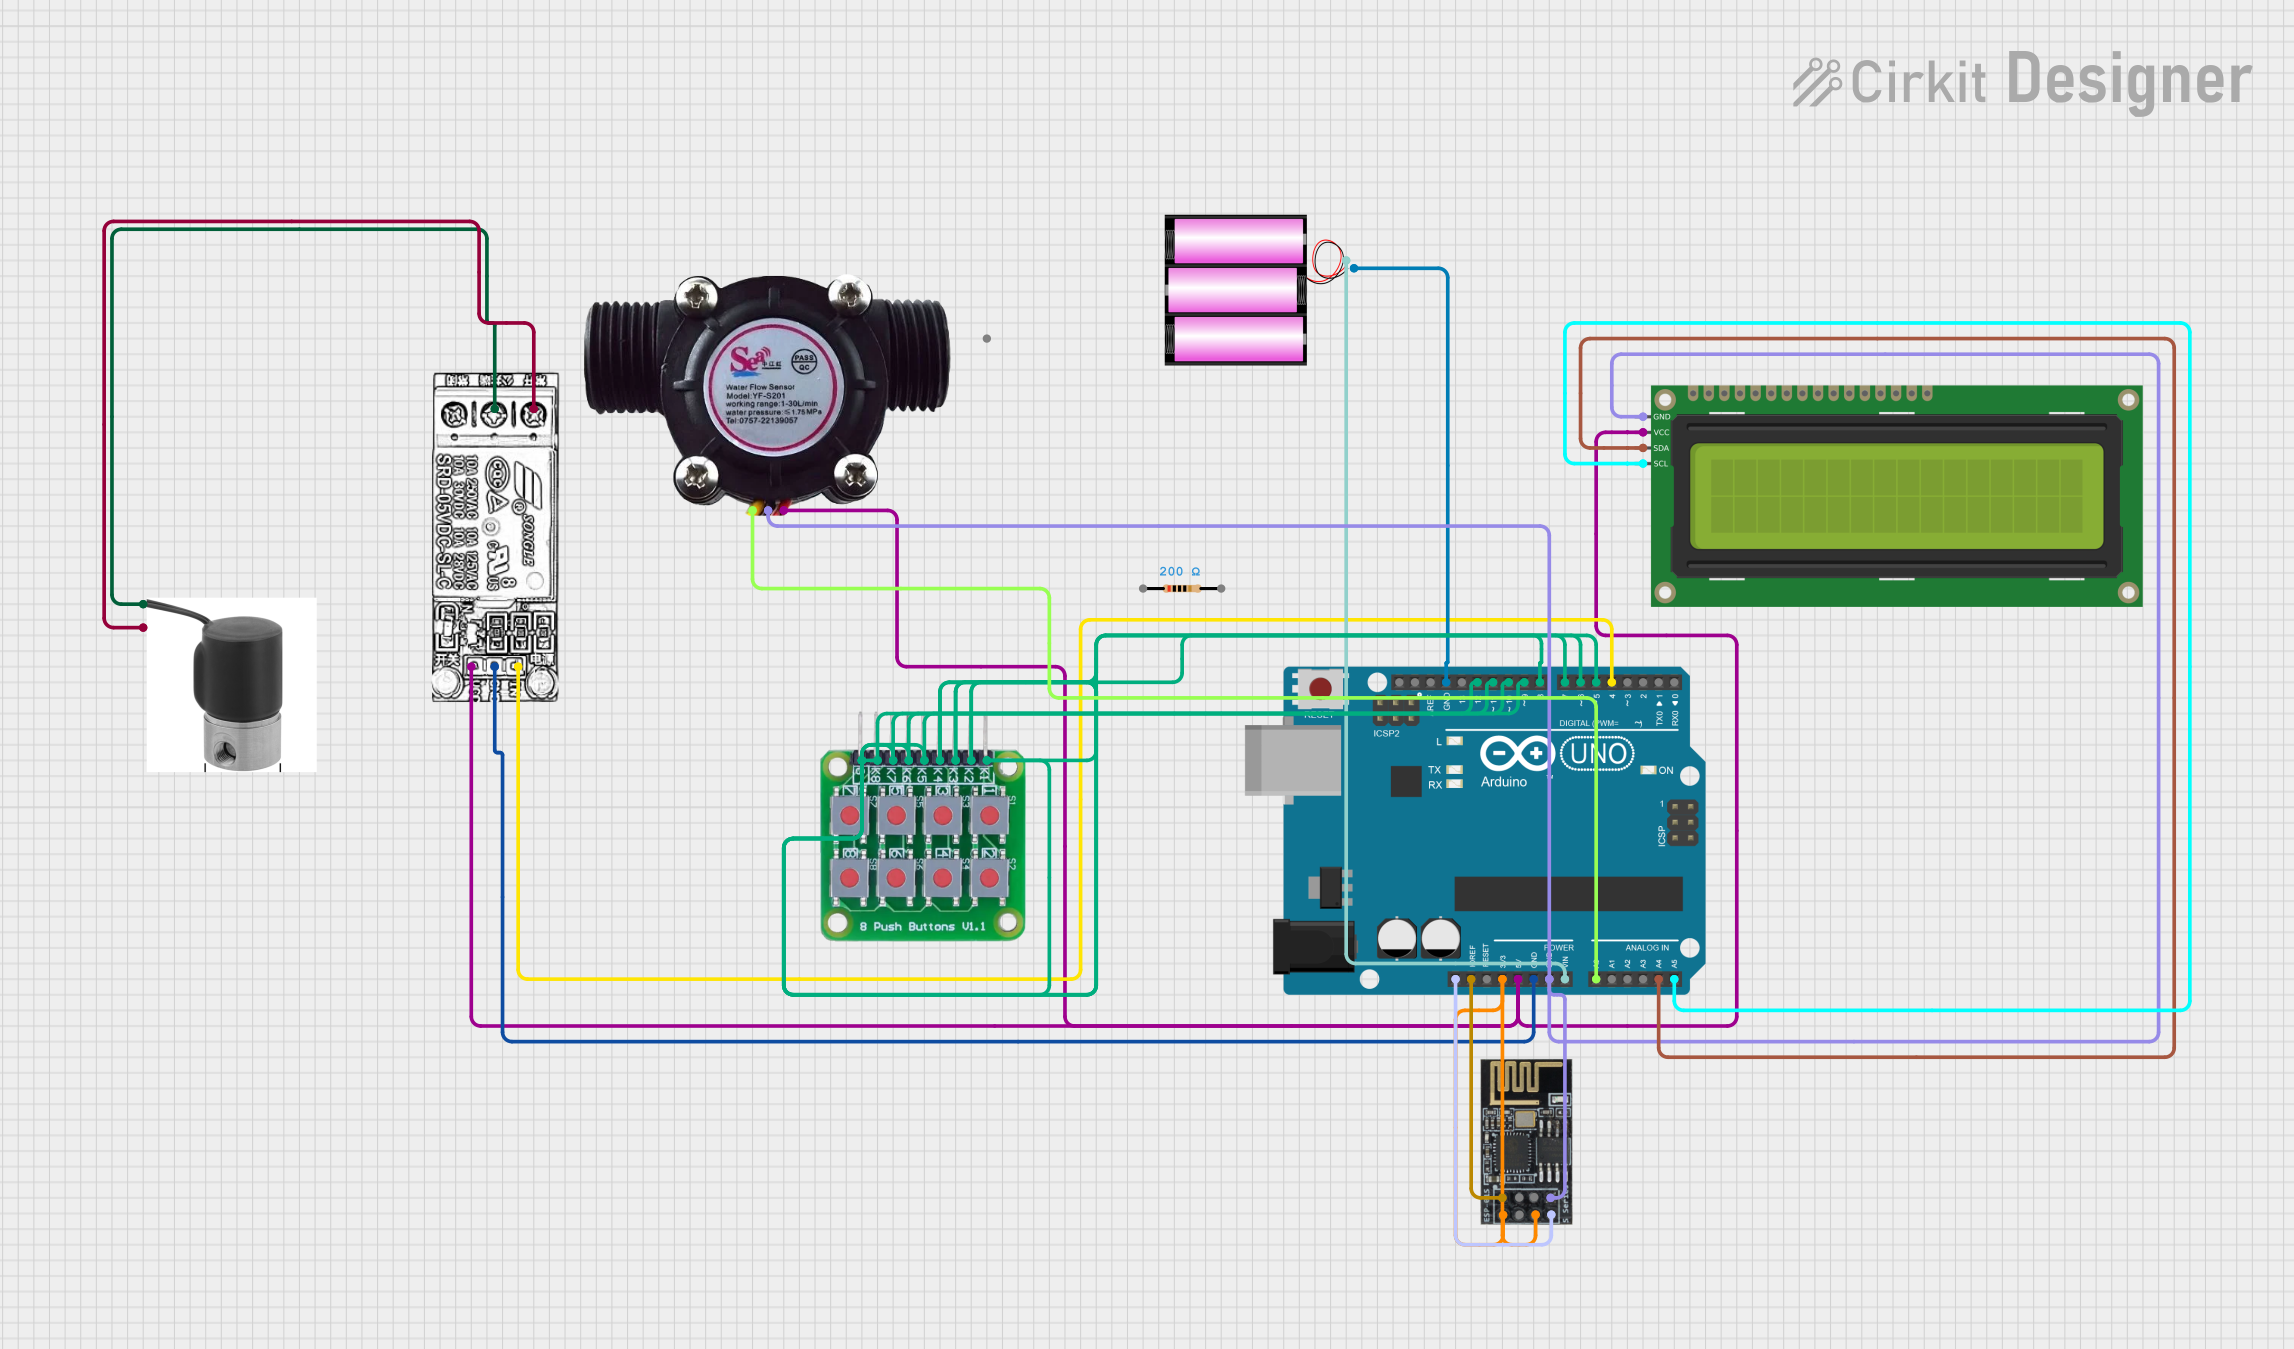
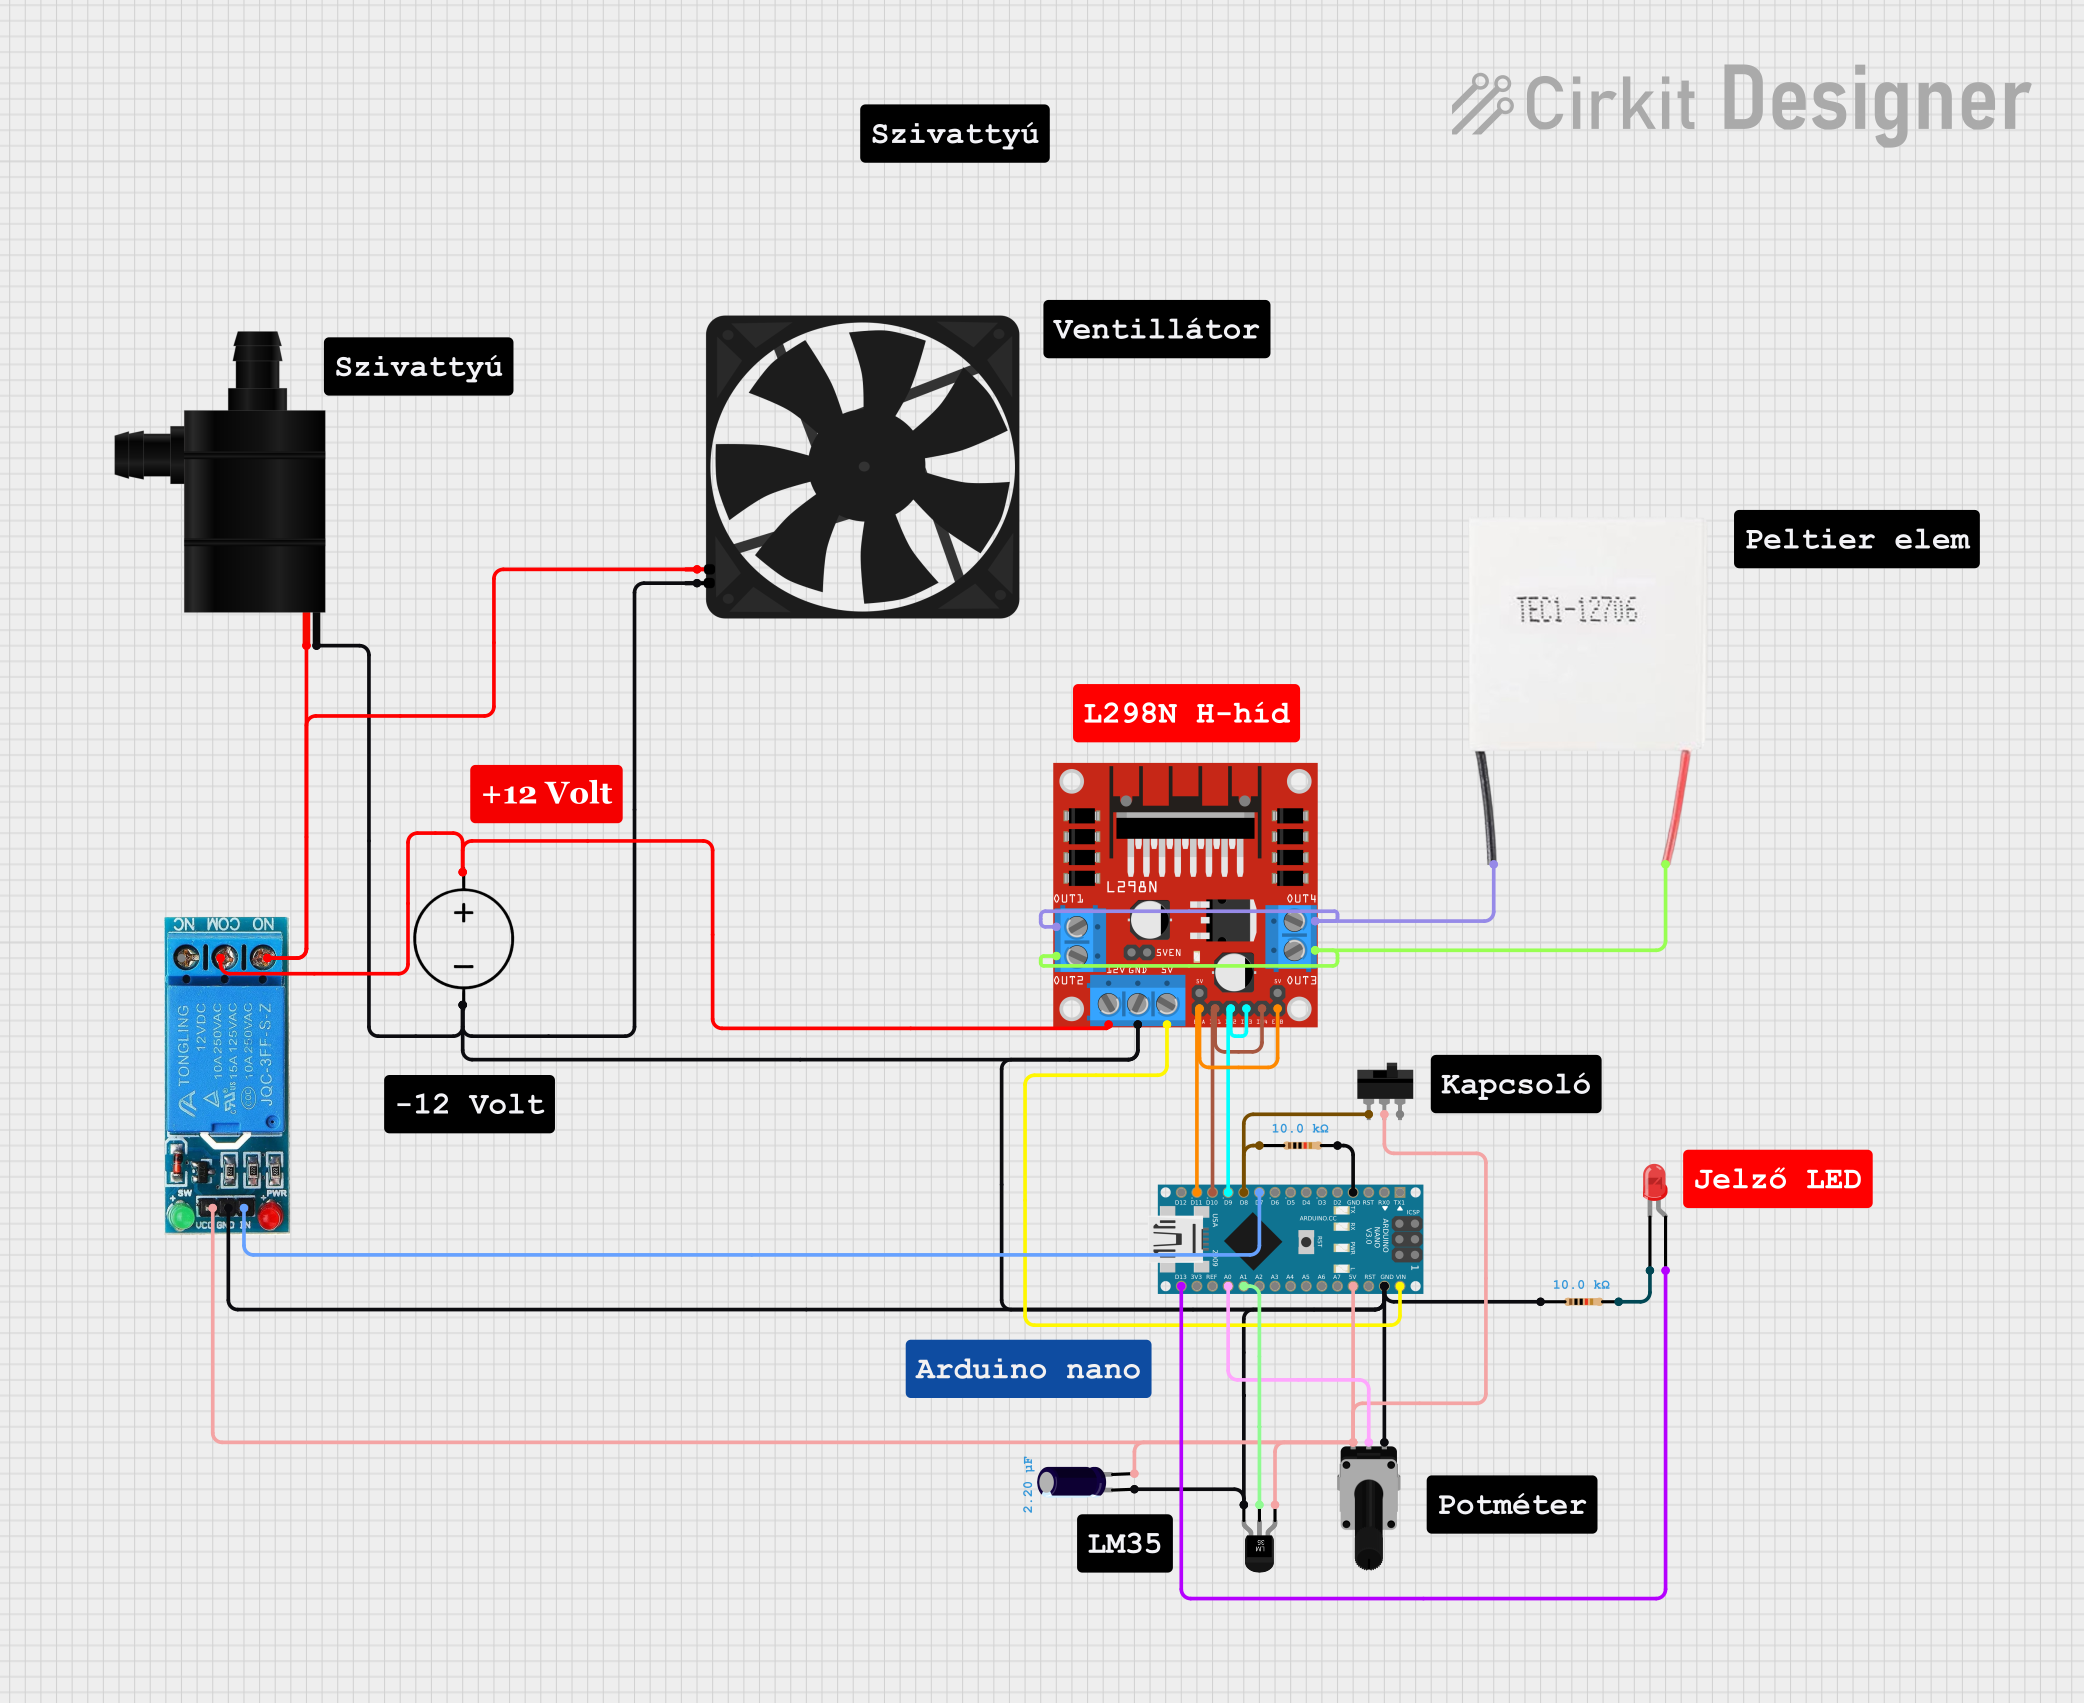
Explore Projects Built with Goliath Watercool
Common Applications and Use Cases
- High-end gaming computers
- Overclocked systems
- Data centers and server farms
- Workstations for video editing, 3D rendering, and scientific simulations
- Any system where thermal management is critical for performance and longevity
Technical Specifications
Key Technical Details
| Specification | Value | Description |
|---|---|---|
| Operating Voltage | 12V DC | Voltage required for the pump and fans |
| Power Consumption | 18W (Pump) | Power usage of the pump unit |
| Max Flow Rate | 500 L/h | Maximum flow rate of the cooling liquid |
| Max Head Pressure | 4m | Maximum height the pump can move water |
| Fan Speed | 800 - 2000 RPM | Range of fan speeds for optimal cooling |
| Noise Level | < 35 dBA | Noise level at maximum fan speed |
| Radiator Dimensions | 240mm x 120mm x 30mm | Size of the radiator component |
| Tubing Length | 400mm | Length of the tubing for connecting components |
| Compatible Sockets | Intel LGA 115x, 2011, | CPU sockets that the cooling system supports |
| AMD AM3+, AM4, TR4 |
Pin Configuration and Descriptions
The Goliath Watercool system does not have a pin configuration in the traditional sense, as it is not a semiconductor device. However, it does have various connectors for power and control:
| Connector Type | Description |
|---|---|
| 4-Pin PWM Connector | For connecting the radiator fans to the motherboard for speed control |
| 3-Pin Power Connector | For supplying power to the pump unit from the power supply |
| RGB Connector | Optional connector for RGB lighting control, if available |
Usage Instructions
How to Use the Component in a Circuit
Mount the Radiator and Fans: Secure the radiator to your case using the provided screws. Attach the fans to the radiator, ensuring they are oriented to push or pull air through the radiator fins as desired.
Install the Pump and CPU Block: Place the pump unit over the CPU, aligning it with the mounting holes. Use the appropriate mounting hardware for your CPU socket and secure the pump in place.
Connect the Tubing: Attach the tubing to the pump and radiator, ensuring a secure and leak-proof connection.
Fill the System: Fill the reservoir with coolant, and ensure all air is bled from the system. Follow the manufacturer's instructions for the filling process.
Power Connections: Connect the pump's 3-pin power connector to the power supply, and the fans' 4-pin PWM connectors to the motherboard's CPU fan header or a dedicated fan controller.
Test the System: Power on the system and monitor for leaks and proper operation. Check that the pump and fans are functioning and that the CPU temperature remains within safe limits.
Important Considerations and Best Practices
- Always use distilled water or a recommended coolant to prevent corrosion and biological growth.
- Ensure all connections are tight to prevent leaks.
- Regularly inspect and maintain the system to ensure optimal performance.
- Avoid bending the tubing at sharp angles, as this can restrict flow and cause damage.
Troubleshooting and FAQs
Common Issues Users Might Face
- Leaks: Check all fittings and ensure they are tight. Replace any worn or damaged tubing.
- Pump Noise: Ensure the pump is properly mounted and not in contact with the case, which can amplify noise.
- Inadequate Cooling: Verify that the fans are correctly oriented and that the flow rate is as expected. Reapply thermal paste if necessary.
Solutions and Tips for Troubleshooting
- Air Bubbles: If you notice air bubbles in the system, gently tilt the case to help them move to the reservoir where they can be released.
- Overheating: If the system is overheating, check the coolant level and the radiator for dust buildup. Clean the radiator fins and refill the coolant if necessary.
FAQs
Q: How often should I replace the coolant? A: It is recommended to replace the coolant every 1-2 years, depending on usage and the manufacturer's guidelines.
Q: Can I add additional components to the loop, like a GPU water block? A: Yes, the Goliath Watercool system can be expanded to include additional components, provided the pump has sufficient flow rate and head pressure.
Q: What is the warranty period for the Goliath Watercool system? A: Warranty periods vary by manufacturer. Check the documentation that came with your system for specific warranty information.
Q: Is it necessary to use anti-corrosive additives in the coolant? A: While not always necessary, using anti-corrosive additives can prolong the life of your cooling system components, especially if you have mixed metals in the loop.
Note: This documentation is for informational purposes only. Always consult the manufacturer's official documentation for the most accurate and detailed information.