Introduction
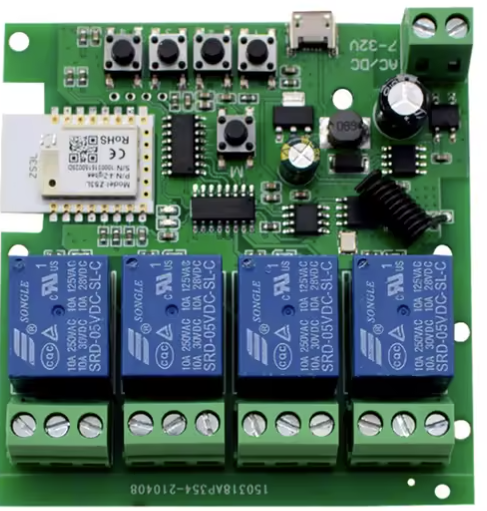
The Smart 4Ch Relay Switch (Model: TYWD 4ch-RF) is a versatile electronic component designed for controlling up to four independent channels. It supports both DC and AC inputs, making it suitable for a wide range of applications. With built-in RF433MHz, Bluetooth, and WiFi connectivity, this relay switch can be remotely controlled via the Tuya Smart Life app, enabling seamless integration into smart home or industrial automation systems.
Common Applications
- Smart Home Automation: Control lights, fans, or other appliances remotely.
- Industrial Automation: Manage machinery or equipment with multi-channel control.
- IoT Projects: Integrate with IoT platforms for advanced automation.
- Remote Control Systems: Use RF433MHz or Bluetooth for local control without WiFi.
Technical Specifications
Key Technical Details
Pin Configuration and Descriptions
The relay switch has a terminal block for input power and output connections. Below is the pin configuration:
Output Terminals (Per Channel)
Control Interface
Usage Instructions
How to Use the Component in a Circuit
Power the Relay Switch:
- For DC input, connect the positive wire to
DC+ and the negative wire to DC-.
- For AC input, connect the live wire to
L and the neutral wire to N.
Connect the Load:
- For each channel, connect the load to the
COM and NO terminals if you want the circuit to be normally open (default off).
- Use the
COM and NC terminals if you want the circuit to be normally closed (default on).
Control the Relay:
- Use the Tuya Smart Life app to configure and control the relay via WiFi.
- Alternatively, use an RF433MHz remote or Bluetooth for local control.
Integrate with IoT Platforms:
- The relay can be linked to IoT platforms like Google Home or Amazon Alexa for voice control.
Important Considerations and Best Practices
- Ensure the input voltage matches the relay's specifications (DC: 5V-24V or AC: 85V-250V).
- Do not exceed the maximum load current of 10A per channel.
- Use proper insulation and fireproof enclosures for safety.
- Place the relay in a well-ventilated area to prevent overheating.
- For RF433MHz control, ensure the remote is within the specified range (typically 20-30 meters).
Arduino UNO Integration Example
The relay can be controlled using an Arduino UNO via its GPIO pins. Below is an example code to control one of the relay channels:
// Example: Controlling a single channel of the Smart 4Ch Relay Switch
// Connect the relay's input pin (e.g., CH1) to Arduino pin 7.

#define RELAY_PIN 7  // Define the GPIO pin connected to the relay

void setup() {
  pinMode(RELAY_PIN, OUTPUT);  // Set the relay pin as an output
  digitalWrite(RELAY_PIN, LOW);  // Initialize the relay to OFF state
}

void loop() {
  digitalWrite(RELAY_PIN, HIGH);  // Turn the relay ON
  delay(5000);  // Keep it ON for 5 seconds
  digitalWrite(RELAY_PIN, LOW);  // Turn the relay OFF
  delay(5000);  // Keep it OFF for 5 seconds
}
Note: Use a transistor or optocoupler if the relay requires more current than the Arduino pin can supply.
Troubleshooting and FAQs
Common Issues and Solutions
Relay Not Responding to Commands:
- Ensure the relay is powered correctly and the input voltage is within the specified range.
- Check the WiFi, Bluetooth, or RF433MHz connection status.
WiFi Connection Fails:
- Verify that the relay is in pairing mode (LED indicator should blink rapidly).
- Ensure the WiFi network is 2.4GHz (not 5GHz).
Load Not Switching:
- Confirm the load is connected to the correct terminals (
COM and NO or COM and NC).
- Check if the load exceeds the maximum current rating (10A per channel).
Overheating:
- Ensure the relay is not operating near its maximum load for extended periods.
- Place the relay in a well-ventilated area.
FAQs
Q1: Can I control the relay without WiFi?
Yes, you can use the RF433MHz remote or Bluetooth for local control.
Q2: Is the relay compatible with voice assistants?
Yes, it can be integrated with Google Home or Amazon Alexa via the Tuya Smart Life app.
Q3: Can I use the relay for both AC and DC loads simultaneously?
Yes, but ensure proper isolation and do not exceed the maximum current rating per channel.
Q4: What is the range of RF433MHz control?
The typical range is 20-30 meters, depending on environmental factors.
Q5: How do I reset the relay?
Press and hold the reset button for 5 seconds until the LED indicator blinks rapidly.

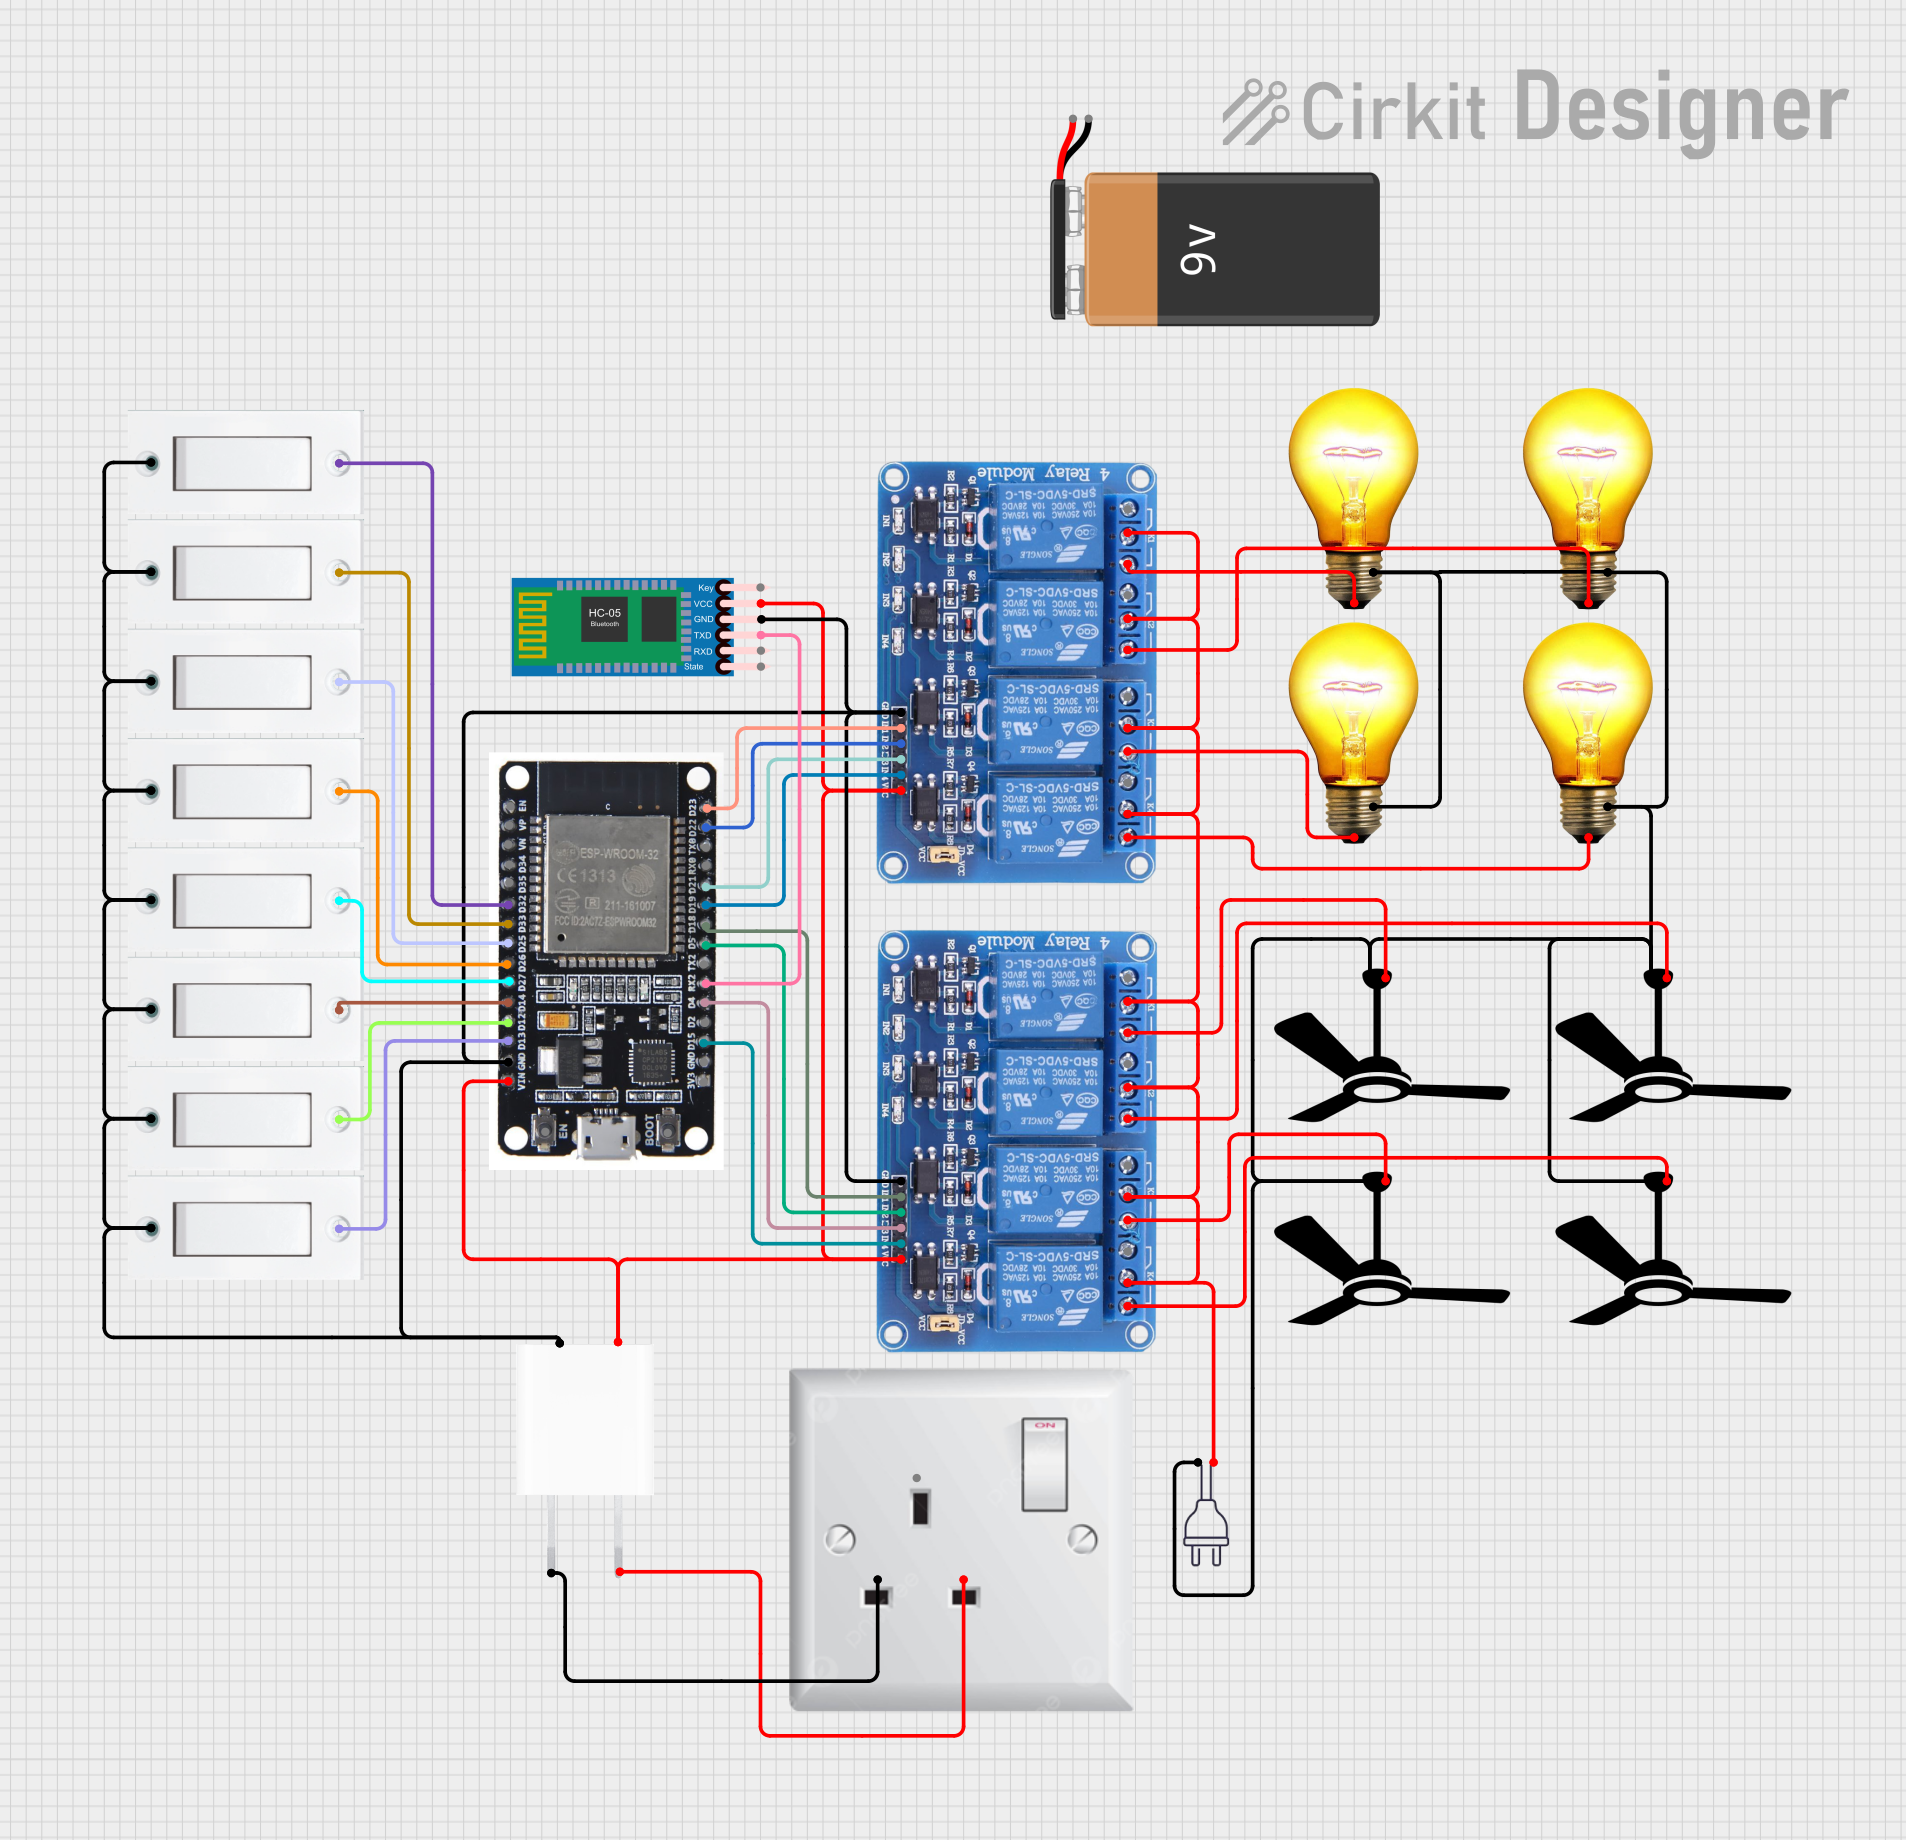
 Open Project in Cirkit Designer