
How to Use soil moisture: Examples, Pinouts, and Specs
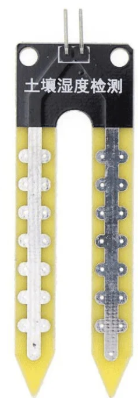
 Design with soil moisture in Cirkit Designer
Introduction
The Soil Moisture Sensor is a device designed to measure the volumetric water content in soil. Manufactured by Arduino with the part ID UNO R3, this sensor is widely used in applications such as irrigation management, environmental monitoring, and smart gardening systems. By providing real-time data on soil moisture levels, it enables users to optimize water usage and maintain healthy plant growth.
This sensor is particularly popular in DIY projects and educational environments due to its simplicity and compatibility with microcontrollers like the Arduino UNO R3.
Explore Projects Built with soil moisture
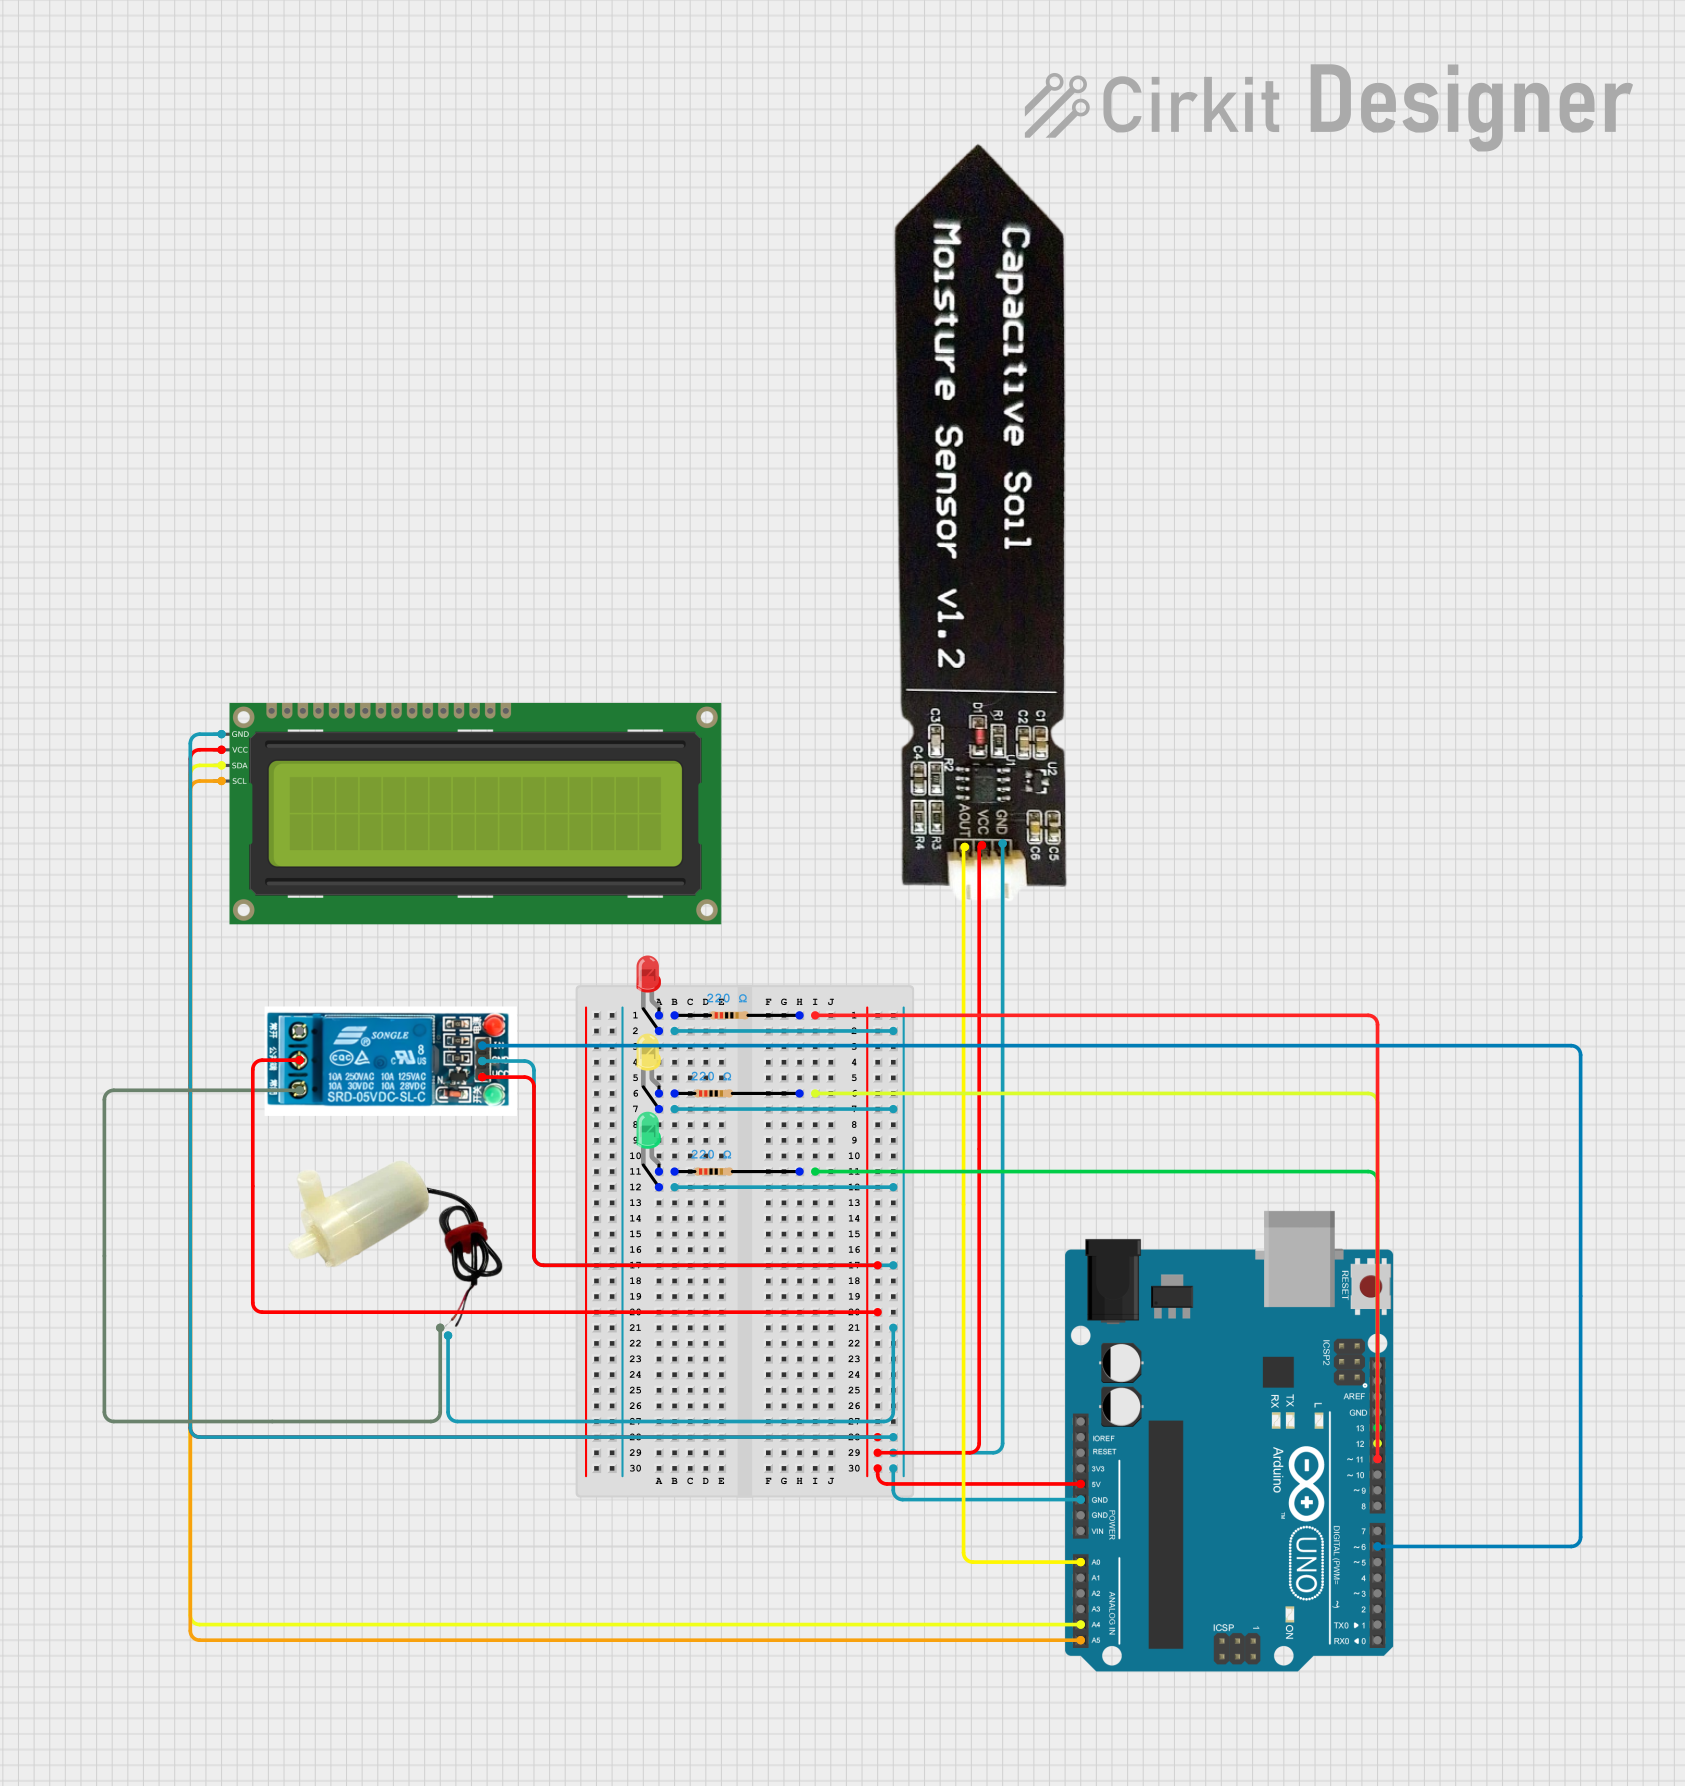 Open Project in Cirkit Designer
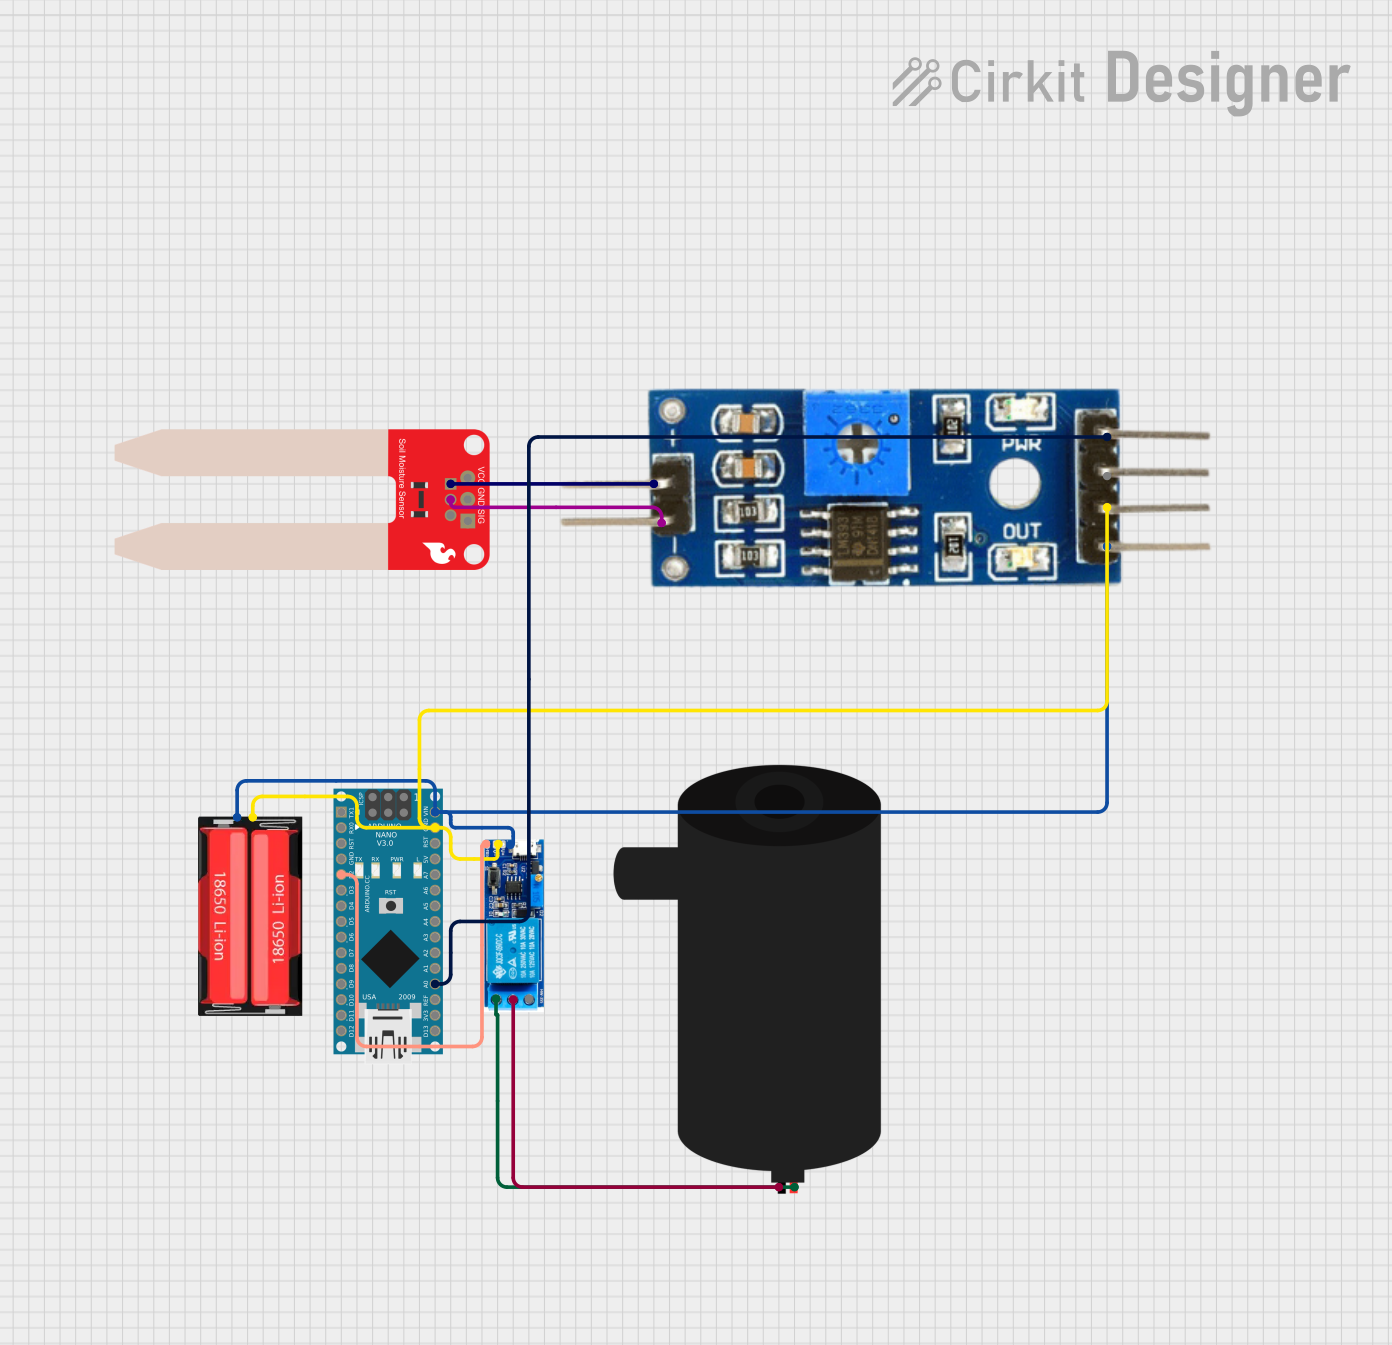 Open Project in Cirkit Designer
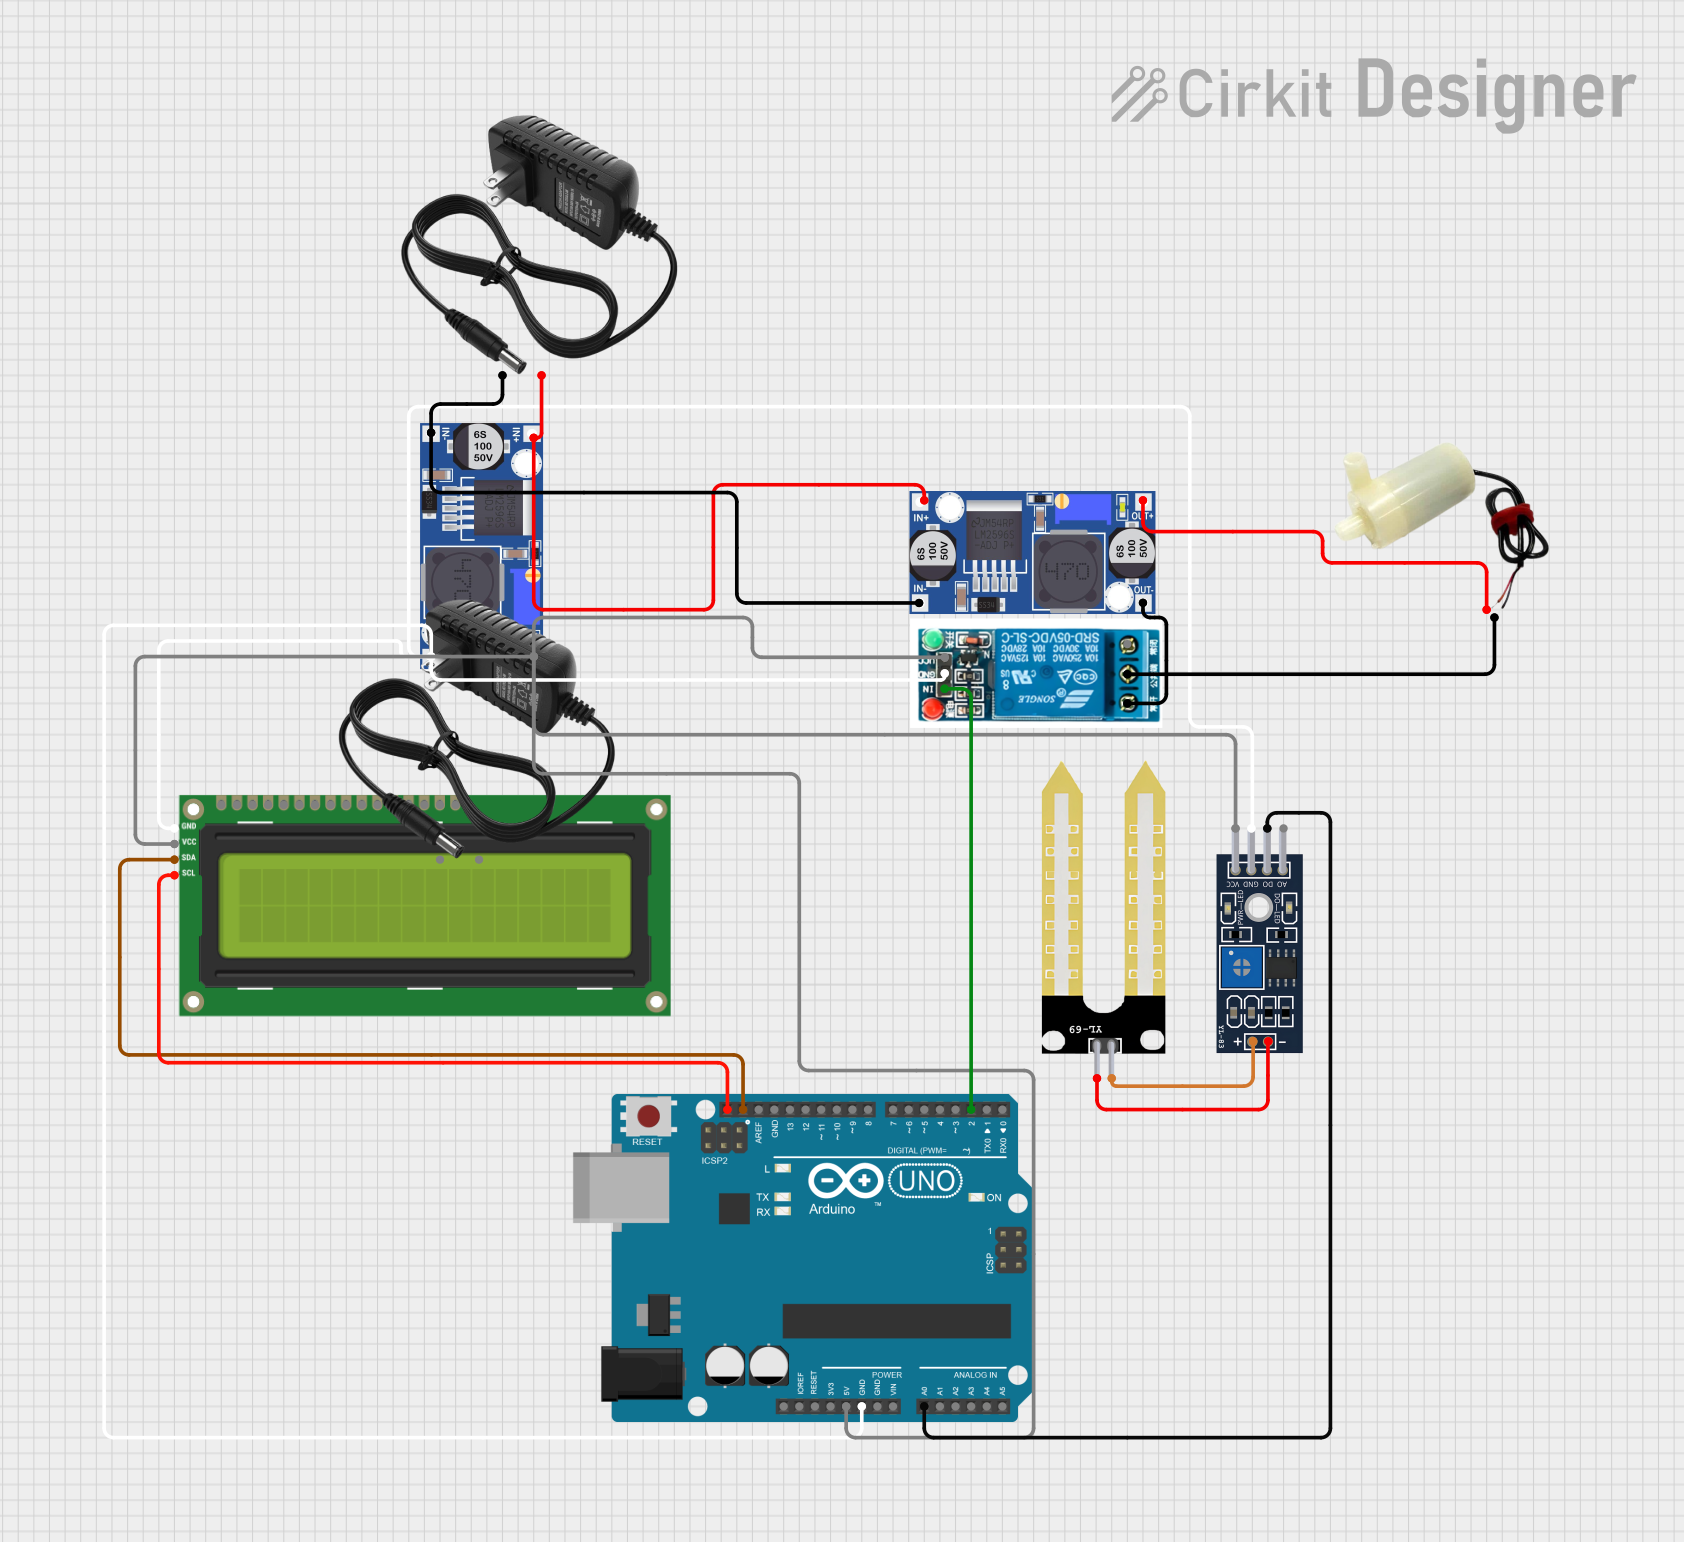 Open Project in Cirkit Designer
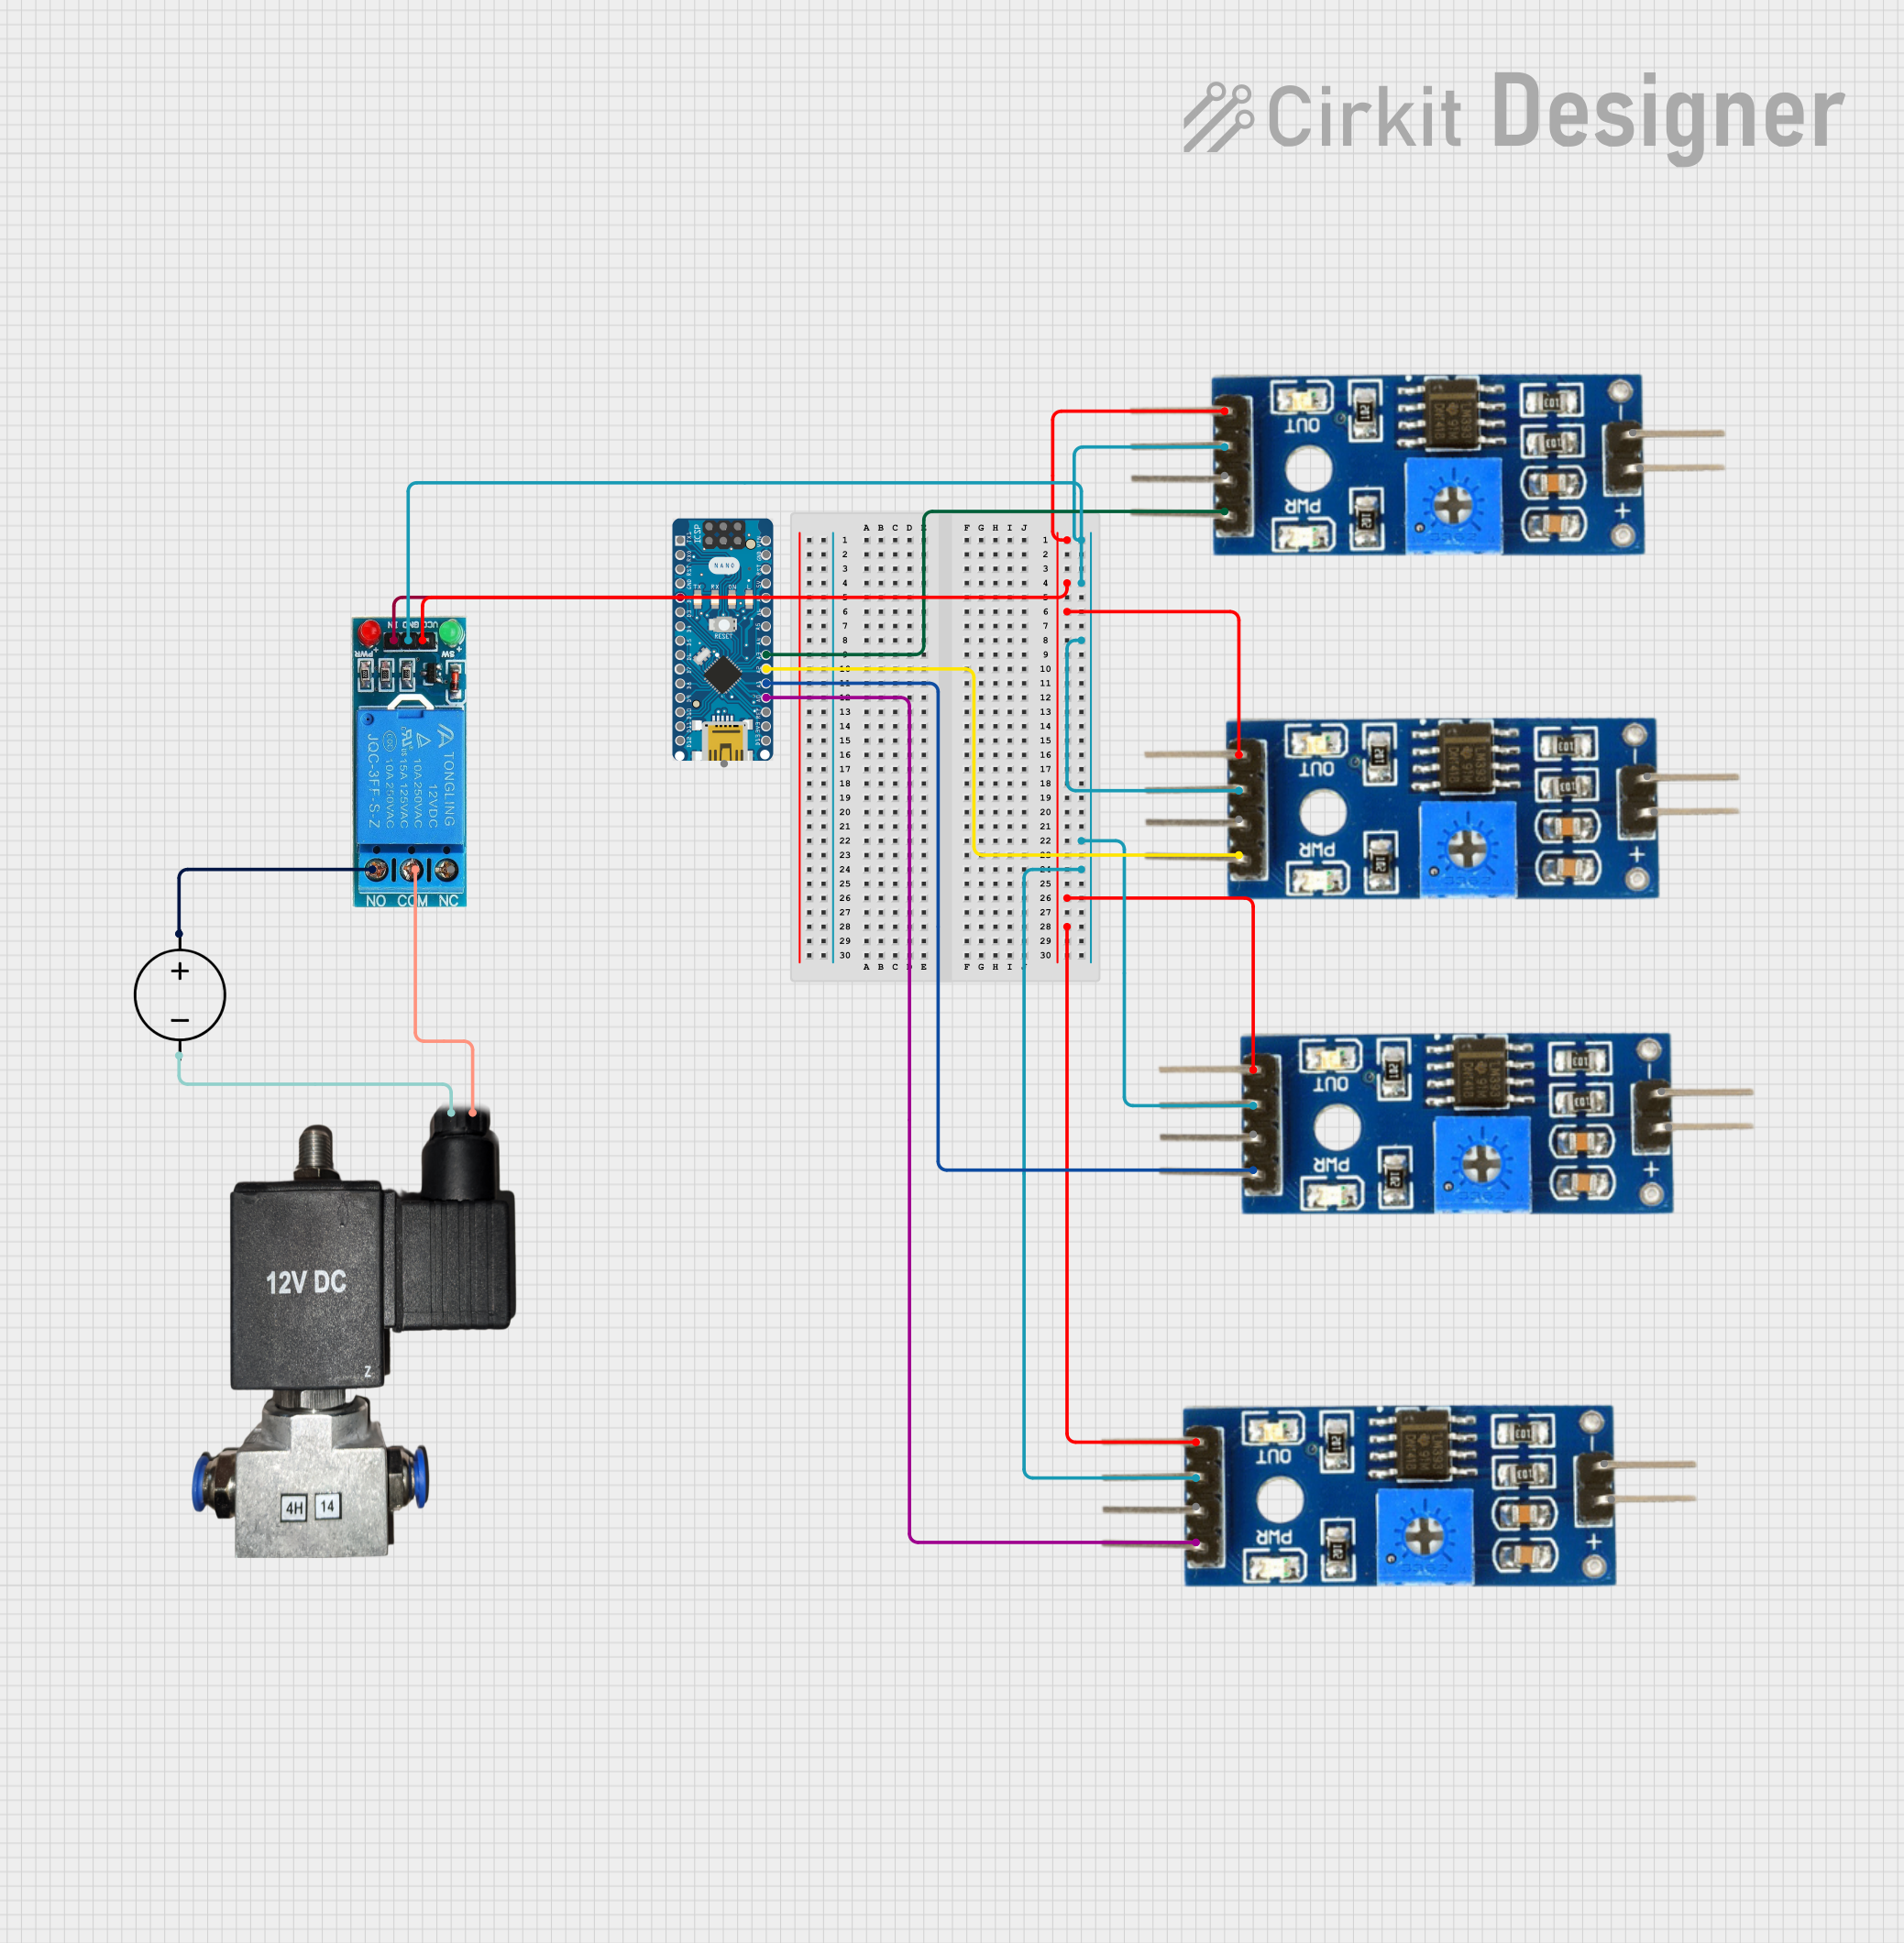 Open Project in Cirkit Designer
Explore Projects Built with soil moisture
Open Project in Cirkit DesignerOpen Project in Cirkit DesignerOpen Project in Cirkit DesignerOpen Project in Cirkit DesignerTechnical Specifications
The following table outlines the key technical details of the Soil Moisture Sensor:
| Parameter | Value |
|---|---|
| Operating Voltage | 3.3V - 5V |
| Output Signal | Analog (0-1023) or Digital (0/1) |
| Current Consumption | < 20 mA |
| Operating Temperature | -10°C to 60°C |
| Dimensions | 60mm x 20mm x 5mm |
| Sensor Type | Resistive |
Pin Configuration and Descriptions
The Soil Moisture Sensor typically comes with three or four pins. Below is the pin configuration:
3-Pin Version
| Pin | Name | Description |
|---|---|---|
| 1 | VCC | Power supply pin (3.3V - 5V) |
| 2 | GND | Ground connection |
| 3 | SIG | Signal output pin (Analog or Digital, depending on mode) |
4-Pin Version
| Pin | Name | Description |
|---|---|---|
| 1 | VCC | Power supply pin (3.3V - 5V) |
| 2 | GND | Ground connection |
| 3 | A0 | Analog signal output pin |
| 4 | D0 | Digital signal output pin (threshold adjustable via potentiometer) |
Usage Instructions
How to Use the Sensor in a Circuit
Connect the Sensor to the Arduino UNO R3:
- Connect the
VCCpin of the sensor to the5Vpin on the Arduino. - Connect the
GNDpin of the sensor to theGNDpin on the Arduino. - For analog readings, connect the
SIGorA0pin of the sensor to an analog input pin (e.g.,A0) on the Arduino. - For digital readings, connect the
D0pin of the sensor to a digital input pin (e.g.,D2) on the Arduino.
- Connect the
Adjust the Potentiometer (if applicable):
- If using the digital output, adjust the onboard potentiometer to set the desired moisture threshold.
Upload the Code:
- Use the Arduino IDE to upload the appropriate code to the Arduino UNO R3.
Sample Code for Analog Readings
// Soil Moisture Sensor Example Code
// This code reads the analog value from the sensor and prints it to the Serial Monitor.

const int sensorPin = A0; // Define the analog pin connected to the sensor
int sensorValue = 0;      // Variable to store the sensor reading

void setup() {
  Serial.begin(9600); // Initialize serial communication at 9600 baud
}

void loop() {
  sensorValue = analogRead(sensorPin); // Read the analog value from the sensor
  Serial.print("Soil Moisture Level: ");
  Serial.println(sensorValue); // Print the value to the Serial Monitor
  delay(1000); // Wait for 1 second before the next reading
}
Important Considerations and Best Practices
- Avoid Corrosion: The sensor's probes are prone to corrosion over time, especially in wet soil. To extend the sensor's lifespan, avoid prolonged exposure to moisture or consider using capacitive soil moisture sensors.
- Power Supply: Ensure the sensor operates within its specified voltage range (3.3V - 5V) to prevent damage.
- Calibration: For accurate readings, calibrate the sensor by testing it in dry and fully saturated soil to determine the minimum and maximum values.
- Placement: Insert the sensor probes fully into the soil for consistent readings. Avoid placing the sensor near rocks or debris.
Troubleshooting and FAQs
Common Issues and Solutions
Inconsistent Readings:
- Cause: Loose connections or unstable power supply.
- Solution: Check all connections and ensure the sensor is receiving a stable voltage.
Sensor Not Responding:
- Cause: Faulty wiring or damaged sensor.
- Solution: Verify the wiring and test the sensor with a multimeter. Replace the sensor if necessary.
Corrosion on Probes:
- Cause: Prolonged exposure to moisture.
- Solution: Clean the probes with a soft cloth and consider using a protective coating.
Incorrect Threshold for Digital Output:
- Cause: Potentiometer not adjusted correctly.
- Solution: Rotate the potentiometer to set the desired moisture threshold.
FAQs
Q: Can this sensor be used in hydroponic systems?
A: No, this sensor is designed for soil-based applications. For hydroponics, consider using a water level or EC (electrical conductivity) sensor.
Q: How do I interpret the analog readings?
A: Analog readings typically range from 0 (dry soil) to 1023 (wet soil). Calibrate the sensor to determine the specific range for your soil type.
Q: Is the sensor waterproof?
A: No, only the probes are designed to be inserted into the soil. Avoid exposing the circuit board to water.
Q: Can I use multiple sensors with one Arduino?
A: Yes, you can connect multiple sensors to different analog or digital pins on the Arduino. Ensure the total current draw does not exceed the Arduino's limits.
By following this documentation, you can effectively integrate the Soil Moisture Sensor into your projects and ensure reliable performance.