
How to Use LCD-16X2: Examples, Pinouts, and Specs
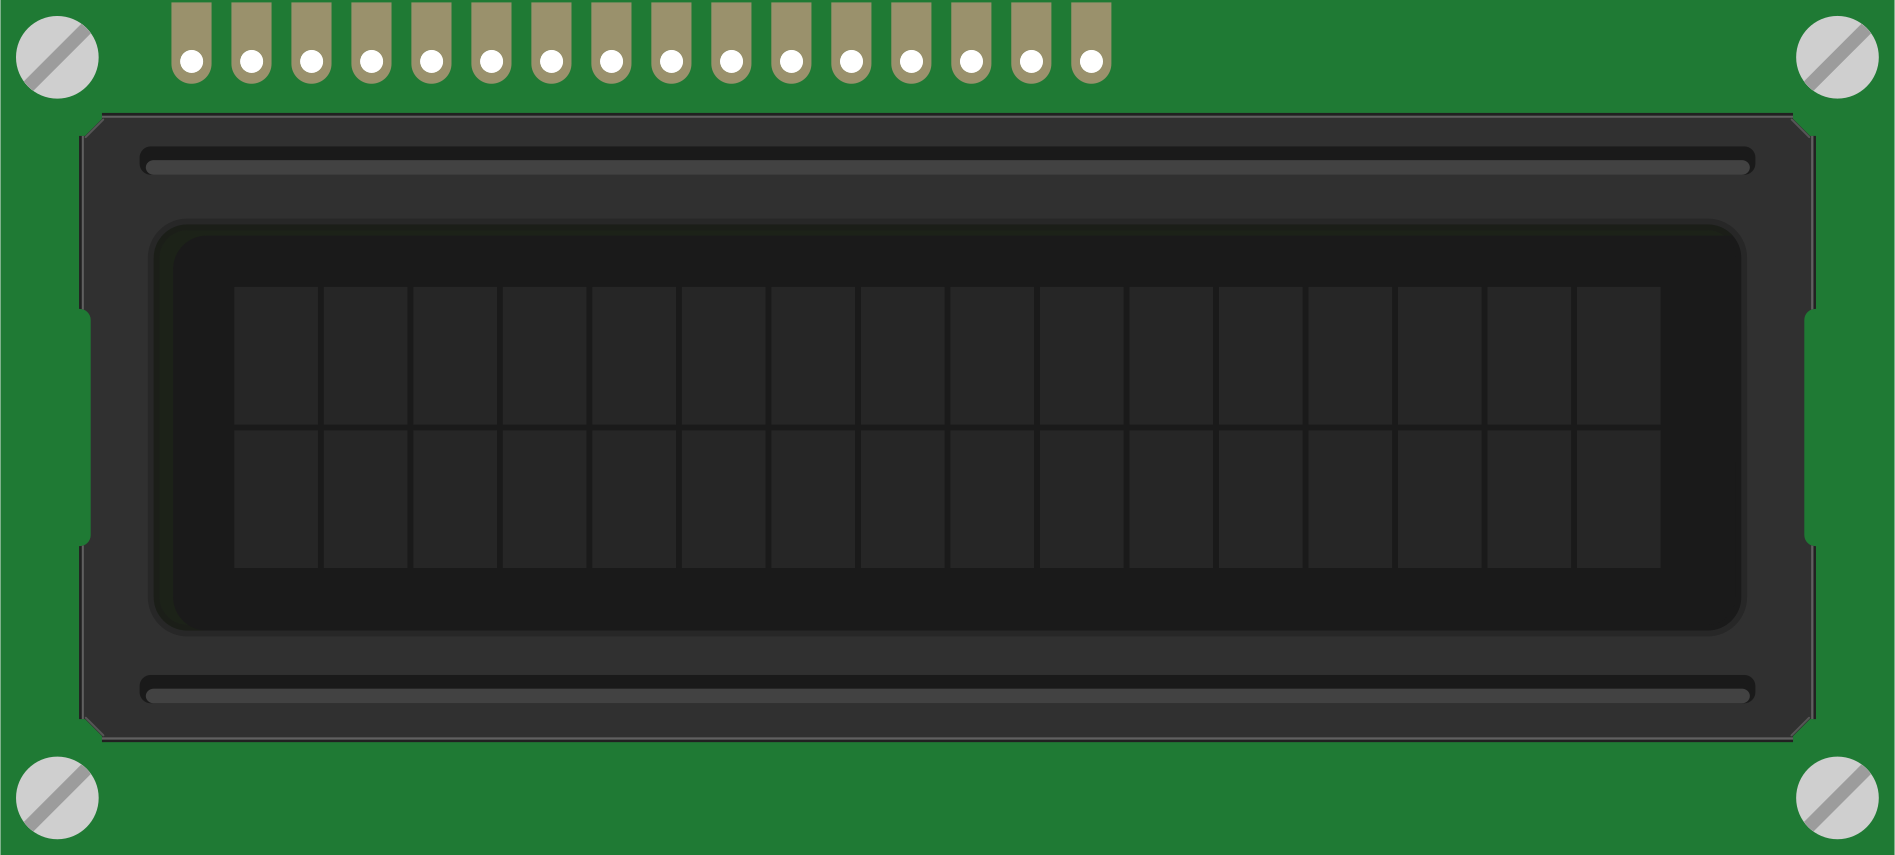
 Design with LCD-16X2 in Cirkit Designer
Introduction
The LCD-16X2 is a 16-character by 2-line Liquid Crystal Display (LCD) module widely used in embedded systems and microcontroller projects. It provides a simple and efficient way to display alphanumeric characters and symbols, making it ideal for applications such as digital clocks, temperature monitors, and user interfaces for various devices. The module is easy to interface with microcontrollers and supports both 4-bit and 8-bit data modes for flexible integration.
Explore Projects Built with LCD-16X2
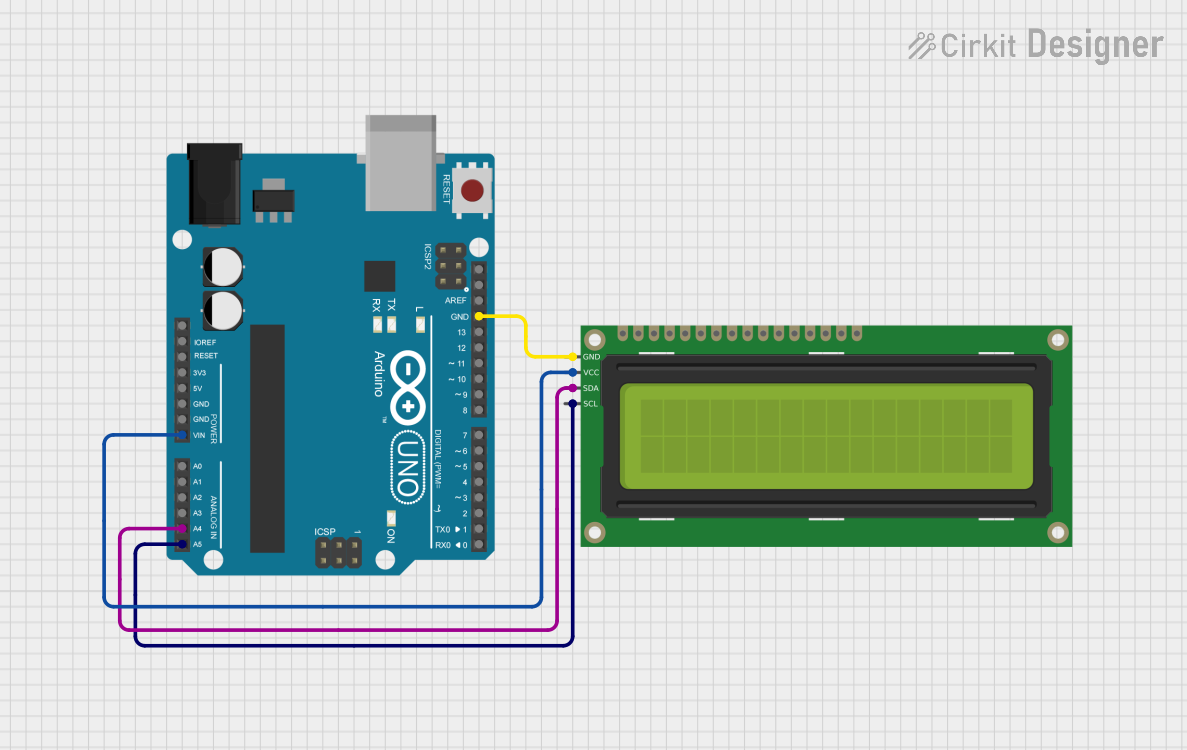 Open Project in Cirkit Designer
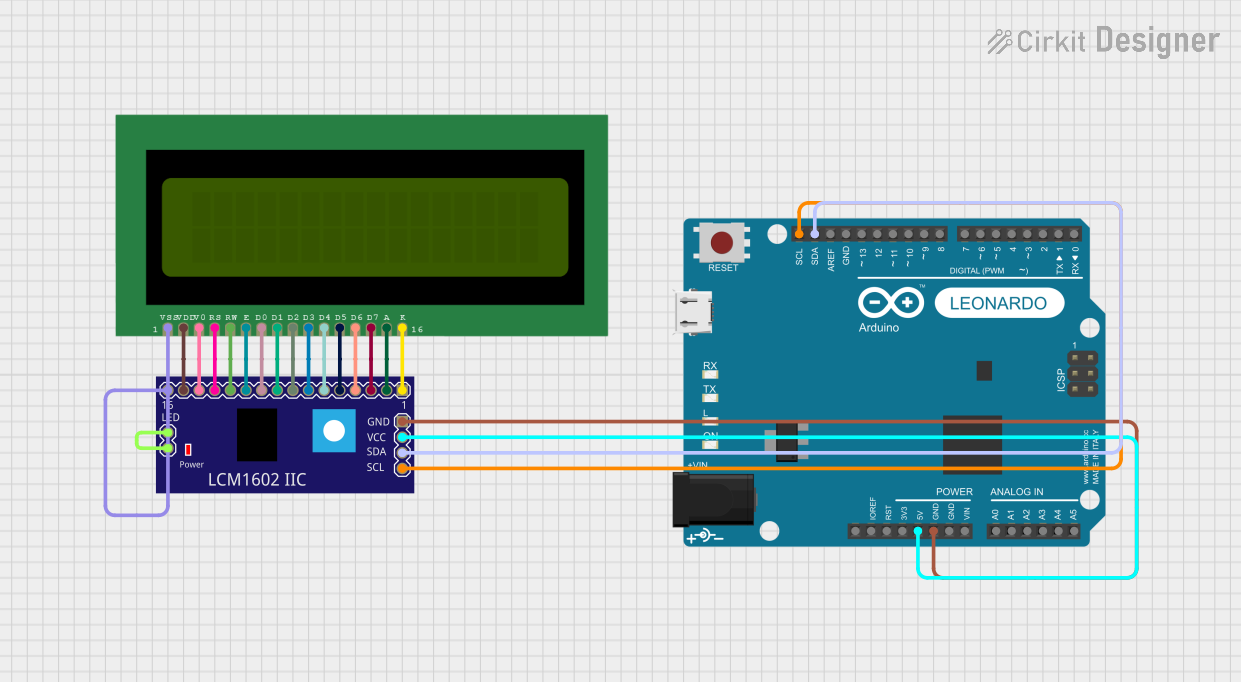 Open Project in Cirkit Designer
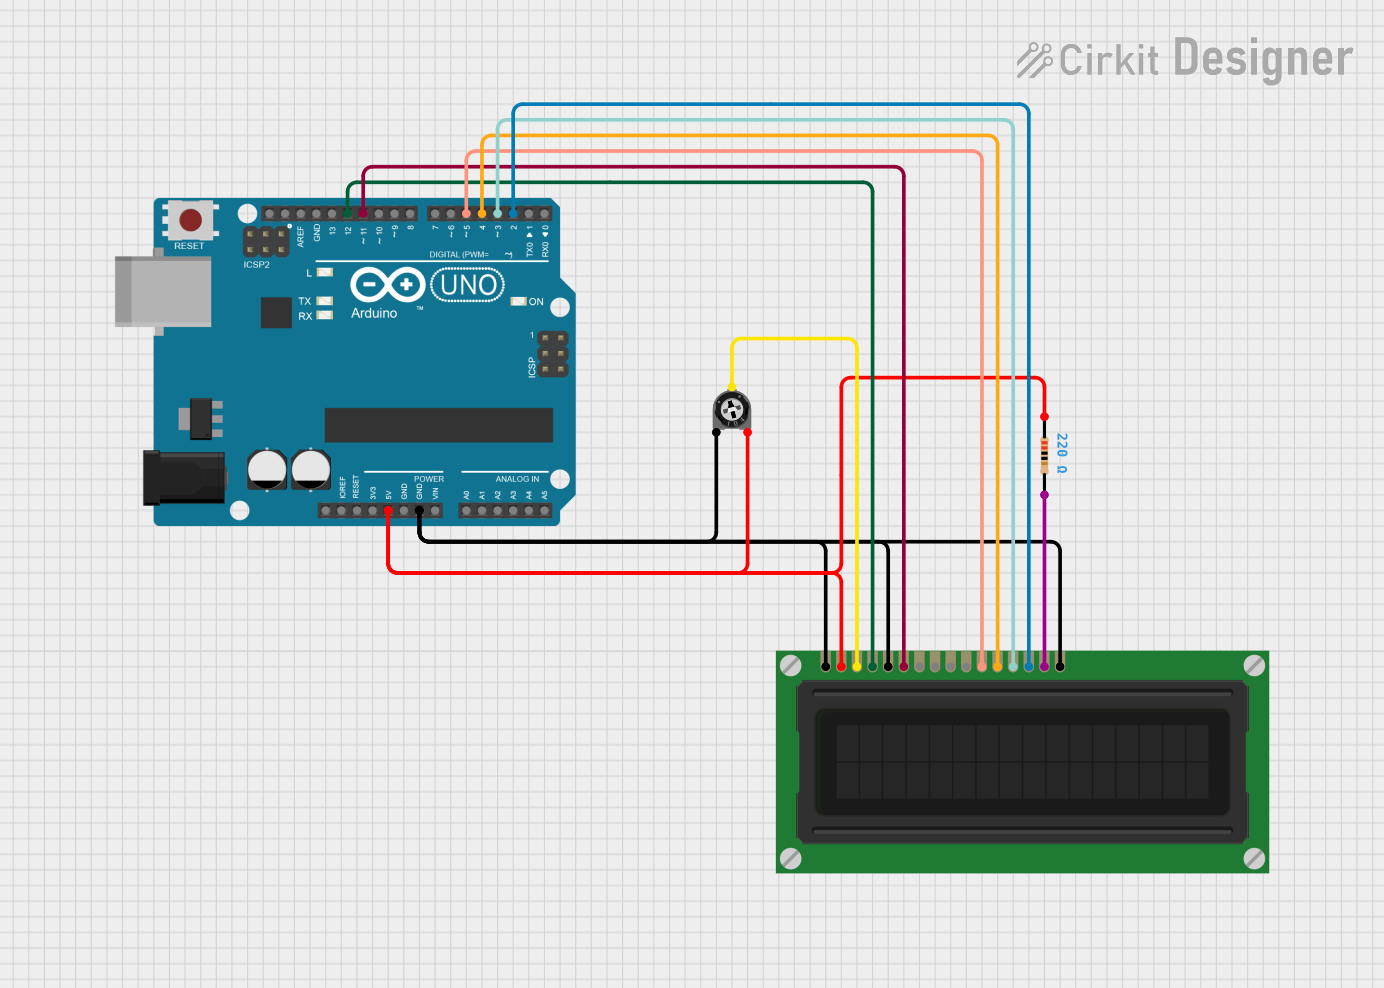 Open Project in Cirkit Designer
 Open Project in Cirkit Designer
Explore Projects Built with LCD-16X2
Open Project in Cirkit DesignerOpen Project in Cirkit DesignerOpen Project in Cirkit DesignerOpen Project in Cirkit DesignerCommon Applications and Use Cases
- Digital clocks and timers
- Temperature and humidity monitors
- User interfaces for embedded systems
- Home automation systems
- Educational and prototyping projects
Technical Specifications
The LCD-16X2 module is based on the HD44780 controller, which is a standard for character LCDs. Below are the key technical details:
| Parameter | Specification |
|---|---|
| Display Type | 16x2 Character LCD |
| Controller | HD44780 or compatible |
| Operating Voltage | 4.7V to 5.3V |
| Operating Current | 1mA to 2mA (without backlight) |
| Backlight Voltage | 4.2V to 4.6V |
| Backlight Current | ~15mA to 25mA |
| Character Size | 5x8 dot matrix |
| Interface | Parallel (4-bit or 8-bit mode) |
| Operating Temperature | -20°C to +70°C |
Pin Configuration and Descriptions
The LCD-16X2 module typically has 16 pins. Below is the pinout and description:
| Pin Number | Pin Name | Description |
|---|---|---|
| 1 | VSS | Ground (0V) connection |
| 2 | VDD | Power supply (4.7V to 5.3V) |
| 3 | V0 | Contrast adjustment (connect to a potentiometer) |
| 4 | RS | Register Select: 0 = Command Register, 1 = Data Register |
| 5 | RW | Read/Write: 0 = Write, 1 = Read |
| 6 | E | Enable pin: Starts data read/write operation |
| 7 | D0 | Data pin 0 (used in 8-bit mode only) |
| 8 | D1 | Data pin 1 (used in 8-bit mode only) |
| 9 | D2 | Data pin 2 (used in 8-bit mode only) |
| 10 | D3 | Data pin 3 (used in 8-bit mode only) |
| 11 | D4 | Data pin 4 (used in both 4-bit and 8-bit modes) |
| 12 | D5 | Data pin 5 (used in both 4-bit and 8-bit modes) |
| 13 | D6 | Data pin 6 (used in both 4-bit and 8-bit modes) |
| 14 | D7 | Data pin 7 (used in both 4-bit and 8-bit modes) |
| 15 | LED+ | Backlight anode (connect to +5V through a resistor if needed) |
| 16 | LED- | Backlight cathode (connect to ground) |
Usage Instructions
How to Use the LCD-16X2 in a Circuit
- Power Supply: Connect the VSS pin to ground and the VDD pin to a 5V power supply.
- Contrast Adjustment: Connect the V0 pin to the wiper of a 10kΩ potentiometer. Connect one end of the potentiometer to ground and the other to 5V. Adjust the potentiometer to set the display contrast.
- Control Pins: Connect the RS, RW, and E pins to digital output pins of a microcontroller.
- Data Pins: For 4-bit mode, connect D4 to D7 to the microcontroller. For 8-bit mode, connect all data pins (D0 to D7).
- Backlight: Connect LED+ to 5V (through a current-limiting resistor if necessary) and LED- to ground.
Important Considerations and Best Practices
- Use a 10kΩ potentiometer for contrast adjustment to ensure clear visibility of characters.
- If using the backlight, ensure the current does not exceed the module's rating by using an appropriate resistor.
- For 4-bit mode, only D4 to D7 are used, reducing the number of required microcontroller pins.
- Always initialize the LCD module in your code before sending data or commands.
Example Code for Arduino UNO
Below is an example of how to interface the LCD-16X2 with an Arduino UNO using the LiquidCrystal library in 4-bit mode:
#include <LiquidCrystal.h>

// Initialize the library with the pins connected to the LCD:
// RS, E, D4, D5, D6, D7
LiquidCrystal lcd(7, 8, 9, 10, 11, 12);

void setup() {
  // Set up the LCD's number of columns and rows:
  lcd.begin(16, 2);

  // Print a message to the LCD.
  lcd.print("Hello, World!");
}

void loop() {
  // Set the cursor to column 0, line 1 (second row):
  lcd.setCursor(0, 1);

  // Print the current time in seconds since the Arduino started:
  lcd.print(millis() / 1000);
}
Notes on the Code
- The
lcd.begin(16, 2)function initializes the LCD with 16 columns and 2 rows. - The
lcd.setCursor(column, row)function sets the cursor position for text display. - The
lcd.print()function is used to display text or numbers on the LCD.
Troubleshooting and FAQs
Common Issues and Solutions
No Display on the Screen:
- Check the power supply connections (VSS and VDD).
- Adjust the contrast using the potentiometer connected to V0.
- Ensure the backlight is properly connected (LED+ and LED-).
Random Characters or No Response:
- Verify the connections of the control and data pins.
- Ensure the LCD is initialized correctly in the code.
- Check for loose or faulty wires.
Dim or Flickering Display:
- Ensure the backlight current is within the specified range.
- Check the power supply voltage and current capacity.
Text Not Displayed Properly:
- Verify the data mode (4-bit or 8-bit) matches the code configuration.
- Ensure the
lcd.begin()function is called with the correct dimensions.
FAQs
Q: Can I use the LCD-16X2 with a 3.3V microcontroller?
A: Yes, but you will need a level shifter or resistor voltage dividers for the control and data pins. Additionally, the backlight may not function optimally at 3.3V.
Q: How do I clear the display?
A: Use the lcd.clear() function in your code to clear all characters from the screen.
Q: Can I display custom characters?
A: Yes, the LCD-16X2 supports custom characters. Use the lcd.createChar() function to define and display custom characters.
Q: What is the maximum cable length for connecting the LCD?
A: Keep the cable length as short as possible (preferably under 30cm) to avoid signal degradation and noise issues. Use shielded cables if longer distances are required.