How to Use CJMCU-8128: Examples, Pinouts, and Specs
Introduction
The CJMCU-8128 is a multi-functional air quality sensor module that integrates the CCS811 and HDC1080 sensors. This module is designed to measure indoor air quality, including CO2 and Total Volatile Organic Compounds (TVOC) levels, as well as temperature and humidity. It is widely used in applications such as smart home systems, HVAC systems, air purifiers, and environmental monitoring.
Explore Projects Built with CJMCU-8128


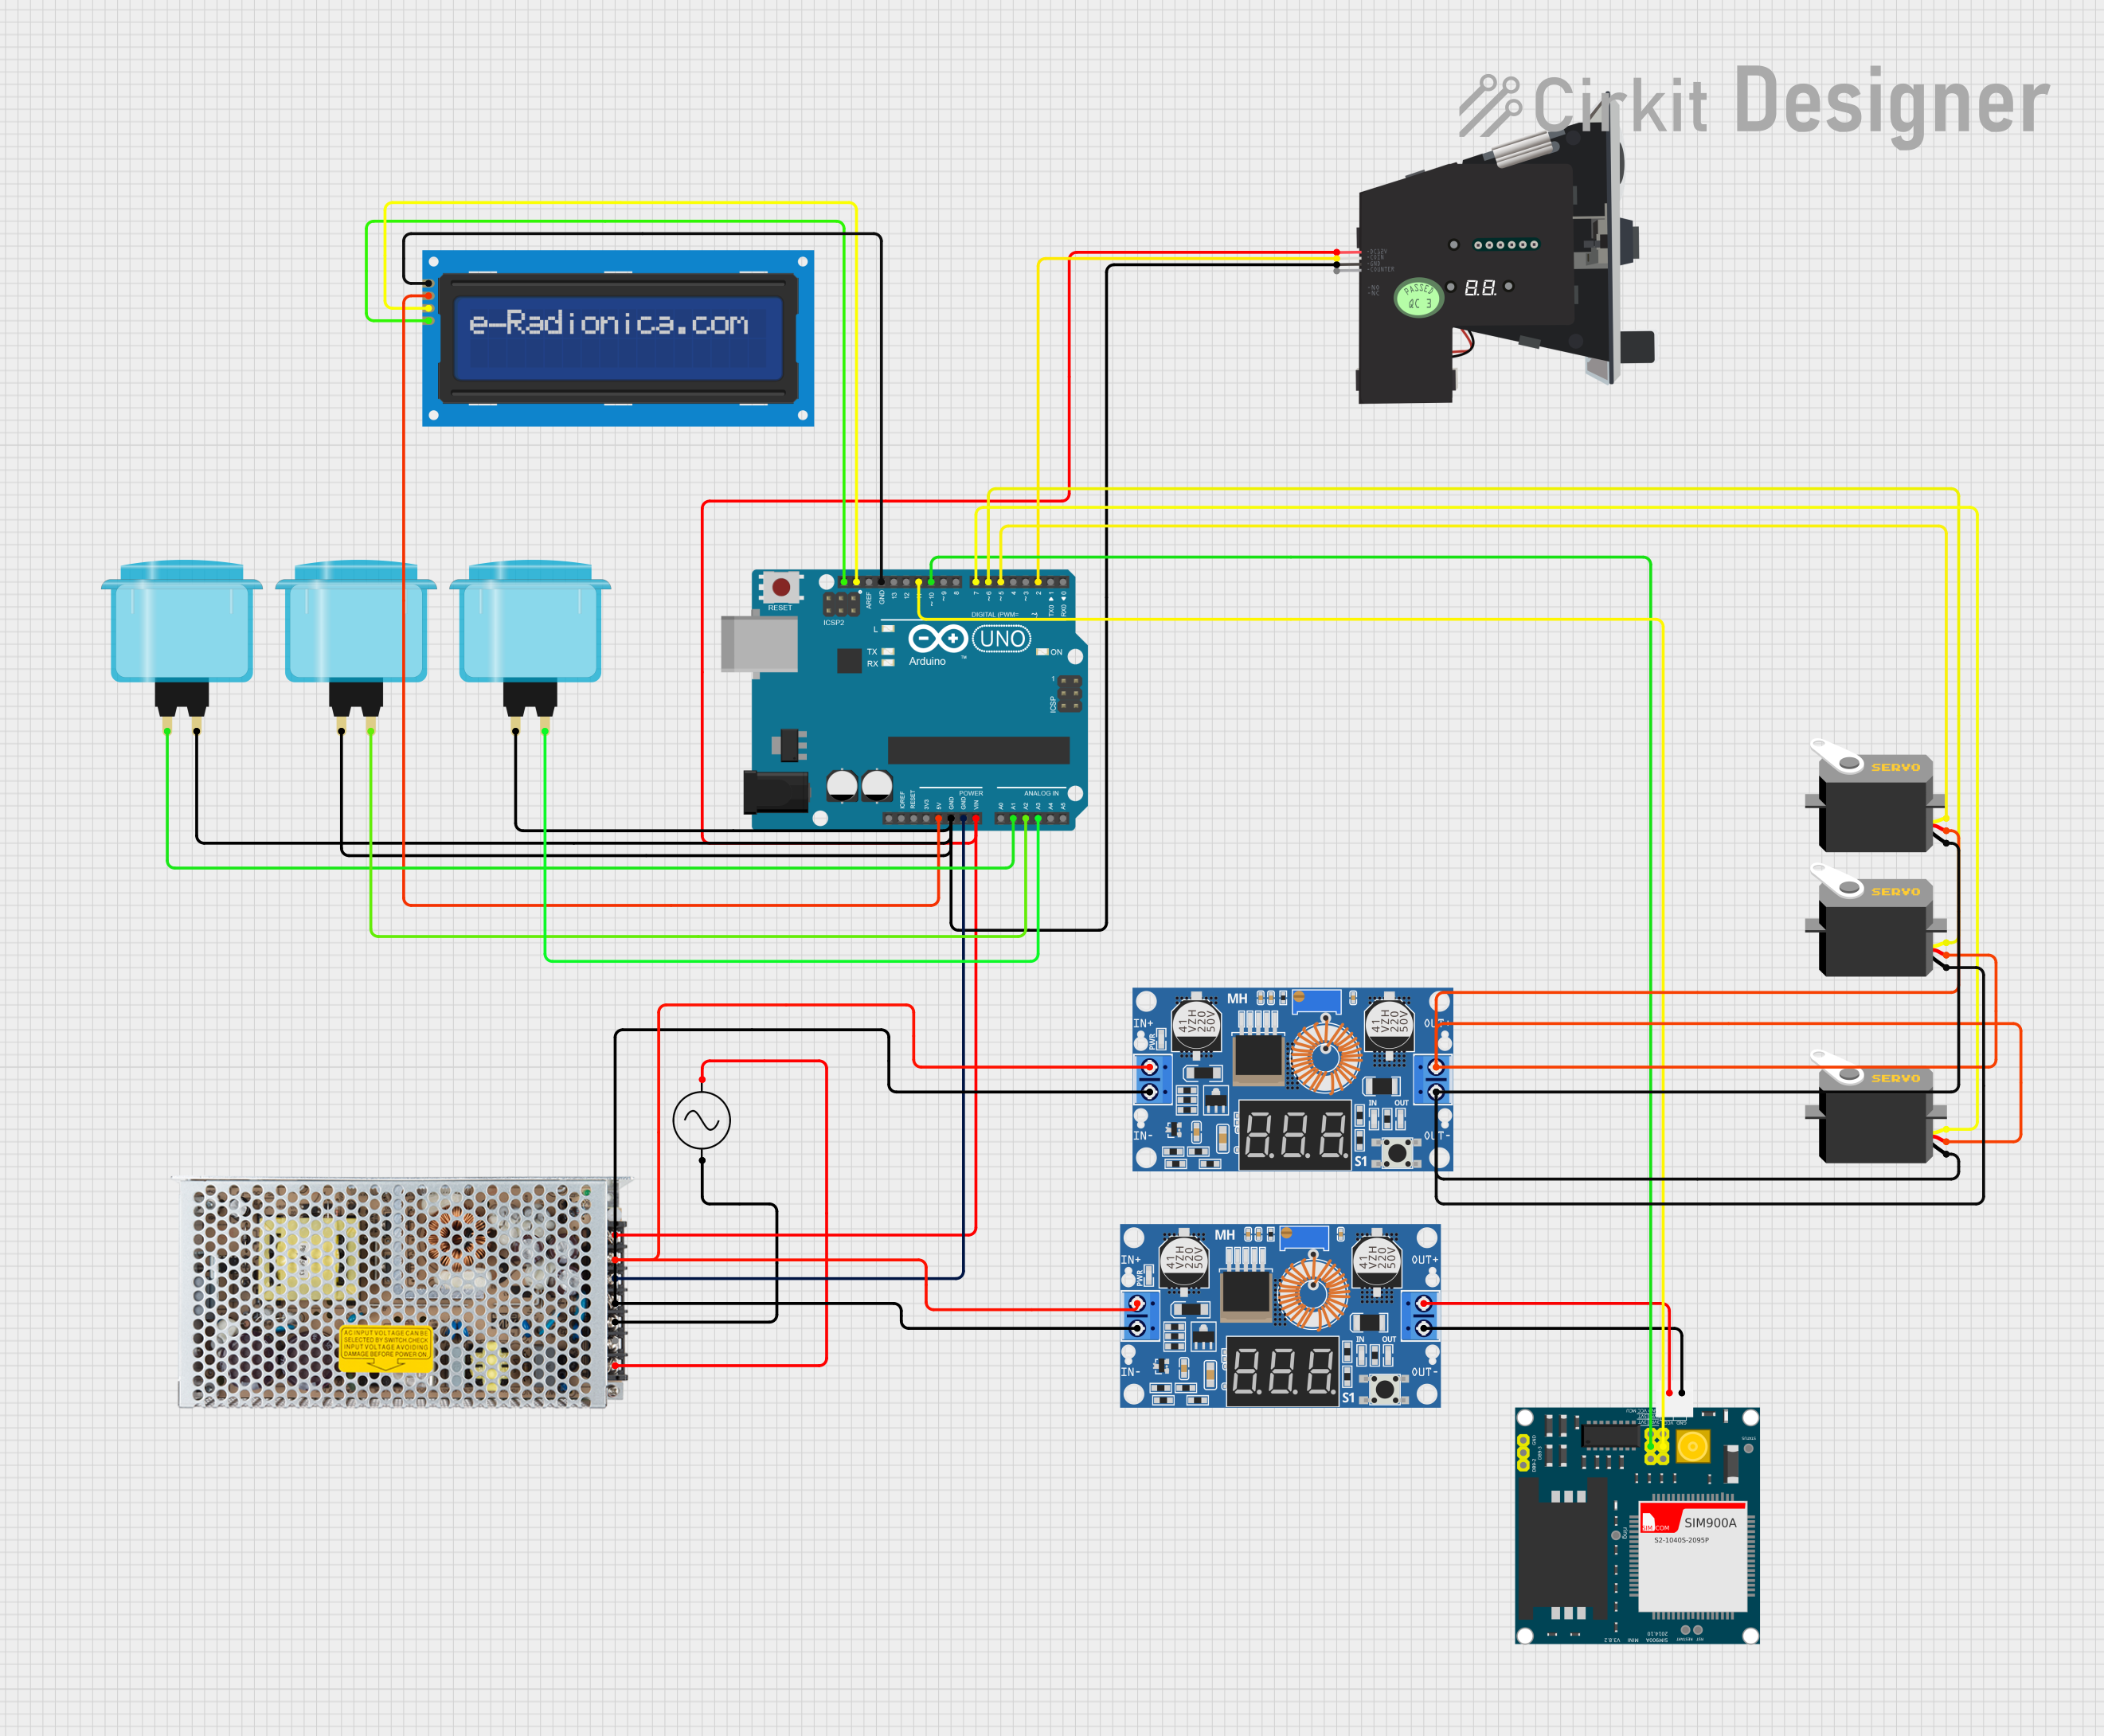

Explore Projects Built with CJMCU-8128
Technical Specifications
Key Technical Details
| Parameter | Value |
|---|---|
| Operating Voltage | 3.3V |
| Operating Current | 20mA (typical) |
| CO2 Measurement Range | 400 to 8192 ppm |
| TVOC Measurement Range | 0 to 1187 ppb |
| Temperature Range | -40°C to 125°C |
| Humidity Range | 0% to 100% RH |
| Communication Interface | I2C |
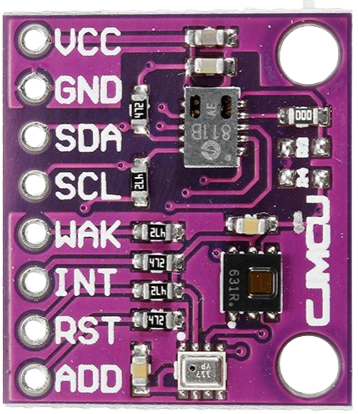
Pin Configuration and Descriptions
| Pin | Name | Description |
|---|---|---|
| 1 | VCC | Power supply (3.3V) |
| 2 | GND | Ground |
| 3 | SDA | I2C data line |
| 4 | SCL | I2C clock line |
| 5 | INT | Interrupt output (optional, for CCS811) |
| 6 | RST | Reset (optional, for CCS811) |
Usage Instructions
How to Use the Component in a Circuit
- Power Supply: Connect the VCC pin to a 3.3V power supply and the GND pin to the ground.
- I2C Communication: Connect the SDA and SCL pins to the corresponding I2C pins on your microcontroller (e.g., Arduino UNO).
- Optional Connections: If you need to use the interrupt or reset features of the CCS811 sensor, connect the INT and RST pins accordingly.
Important Considerations and Best Practices
- Power Supply: Ensure that the module is powered with a stable 3.3V supply to avoid inaccurate readings.
- I2C Pull-up Resistors: If your microcontroller does not have internal pull-up resistors on the I2C lines, add external pull-up resistors (typically 4.7kΩ) to the SDA and SCL lines.
- Warm-up Time: Allow the sensor to warm up for a few minutes after powering on to ensure accurate measurements.
- Calibration: Periodically calibrate the sensor in a known environment to maintain accuracy.
Example Code for Arduino UNO
Below is an example code to interface the CJMCU-8128 with an Arduino UNO. This code reads CO2, TVOC, temperature, and humidity values and prints them to the serial monitor.
#include <Wire.h>
#include "Adafruit_CCS811.h"
#include "Adafruit_HDC1000.h"

// Create instances for CCS811 and HDC1080 sensors
Adafruit_CCS811 ccs;
Adafruit_HDC1000 hdc = Adafruit_HDC1000();

void setup() {
  Serial.begin(9600);
  Wire.begin();

  // Initialize CCS811 sensor
  if (!ccs.begin()) {
    Serial.println("Failed to start CCS811 sensor! Please check your wiring.");
    while (1);
  }

  // Initialize HDC1080 sensor
  if (!hdc.begin()) {
    Serial.println("Failed to start HDC1080 sensor! Please check your wiring.");
    while (1);
  }

  // Wait for the sensors to be ready
  delay(1000);
}

void loop() {
  // Check if data is available from CCS811
  if (ccs.available()) {
    if (!ccs.readData()) {
      Serial.print("CO2: ");
      Serial.print(ccs.geteCO2());
      Serial.print(" ppm, TVOC: ");
      Serial.print(ccs.getTVOC());
      Serial.println(" ppb");
    } else {
      Serial.println("Error reading from CCS811 sensor!");
    }
  }

  // Read temperature and humidity from HDC1080
  float temperature = hdc.readTemperature();
  float humidity = hdc.readHumidity();

  Serial.print("Temperature: ");
  Serial.print(temperature);
  Serial.print(" °C, Humidity: ");
  Serial.print(humidity);
  Serial.println(" %");

  // Wait for 1 second before the next reading
  delay(1000);
}
Troubleshooting and FAQs
Common Issues Users Might Face
- Sensor Not Responding: Ensure that the I2C connections are correct and that the module is powered with 3.3V.
- Inaccurate Readings: Allow the sensor to warm up and ensure it is calibrated periodically.
- I2C Communication Errors: Check for proper pull-up resistors on the SDA and SCL lines.
Solutions and Tips for Troubleshooting
- Check Connections: Verify all connections and ensure there are no loose wires.
- Power Supply: Use a stable and clean power supply to avoid noise and fluctuations.
- Library Compatibility: Ensure you are using the correct libraries for the CCS811 and HDC1080 sensors.
By following this documentation, you should be able to effectively integrate and use the CJMCU-8128 air quality sensor module in your projects. If you encounter any issues, refer to the troubleshooting section or consult the sensor datasheets for more detailed information.