How to Use DFRobot AS7341: Examples, Pinouts, and Specs
Introduction
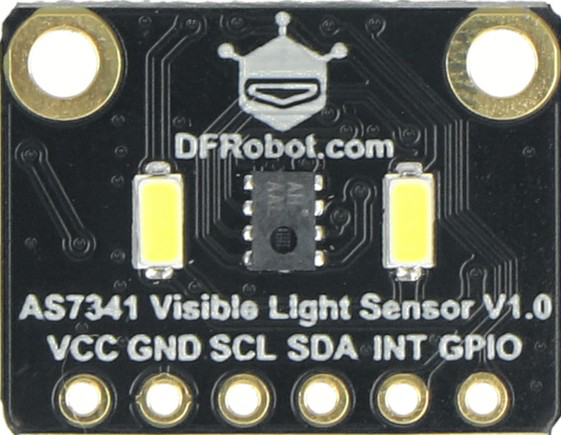
The DFRobot AS7341 is a highly versatile multi-channel light sensor capable of detecting and measuring light intensity across 11 distinct channels, including RGB (red, green, blue) and near-infrared wavelengths. This sensor is designed for applications requiring precise light measurement, such as color sensing, environmental monitoring, and robotics. Its compact design and advanced features make it an excellent choice for projects involving spectral analysis or ambient light detection.
Explore Projects Built with DFRobot AS7341
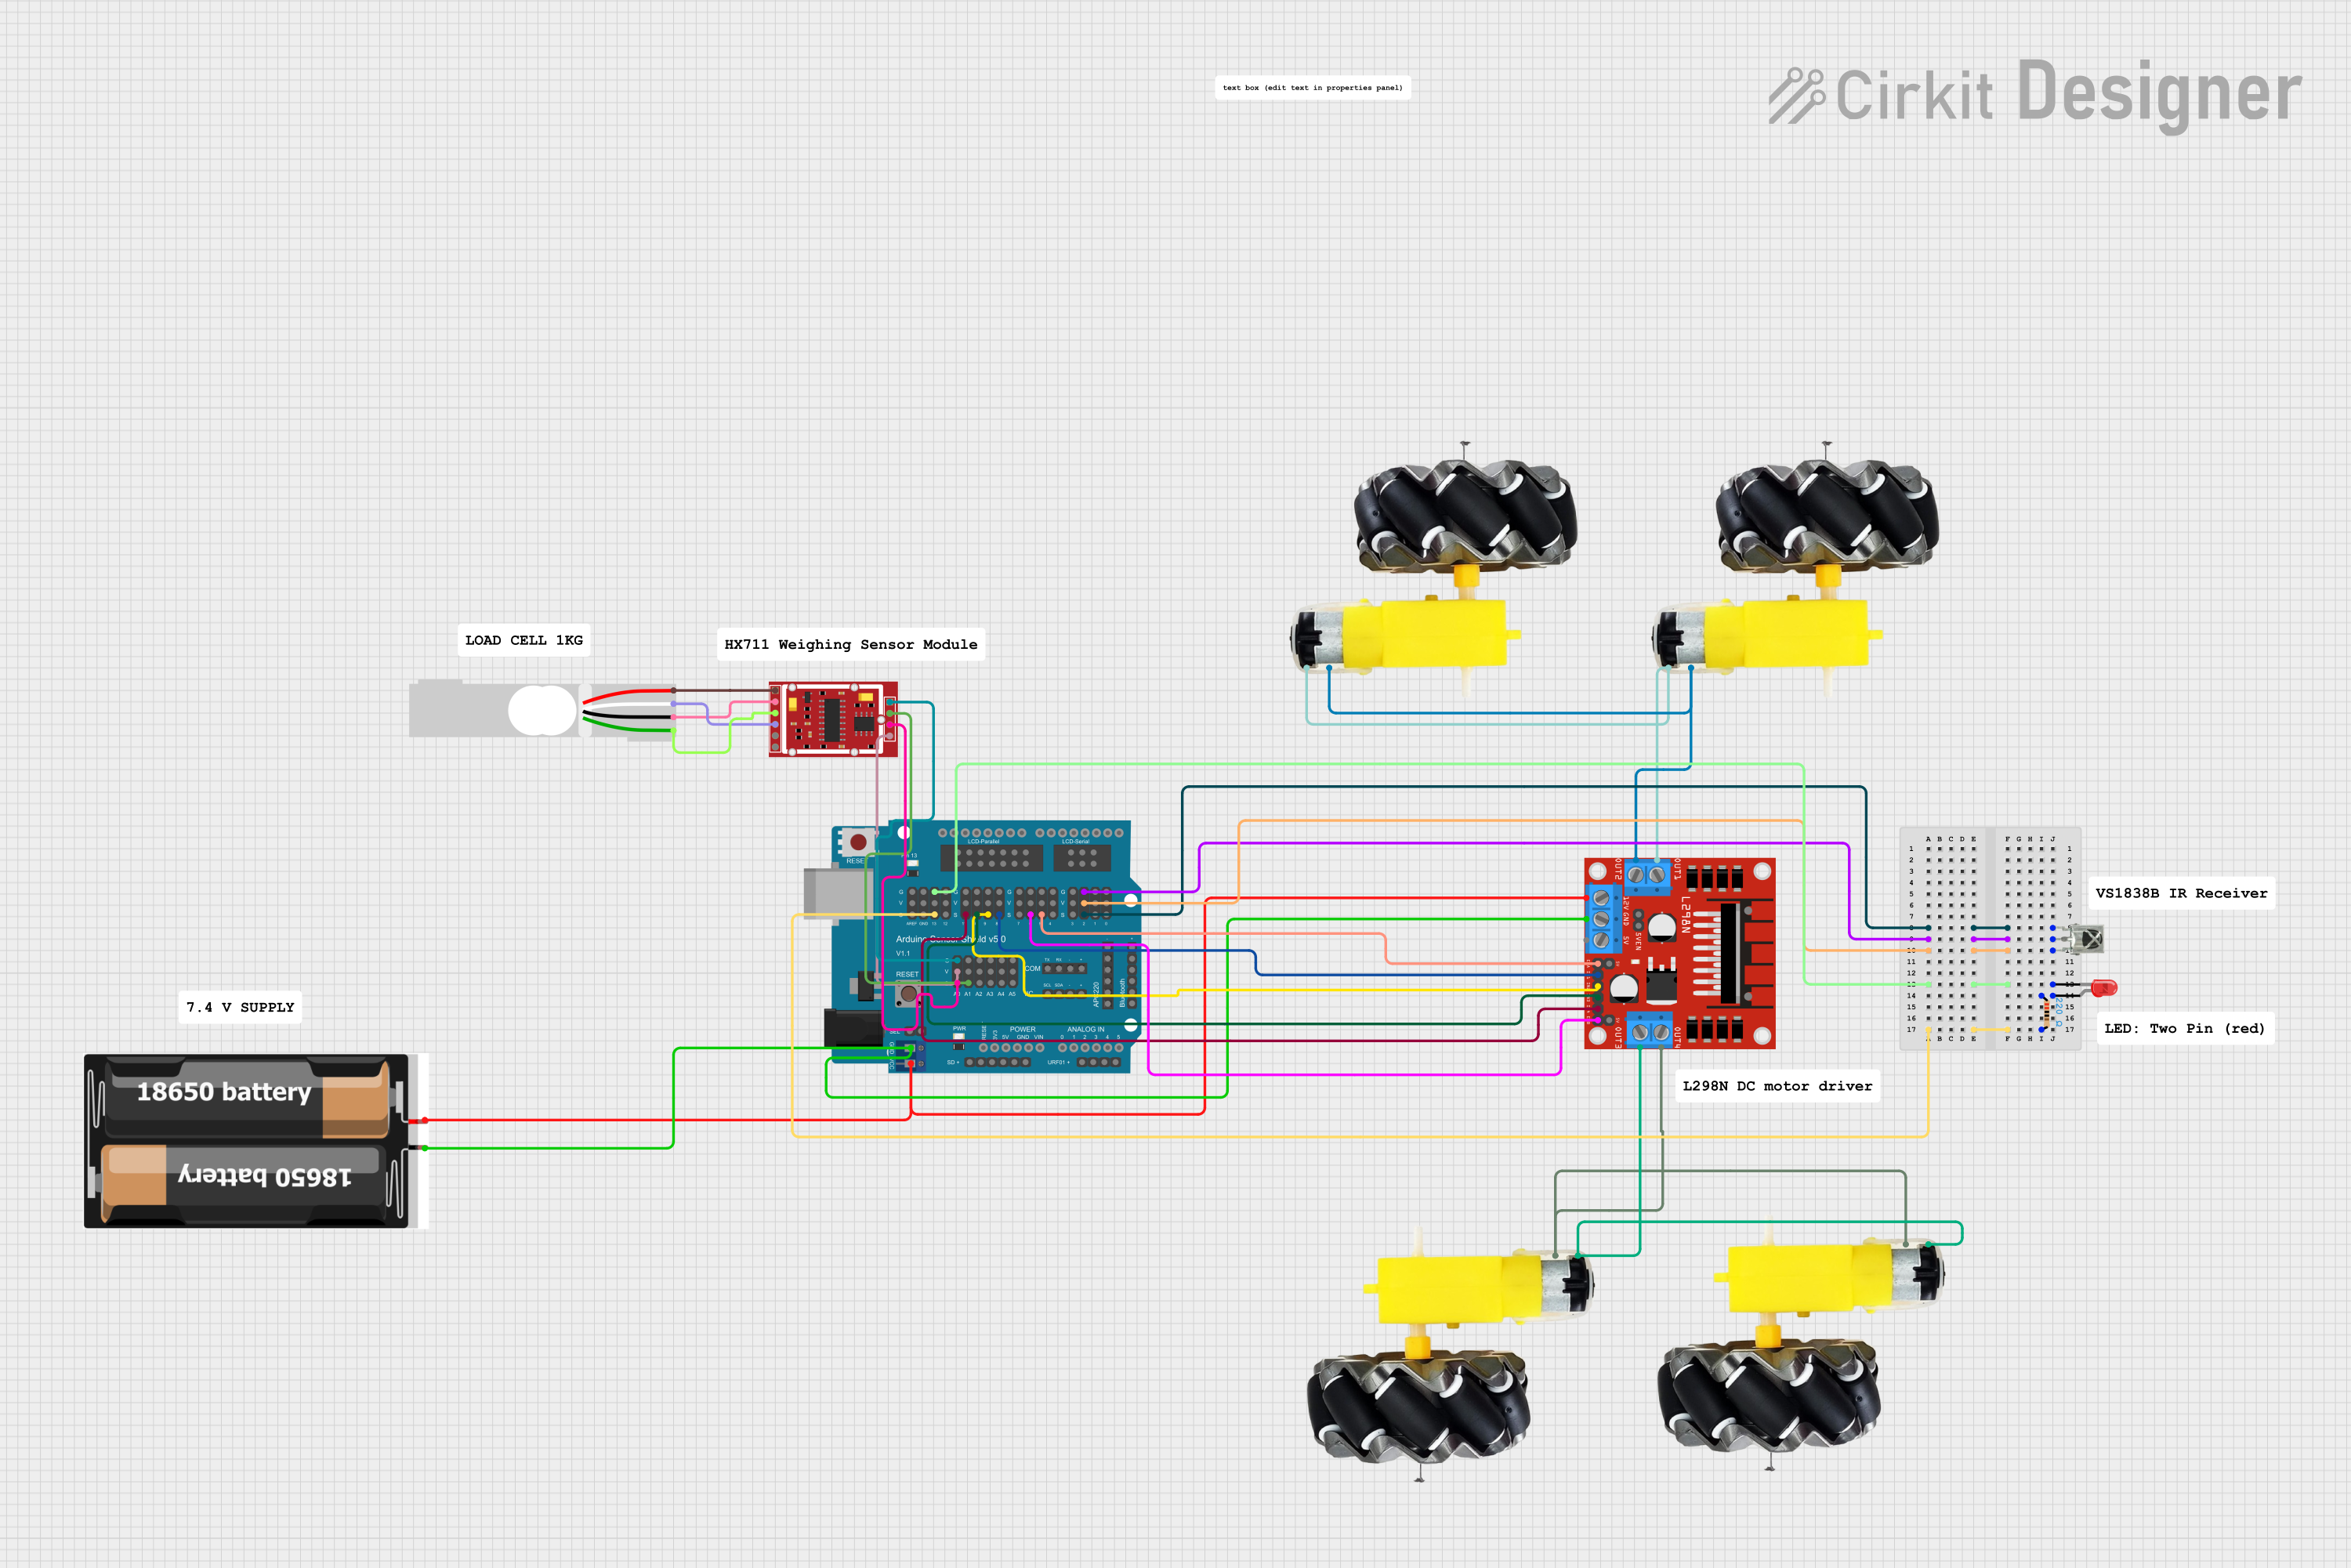
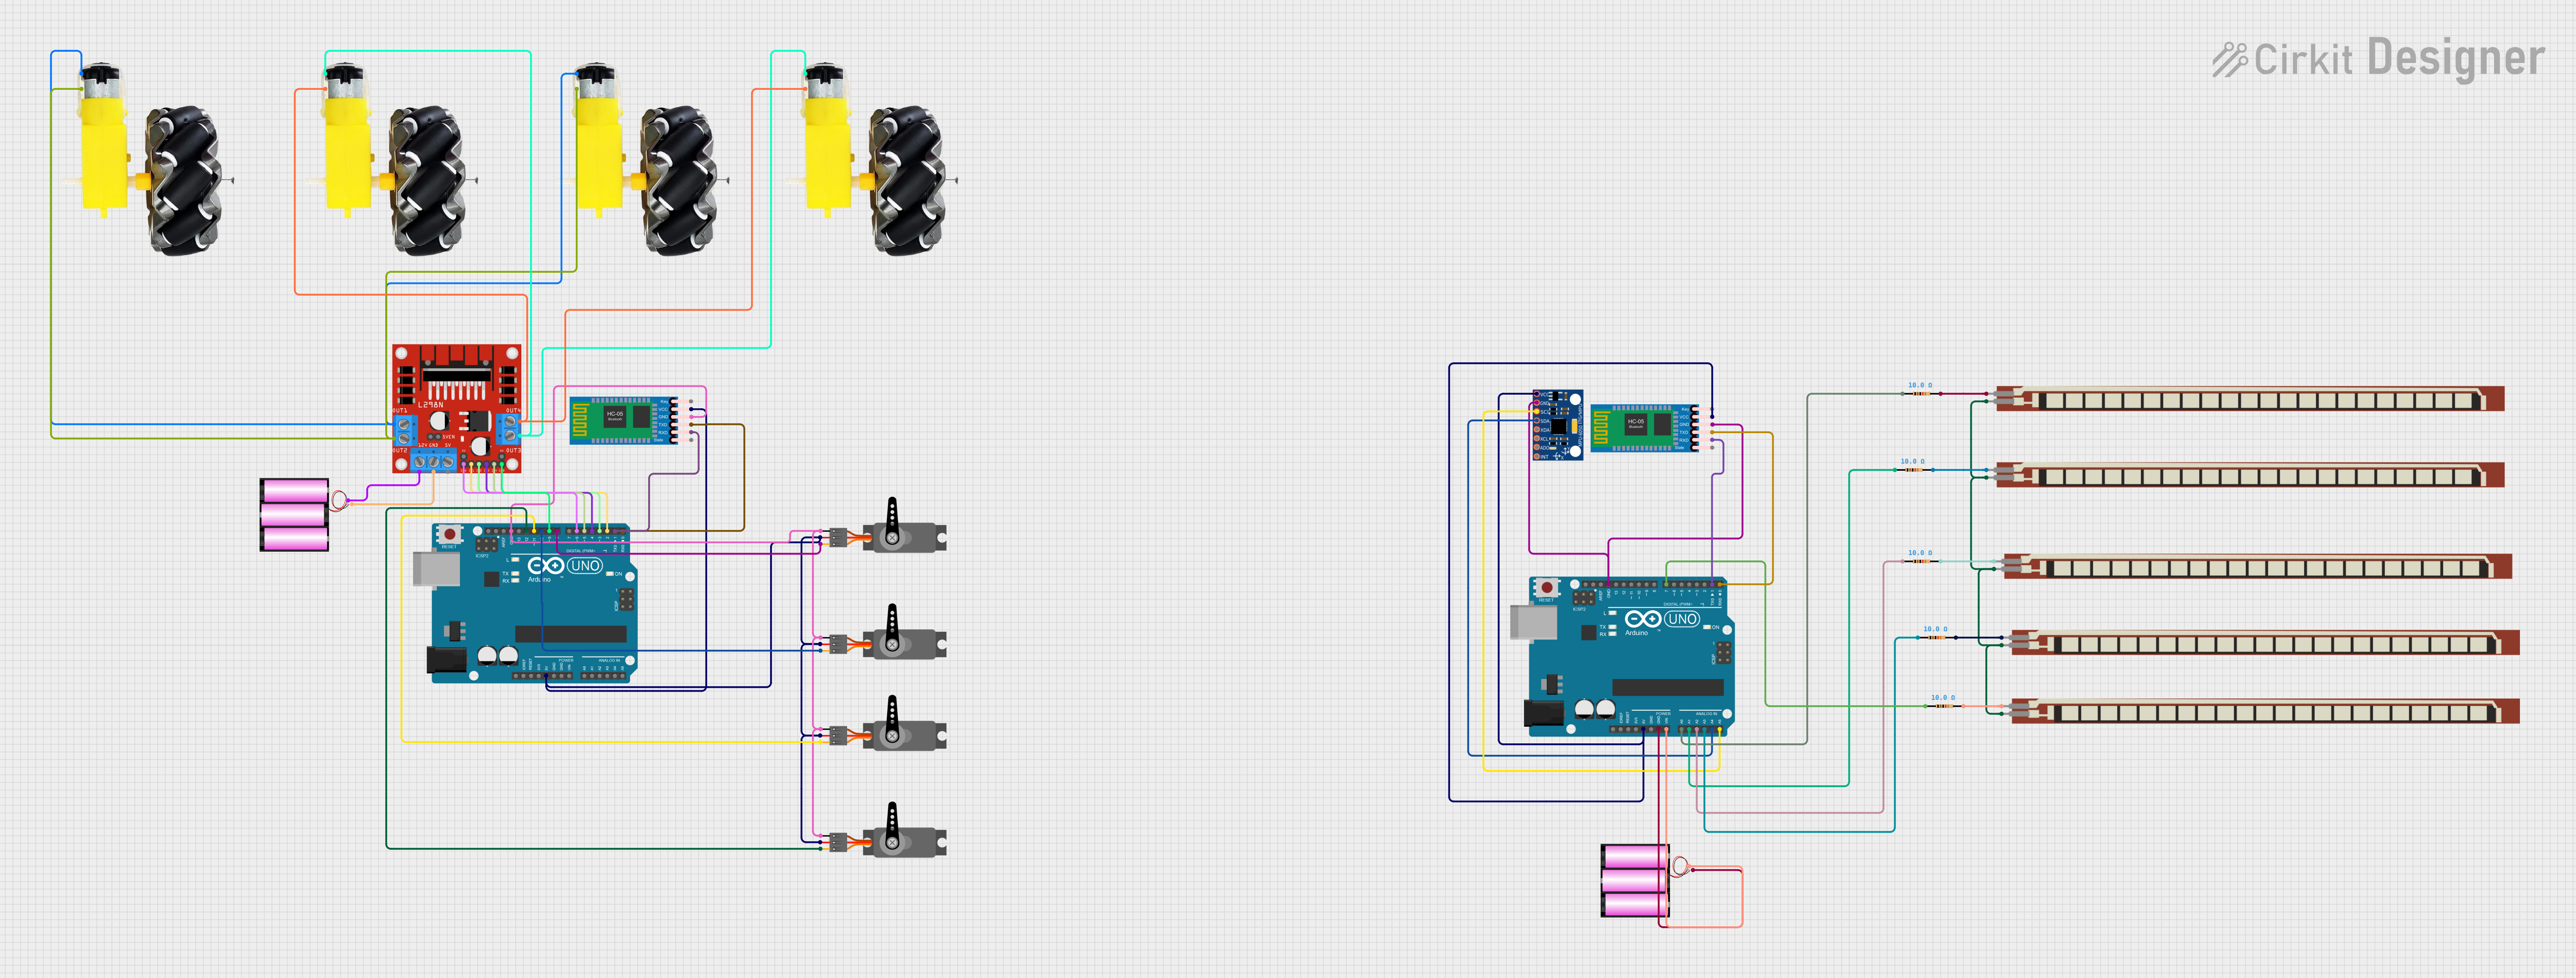

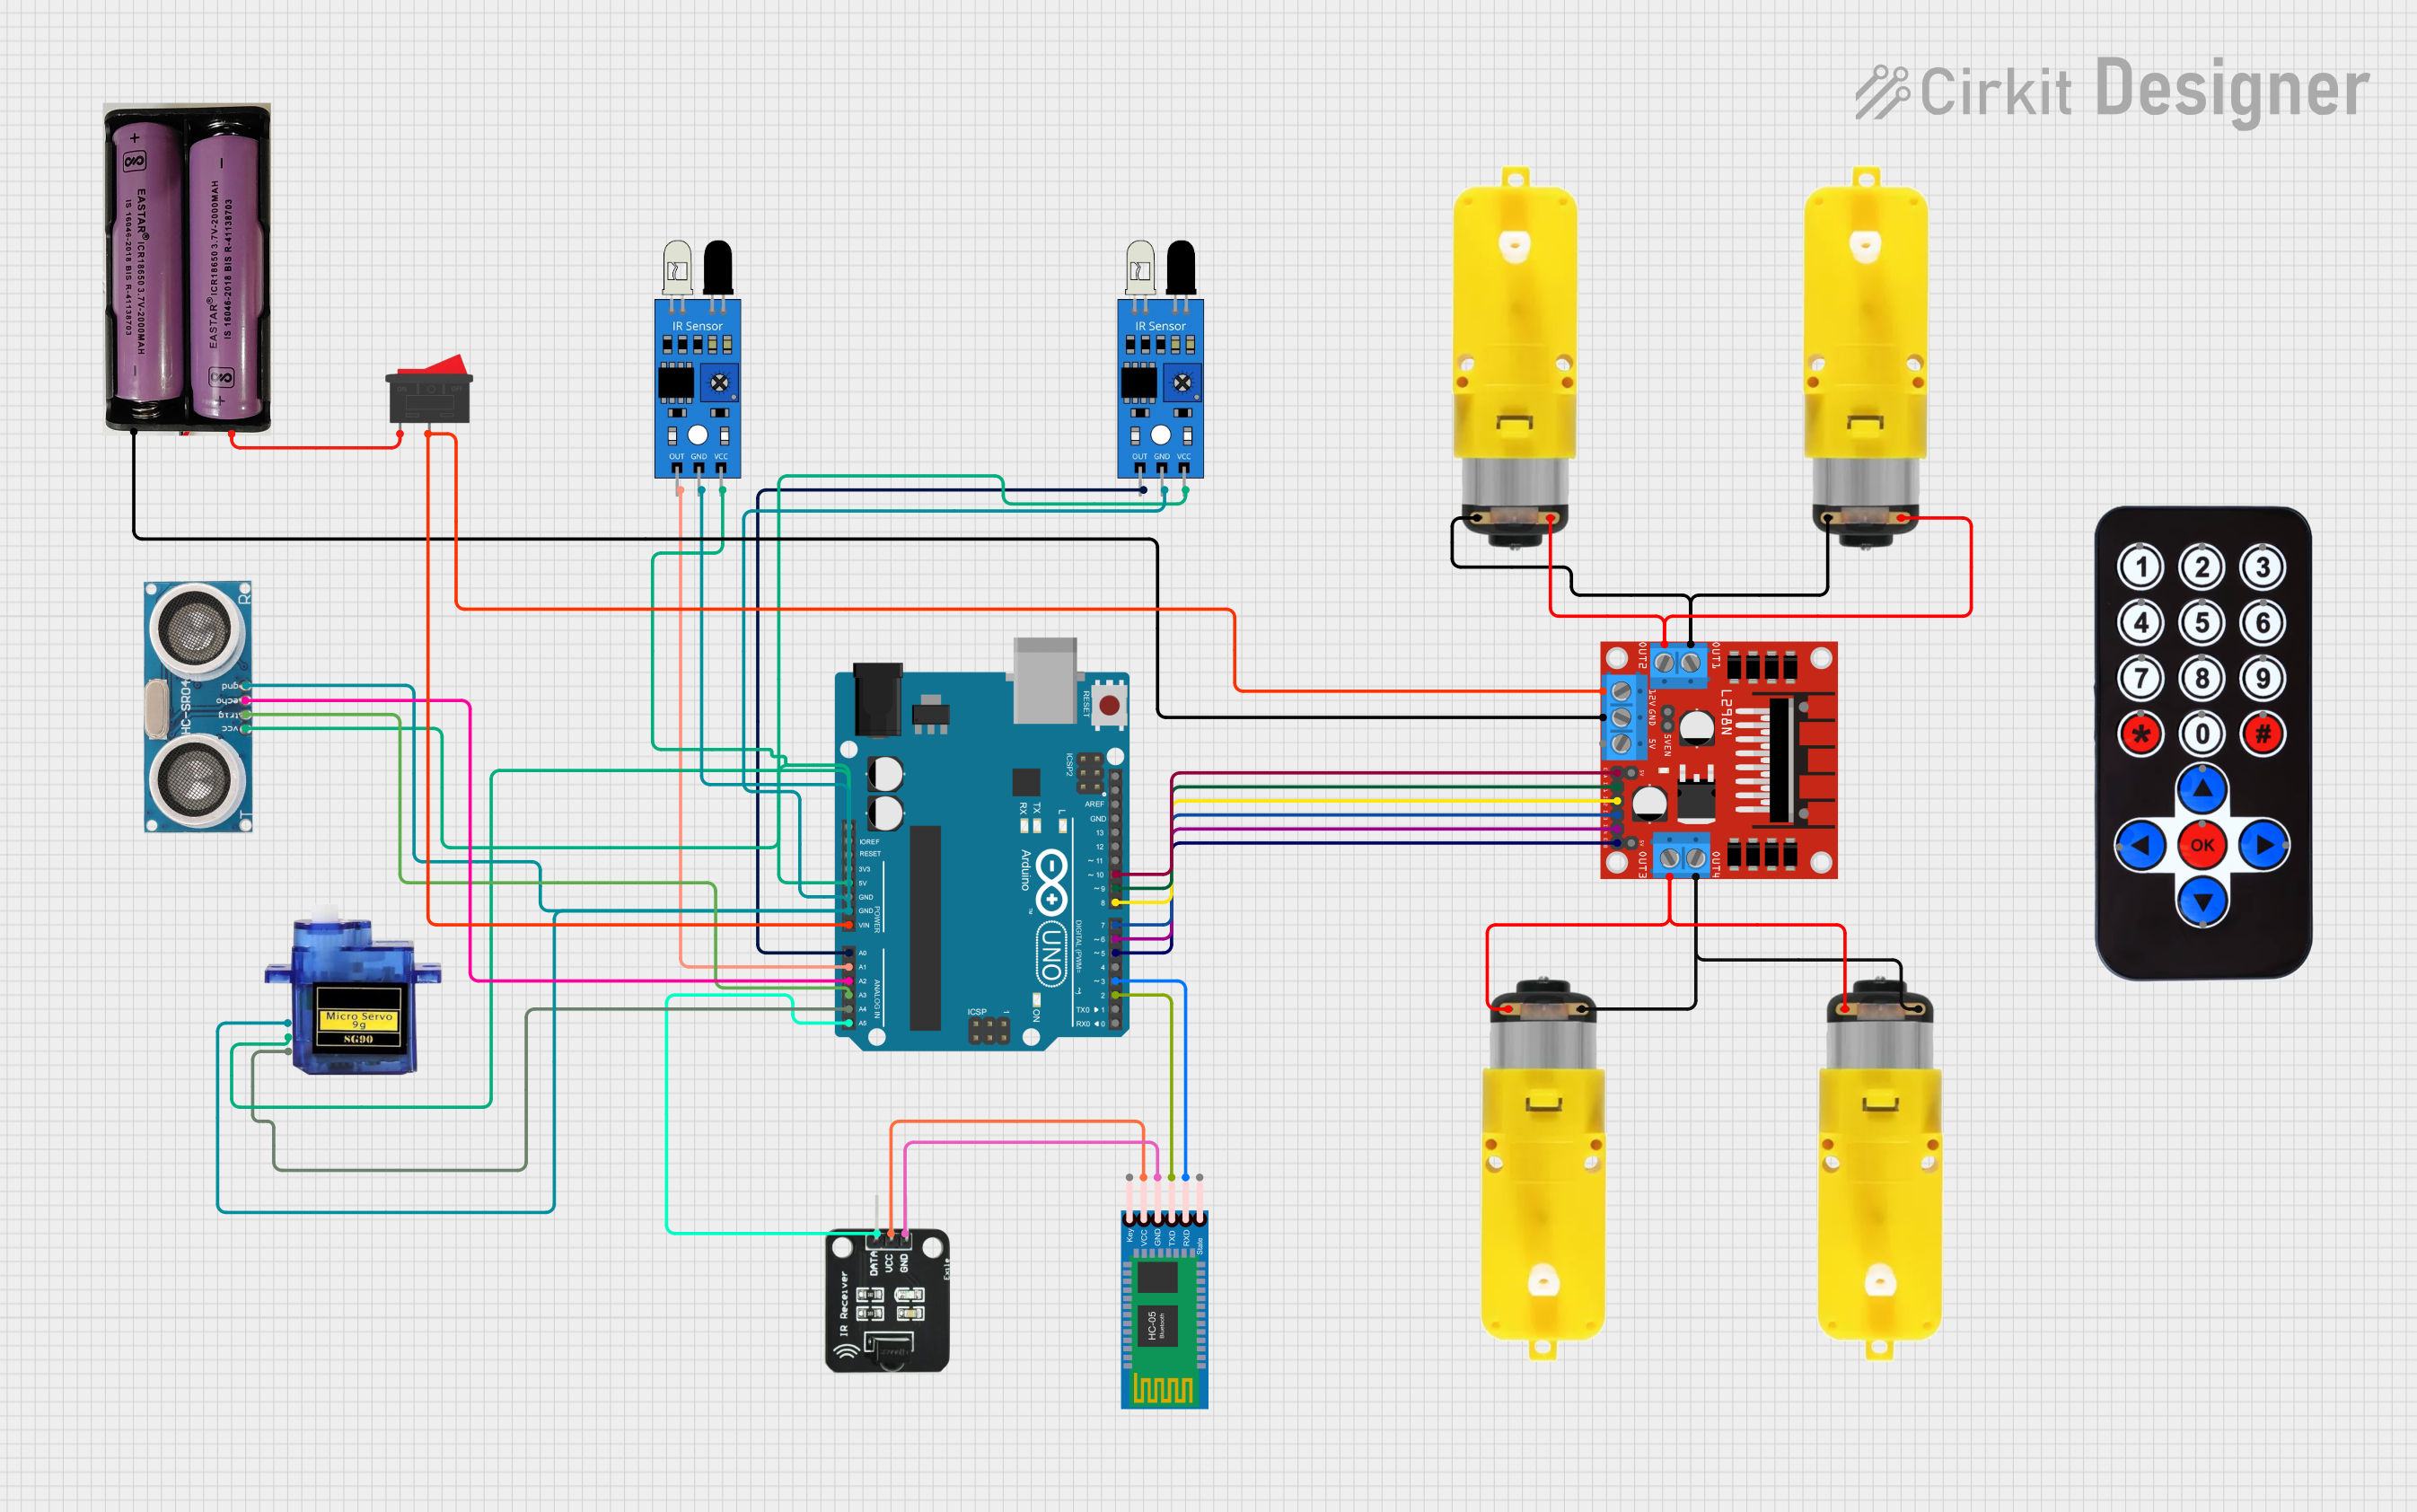
Explore Projects Built with DFRobot AS7341
Common Applications
- Color detection and matching
- Ambient light sensing for smart lighting systems
- Environmental monitoring (e.g., UV index, light pollution)
- Robotics and automation requiring light-based feedback
- Spectral analysis for scientific and industrial purposes
Technical Specifications
The following table outlines the key technical details of the DFRobot AS7341:
| Parameter | Value |
|---|---|
| Manufacturer | DFRobot |
| Part ID | AS7341 |
| Operating Voltage | 1.8V (core) / 3.3V (I/O) |
| Communication Interface | I²C |
| Spectral Channels | 11 (including RGB and near-IR) |
| Measurement Range | 0.1 lux to 10,000 lux |
| Operating Temperature | -40°C to +85°C |
| Dimensions | 20mm x 15mm x 3.3mm |
Pin Configuration
The DFRobot AS7341 sensor module has the following pin configuration:
| Pin | Name | Description |
|---|---|---|
| 1 | VCC | Power supply (3.3V recommended) |
| 2 | GND | Ground |
| 3 | SDA | I²C data line |
| 4 | SCL | I²C clock line |
| 5 | INT | Interrupt output (optional, for event signaling) |
| 6 | RST | Reset pin (optional, active low) |
Usage Instructions
How to Use the AS7341 in a Circuit
- Power Supply: Connect the VCC pin to a 3.3V power source and the GND pin to ground.
- I²C Communication: Connect the SDA and SCL pins to the corresponding I²C pins on your microcontroller (e.g., Arduino UNO).
- Optional Connections:
- Use the INT pin if you want the sensor to signal specific events (e.g., data ready).
- Connect the RST pin to reset the sensor if needed.
- Pull-Up Resistors: Ensure that the I²C lines (SDA and SCL) have appropriate pull-up resistors (typically 4.7kΩ).
Important Considerations
- The AS7341 operates at 3.3V logic levels. If using a 5V microcontroller (e.g., Arduino UNO), use a level shifter for the I²C lines.
- Avoid exposing the sensor to direct sunlight or extreme environmental conditions to ensure accurate readings.
- Calibrate the sensor for your specific application to achieve optimal performance.
Example Code for Arduino UNO
Below is an example Arduino sketch to interface with the AS7341 using the Wire library:
#include <Wire.h>

// I2C address of the AS7341 sensor
#define AS7341_I2C_ADDR 0x39

void setup() {
  Wire.begin(); // Initialize I2C communication
  Serial.begin(9600); // Start serial communication for debugging

  // Initialize the AS7341 sensor
  if (!initializeAS7341()) {
    Serial.println("AS7341 initialization failed!");
    while (1); // Halt execution if initialization fails
  }
  Serial.println("AS7341 initialized successfully.");
}

void loop() {
  // Read light intensity data from the AS7341
  uint16_t channelData = readChannelData(0x01); // Example: Read channel 1
  Serial.print("Channel 1 Data: ");
  Serial.println(channelData);

  delay(1000); // Wait 1 second before the next reading
}

bool initializeAS7341() {
  Wire.beginTransmission(AS7341_I2C_ADDR);
  Wire.write(0x80); // Example: Write to a control register
  Wire.write(0x01); // Example: Enable the sensor
  return (Wire.endTransmission() == 0); // Check if the transmission was successful
}

uint16_t readChannelData(uint8_t channel) {
  Wire.beginTransmission(AS7341_I2C_ADDR);
  Wire.write(channel); // Specify the channel to read
  if (Wire.endTransmission() != 0) {
    return 0; // Return 0 if communication fails
  }

  Wire.requestFrom(AS7341_I2C_ADDR, 2); // Request 2 bytes of data
  if (Wire.available() < 2) {
    return 0; // Return 0 if insufficient data is received
  }

  uint16_t data = Wire.read(); // Read the first byte
  data |= (Wire.read() << 8); // Read the second byte and combine
  return data;
}
Notes on the Code
- The
initializeAS7341()function configures the sensor for basic operation. Modify it as needed for your application. - The
readChannelData()function reads data from a specific channel. Replace0x01with the desired channel address.
Troubleshooting and FAQs
Common Issues
No Data from the Sensor:
- Ensure the I²C connections (SDA, SCL) are correct and have pull-up resistors.
- Verify that the sensor is powered with 3.3V and not 5V.
- Check the I²C address (default: 0x39) and ensure no address conflicts.
Incorrect or Inconsistent Readings:
- Avoid exposing the sensor to direct sunlight or reflective surfaces.
- Calibrate the sensor for your specific environment and application.
Initialization Fails:
- Ensure the sensor is properly connected and powered.
- Verify that the I²C communication speed is compatible (typically 100kHz or 400kHz).
FAQs
Q: Can the AS7341 measure UV light?
A: The AS7341 does not directly measure UV light but can detect near-infrared and visible light, which may be useful for indirect UV analysis.
Q: Is the AS7341 compatible with 5V microcontrollers?
A: Yes, but you must use a level shifter for the I²C lines, as the AS7341 operates at 3.3V logic levels.
Q: How do I improve measurement accuracy?
A: Perform calibration for your specific application and ensure the sensor is shielded from stray light sources.
This concludes the documentation for the DFRobot AS7341. For further assistance, refer to the official datasheet or contact DFRobot support.