How to Use MQ 6: Examples, Pinouts, and Specs

 Design with MQ 6 in Cirkit Designer
Introduction
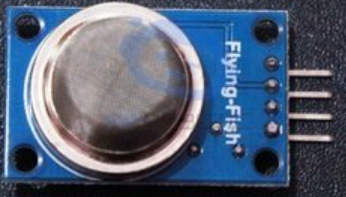
The MQ 6 is a gas sensor designed to detect the presence of various gases, including LPG (liquefied petroleum gas), propane, and butane. It operates on the principle of resistive change, where the sensor's resistance varies in response to the concentration of target gases. The MQ 6 provides an analog output signal proportional to the gas concentration, making it suitable for a wide range of applications.
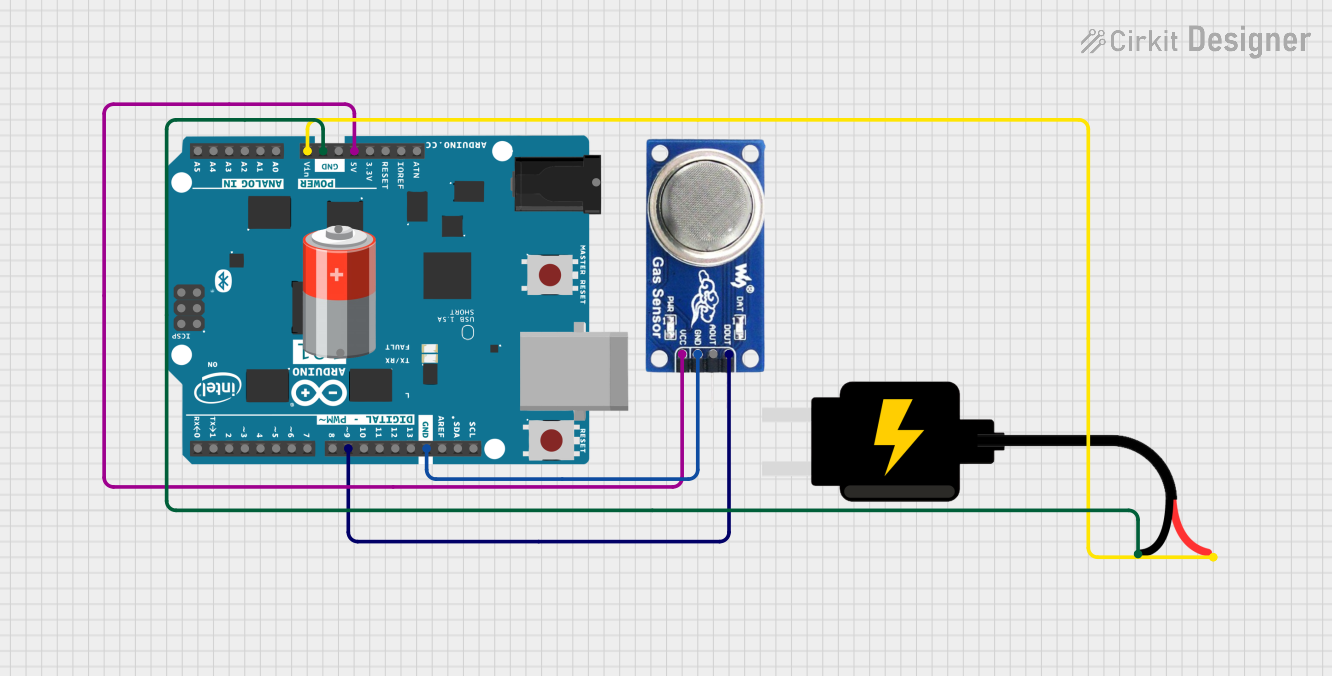
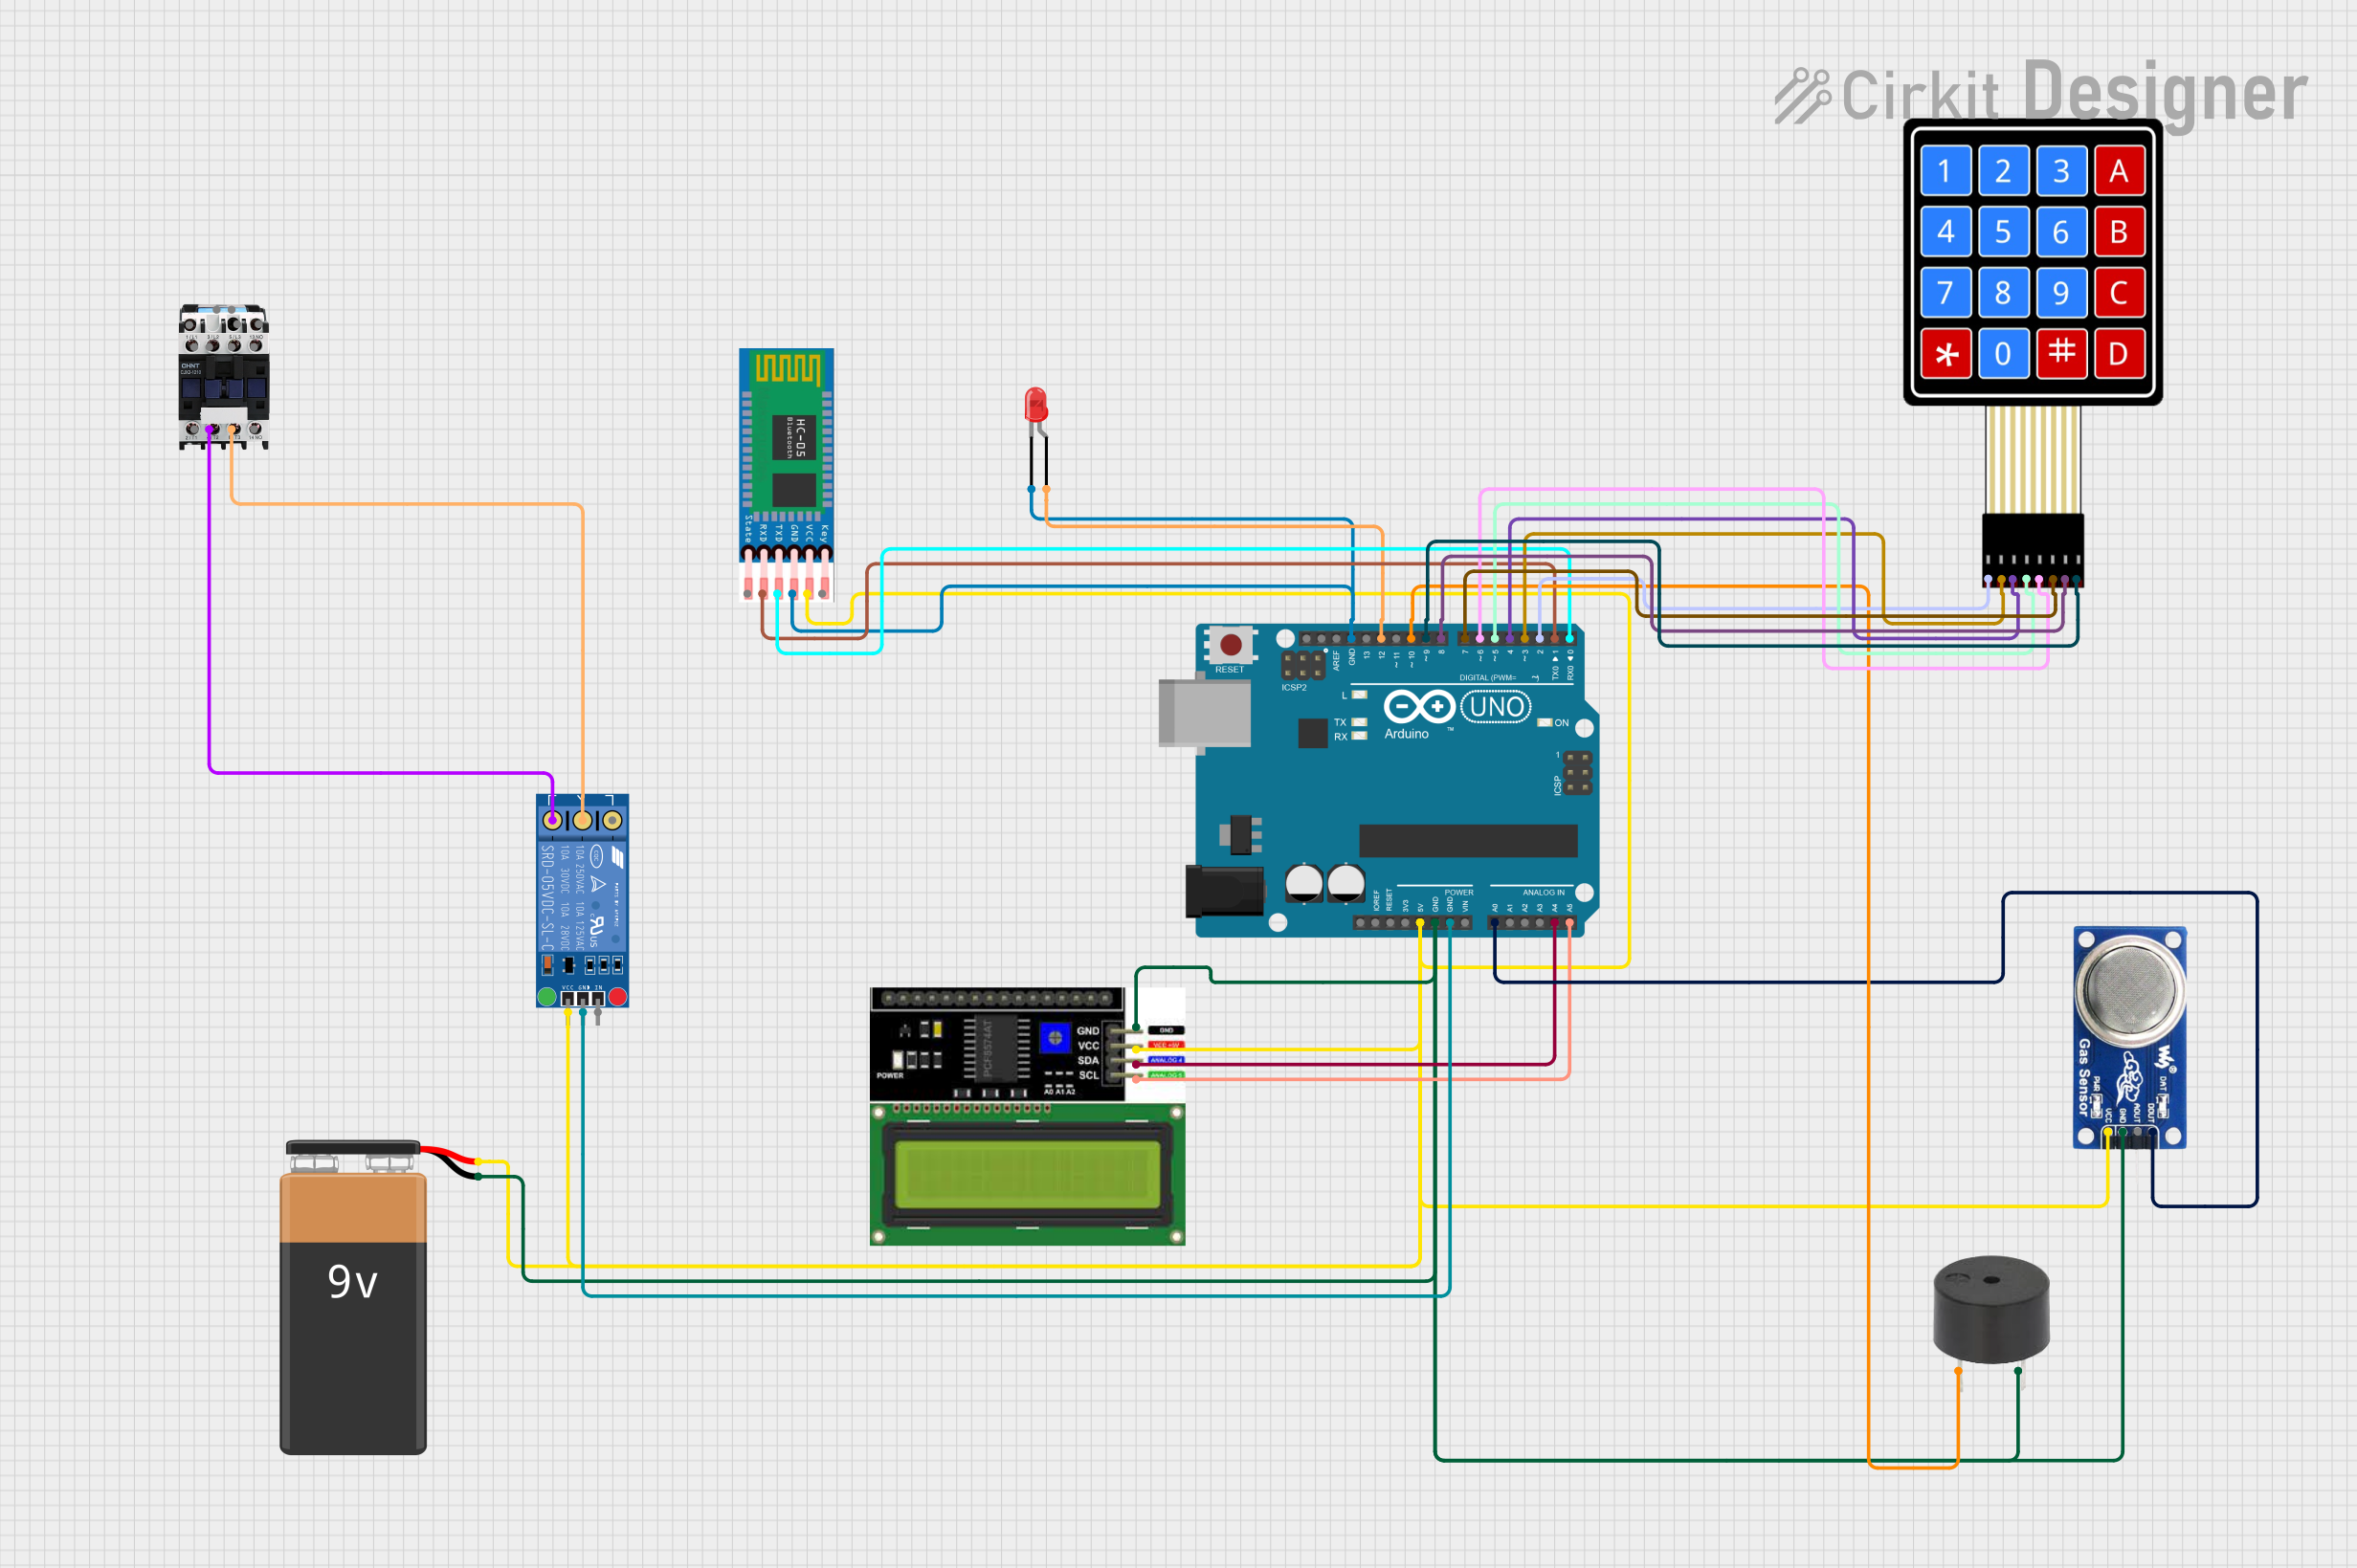
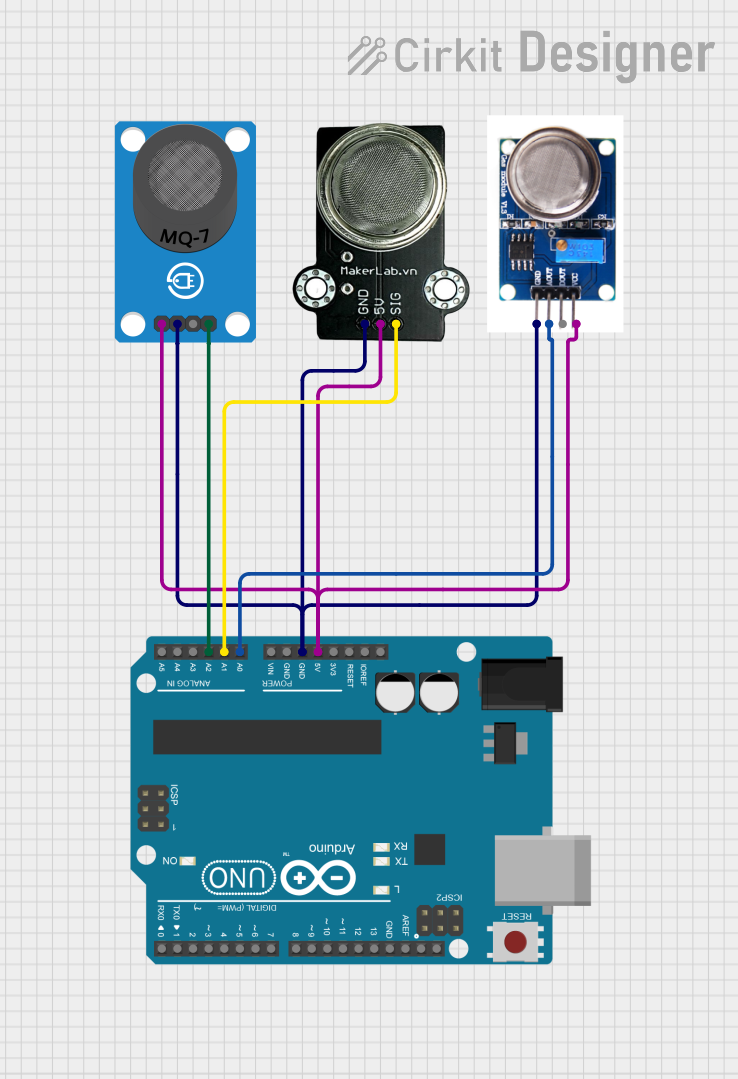
Explore Projects Built with MQ 6

 Open Project in Cirkit Designer
 Open Project in Cirkit Designer
 Open Project in Cirkit Designer
 Open Project in Cirkit Designer
Explore Projects Built with MQ 6

 Open Project in Cirkit Designer
 Open Project in Cirkit Designer
 Open Project in Cirkit Designer
 Open Project in Cirkit Designer
Common Applications
- Gas leak detection in homes and industries
- Air quality monitoring systems
- Safety systems for detecting combustible gases
- Portable gas detectors
- IoT-based environmental monitoring
Technical Specifications
The MQ 6 sensor is a reliable and cost-effective solution for gas detection. Below are its key technical details:
| Parameter | Value |
|---|---|
| Operating Voltage | 5V DC |
| Load Resistance (RL) | Adjustable (typically 10 kΩ) |
| Heater Voltage (VH) | 5V ± 0.2V AC/DC |
| Heater Power Consumption | ≤ 800 mW |
| Detection Range | 200 ppm to 10,000 ppm (LPG, etc.) |
| Preheat Time | ≥ 20 seconds |
| Operating Temperature | -20°C to 50°C |
| Humidity Range | ≤ 95% RH |
| Output Signal | Analog voltage |
Pin Configuration and Descriptions
The MQ 6 sensor typically comes with four pins or six pins, depending on the module version. Below is the pin configuration:
For 4-Pin Module:
| Pin | Name | Description |
|---|---|---|
| 1 | VCC | Power supply (5V DC) |
| 2 | GND | Ground |
| 3 | AOUT | Analog output signal proportional to gas concentration |
| 4 | DOUT | Digital output (threshold-based, optional) |
For 6-Pin Sensor (Standalone):
| Pin | Name | Description |
|---|---|---|
| 1 | H1 | Heater pin 1 (connect to 5V) |
| 2 | A | Sensor output (connect to load resistor) |
| 3 | B | Sensor output (connect to load resistor) |
| 4 | H2 | Heater pin 2 (connect to ground) |
| 5 | NC | Not connected |
| 6 | NC | Not connected |
Usage Instructions
How to Use the MQ 6 in a Circuit
- Power the Sensor: Connect the VCC pin to a 5V DC power supply and the GND pin to ground.
- Preheat the Sensor: Allow the sensor to preheat for at least 20 seconds to stabilize its internal heater.
- Connect the Output:
- For analog readings, connect the AOUT pin to an analog input pin of a microcontroller (e.g., Arduino).
- For digital threshold-based output, connect the DOUT pin to a digital input pin.
- Load Resistor: Use a load resistor (typically 10 kΩ) between the sensor's output and ground to create a voltage divider circuit.
- Read the Output: Measure the analog voltage from the AOUT pin to determine the gas concentration.
Important Considerations
- Calibration: The sensor should be calibrated in a known gas concentration for accurate readings.
- Ventilation: Ensure proper ventilation around the sensor to avoid saturation or false readings.
- Avoid Contaminants: Keep the sensor away from water, oil, and other contaminants that may damage it.
- Preheat Time: Always allow the sensor to preheat before taking measurements for consistent results.
Example Code for Arduino UNO
Below is an example of how to interface the MQ 6 sensor with an Arduino UNO to read analog values:
// MQ 6 Gas Sensor Example Code for Arduino UNO
// This code reads the analog output of the MQ 6 sensor and prints the value
// to the Serial Monitor. Ensure the sensor is connected to the correct pins.

const int MQ6_PIN = A0; // Connect the AOUT pin of MQ 6 to Arduino analog pin A0

void setup() {
  Serial.begin(9600); // Initialize serial communication at 9600 baud
  Serial.println("MQ 6 Gas Sensor Test");
  delay(2000); // Allow time for the sensor to stabilize
}

void loop() {
  int sensorValue = analogRead(MQ6_PIN); // Read the analog value from the sensor
  float voltage = sensorValue * (5.0 / 1023.0); // Convert to voltage (0-5V range)

  // Print the sensor value and voltage to the Serial Monitor
  Serial.print("Sensor Value: ");
  Serial.print(sensorValue);
  Serial.print(" | Voltage: ");
  Serial.print(voltage);
  Serial.println(" V");

  delay(1000); // Wait for 1 second before the next reading
}
Notes:
- Replace
A0with the appropriate analog pin if using a different pin. - Use the voltage readings to calculate gas concentration based on the sensor's datasheet.
Troubleshooting and FAQs
Common Issues and Solutions
No Output or Incorrect Readings:
- Ensure the sensor is properly powered (5V DC).
- Check the connections for loose wires or incorrect pin mapping.
- Allow sufficient preheat time (≥ 20 seconds).
Fluctuating Readings:
- Ensure the sensor is in a stable environment without sudden gas concentration changes.
- Use a capacitor across the power supply pins to reduce noise.
Sensor Not Responding to Gas:
- Verify the gas concentration is within the sensor's detection range (200 ppm to 10,000 ppm).
- Check for physical damage to the sensor.
Digital Output Not Triggering:
- Adjust the threshold potentiometer on the module (if available) to set the desired trigger level.
FAQs
Q1: Can the MQ 6 detect gases other than LPG, propane, and butane?
A1: While the MQ 6 is optimized for LPG, propane, and butane, it may also respond to other combustible gases. However, its sensitivity and accuracy may vary.
Q2: How long does the sensor last?
A2: The typical lifespan of the MQ 6 sensor is around 2-3 years, depending on usage and environmental conditions.
Q3: Can I use the MQ 6 with a 3.3V microcontroller?
A3: The MQ 6 requires a 5V power supply for its heater. You can use a level shifter to interface its output with a 3.3V microcontroller.
Q4: Is the sensor safe to use in explosive environments?
A4: The MQ 6 is not intrinsically safe and should not be used in environments with a high risk of explosion. Always follow safety guidelines.