
How to Use NDIR C8 CO2: Examples, Pinouts, and Specs
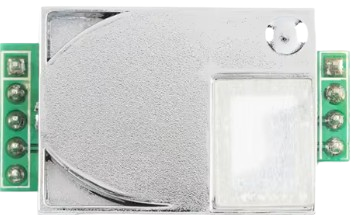
 Design with NDIR C8 CO2 in Cirkit Designer
Introduction
The NDIR C8 is a non-dispersive infrared (NDIR) sensor designed for measuring carbon dioxide (CO2) concentrations in various environments. It operates by detecting the specific infrared wavelengths absorbed by CO2 molecules, ensuring accurate and reliable readings. This sensor is widely used in applications such as air quality monitoring, HVAC systems, industrial safety, and greenhouse management. Its robust design and high sensitivity make it suitable for both indoor and outdoor environments.
Explore Projects Built with NDIR C8 CO2
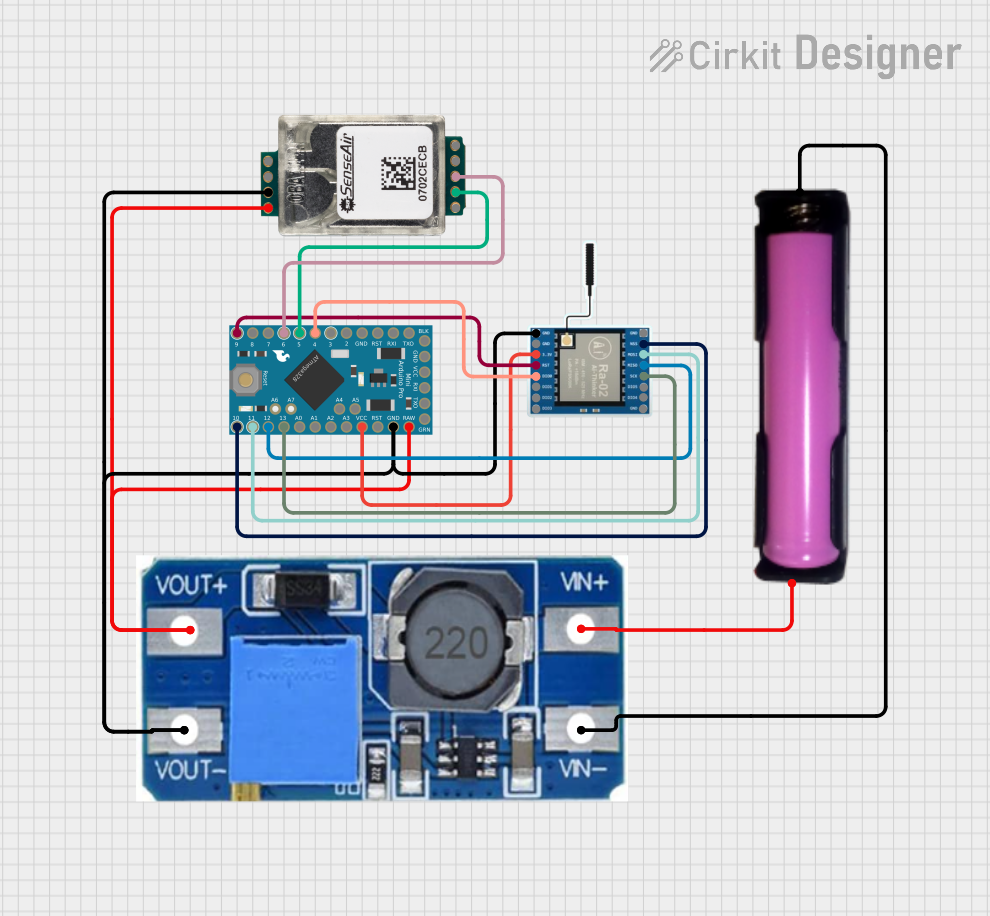 Open Project in Cirkit Designer
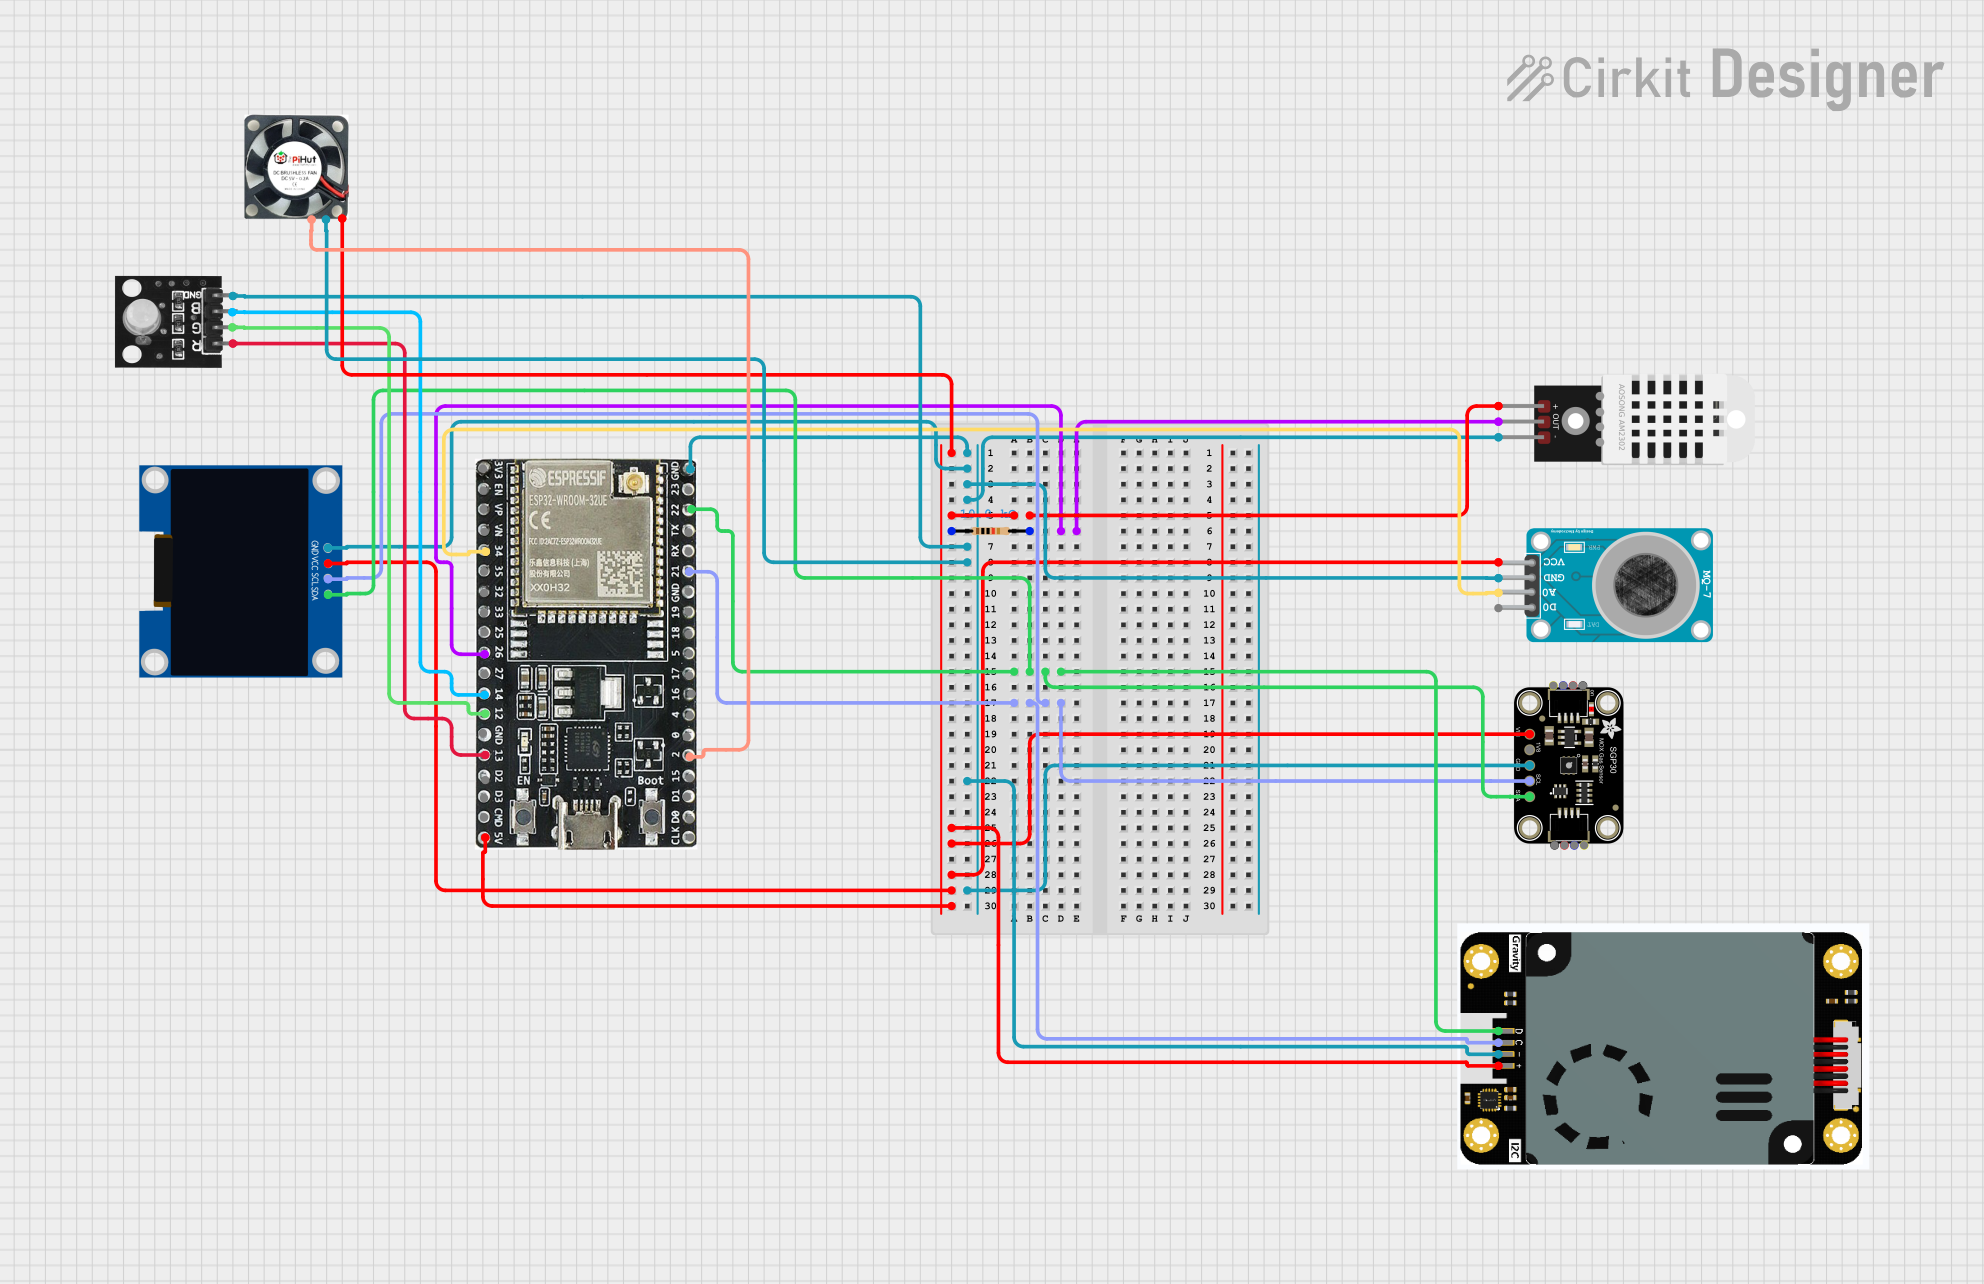 Open Project in Cirkit Designer
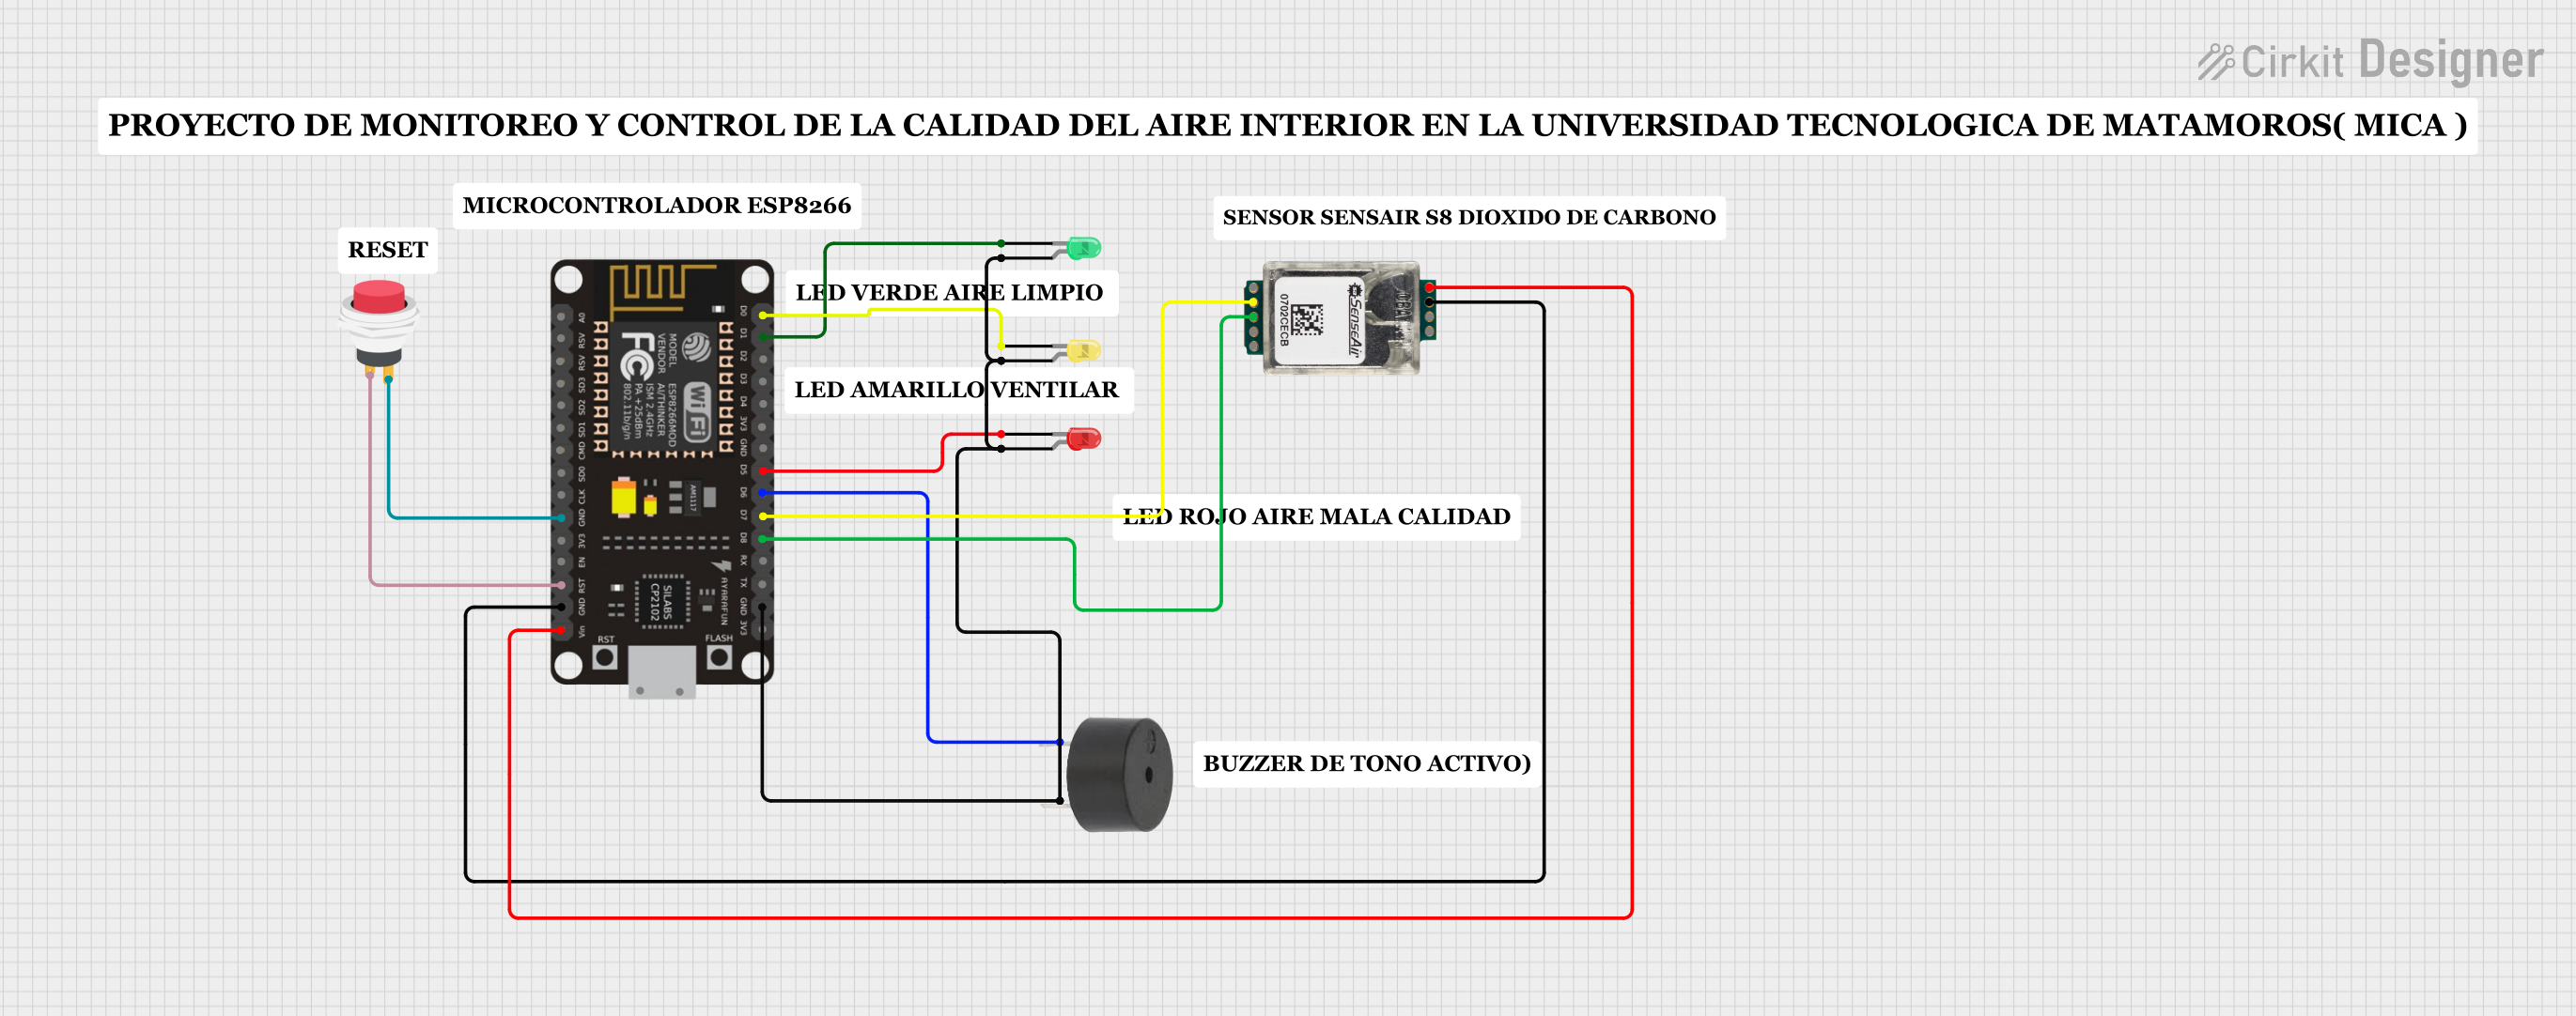 Open Project in Cirkit Designer
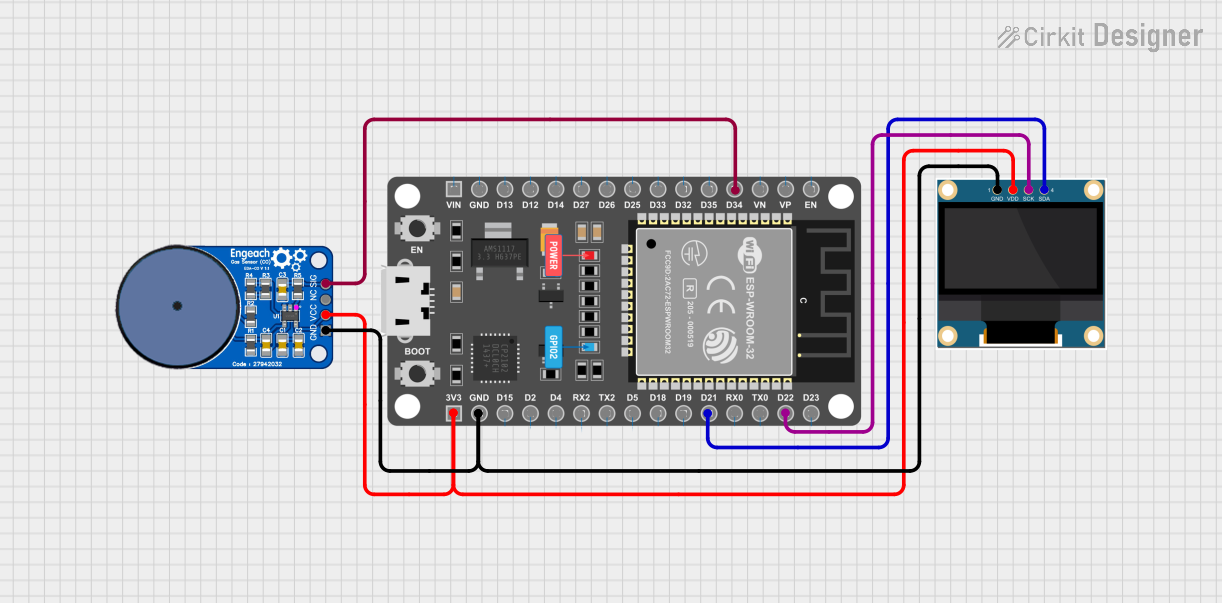 Open Project in Cirkit Designer
Explore Projects Built with NDIR C8 CO2
Open Project in Cirkit DesignerOpen Project in Cirkit DesignerOpen Project in Cirkit DesignerOpen Project in Cirkit DesignerTechnical Specifications
Below are the key technical details and pin configuration for the NDIR C8 CO2 sensor:
Key Technical Details
| Parameter | Value |
|---|---|
| Measurement Range | 0 - 5000 ppm (parts per million) |
| Accuracy | ±50 ppm or ±3% of reading |
| Operating Voltage | 4.5V - 5.5V |
| Operating Current | < 50 mA |
| Communication Interface | UART (TTL level) |
| Warm-Up Time | < 3 minutes |
| Operating Temperature | -10°C to 50°C |
| Operating Humidity | 0% - 95% RH (non-condensing) |
| Dimensions | 33 mm x 20 mm x 9 mm |
Pin Configuration
| Pin Number | Pin Name | Description |
|---|---|---|
| 1 | VCC | Power supply input (4.5V - 5.5V) |
| 2 | GND | Ground connection |
| 3 | TXD | UART Transmit pin (data output) |
| 4 | RXD | UART Receive pin (data input) |
Usage Instructions
How to Use the NDIR C8 in a Circuit
- Power Supply: Connect the
VCCpin to a 5V power source and theGNDpin to the ground of your circuit. - UART Communication: Use the
TXDandRXDpins to establish UART communication with a microcontroller or computer. Ensure the UART voltage levels are compatible (TTL level). - Warm-Up Time: Allow the sensor to warm up for at least 3 minutes after powering it on to ensure accurate readings.
- Data Reading: The sensor outputs CO2 concentration data via the
TXDpin. Use a microcontroller to read and process this data.
Important Considerations and Best Practices
- Ventilation: Ensure proper airflow around the sensor for accurate CO2 measurements.
- Avoid Condensation: Operate the sensor in non-condensing environments to prevent damage.
- Calibration: Periodically calibrate the sensor for long-term accuracy, especially in environments with fluctuating CO2 levels.
- Power Stability: Use a stable power supply to avoid measurement errors caused by voltage fluctuations.
Example: Connecting to an Arduino UNO
Below is an example of how to connect and use the NDIR C8 CO2 sensor with an Arduino UNO:
Wiring Diagram
| NDIR C8 Pin | Arduino UNO Pin |
|---|---|
| VCC | 5V |
| GND | GND |
| TXD | RX (Pin 0) |
| RXD | TX (Pin 1) |
Arduino Code
#include <SoftwareSerial.h>

// Define RX and TX pins for SoftwareSerial
SoftwareSerial mySerial(10, 11); // RX = Pin 10, TX = Pin 11

void setup() {
  Serial.begin(9600); // Initialize Serial Monitor
  mySerial.begin(9600); // Initialize SoftwareSerial for NDIR C8

  Serial.println("NDIR C8 CO2 Sensor Initialized");
}

void loop() {
  if (mySerial.available()) {
    // Read data from the sensor
    String co2Data = "";
    while (mySerial.available()) {
      char c = mySerial.read();
      co2Data += c;
    }

    // Print the received CO2 data to the Serial Monitor
    Serial.println("CO2 Concentration: " + co2Data + " ppm");
  }

  delay(1000); // Wait 1 second before the next reading
}
Notes:
- Use
SoftwareSerialif the Arduino's hardware UART pins (0 and 1) are already in use. - Ensure the sensor's UART baud rate matches the Arduino's baud rate (default is 9600).
Troubleshooting and FAQs
Common Issues and Solutions
No Data Output:
- Cause: Incorrect wiring or baud rate mismatch.
- Solution: Double-check the connections and ensure the UART baud rate is set to 9600.
Inaccurate Readings:
- Cause: Insufficient warm-up time or poor ventilation.
- Solution: Allow the sensor to warm up for at least 3 minutes and ensure proper airflow.
Sensor Not Responding:
- Cause: Power supply issues or damaged sensor.
- Solution: Verify the power supply voltage (4.5V - 5.5V) and check for physical damage.
Interference from Other Devices:
- Cause: Electrical noise from nearby components.
- Solution: Use proper shielding and keep the sensor away from high-frequency devices.
FAQs
Q: Can the NDIR C8 measure CO2 concentrations above 5000 ppm?
A: No, the sensor's maximum measurement range is 5000 ppm. For higher concentrations, consider using a sensor with a wider range.
Q: How often should I calibrate the sensor?
A: Calibration frequency depends on the application. For critical applications, calibrate every 6-12 months.
Q: Can I use the NDIR C8 outdoors?
A: Yes, but ensure the sensor is protected from direct exposure to water and extreme temperatures.
Q: What is the lifespan of the NDIR C8 sensor?
A: The sensor typically has a lifespan of 5-10 years, depending on usage and environmental conditions.