How to Use VTX: Examples, Pinouts, and Specs
Introduction
A Video Transmitter (VTX) is an essential component in FPV (First Person View) systems, commonly used in drone racing, aerial photography, and remote video applications. The VTX transmits the live video feed captured by the onboard camera to the pilot's FPV goggles or ground station monitor, allowing for real-time video streaming. This technology enables pilots to navigate and control the drone as if they were seated in the cockpit, providing an immersive flying experience.
Explore Projects Built with VTX


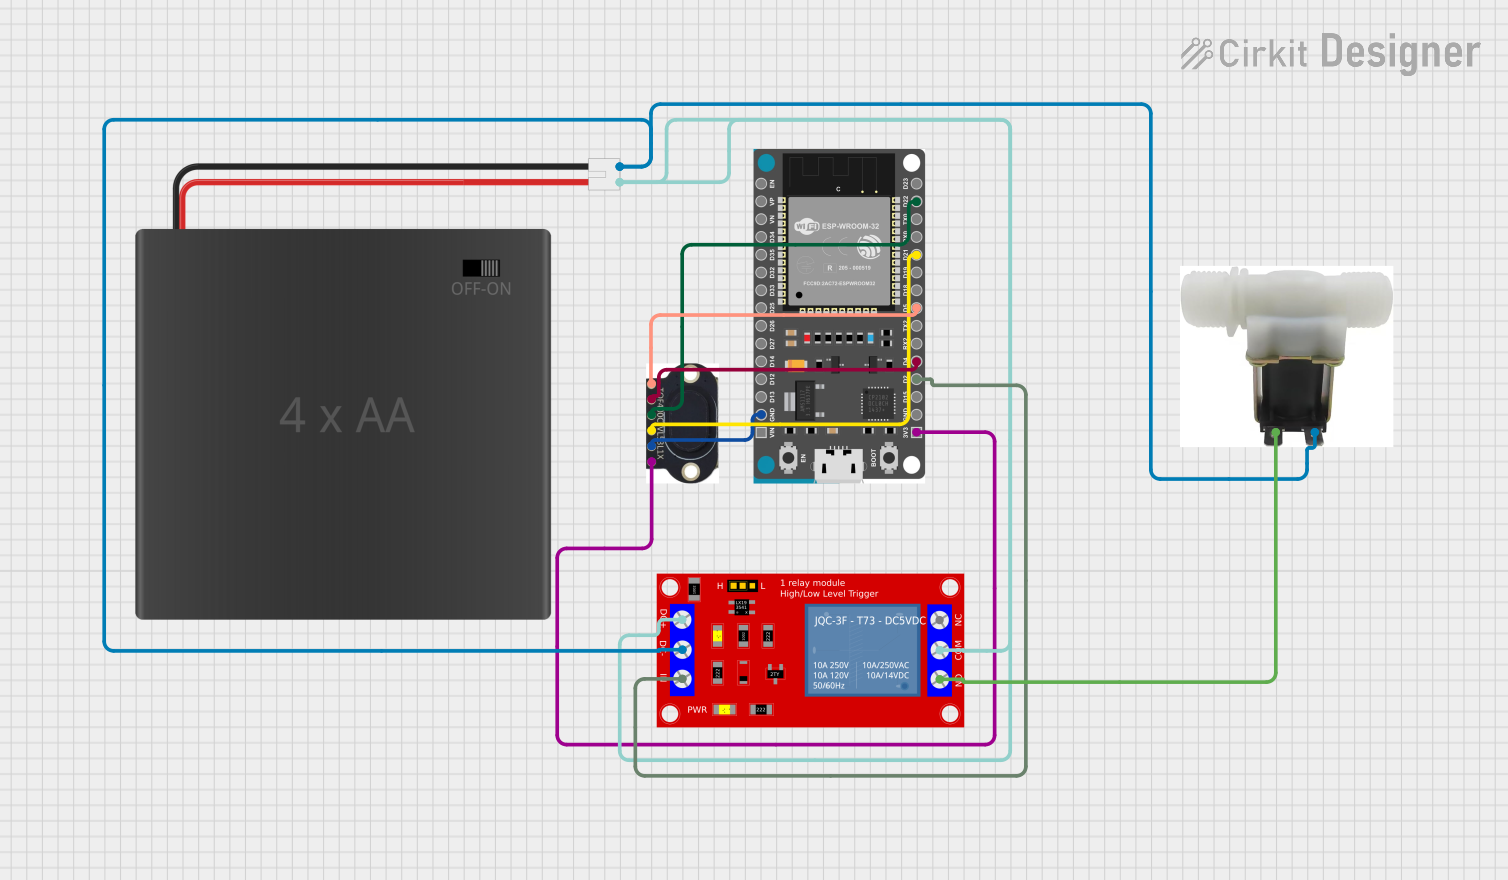
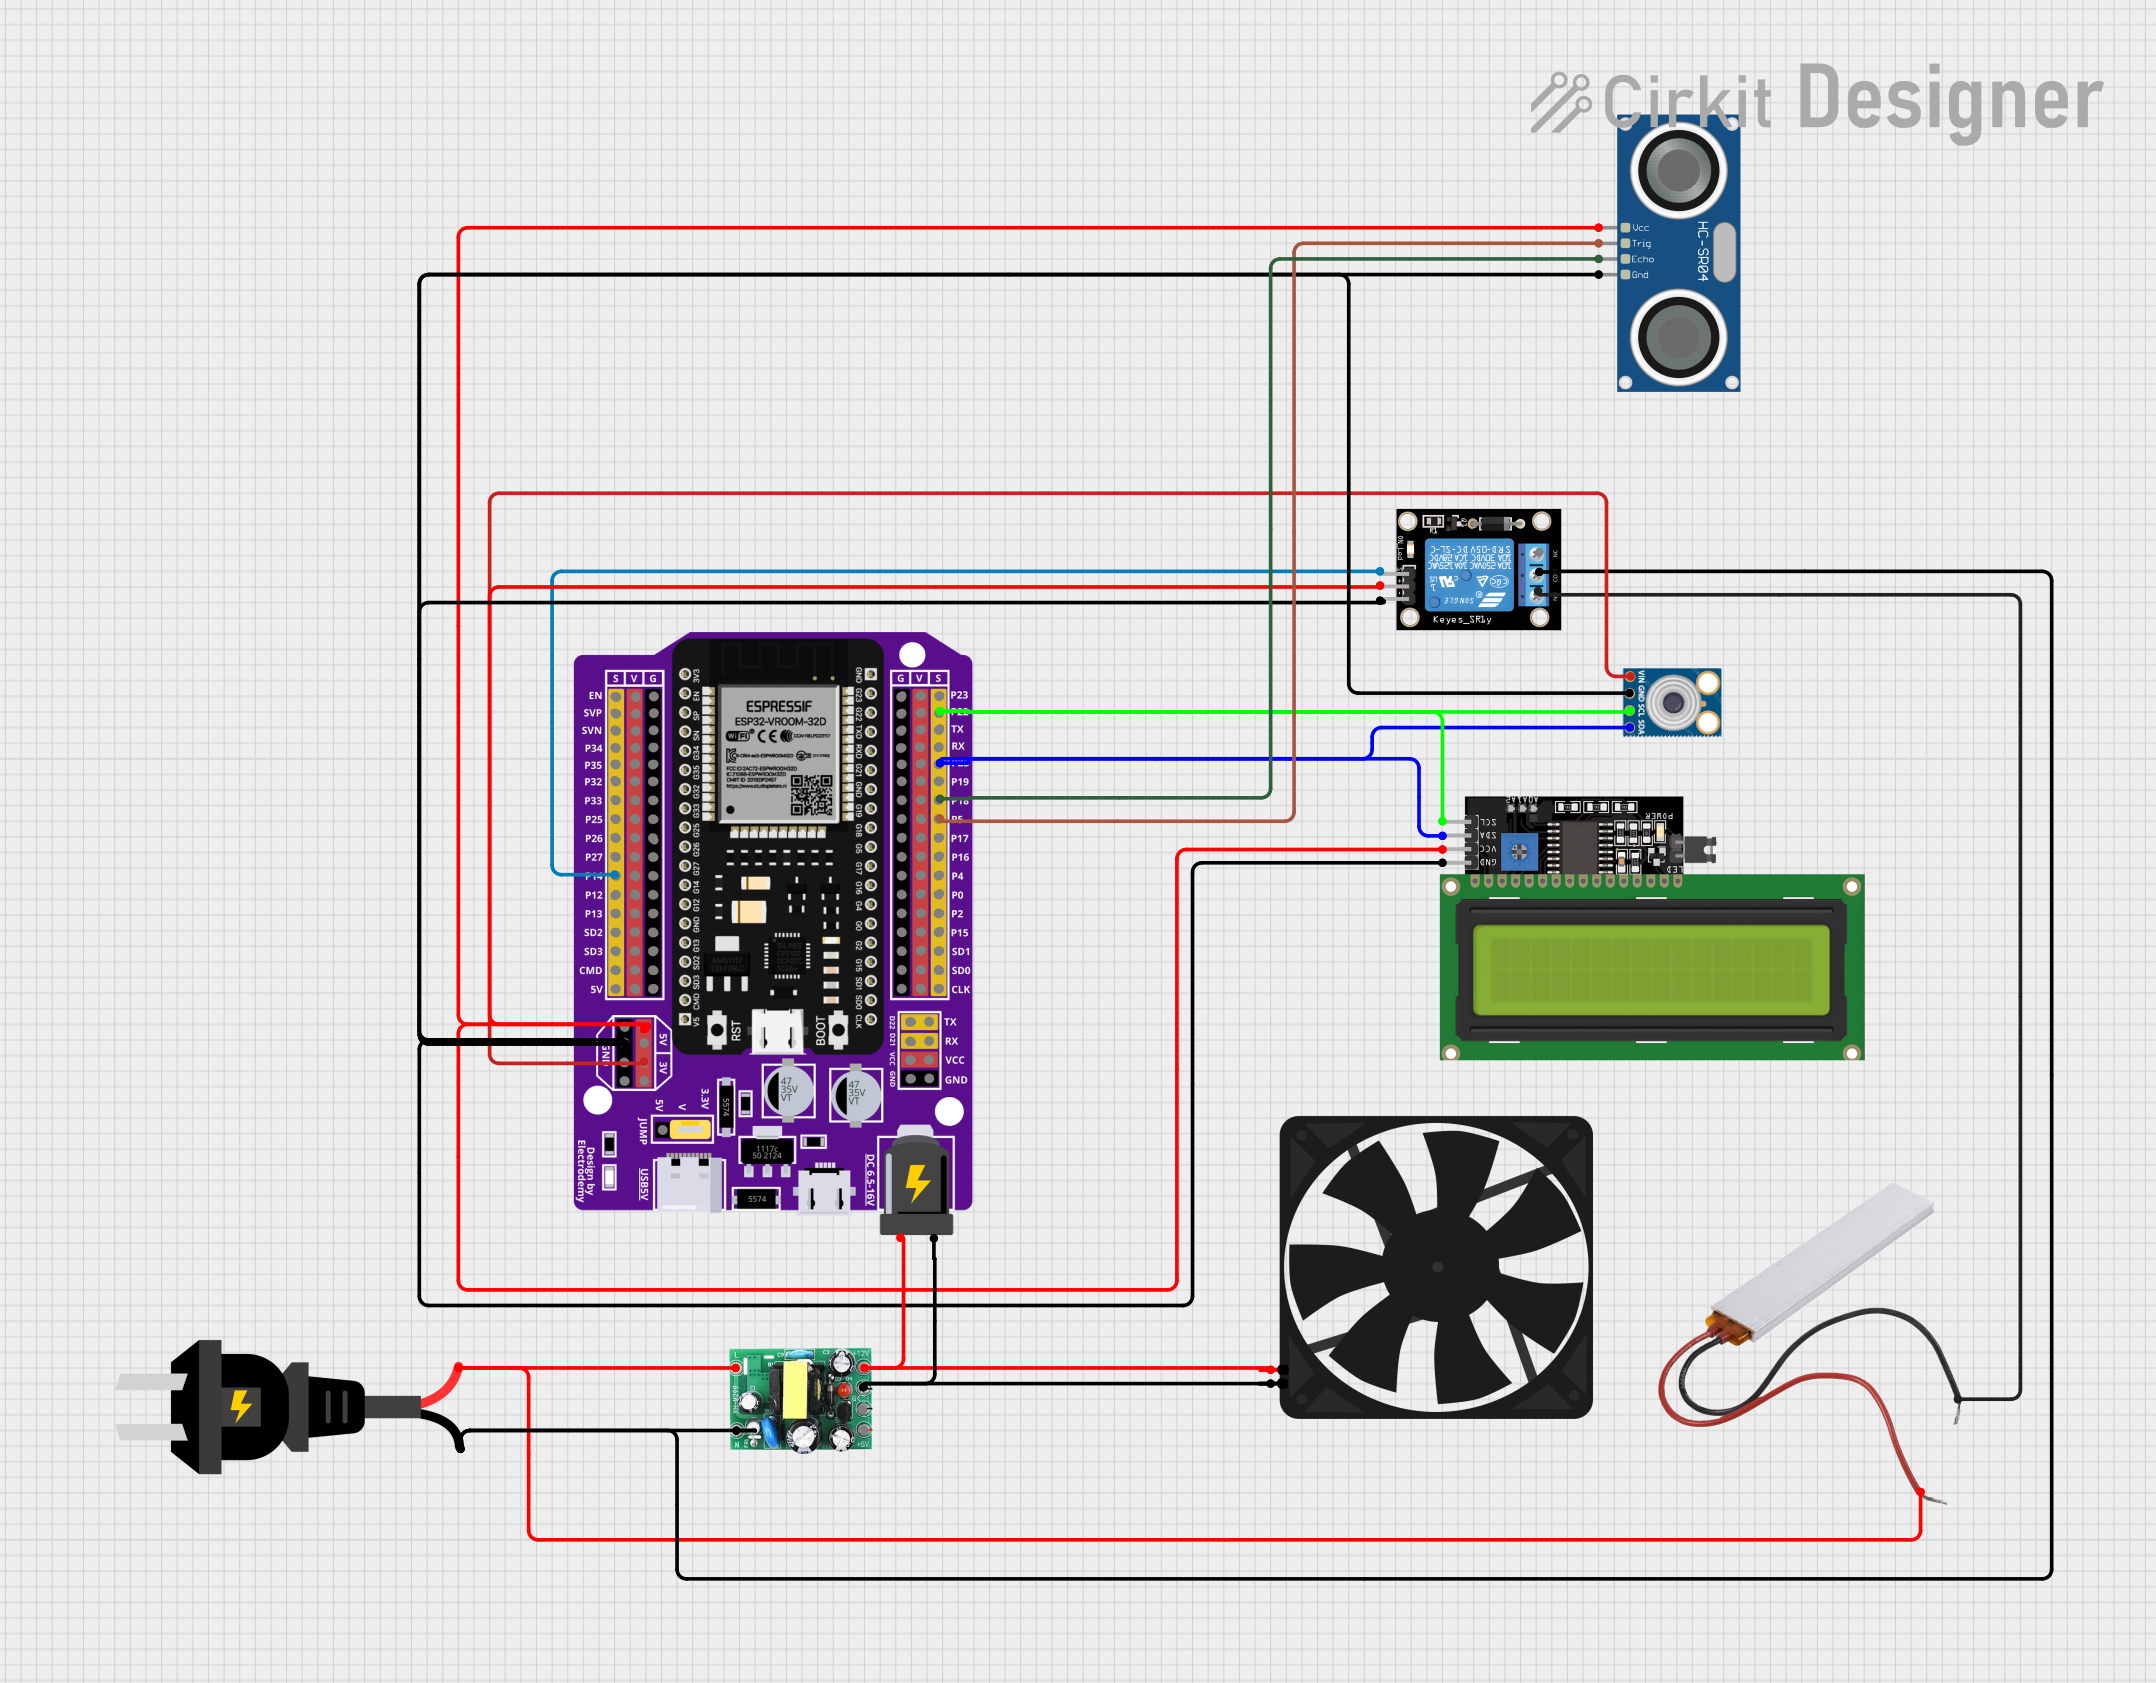
Explore Projects Built with VTX
Common Applications and Use Cases
- Drone racing
- Aerial photography and videography
- Remote inspection
- Search and rescue operations
- Recreational flying with FPV drones
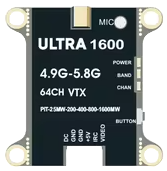
Technical Specifications
Key Technical Details
- Frequency Bands: 5.8 GHz (common), 2.4 GHz, 1.3 GHz
- Channels: 40, 72, or more (depending on the model)
- Output Power: 25mW, 200mW, 600mW, 1W (selectable)
- Input Voltage: 7V - 24V (varies by model)
- Antenna Connector: SMA, RP-SMA, MMCX, U.FL
- Video Format: NTSC/PAL
- Audio Carrier Frequency: 6.5 MHz (if applicable)
Pin Configuration and Descriptions
| Pin Number | Description | Voltage/Signal Type |
|---|---|---|
| 1 | Video Input | 1V peak-to-peak |
| 2 | Ground | - |
| 3 | Power Input | 7V - 24V |
| 4 | Audio Input (if applicable) | 1V peak-to-peak |
| 5 | Band Select (if applicable) | TTL Logic |
| 6 | Channel Select (if applicable) | TTL Logic |
| 7 | Power Output for Camera | 5V |
Note: The pin configuration may vary depending on the VTX model. Always refer to the manufacturer's datasheet for exact details.
Usage Instructions
How to Use the VTX in a Circuit
Power Supply: Connect the VTX power input pin to a suitable power source within the specified voltage range. Ensure that the power source can supply adequate current for the VTX.
Video Input: Connect the video output from the FPV camera to the video input pin of the VTX.
Audio Input (Optional): If your VTX supports audio transmission, connect the audio output from a microphone or an audio source to the audio input pin.
Antenna: Attach the appropriate antenna to the VTX's antenna connector. The choice of antenna can significantly affect the range and quality of the video signal.
Channel and Band Selection: If your VTX allows for channel and band selection through pins, use the appropriate logic levels to select the desired frequency.
Important Considerations and Best Practices
Legal Compliance: Ensure that the VTX operates within the legal frequency bands and power limits of your region.
Heat Management: VTXs can generate significant heat, especially at higher power settings. Provide adequate cooling to prevent overheating.
Antenna Placement: Position the antenna to minimize obstructions between the VTX and the receiving equipment.
Interference: Avoid using frequencies that are crowded or may interfere with other equipment.
Testing: Always test the setup on the ground before flying to ensure the video feed is stable and clear.
Troubleshooting and FAQs
Common Issues
- No Video Signal: Check connections, ensure the camera and VTX are powered, and verify that the receiver is tuned to the correct frequency.
- Poor Video Quality: Adjust antenna placement, check for damaged antennas, and ensure there are no obstructions between the VTX and receiver.
- Overheating: Reduce power output, improve airflow, or add additional cooling if the VTX is overheating.
Solutions and Tips for Troubleshooting
- Verify Power Supply: Ensure the VTX is receiving the correct voltage and that the power source is stable.
- Check Antenna Connection: A loose or improperly connected antenna can cause signal issues.
- Channel Selection: If experiencing interference, try switching to a different channel or band.
FAQs
Q: Can I increase the range of my VTX? A: Yes, by using a higher gain antenna, increasing the power output (if legal), and ensuring clear line-of-sight.
Q: Is it necessary to have an amateur radio license to operate a VTX? A: In many countries, operating certain frequencies and power levels requires a license. Check local regulations.
Q: How do I know if my VTX is legal to use in my area? A: Consult the local communication authority's guidelines on FPV transmitter frequencies and power limits.
Q: Can I use any antenna with my VTX? A: You should use an antenna that matches the connector type and frequency band of your VTX for optimal performance.
Note: This documentation is for informational purposes only. Always consult the manufacturer's manual and local laws before operating a VTX.