Cirkit Designer Logo
Cirkit Designer
Your all-in-one circuit design IDE
Home / 
Component Documentation

How to Use heartbeat sensor: Examples, Pinouts, and Specs

Image of heartbeat sensor
Cirkit Designer LogoDesign with heartbeat sensor in Cirkit Designer

Introduction

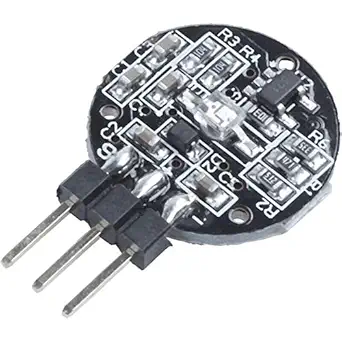
The Heartbeat Sensor (Manufacturer Part ID: HW-827) by PulseSensor.com is a device designed to measure heart rate by detecting the pulse through optical or electrical means. This sensor is commonly used in medical and fitness applications, such as heart rate monitors, fitness trackers, and health monitoring systems. It provides an easy and non-invasive way to measure heart rate, making it ideal for both professional and personal use.

Explore Projects Built with heartbeat sensor

Use Cirkit Designer to design, explore, and prototype these projects online. Some projects support real-time simulation. Click "Open Project" to start designing instantly!
Arduino UNO-Based Multi-Sensor Health and Environmental Monitoring System with Bluetooth Connectivity
Image of Sleep Appnea Monitoring System: A project utilizing heartbeat sensor in a practical application
This is a multi-functional sensor and communication circuit built around an Arduino UNO. It is designed to collect environmental and health-related data, process and respond to voice commands, and communicate wirelessly. Output feedback is provided through LEDs and a buzzer.
Cirkit Designer LogoOpen Project in Cirkit Designer
Arduino Heartbeat Monitor with I2C LCD Display
Image of Heartbeat Sensor System: A project utilizing heartbeat sensor in a practical application
This circuit is a heartbeat monitoring system using an Arduino UNO, a heart pulse sensor, and a 16x2 I2C LCD. The Arduino reads the pulse sensor data, calculates the beats per minute (BPM), and displays the BPM on the LCD when a button is pressed. An LED also indicates heartbeat detection.
Cirkit Designer LogoOpen Project in Cirkit Designer
Arduino Heartbeat Monitor with I2C LCD Display
Image of Heartbeat Sensor System: A project utilizing heartbeat sensor in a practical application
This circuit is a heartbeat monitoring system using an Arduino UNO, a heart pulse sensor, and a 16x2 I2C LCD. The Arduino reads the pulse sensor data and calculates the beats per minute (BPM), displaying the result on the LCD and indicating heartbeats with an LED. A button is used to enable or disable the BPM display on the LCD.
Cirkit Designer LogoOpen Project in Cirkit Designer
Arduino UNO Based Heartbeat Monitor with KY-039 Sensor
Image of Dead Man's switch: A project utilizing heartbeat sensor in a practical application
This circuit is designed to monitor heartbeats using a KY-039 heartbeat sensor connected to an Arduino UNO. The sensor's Vcc and GND pins are powered by the Arduino's 5V and GND, respectively, and its signal pin is connected to the Arduino's analog input A0. The embedded code on the Arduino processes the sensor signal to calculate and output the heartbeat rate to the serial monitor.
Cirkit Designer LogoOpen Project in Cirkit Designer

Explore Projects Built with heartbeat sensor

Use Cirkit Designer to design, explore, and prototype these projects online. Some projects support real-time simulation. Click "Open Project" to start designing instantly!
Image of Sleep Appnea Monitoring System: A project utilizing heartbeat sensor in a practical application
Arduino UNO-Based Multi-Sensor Health and Environmental Monitoring System with Bluetooth Connectivity
This is a multi-functional sensor and communication circuit built around an Arduino UNO. It is designed to collect environmental and health-related data, process and respond to voice commands, and communicate wirelessly. Output feedback is provided through LEDs and a buzzer.
Cirkit Designer LogoOpen Project in Cirkit Designer
Image of Heartbeat Sensor System: A project utilizing heartbeat sensor in a practical application
Arduino Heartbeat Monitor with I2C LCD Display
This circuit is a heartbeat monitoring system using an Arduino UNO, a heart pulse sensor, and a 16x2 I2C LCD. The Arduino reads the pulse sensor data, calculates the beats per minute (BPM), and displays the BPM on the LCD when a button is pressed. An LED also indicates heartbeat detection.
Cirkit Designer LogoOpen Project in Cirkit Designer
Image of Heartbeat Sensor System: A project utilizing heartbeat sensor in a practical application
Arduino Heartbeat Monitor with I2C LCD Display
This circuit is a heartbeat monitoring system using an Arduino UNO, a heart pulse sensor, and a 16x2 I2C LCD. The Arduino reads the pulse sensor data and calculates the beats per minute (BPM), displaying the result on the LCD and indicating heartbeats with an LED. A button is used to enable or disable the BPM display on the LCD.
Cirkit Designer LogoOpen Project in Cirkit Designer
Image of Dead Man's switch: A project utilizing heartbeat sensor in a practical application
Arduino UNO Based Heartbeat Monitor with KY-039 Sensor
This circuit is designed to monitor heartbeats using a KY-039 heartbeat sensor connected to an Arduino UNO. The sensor's Vcc and GND pins are powered by the Arduino's 5V and GND, respectively, and its signal pin is connected to the Arduino's analog input A0. The embedded code on the Arduino processes the sensor signal to calculate and output the heartbeat rate to the serial monitor.
Cirkit Designer LogoOpen Project in Cirkit Designer

Technical Specifications

Key Technical Details

Parameter Value
Operating Voltage 3.3V - 5V
Operating Current 4mA
Output Signal Analog
Sensor Type Optical
Detection Range 30-240 BPM (Beats Per Minute)
Dimensions 0.75" x 0.75" (19mm x 19mm)

Pin Configuration and Descriptions

Pin Number Pin Name Description
1 VCC Power supply (3.3V - 5V)
2 GND Ground
3 SIG Analog signal output (heart rate data)

Usage Instructions

How to Use the Component in a Circuit

  1. Power Supply: Connect the VCC pin to a 3.3V or 5V power supply.
  2. Ground: Connect the GND pin to the ground of your circuit.
  3. Signal Output: Connect the SIG pin to an analog input pin on your microcontroller (e.g., Arduino).

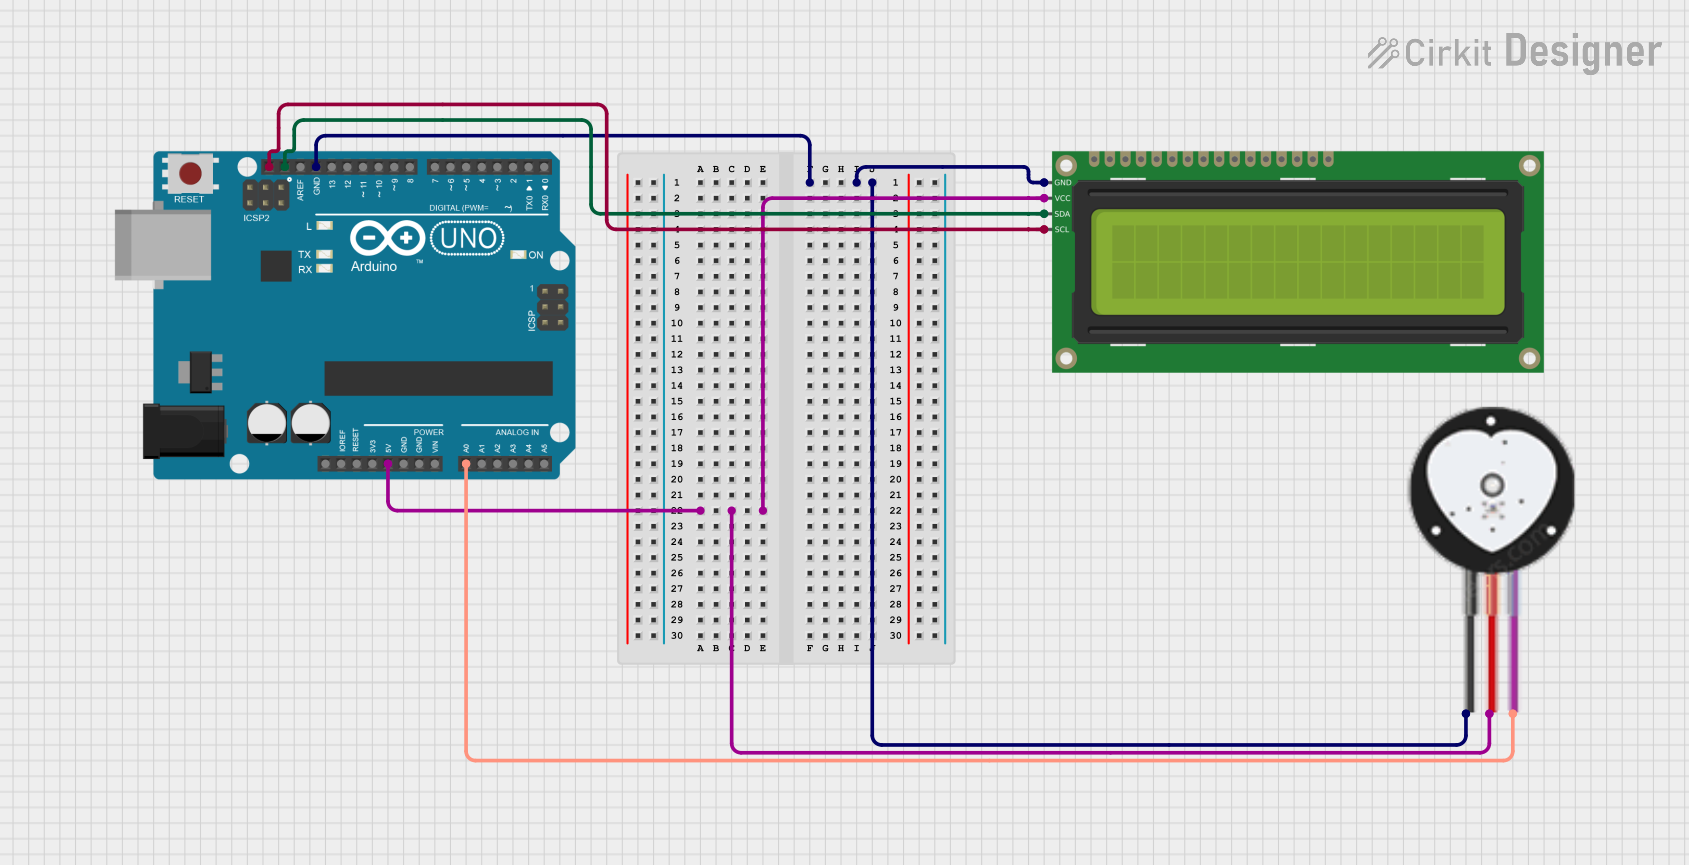
Example Circuit Diagram

  VCC (Sensor) ----> 5V (Arduino)
  GND (Sensor) ----> GND (Arduino)
  SIG (Sensor) ----> A0 (Arduino)

Important Considerations and Best Practices

  • Ensure that the sensor is securely attached to the skin for accurate readings.
  • Avoid placing the sensor on areas with excessive hair or movement.
  • Use a low-pass filter to smooth out the signal if necessary.
  • Calibrate the sensor to account for individual differences in skin tone and thickness.

Sample Arduino Code

// Heartbeat Sensor Example Code
// Connect the sensor's SIG pin to A0 on the Arduino

const int sensorPin = A0; // Analog input pin for the sensor
int sensorValue = 0;      // Variable to store the sensor value

void setup() {
  Serial.begin(9600); // Initialize serial communication at 9600 baud
}

void loop() {
  sensorValue = analogRead(sensorPin); // Read the analog value from the sensor
  Serial.println(sensorValue);         // Print the sensor value to the serial monitor
  delay(100);                          // Wait for 100 milliseconds before the next reading
}

Troubleshooting and FAQs

Common Issues Users Might Face

  1. No Signal Output:

    • Solution: Ensure that the sensor is properly connected to the power supply and ground. Check the connections and make sure they are secure.
  2. Inaccurate Readings:

    • Solution: Make sure the sensor is placed correctly on the skin. Avoid areas with excessive hair or movement. Calibrate the sensor if necessary.
  3. Fluctuating Signal:

    • Solution: Use a low-pass filter to smooth out the signal. Ensure that the sensor is not moving excessively during measurement.

FAQs

Q1: Can the sensor be used with a 3.3V power supply?

  • A1: Yes, the sensor can operate with both 3.3V and 5V power supplies.

Q2: How do I calibrate the sensor?

  • A2: Calibration can be done by adjusting the placement of the sensor and using software algorithms to account for individual differences.

Q3: Can the sensor be used for continuous monitoring?

  • A3: Yes, the sensor is suitable for continuous heart rate monitoring in real-time applications.

Q4: What is the detection range of the sensor?

  • A4: The sensor can detect heart rates in the range of 30-240 BPM (Beats Per Minute).

By following this documentation, users can effectively integrate and utilize the Heartbeat Sensor (HW-827) in their projects, ensuring accurate and reliable heart rate measurements.