How to Use Keyestudio Motor Shield: Examples, Pinouts, and Specs
Introduction
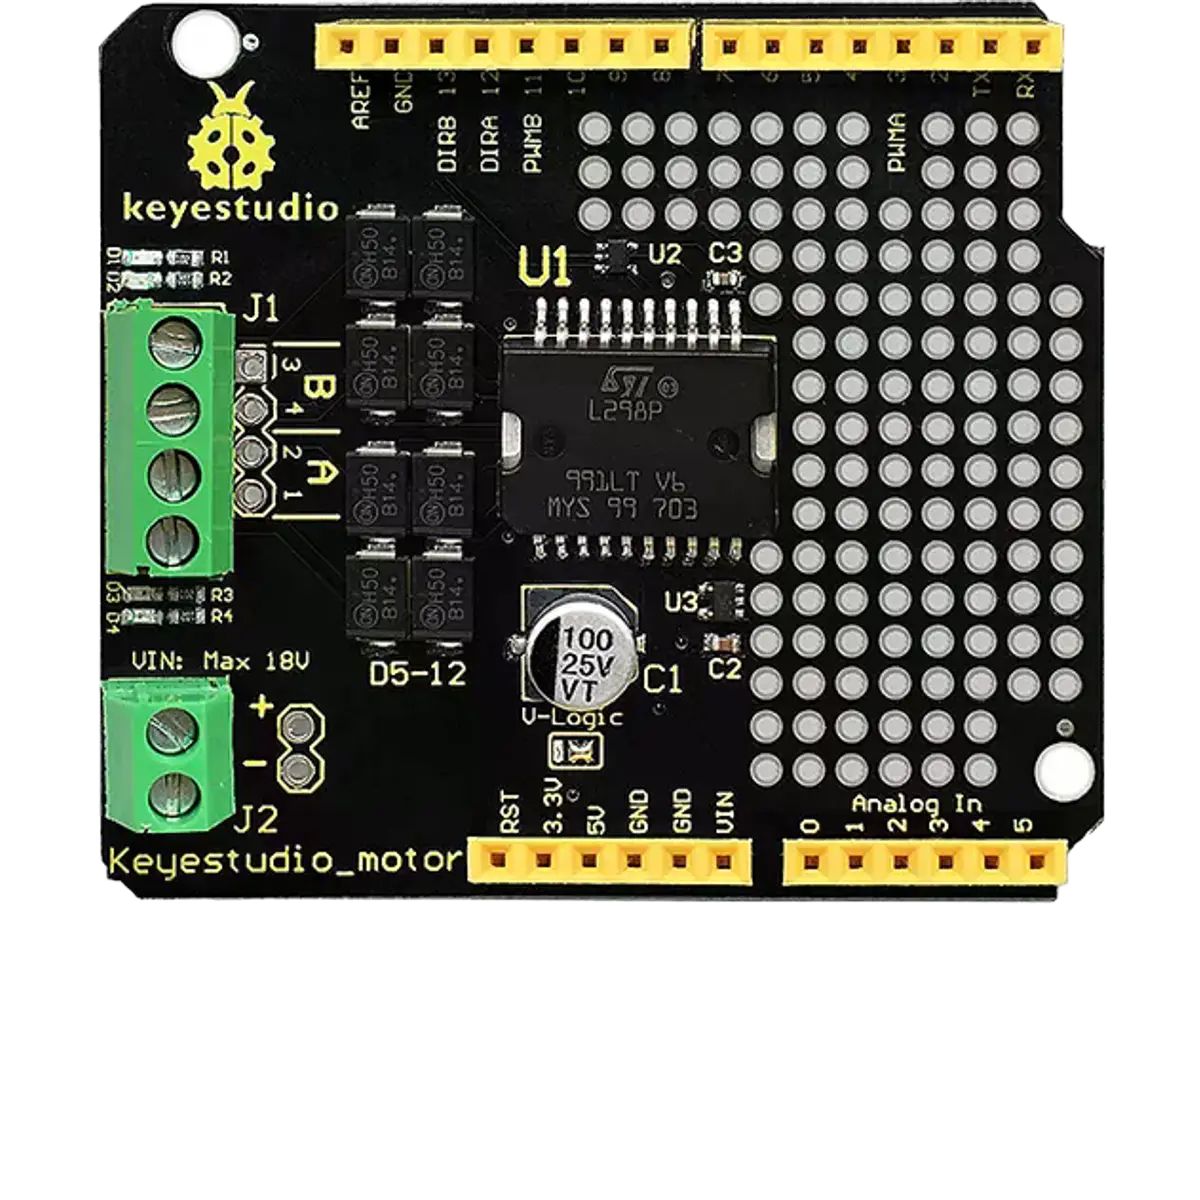
The Keyestudio Motor Shield (KS0007) is a versatile motor control board designed for Arduino projects. It simplifies the process of connecting and controlling DC motors, stepper motors, and servos. With its user-friendly design, the shield provides multiple motor control channels, overcurrent protection, and easy wiring, making it an excellent choice for robotics, automation, and other motor-driven applications.
Explore Projects Built with Keyestudio Motor Shield
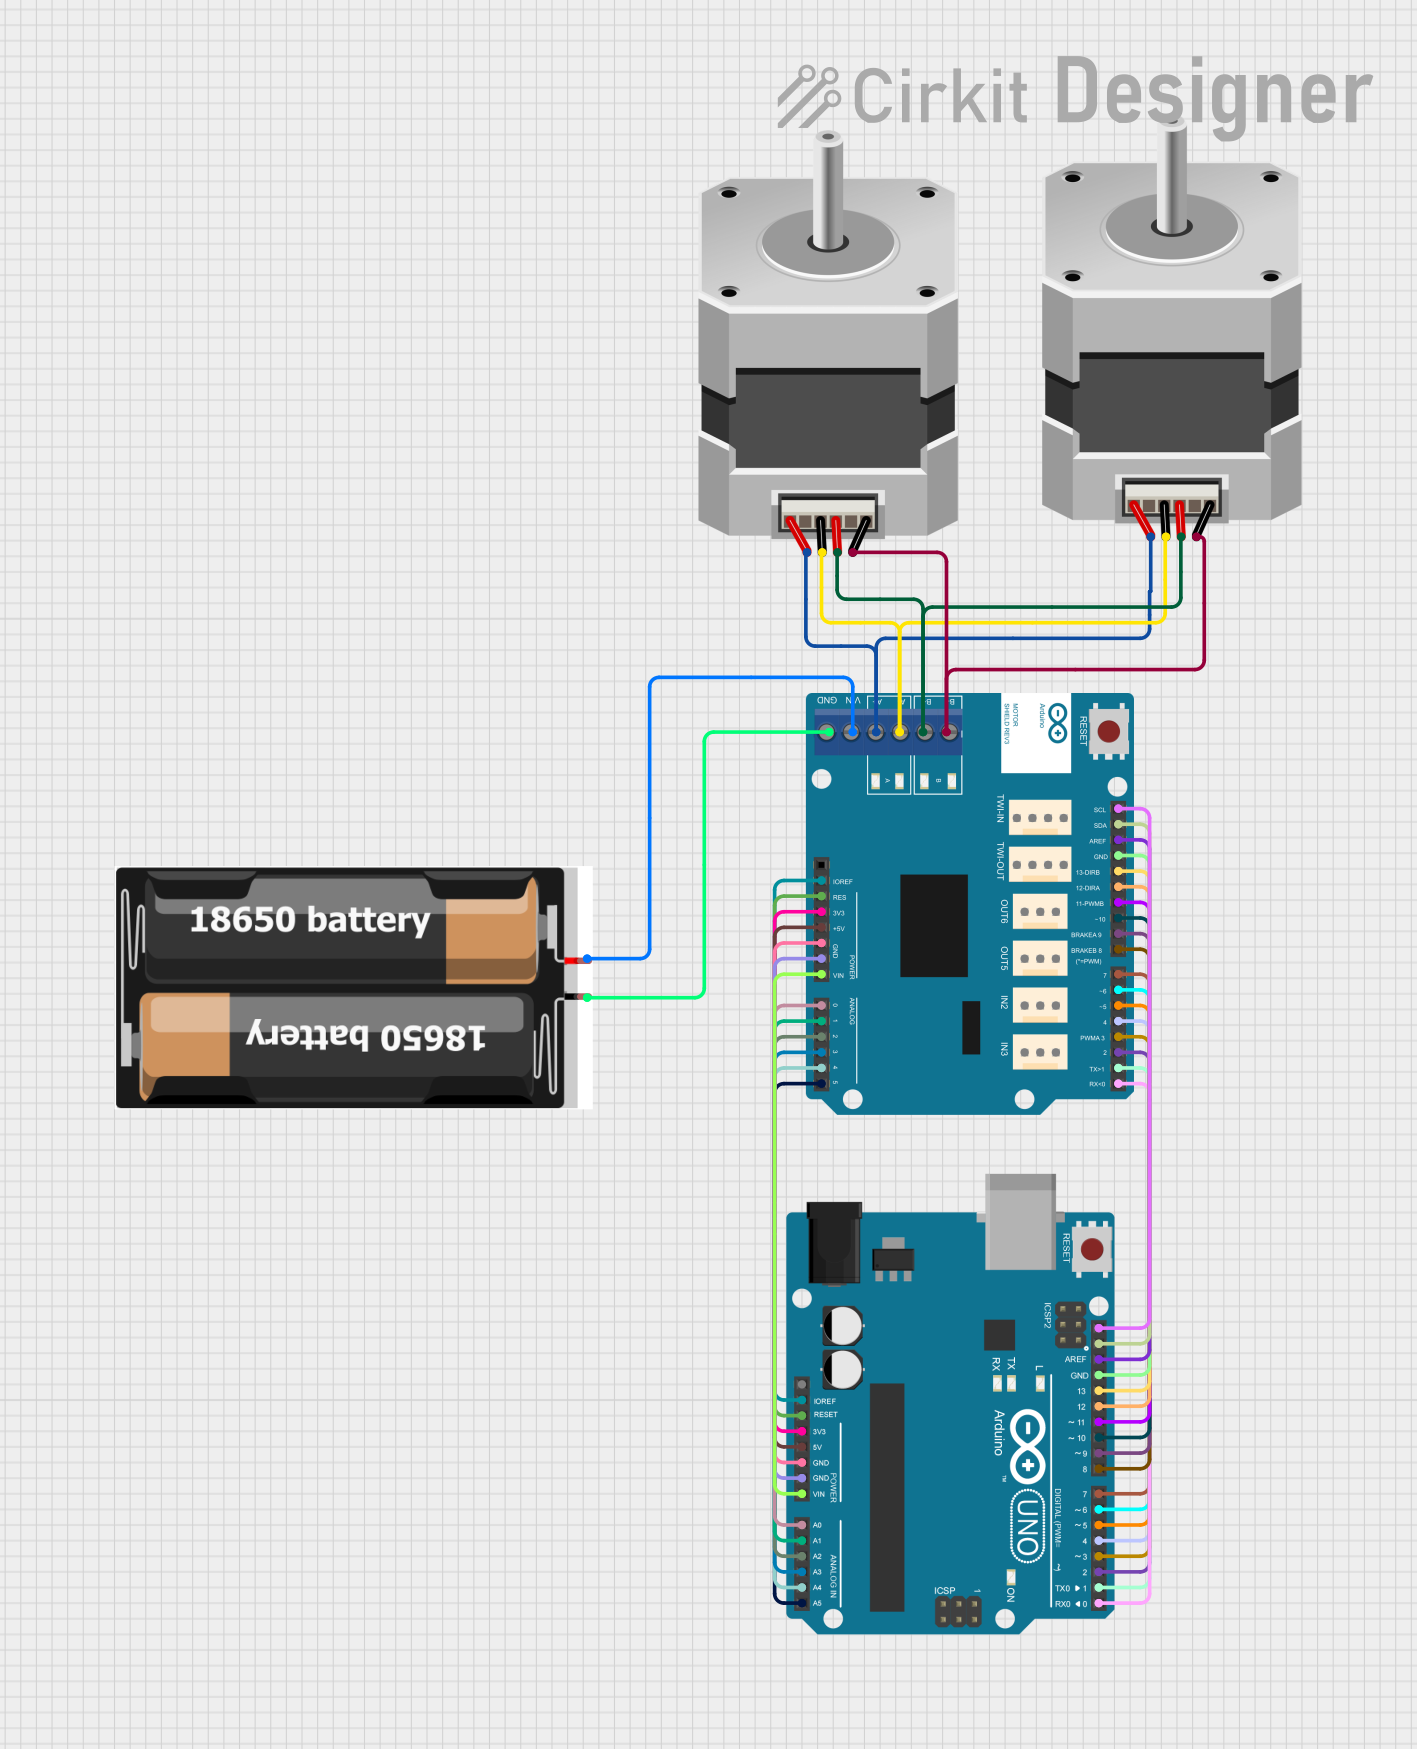
Explore Projects Built with Keyestudio Motor Shield
Common Applications
- Robotics projects requiring precise motor control
- Automated systems like conveyor belts or robotic arms
- DIY projects involving DC motors, stepper motors, or servos
- Educational projects for learning motor control with Arduino
Technical Specifications
Key Specifications
| Parameter | Value |
|---|---|
| Manufacturer | Keyestudio |
| Part ID | KS0007 |
| Input Voltage | 6V - 12V (external power supply required) |
| Motor Driver IC | L298P (dual H-bridge driver) |
| DC Motor Channels | 2 |
| Stepper Motor Channels | 1 (bipolar or unipolar stepper motors) |
| Servo Motor Channels | 2 (via dedicated headers) |
| Maximum Current (per channel) | 2A |
| Communication Interface | Arduino-compatible pinout |
| Protection Features | Overcurrent and thermal protection |
Pin Configuration and Descriptions
The Keyestudio Motor Shield uses the Arduino-compatible pinout for easy integration. Below is the pin configuration:
Motor Control Pins
| Pin Name | Arduino Pin | Description |
|---|---|---|
| ENA | D10 | Enable/disable motor A |
| IN1 | D9 | Control input 1 for motor A |
| IN2 | D8 | Control input 2 for motor A |
| ENB | D11 | Enable/disable motor B |
| IN3 | D7 | Control input 1 for motor B |
| IN4 | D6 | Control input 2 for motor B |
Servo Control Pins
| Pin Name | Arduino Pin | Description |
|---|---|---|
| SERVO1 | D5 | PWM signal for servo motor 1 |
| SERVO2 | D4 | PWM signal for servo motor 2 |
Power and Other Pins
| Pin Name | Description |
|---|---|
| VIN | External power supply input (6V - 12V) |
| GND | Ground connection |
| 5V | 5V output for powering external components |
Usage Instructions
How to Use the Component in a Circuit
- Mount the Shield: Place the Keyestudio Motor Shield on top of an Arduino board, ensuring the pins align correctly.
- Connect Motors:
- For DC motors, connect the motor wires to the terminal blocks labeled "MOTOR A" and "MOTOR B."
- For stepper motors, connect the four wires to the terminal block labeled "STEPPER."
- For servos, connect the servo motor connectors to the headers labeled "SERVO1" and "SERVO2."
- Power the Shield: Provide an external power supply (6V - 12V) to the VIN and GND terminals. Ensure the power supply matches the motor requirements.
- Program the Arduino: Use the Arduino IDE to upload a sketch that controls the motors. Refer to the example code below for guidance.
Important Considerations
- Power Supply: Ensure the external power supply voltage matches the motor specifications to avoid damage.
- Current Limits: Do not exceed the maximum current rating of 2A per channel.
- Heat Dissipation: The L298P driver IC may heat up during operation. Use a heatsink if necessary for prolonged use.
- Wiring: Double-check all connections to avoid short circuits or incorrect wiring.
Example Code for Arduino UNO
The following example demonstrates how to control a DC motor connected to "MOTOR A" using the Keyestudio Motor Shield.
// Example code to control a DC motor using the Keyestudio Motor Shield
// Motor A is connected to IN1 (D9) and IN2 (D8), with ENA (D10) for speed control

#define ENA 10  // Enable pin for motor A
#define IN1 9   // Control pin 1 for motor A
#define IN2 8   // Control pin 2 for motor A

void setup() {
  // Set motor control pins as outputs
  pinMode(ENA, OUTPUT);
  pinMode(IN1, OUTPUT);
  pinMode(IN2, OUTPUT);

  // Initialize motor in stopped state
  digitalWrite(IN1, LOW);
  digitalWrite(IN2, LOW);
  analogWrite(ENA, 0);  // Set speed to 0
}

void loop() {
  // Rotate motor A forward at 50% speed
  digitalWrite(IN1, HIGH);
  digitalWrite(IN2, LOW);
  analogWrite(ENA, 128);  // Speed range: 0 (stopped) to 255 (full speed)
  delay(2000);            // Run for 2 seconds

  // Rotate motor A backward at full speed
  digitalWrite(IN1, LOW);
  digitalWrite(IN2, HIGH);
  analogWrite(ENA, 255);  // Full speed
  delay(2000);            // Run for 2 seconds

  // Stop the motor
  digitalWrite(IN1, LOW);
  digitalWrite(IN2, LOW);
  analogWrite(ENA, 0);    // Set speed to 0
  delay(2000);            // Wait for 2 seconds
}
Troubleshooting and FAQs
Common Issues and Solutions
Motors Not Running:
- Ensure the external power supply is connected and within the 6V - 12V range.
- Verify that the motor wires are securely connected to the terminal blocks.
- Check the Arduino sketch for correct pin assignments.
Overheating of the Shield:
- The L298P driver IC may overheat if the current exceeds 2A per channel. Use a heatsink or reduce the motor load.
- Ensure proper ventilation around the shield.
Servo Motors Not Responding:
- Confirm that the servo motor is connected to the correct header (SERVO1 or SERVO2).
- Check the Arduino sketch for proper PWM signal generation.
Arduino Not Recognized by Computer:
- Ensure the Arduino board is properly connected to the computer via USB.
- Verify that the correct board and port are selected in the Arduino IDE.
FAQs
Q: Can I control more than two DC motors with this shield?
A: No, the shield supports up to two DC motors. For additional motors, consider using multiple shields or a different motor driver.
Q: Can I use this shield with a Raspberry Pi?
A: The shield is designed for Arduino boards. To use it with a Raspberry Pi, additional wiring and software adjustments are required.
Q: What types of stepper motors are compatible?
A: The shield supports both bipolar and unipolar stepper motors. Ensure the motor's voltage and current ratings are within the shield's specifications.
Q: Is it safe to power the Arduino through the shield's VIN pin?
A: Yes, the shield can provide power to the Arduino through the VIN pin, but ensure the external power supply voltage is within the recommended range (6V - 12V).