How to Use ESP8266 ESP-07 WiFi Module: Examples, Pinouts, and Specs
Introduction
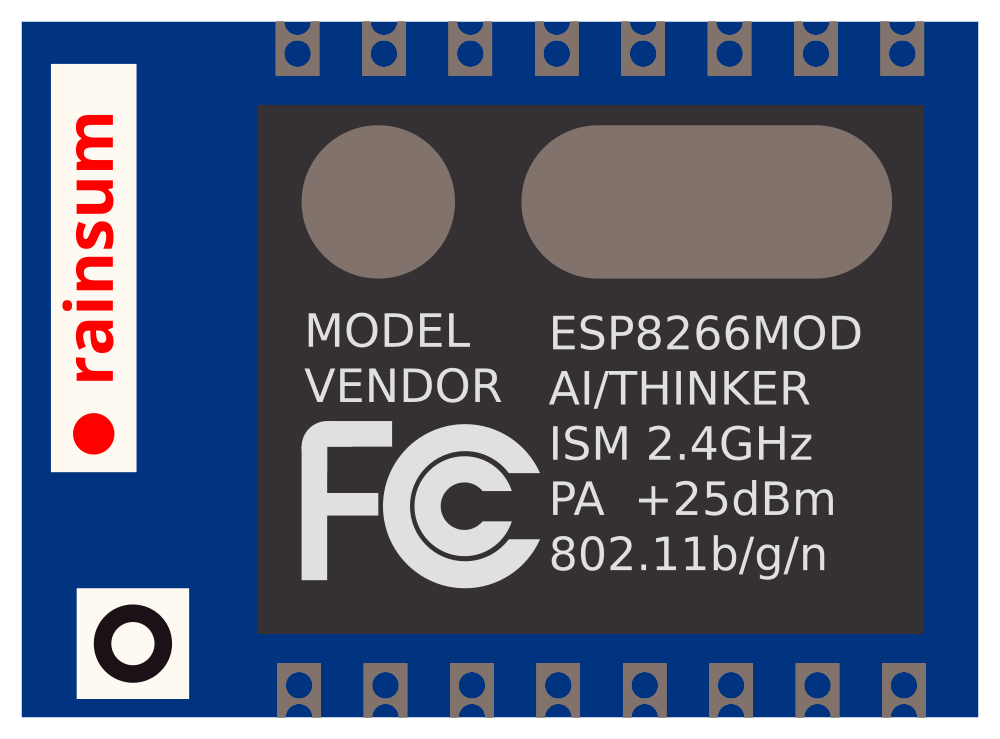
The ESP8266 ESP-07 WiFi Module is a versatile and cost-effective solution that provides wireless internet connectivity for a wide range of Internet of Things (IoT) applications. Equipped with the powerful ESP8266 microcontroller and integrated WiFi capabilities, this module enables devices to connect to the internet and exchange data wirelessly. Its compact form factor makes the ESP-07 an ideal choice for projects where space is at a premium, such as in smart home devices, wireless sensors, and other connected gadgets.
Explore Projects Built with ESP8266 ESP-07 WiFi Module


Explore Projects Built with ESP8266 ESP-07 WiFi Module
Common Applications and Use Cases
- Smart home devices (e.g., lighting, thermostats)
- Wireless sensor networks
- Remote data logging and monitoring
- IoT prototypes and hobbyist projects
- WiFi range extenders
Technical Specifications
Key Technical Details
- Operating Voltage: 3.3V
- Digital I/O Pins: 11
- Analog Input Pins: 1 (Max input: 1V)
- Flash Memory: 4MB
- WiFi Standards: 802.11 b/g/n
- Frequency Range: 2.4 GHz - 2.5 GHz
- Serial Communication: UART, SPI, I2C, PWM
Pin Configuration and Descriptions
| Pin Number | Name | Description |
|---|---|---|
| 1 | GND | Ground |
| 2 | GPIO13 | General Purpose Input/Output |
| 3 | GPIO12 | General Purpose Input/Output |
| 4 | GPIO14 | General Purpose Input/Output |
| 5 | VCC | Power supply (3.3V) |
| 6 | RESET | Resets the module |
| 7 | CH_PD | Chip Power-down, active high |
| 8 | GPIO16 | General Purpose Input/Output |
| 9 | GPIO15 | General Purpose Input/Output, boot from SD card when pulled low |
| 10 | GPIO2 | General Purpose Input/Output, boot from flash memory when pulled high |
| 11 | GPIO0 | General Purpose Input/Output, low for flashing mode |
| 12 | RXD | UART Receive Pin |
| 13 | TXD | UART Transmit Pin |
| 14 | ADC | Analog to Digital Converter Input |
| 15 | GPIO4 | General Purpose Input/Output |
| 16 | GPIO5 | General Purpose Input/Output |
Usage Instructions
How to Use the Component in a Circuit
- Power Supply: Connect the VCC pin to a 3.3V power source and GND to ground.
- Serial Communication: Connect the RXD and TXD pins to a serial adapter or microcontroller to communicate with the module.
- GPIO Pins: Utilize the GPIO pins for input/output operations.
- Boot Mode: Ensure GPIO0 is high during normal operation and low to enter flashing mode.
- Reset: Connect the RESET pin to a push button or leave it unconnected for automatic reset.
Important Considerations and Best Practices
- Voltage Levels: The ESP-07 operates at 3.3V. Ensure that voltage levels on all I/O pins are within this range to prevent damage.
- Antenna: The ESP-07 requires an external antenna for WiFi connectivity. Connect an appropriate antenna to the antenna connector.
- Heat Dissipation: The module can generate heat during operation. Provide adequate ventilation or heat sinking if necessary.
- Firmware Flashing: To flash new firmware, set GPIO0 to low, reset the module, and use a serial adapter to upload the firmware.
Troubleshooting and FAQs
Common Issues
- Module Does Not Power On: Check the power supply and connections to VCC and GND.
- Cannot Connect to WiFi: Ensure the antenna is properly connected and the WiFi credentials are correct.
- Serial Communication Failure: Verify the baud rate and that RXD/TXD connections are correct.
Solutions and Tips for Troubleshooting
- Power Issues: Use a stable 3.3V power source capable of supplying sufficient current.
- Flashing Firmware: If flashing fails, check the GPIO0 pin state and the serial connection.
- WiFi Connectivity: Test with different WiFi channels and ensure no signal interference.
FAQs
Q: Can the ESP-07 be used with 5V logic? A: No, it requires 3.3V logic levels. Use a logic level converter for 5V systems.
Q: How do I connect the ESP-07 to an Arduino UNO? A: Use a 3.3V power source and a logic level converter for TX/RX pins. Connect the ESP-07's TX to the Arduino's RX through the converter, and vice versa.
Q: What is the default baud rate for the ESP-07? A: The default baud rate is typically 115200 bps, but it can be changed using AT commands.
Example Code for Arduino UNO
Below is an example of how to connect the ESP8266 ESP-07 WiFi Module to an Arduino UNO and perform a simple WiFi scan.
#include <ESP8266WiFi.h>

void setup() {
  Serial.begin(115200); // Start serial communication at 115200 bps
  WiFi.mode(WIFI_STA);  // Set WiFi to station mode
  WiFi.disconnect();    // Disconnect from an AP if it was previously connected
  delay(100);
  Serial.println("Setup done");
}

void loop() {
  Serial.println("scan start");

  // WiFi.scanNetworks will return the number of networks found
  int n = WiFi.scanNetworks();
  Serial.println("scan done");
  if (n == 0) {
    Serial.println("no networks found");
  } else {
    Serial.print(n);
    Serial.println(" networks found");
    for (int i = 0; i < n; ++i) {
      // Print SSID and RSSI for each network found
      Serial.print(i + 1);
      Serial.print(": ");
      Serial.print(WiFi.SSID(i));
      Serial.print(" (");
      Serial.print(WiFi.RSSI(i));
      Serial.print(")");
      Serial.println((WiFi.encryptionType(i) == ENC_TYPE_NONE)?" ":"*");
      delay(10);
    }
  }
  Serial.println("");

  // Wait a bit before scanning again
  delay(5000);
}
Note: This code assumes that you have already established serial communication between the ESP-07 and the Arduino UNO. The ESP8266WiFi library is used for WiFi-related functions. Make sure to install the library before uploading the code to the Arduino.