
How to Use WT32: Examples, Pinouts, and Specs
 Design with WT32 in Cirkit Designer
Introduction
The WT32 is a Bluetooth audio module that integrates a high-performance audio codec with Bluetooth 4.2 technology. It is designed to enable wireless audio streaming and communication in a wide range of applications. The module is compact, efficient, and versatile, making it suitable for use in consumer electronics, automotive systems, and IoT devices.
Explore Projects Built with WT32
 Open Project in Cirkit Designer
 Open Project in Cirkit Designer
 Open Project in Cirkit Designer
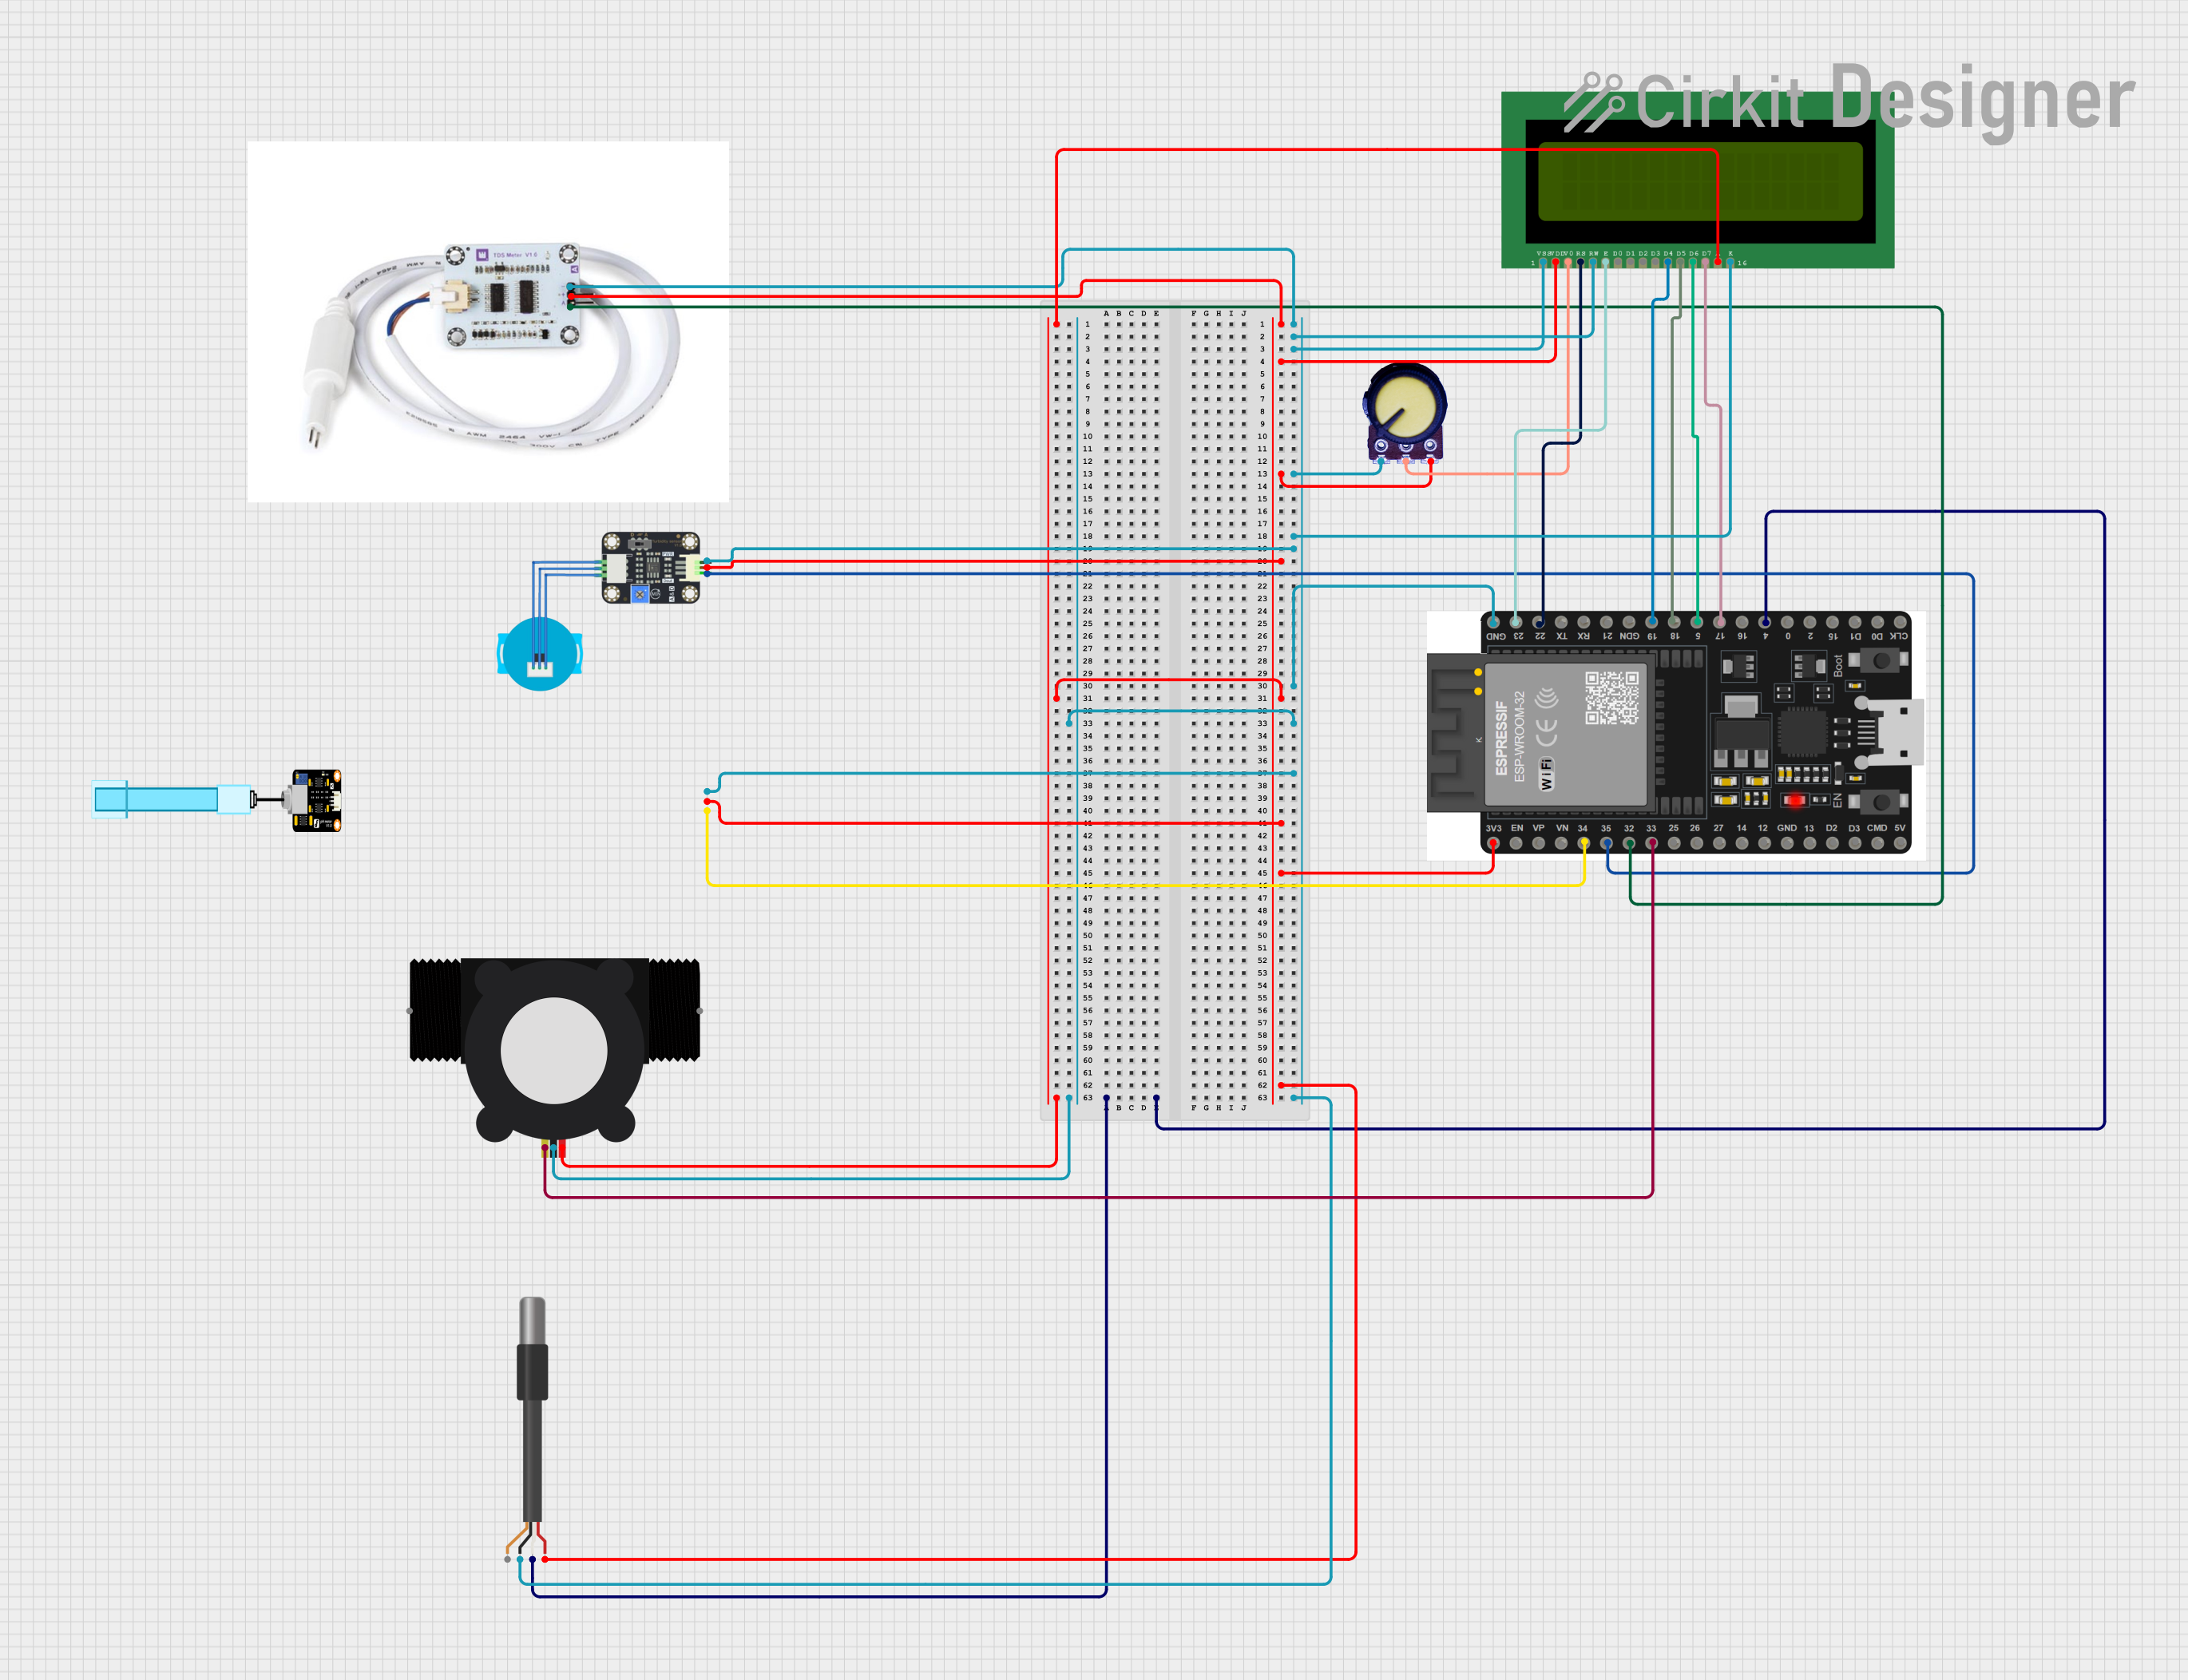 Open Project in Cirkit Designer
Explore Projects Built with WT32
Open Project in Cirkit DesignerOpen Project in Cirkit DesignerOpen Project in Cirkit DesignerOpen Project in Cirkit DesignerCommon Applications and Use Cases
- Wireless audio streaming for speakers and headphones
- Hands-free communication in automotive systems
- Smart home devices with audio capabilities
- IoT applications requiring Bluetooth audio functionality
- Audio-enabled wearable devices
Technical Specifications
The WT32 module is designed to deliver high-quality audio performance while maintaining low power consumption. Below are the key technical details:
Key Specifications
| Parameter | Value |
|---|---|
| Bluetooth Version | Bluetooth 4.2 |
| Audio Codec | Integrated high-performance codec |
| Operating Voltage | 3.3V |
| Power Consumption | Low power consumption |
| Frequency Range | 2.4 GHz ISM band |
| Communication Range | Up to 10 meters (line of sight) |
| Audio Output | Stereo |
| Supported Profiles | A2DP, AVRCP, HFP, HSP |
| Dimensions | Compact form factor |
Pin Configuration and Descriptions
The WT32 module features a set of pins for power, communication, and audio output. Below is the pin configuration:
| Pin Number | Pin Name | Description |
|---|---|---|
| 1 | VCC | Power supply input (3.3V) |
| 2 | GND | Ground |
| 3 | TX | UART Transmit |
| 4 | RX | UART Receive |
| 5 | AUDIO_OUT_L | Left channel audio output |
| 6 | AUDIO_OUT_R | Right channel audio output |
| 7 | AUDIO_IN | Audio input for microphone |
| 8 | RESET | Reset pin (active low) |
| 9 | GPIO1 | General-purpose I/O pin |
| 10 | GPIO2 | General-purpose I/O pin |
Usage Instructions
How to Use the WT32 in a Circuit
- Power Supply: Connect the VCC pin to a 3.3V power source and the GND pin to ground.
- Audio Output: Use the AUDIO_OUT_L and AUDIO_OUT_R pins to connect to a stereo audio amplifier or headphones.
- UART Communication: Connect the TX and RX pins to a microcontroller or PC for communication and configuration.
- Microphone Input: If required, connect a microphone to the AUDIO_IN pin.
- Reset: Use the RESET pin to restart the module if needed.
Important Considerations and Best Practices
- Ensure the power supply is stable and within the specified voltage range (3.3V).
- Use decoupling capacitors near the power pins to reduce noise.
- Keep the antenna area clear of obstructions for optimal Bluetooth performance.
- Avoid placing the module near high-frequency components to minimize interference.
- Use proper shielding and grounding techniques in noisy environments.
Example: Connecting WT32 to an Arduino UNO
The WT32 can be easily interfaced with an Arduino UNO for wireless audio applications. Below is an example code snippet for basic UART communication:
#include <SoftwareSerial.h>

// Define RX and TX pins for WT32 communication
SoftwareSerial WT32Serial(10, 11); // RX = Pin 10, TX = Pin 11

void setup() {
  Serial.begin(9600); // Initialize Serial Monitor
  WT32Serial.begin(9600); // Initialize WT32 communication

  Serial.println("Initializing WT32...");
  WT32Serial.println("AT"); // Send AT command to WT32
}

void loop() {
  // Check if WT32 sends data
  if (WT32Serial.available()) {
    String data = WT32Serial.readString();
    Serial.println("WT32: " + data); // Print data from WT32
  }

  // Check if user sends data via Serial Monitor
  if (Serial.available()) {
    String command = Serial.readString();
    WT32Serial.println(command); // Send command to WT32
  }
}
Notes:
- Replace pins 10 and 11 with the appropriate pins if using a different Arduino board.
- Ensure the WT32 module is in AT command mode for configuration.
Troubleshooting and FAQs
Common Issues and Solutions
No Bluetooth Connection:
- Ensure the WT32 module is powered and the antenna is unobstructed.
- Verify that the device attempting to connect supports Bluetooth 4.2.
Audio Quality Issues:
- Check the audio connections for loose or faulty wiring.
- Ensure the power supply is stable and noise-free.
Module Not Responding to AT Commands:
- Verify the UART connections (TX, RX) and baud rate settings.
- Ensure the module is in AT command mode.
Short Communication Range:
- Avoid placing the module near metal objects or high-frequency components.
- Ensure the antenna area is clear and properly oriented.
FAQs
Q: Can the WT32 module be powered with 5V?
A: No, the WT32 module requires a 3.3V power supply. Using 5V may damage the module.
Q: What is the maximum audio output power?
A: The WT32 module provides line-level audio output, which requires an external amplifier for driving speakers.
Q: Can the WT32 be used for data transmission?
A: Yes, the WT32 supports UART communication for data transmission in addition to audio streaming.
Q: How do I reset the module?
A: Pull the RESET pin low momentarily to reset the module.
By following this documentation, users can effectively integrate the WT32 module into their projects for high-quality wireless audio applications.