
How to Use Alphanumeric LED Display: Examples, Pinouts, and Specs
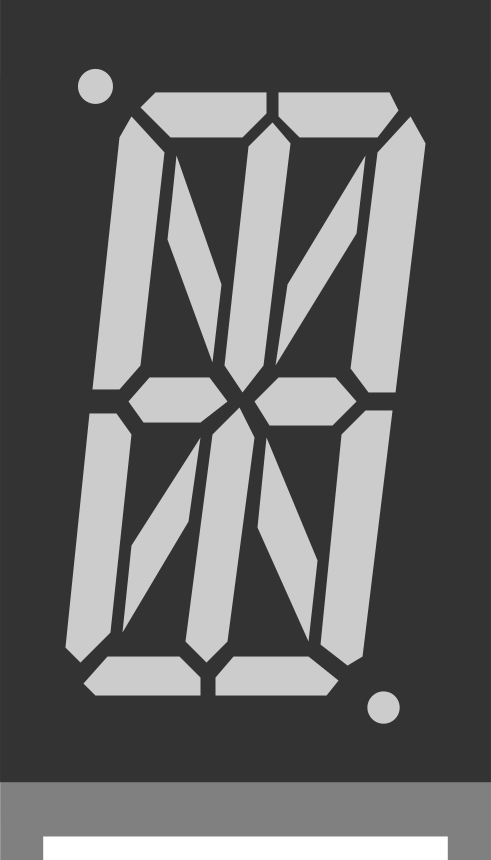
 Design with Alphanumeric LED Display in Cirkit Designer
Introduction
The Alphanumeric LED Display is a versatile display device that uses light-emitting diodes (LEDs) to visually represent alphanumeric characters (letters and numbers) and symbols. These displays are commonly found in digital clocks, scoreboards, calculators, and various electronic devices requiring clear and efficient visual output. They are valued for their brightness, low power consumption, and long lifespan.
Alphanumeric LED Displays are available in various configurations, such as single-digit, multi-digit, or matrix formats, and are often used in embedded systems for displaying real-time data or user feedback.
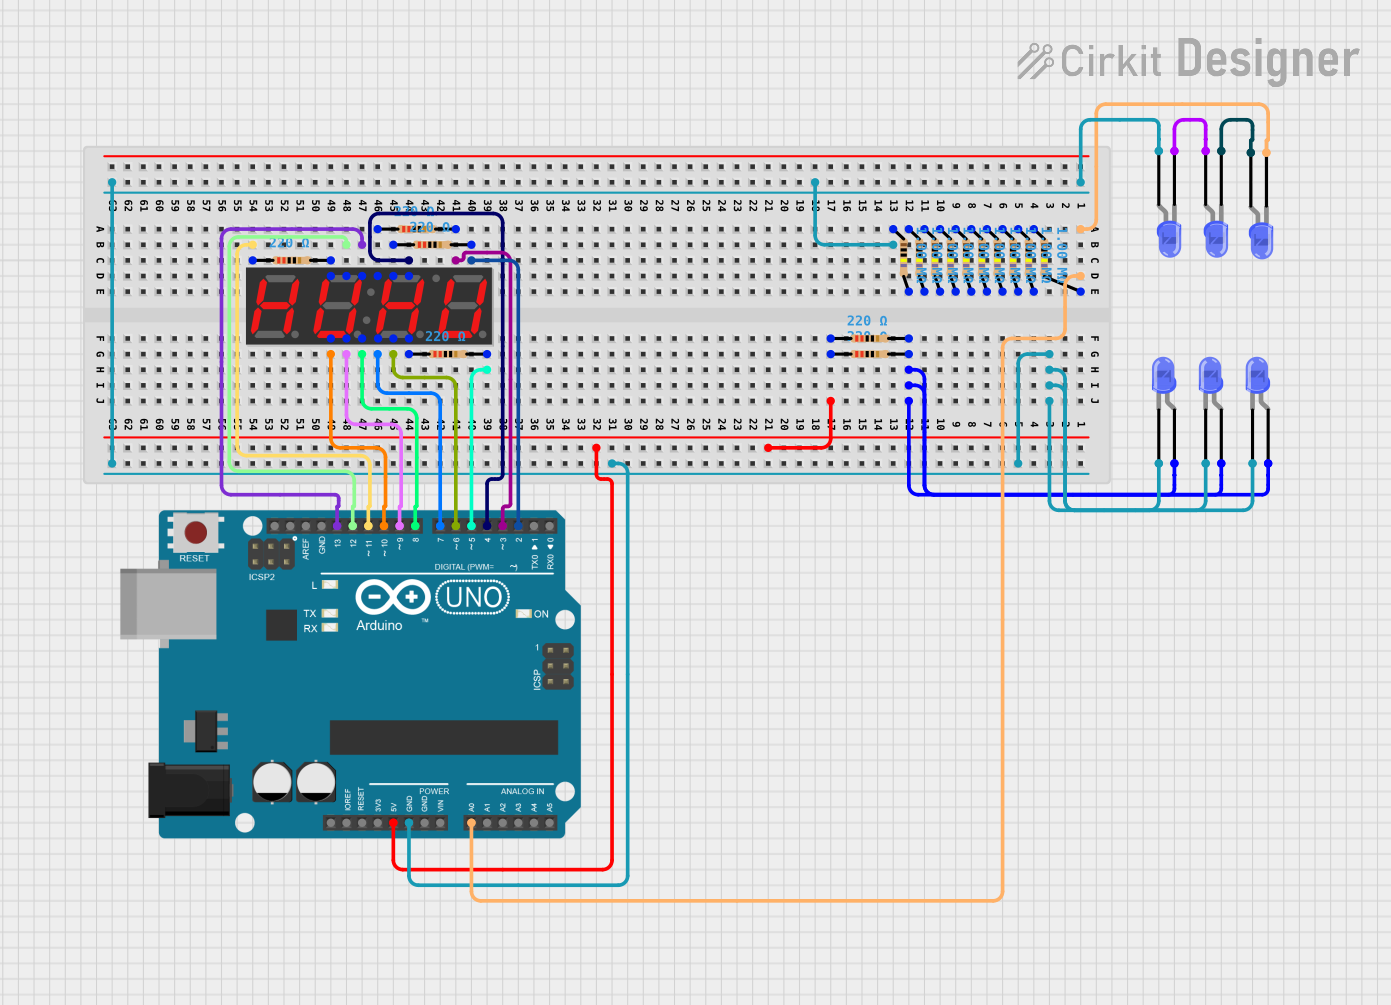
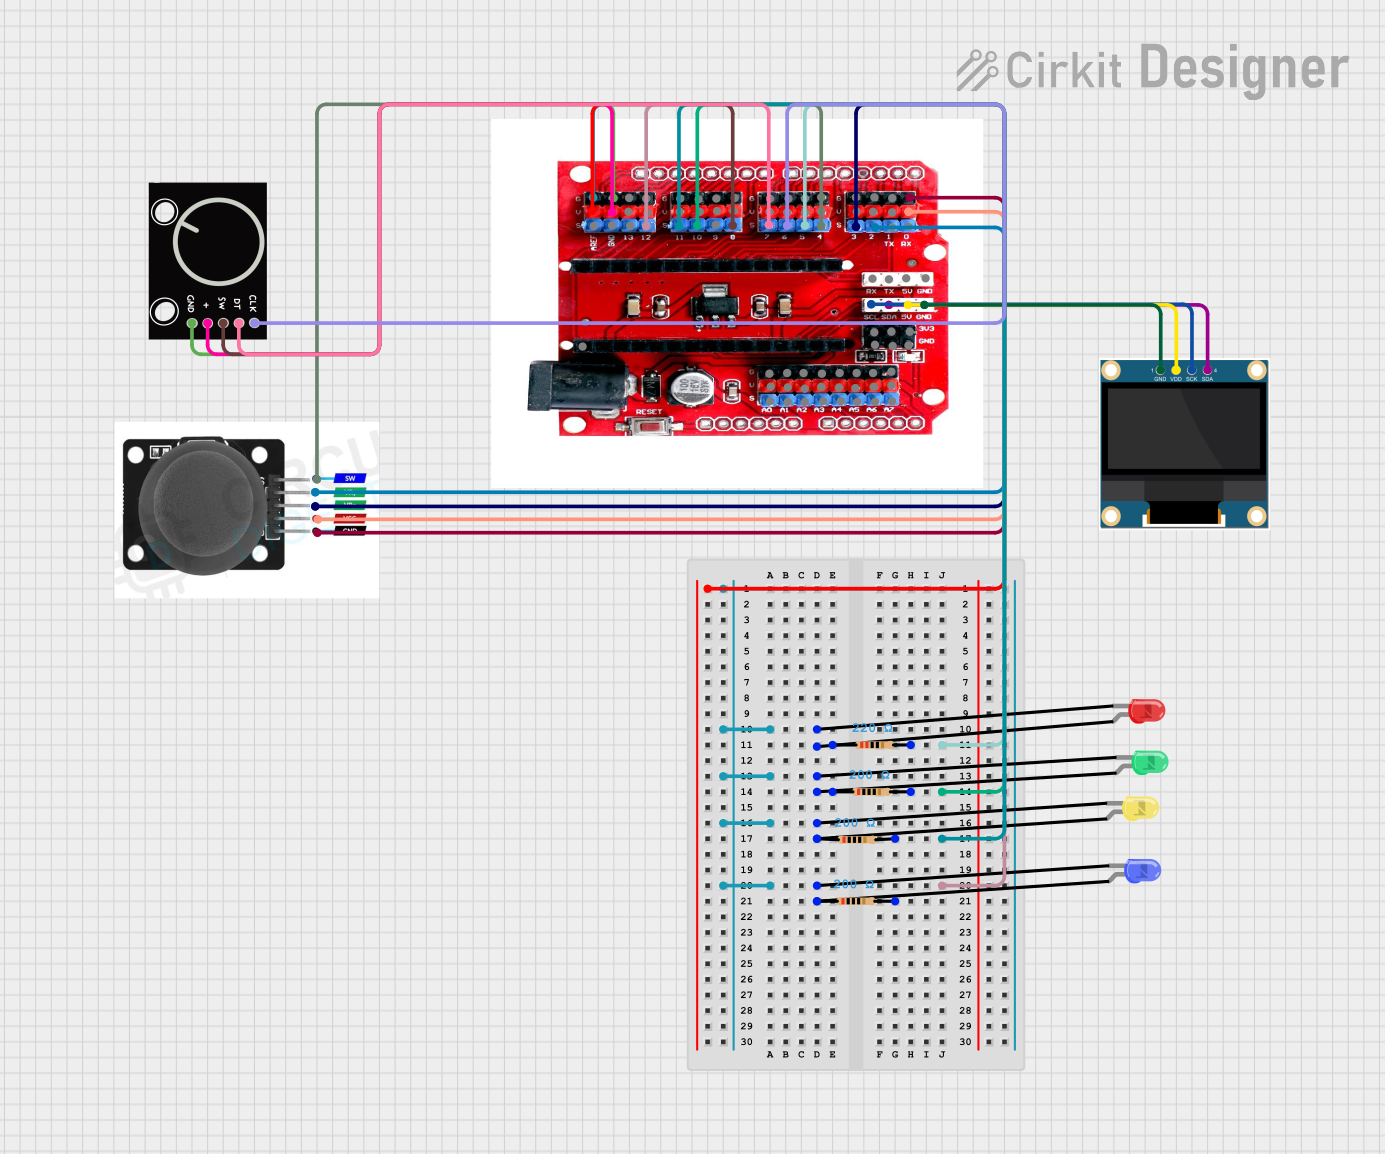
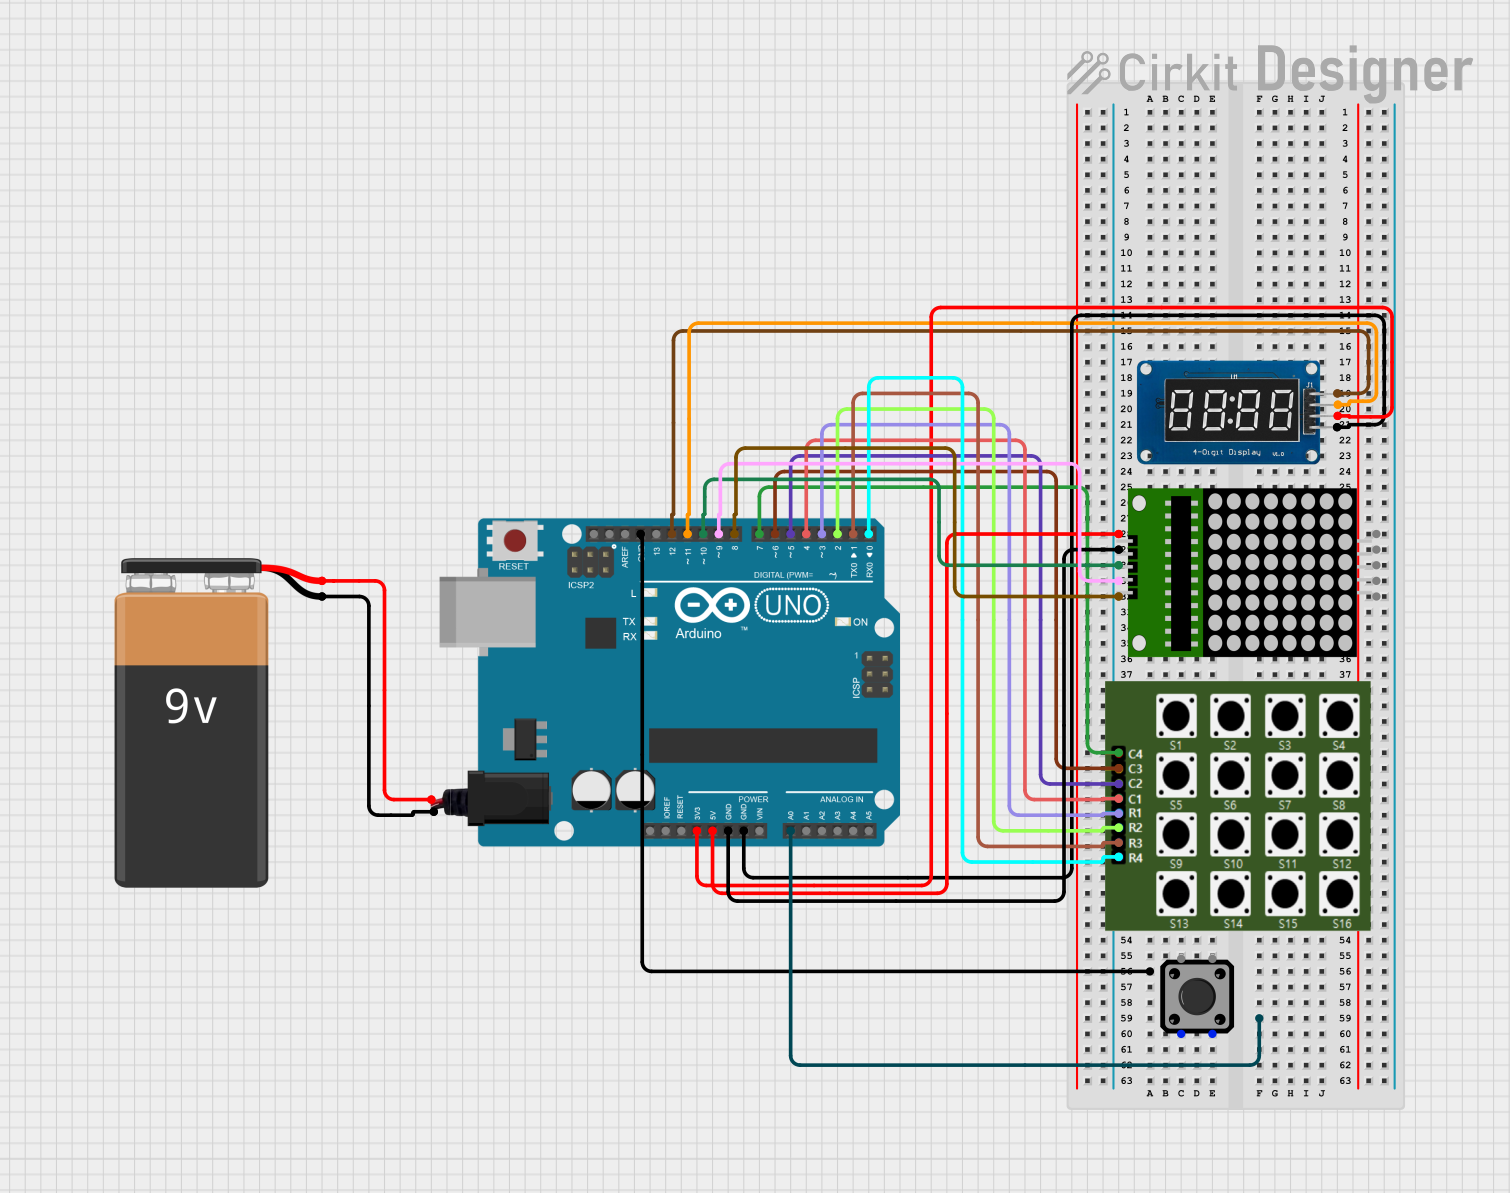
Explore Projects Built with Alphanumeric LED Display
 Open Project in Cirkit Designer
 Open Project in Cirkit Designer
 Open Project in Cirkit Designer
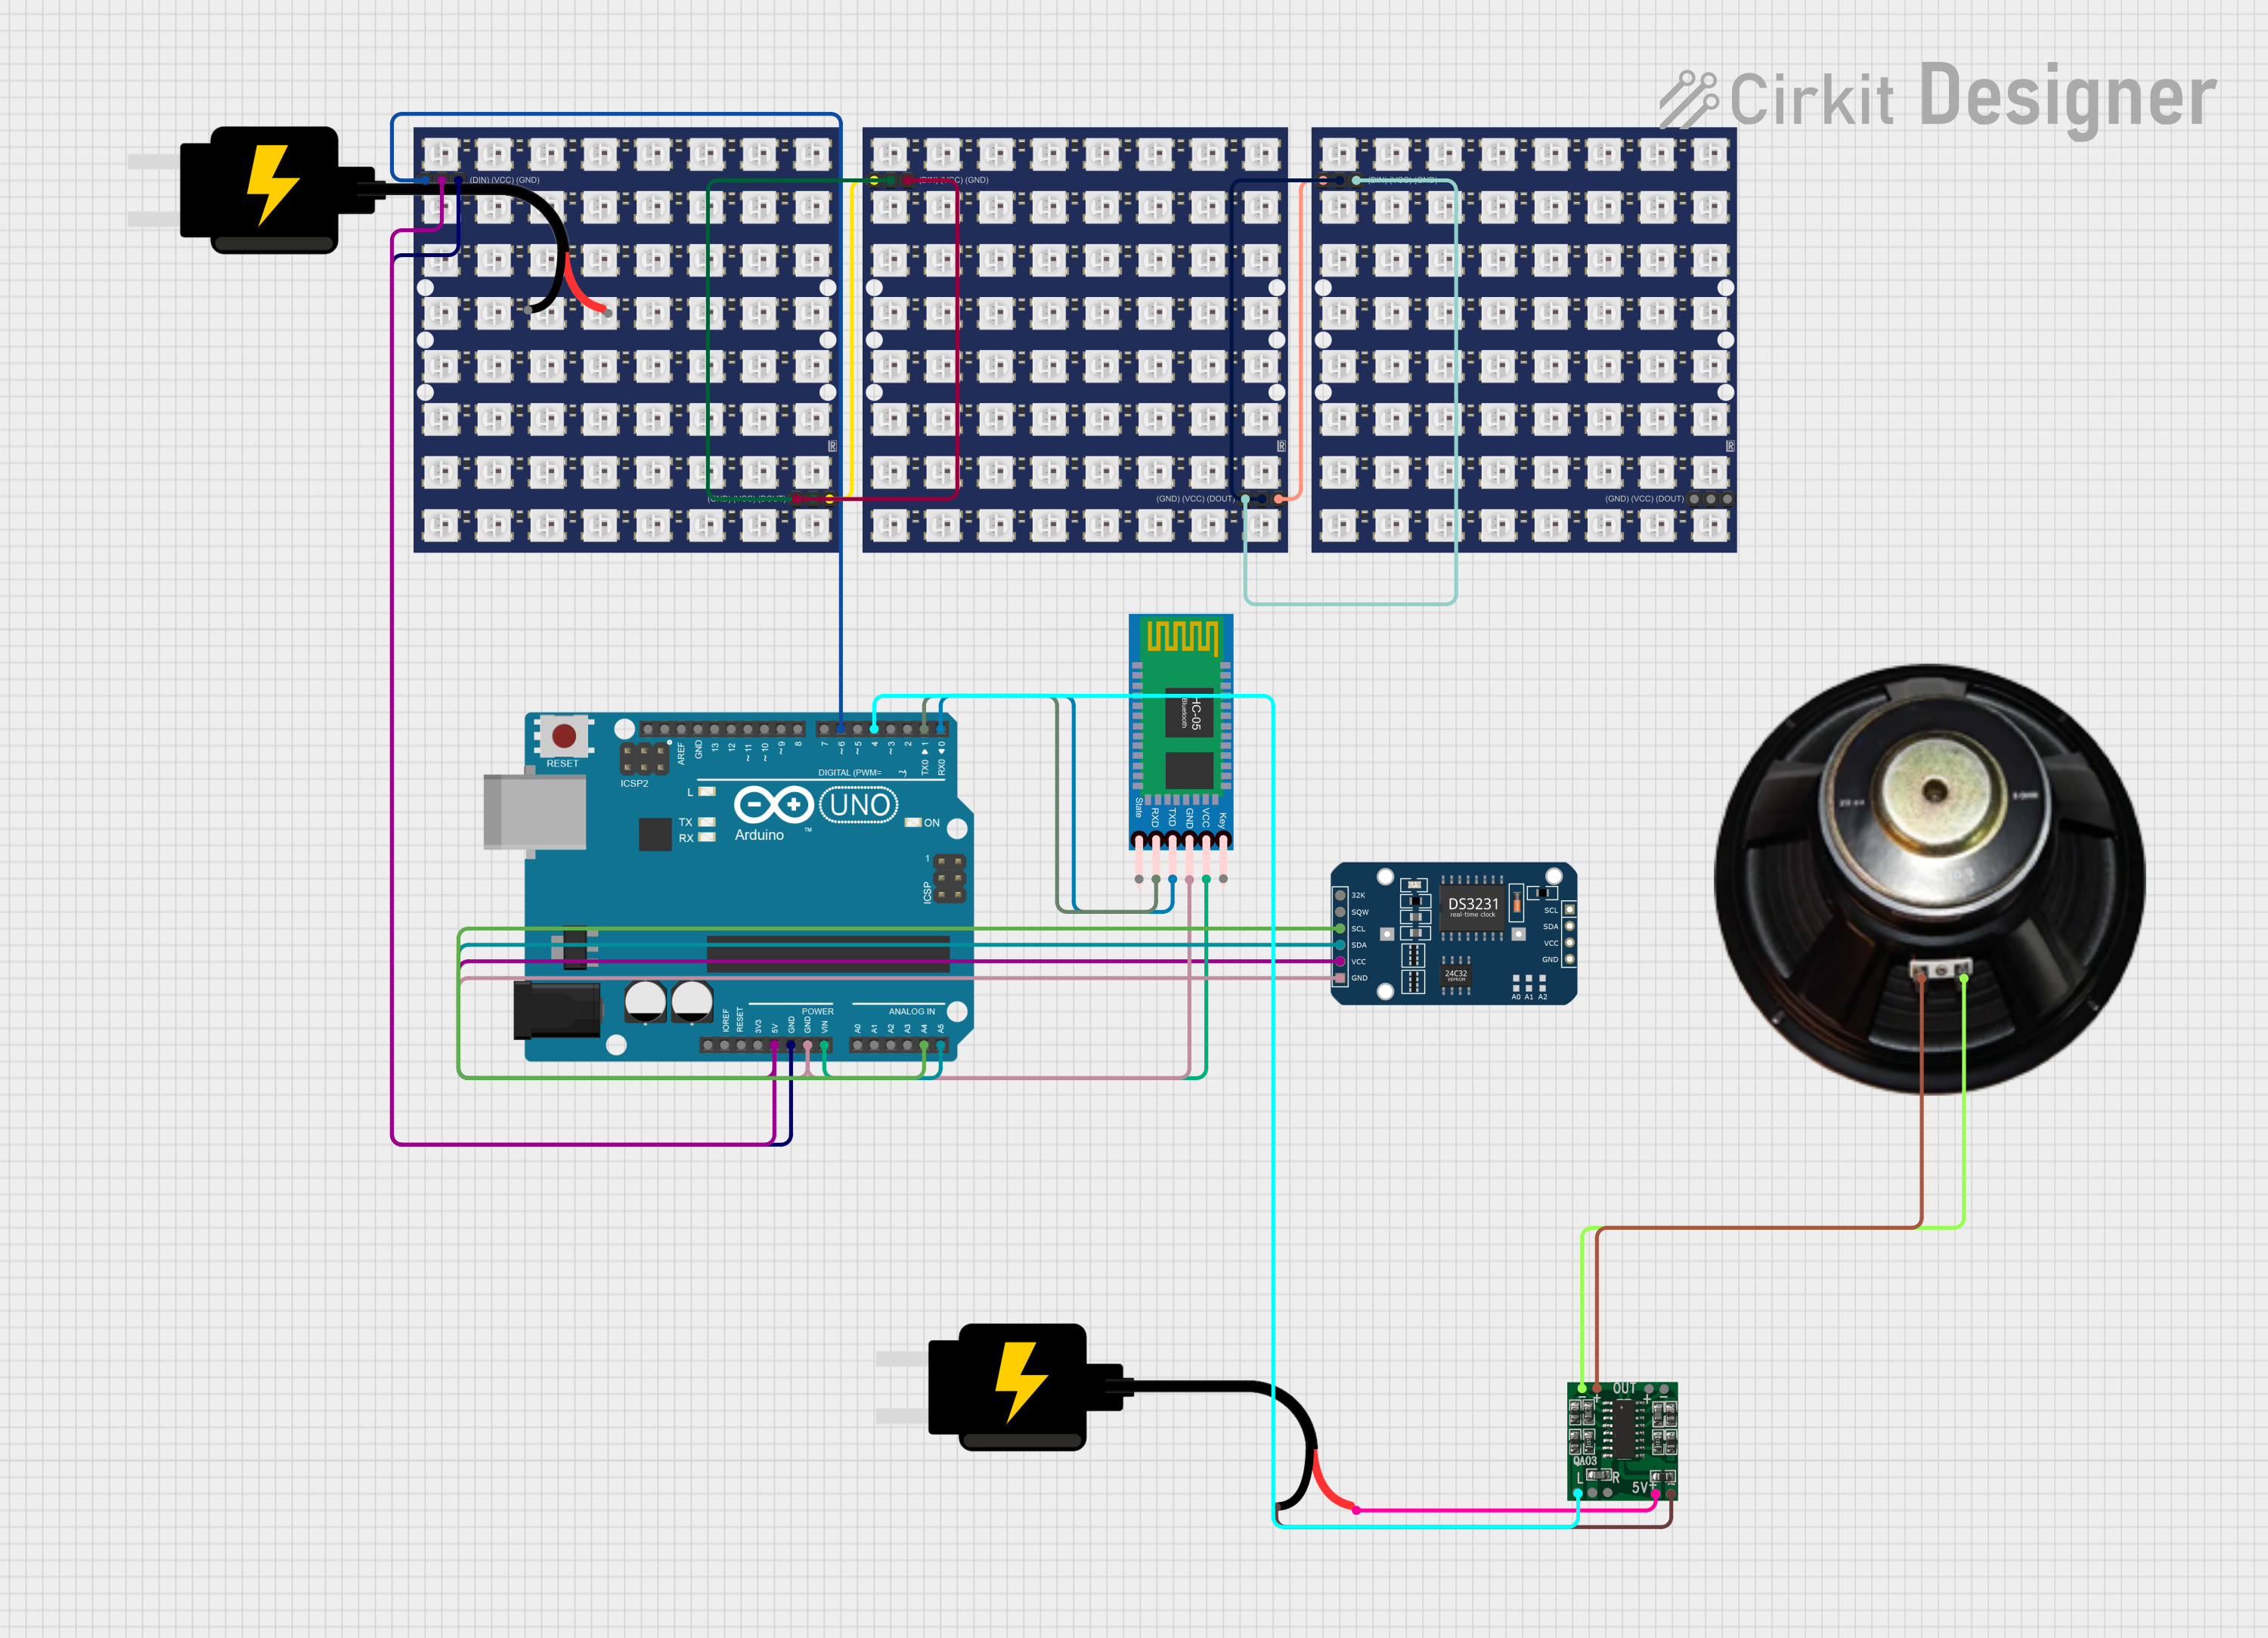 Open Project in Cirkit Designer
Explore Projects Built with Alphanumeric LED Display
Open Project in Cirkit DesignerOpen Project in Cirkit DesignerOpen Project in Cirkit DesignerOpen Project in Cirkit DesignerTechnical Specifications
Below are the general technical specifications for a typical Alphanumeric LED Display. Note that specific values may vary depending on the manufacturer and model.
Key Specifications
- Operating Voltage: 2V to 5V (per segment, depending on LED type)
- Forward Current: 10mA to 20mA (per segment)
- Power Consumption: Low (varies with the number of active segments)
- Display Type: Common Anode or Common Cathode
- Character Support: Alphanumeric (A-Z, 0-9) and some symbols
- Viewing Angle: Typically 60° to 120°
- Brightness: Adjustable via current-limiting resistors or PWM
- Operating Temperature: -40°C to 85°C
Pin Configuration
The pin configuration of an Alphanumeric LED Display depends on its type (e.g., 7-segment, 14-segment, or 16-segment) and whether it is common anode or common cathode. Below is an example of a 14-segment Alphanumeric LED Display with a common cathode configuration:
| Pin Number | Pin Name | Description |
|---|---|---|
| 1 | A | Segment A |
| 2 | B | Segment B |
| 3 | C | Segment C |
| 4 | D | Segment D |
| 5 | E | Segment E |
| 6 | F | Segment F |
| 7 | G1 | Segment G (upper half) |
| 8 | G2 | Segment G (lower half) |
| 9 | H | Segment H |
| 10 | J | Segment J |
| 11 | K | Segment K |
| 12 | L | Segment L |
| 13 | M | Segment M |
| 14 | N | Segment N |
| 15 | Common Cathode | Common connection for all segments |
Note: For a common anode display, the common pin is connected to the positive voltage supply, and individual segments are controlled by grounding their respective pins.
Usage Instructions
How to Use the Component in a Circuit
- Determine the Type: Identify whether your display is common anode or common cathode. This will affect how you connect it to your circuit.
- Connect Current-Limiting Resistors: To prevent damage to the LEDs, connect a resistor (typically 220Ω to 1kΩ) in series with each segment pin.
- Control the Segments: Use a microcontroller (e.g., Arduino UNO) or a driver IC (e.g., MAX7219) to control the individual segments. For direct control, set the corresponding pins HIGH or LOW based on the display type.
- Power the Display: Connect the common pin to the appropriate voltage source (VCC for common anode, GND for common cathode).
Example Circuit with Arduino UNO
Below is an example of how to connect and control a single 14-segment Alphanumeric LED Display with an Arduino UNO:
Circuit Connections
- Connect the common cathode pin to GND.
- Connect each segment pin (A, B, C, etc.) to a digital pin on the Arduino through a 220Ω resistor.
Example Code
// Example code to display the letter 'A' on a 14-segment Alphanumeric LED Display
// Common cathode configuration assumed

// Define segment pins
const int segmentPins[] = {2, 3, 4, 5, 6, 7, 8, 9, 10, 11, 12, 13, A0, A1};

// Segment mapping for the letter 'A' (1 = ON, 0 = OFF)
const int letterA[] = {1, 1, 1, 0, 1, 1, 1, 1, 1, 0, 1, 1, 1, 0};

void setup() {
  // Set all segment pins as OUTPUT
  for (int i = 0; i < 14; i++) {
    pinMode(segmentPins[i], OUTPUT);
  }
}

void loop() {
  // Display the letter 'A'
  for (int i = 0; i < 14; i++) {
    digitalWrite(segmentPins[i], letterA[i]);
  }
  delay(1000); // Keep the display on for 1 second
}
Important Considerations and Best Practices
- Resistor Selection: Always use appropriate current-limiting resistors to avoid damaging the LEDs.
- Brightness Control: Use PWM (Pulse Width Modulation) to adjust the brightness of the display.
- Driver ICs: For multi-digit displays, consider using a driver IC like MAX7219 to simplify wiring and control.
- Power Supply: Ensure your power supply can handle the total current draw of the display.
Troubleshooting and FAQs
Common Issues
Some Segments Not Lighting Up:
- Check the wiring and ensure all connections are secure.
- Verify that the corresponding Arduino pins are set as OUTPUT.
- Test the segment with a multimeter to ensure it is not damaged.
Display Too Dim:
- Reduce the value of the current-limiting resistors to increase brightness (within safe limits).
- Check the power supply voltage to ensure it meets the display's requirements.
Incorrect Characters Displayed:
- Verify the segment mapping in your code.
- Ensure the display type (common anode or cathode) matches your circuit design.
Entire Display Not Working:
- Check the common pin connection (VCC for common anode, GND for common cathode).
- Ensure the power supply is functioning and properly connected.
FAQs
Q: Can I use an Alphanumeric LED Display with a 3.3V microcontroller?
A: Yes, but ensure the forward voltage of the LEDs is compatible with 3.3V. You may need to adjust the resistor values accordingly.
Q: How do I display multiple characters on a multi-digit display?
A: Use a driver IC like MAX7219 or multiplexing techniques to control each digit sequentially.
Q: Can I control the display without a microcontroller?
A: Yes, you can use switches or a dedicated driver IC, but a microcontroller provides more flexibility and ease of use.
By following this documentation, you can effectively integrate an Alphanumeric LED Display into your projects for clear and reliable visual output.