How to Use 433 MHz RF Reciver: Examples, Pinouts, and Specs

 Design with 433 MHz RF Reciver in Cirkit Designer
Introduction
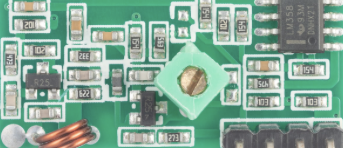
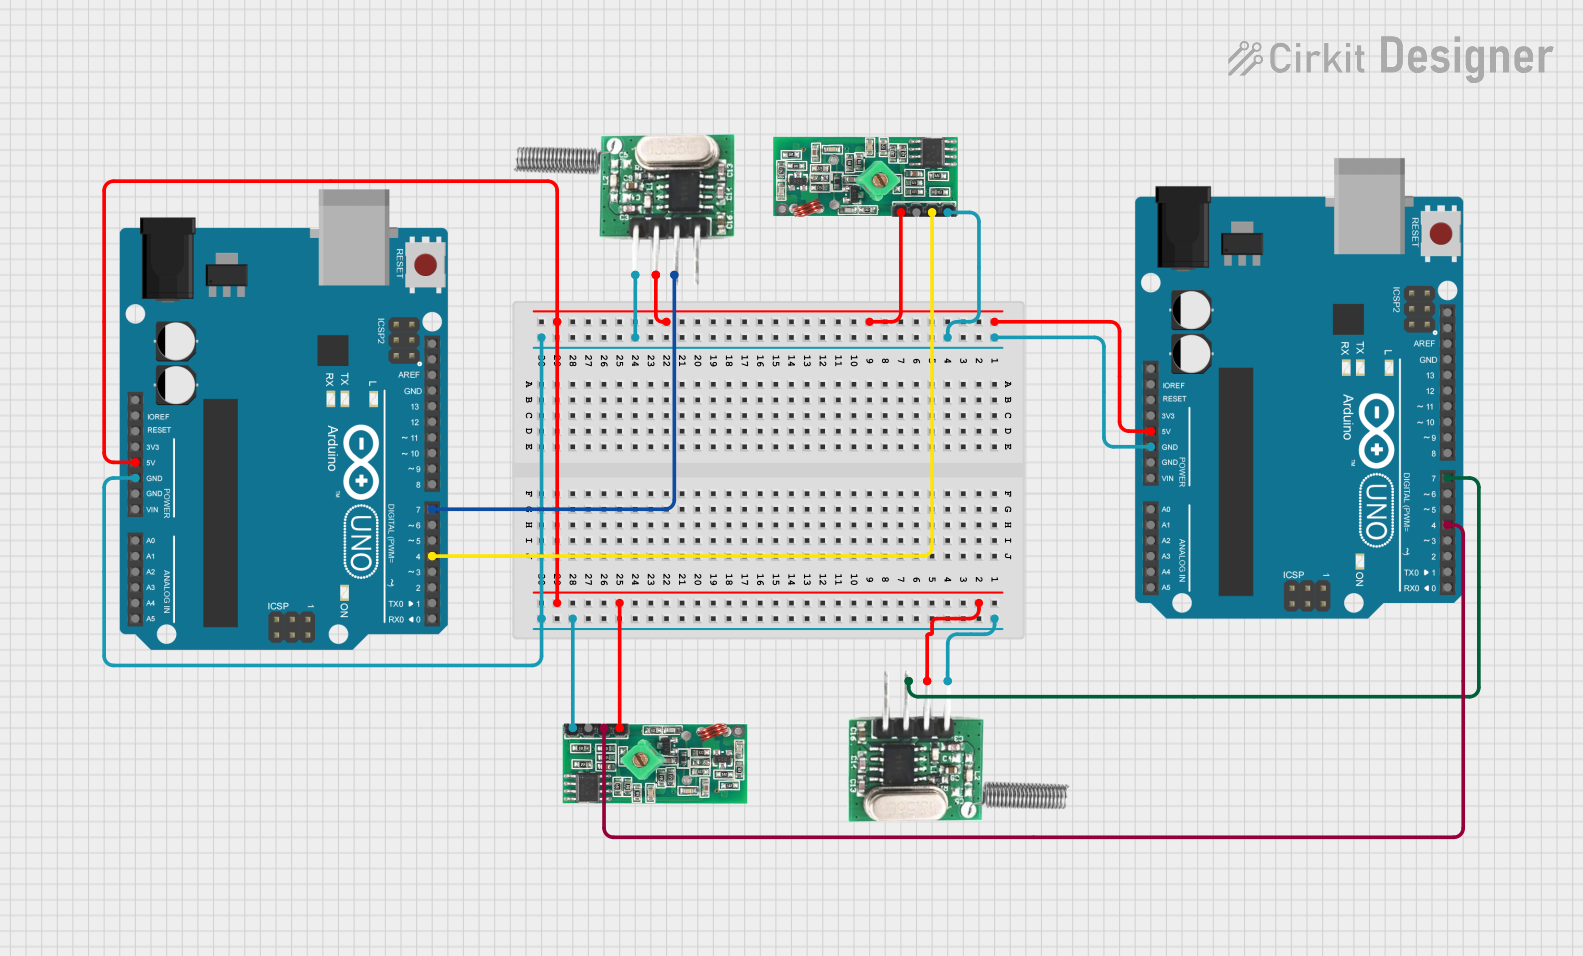
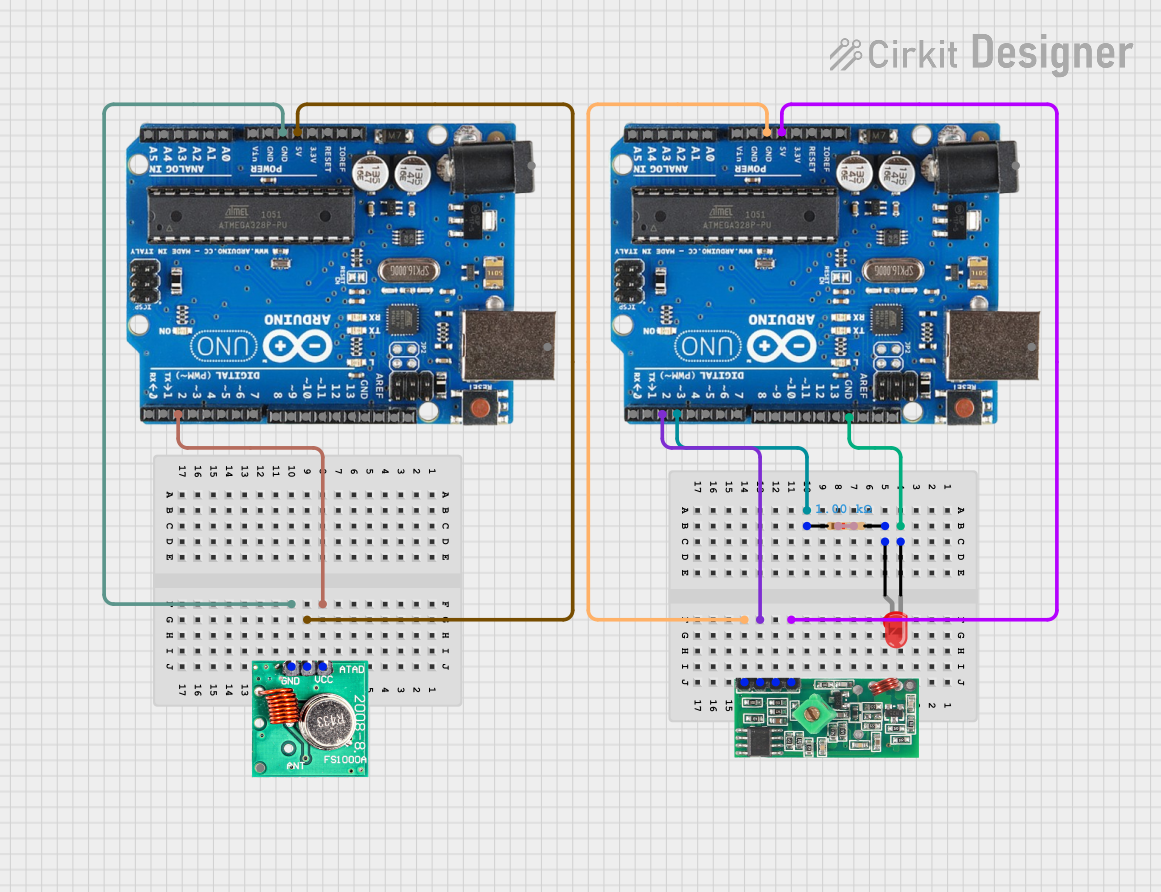
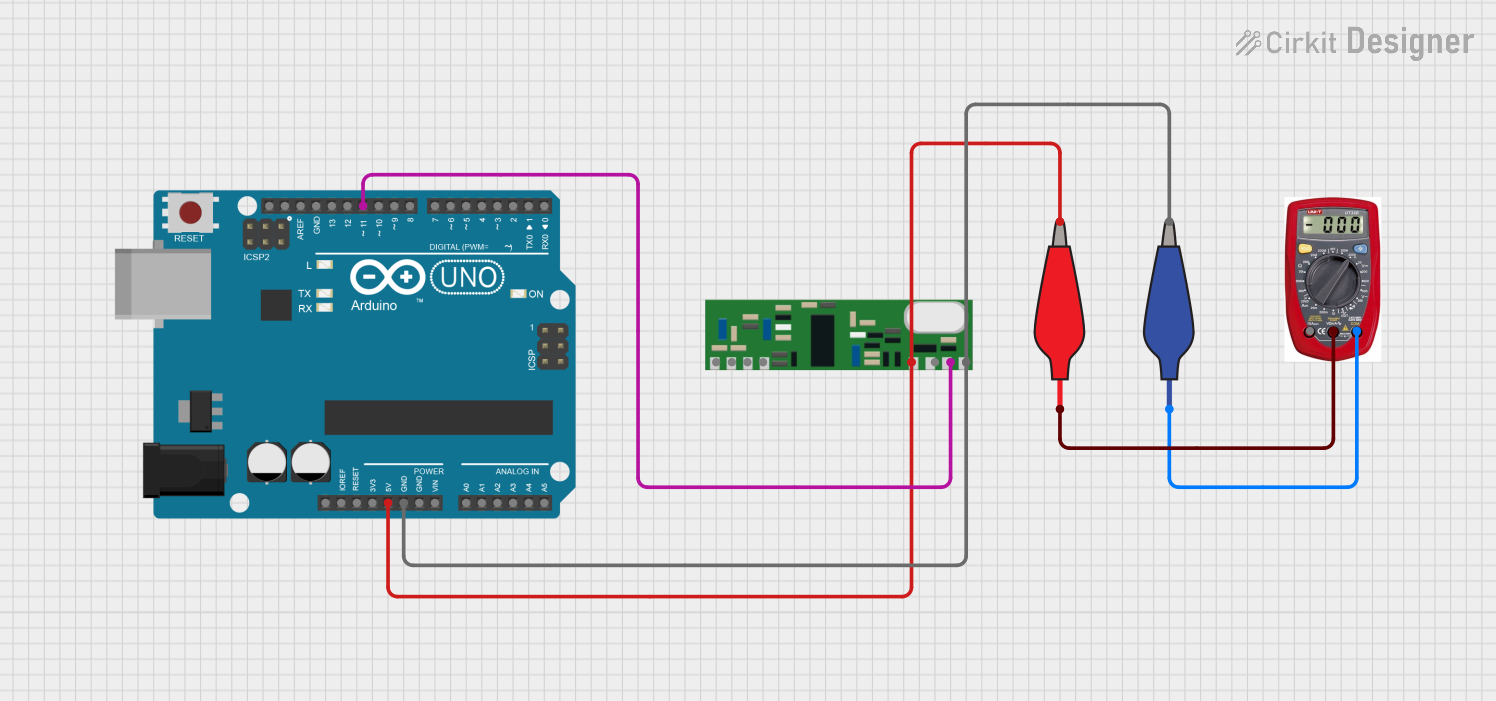
The 433 MHz RF Receiver is a device designed to receive radio frequency signals at 433 MHz. It is widely used in wireless communication systems for applications such as remote control, data transmission, and home automation. This component is often paired with a 433 MHz RF Transmitter to establish a wireless communication link.
Common applications include:
- Wireless remote controls (e.g., garage doors, home appliances)
- Wireless sensor networks
- Internet of Things (IoT) devices
- Data logging and telemetry systems
Explore Projects Built with 433 MHz RF Reciver

 Open Project in Cirkit Designer
 Open Project in Cirkit Designer
 Open Project in Cirkit Designer
 Open Project in Cirkit Designer
Explore Projects Built with 433 MHz RF Reciver

 Open Project in Cirkit Designer
 Open Project in Cirkit Designer
 Open Project in Cirkit Designer
 Open Project in Cirkit Designer
Technical Specifications
The 433 MHz RF Receiver is a compact and efficient module with the following key specifications:
| Parameter | Value |
|---|---|
| Operating Voltage | 3.3V - 5V |
| Operating Current | 4 mA - 5.5 mA |
| Operating Frequency | 433 MHz |
| Sensitivity | -105 dBm |
| Data Rate | Up to 10 kbps |
| Range | Up to 50-100 meters (line of sight) |
| Modulation Type | Amplitude Shift Keying (ASK) |
Pin Configuration and Descriptions
The 433 MHz RF Receiver typically has 4 pins, as described below:
| Pin | Name | Description |
|---|---|---|
| 1 | VCC | Power supply pin (3.3V - 5V) |
| 2 | GND | Ground connection |
| 3 | DATA | Digital output pin for received data |
| 4 | ANT | Antenna connection for receiving RF signals |
Usage Instructions
How to Use the 433 MHz RF Receiver in a Circuit
- Power the Module: Connect the VCC pin to a 3.3V or 5V power source and the GND pin to the ground.
- Connect the Data Pin: The DATA pin outputs the received signal. Connect this pin to a microcontroller (e.g., Arduino) or a decoder IC for further processing.
- Attach an Antenna: For optimal performance, connect a 17 cm wire to the ANT pin to act as an antenna. Ensure the wire is straight and positioned vertically for maximum range.
- Pair with a Transmitter: Use a compatible 433 MHz RF Transmitter module to send data to the receiver.
Important Considerations and Best Practices
- Power Supply: Ensure a stable power supply to avoid noise and interference.
- Antenna Placement: Place the antenna away from metal objects and other electronic components to reduce signal attenuation.
- Decoding the Signal: Use a microcontroller or a dedicated decoder IC to interpret the received data.
- Interference: The 433 MHz band is commonly used, so interference from other devices may occur. Use proper encoding/decoding techniques to minimize errors.
Example: Connecting to an Arduino UNO
Below is an example of how to use the 433 MHz RF Receiver with an Arduino UNO to receive data:
Circuit Connections
- Connect the VCC pin of the receiver to the 5V pin on the Arduino.
- Connect the GND pin of the receiver to the GND pin on the Arduino.
- Connect the DATA pin of the receiver to digital pin 2 on the Arduino.
Arduino Code
// Include the RadioHead library for handling RF communication
#include <RH_ASK.h>
#include <SPI.h> // Required for RadioHead library

// Initialize the RF receiver object
RH_ASK rf_driver;

void setup() {
  Serial.begin(9600); // Start serial communication at 9600 baud
  if (!rf_driver.init()) {
    Serial.println("RF Receiver initialization failed!");
    while (1); // Halt execution if initialization fails
  }
}

void loop() {
  uint8_t buf[RH_ASK_MAX_MESSAGE_LEN]; // Buffer to store received data
  uint8_t buflen = sizeof(buf);        // Length of the buffer

  // Check if data is available and read it
  if (rf_driver.recv(buf, &buflen)) {
    Serial.print("Received: ");
    for (int i = 0; i < buflen; i++) {
      Serial.print((char)buf[i]); // Print received data as characters
    }
    Serial.println();
  }
}
Notes:
- The above code uses the RadioHead library, which must be installed in the Arduino IDE. You can install it via the Library Manager.
- Ensure the transmitter is sending data in a compatible format for successful communication.
Troubleshooting and FAQs
Common Issues and Solutions
No Data Received
- Solution: Verify the transmitter is powered and sending data. Check the antenna connection and ensure the receiver is within range.
Interference or Noise
- Solution: Use proper encoding/decoding techniques to filter out noise. Ensure the antenna is placed away from sources of interference.
Short Range
- Solution: Check the antenna length (17 cm for 433 MHz) and ensure it is properly connected. Avoid obstructions between the transmitter and receiver.
Receiver Not Initializing
- Solution: Ensure the power supply voltage is within the specified range (3.3V - 5V). Check all connections for loose wires.
FAQs
Q: Can I use the 433 MHz RF Receiver with a 3.3V microcontroller?
A: Yes, the receiver operates at 3.3V, but ensure the data pin voltage is compatible with your microcontroller.
Q: What is the maximum range of the receiver?
A: The range is up to 50-100 meters in line-of-sight conditions. Obstacles and interference may reduce the range.
Q: Do I need an external antenna?
A: Yes, connecting a 17 cm wire to the ANT pin significantly improves performance and range.
Q: Can multiple receivers work with a single transmitter?
A: Yes, multiple receivers can receive data from a single transmitter, provided they are within range and tuned to the same frequency.
This concludes the documentation for the 433 MHz RF Receiver.