How to Use STM32H7: Examples, Pinouts, and Specs

Introduction
The STM32H7 series of microcontrollers by STMicroelectronics represents a range of high-performance, ARM Cortex-M7 based MCUs. These microcontrollers are designed to offer a balance between performance, power efficiency, and feature integration, making them ideal for a variety of applications such as advanced industrial control systems, sophisticated Internet of Things (IoT) devices, automotive applications, and consumer electronics.
Explore Projects Built with STM32H7
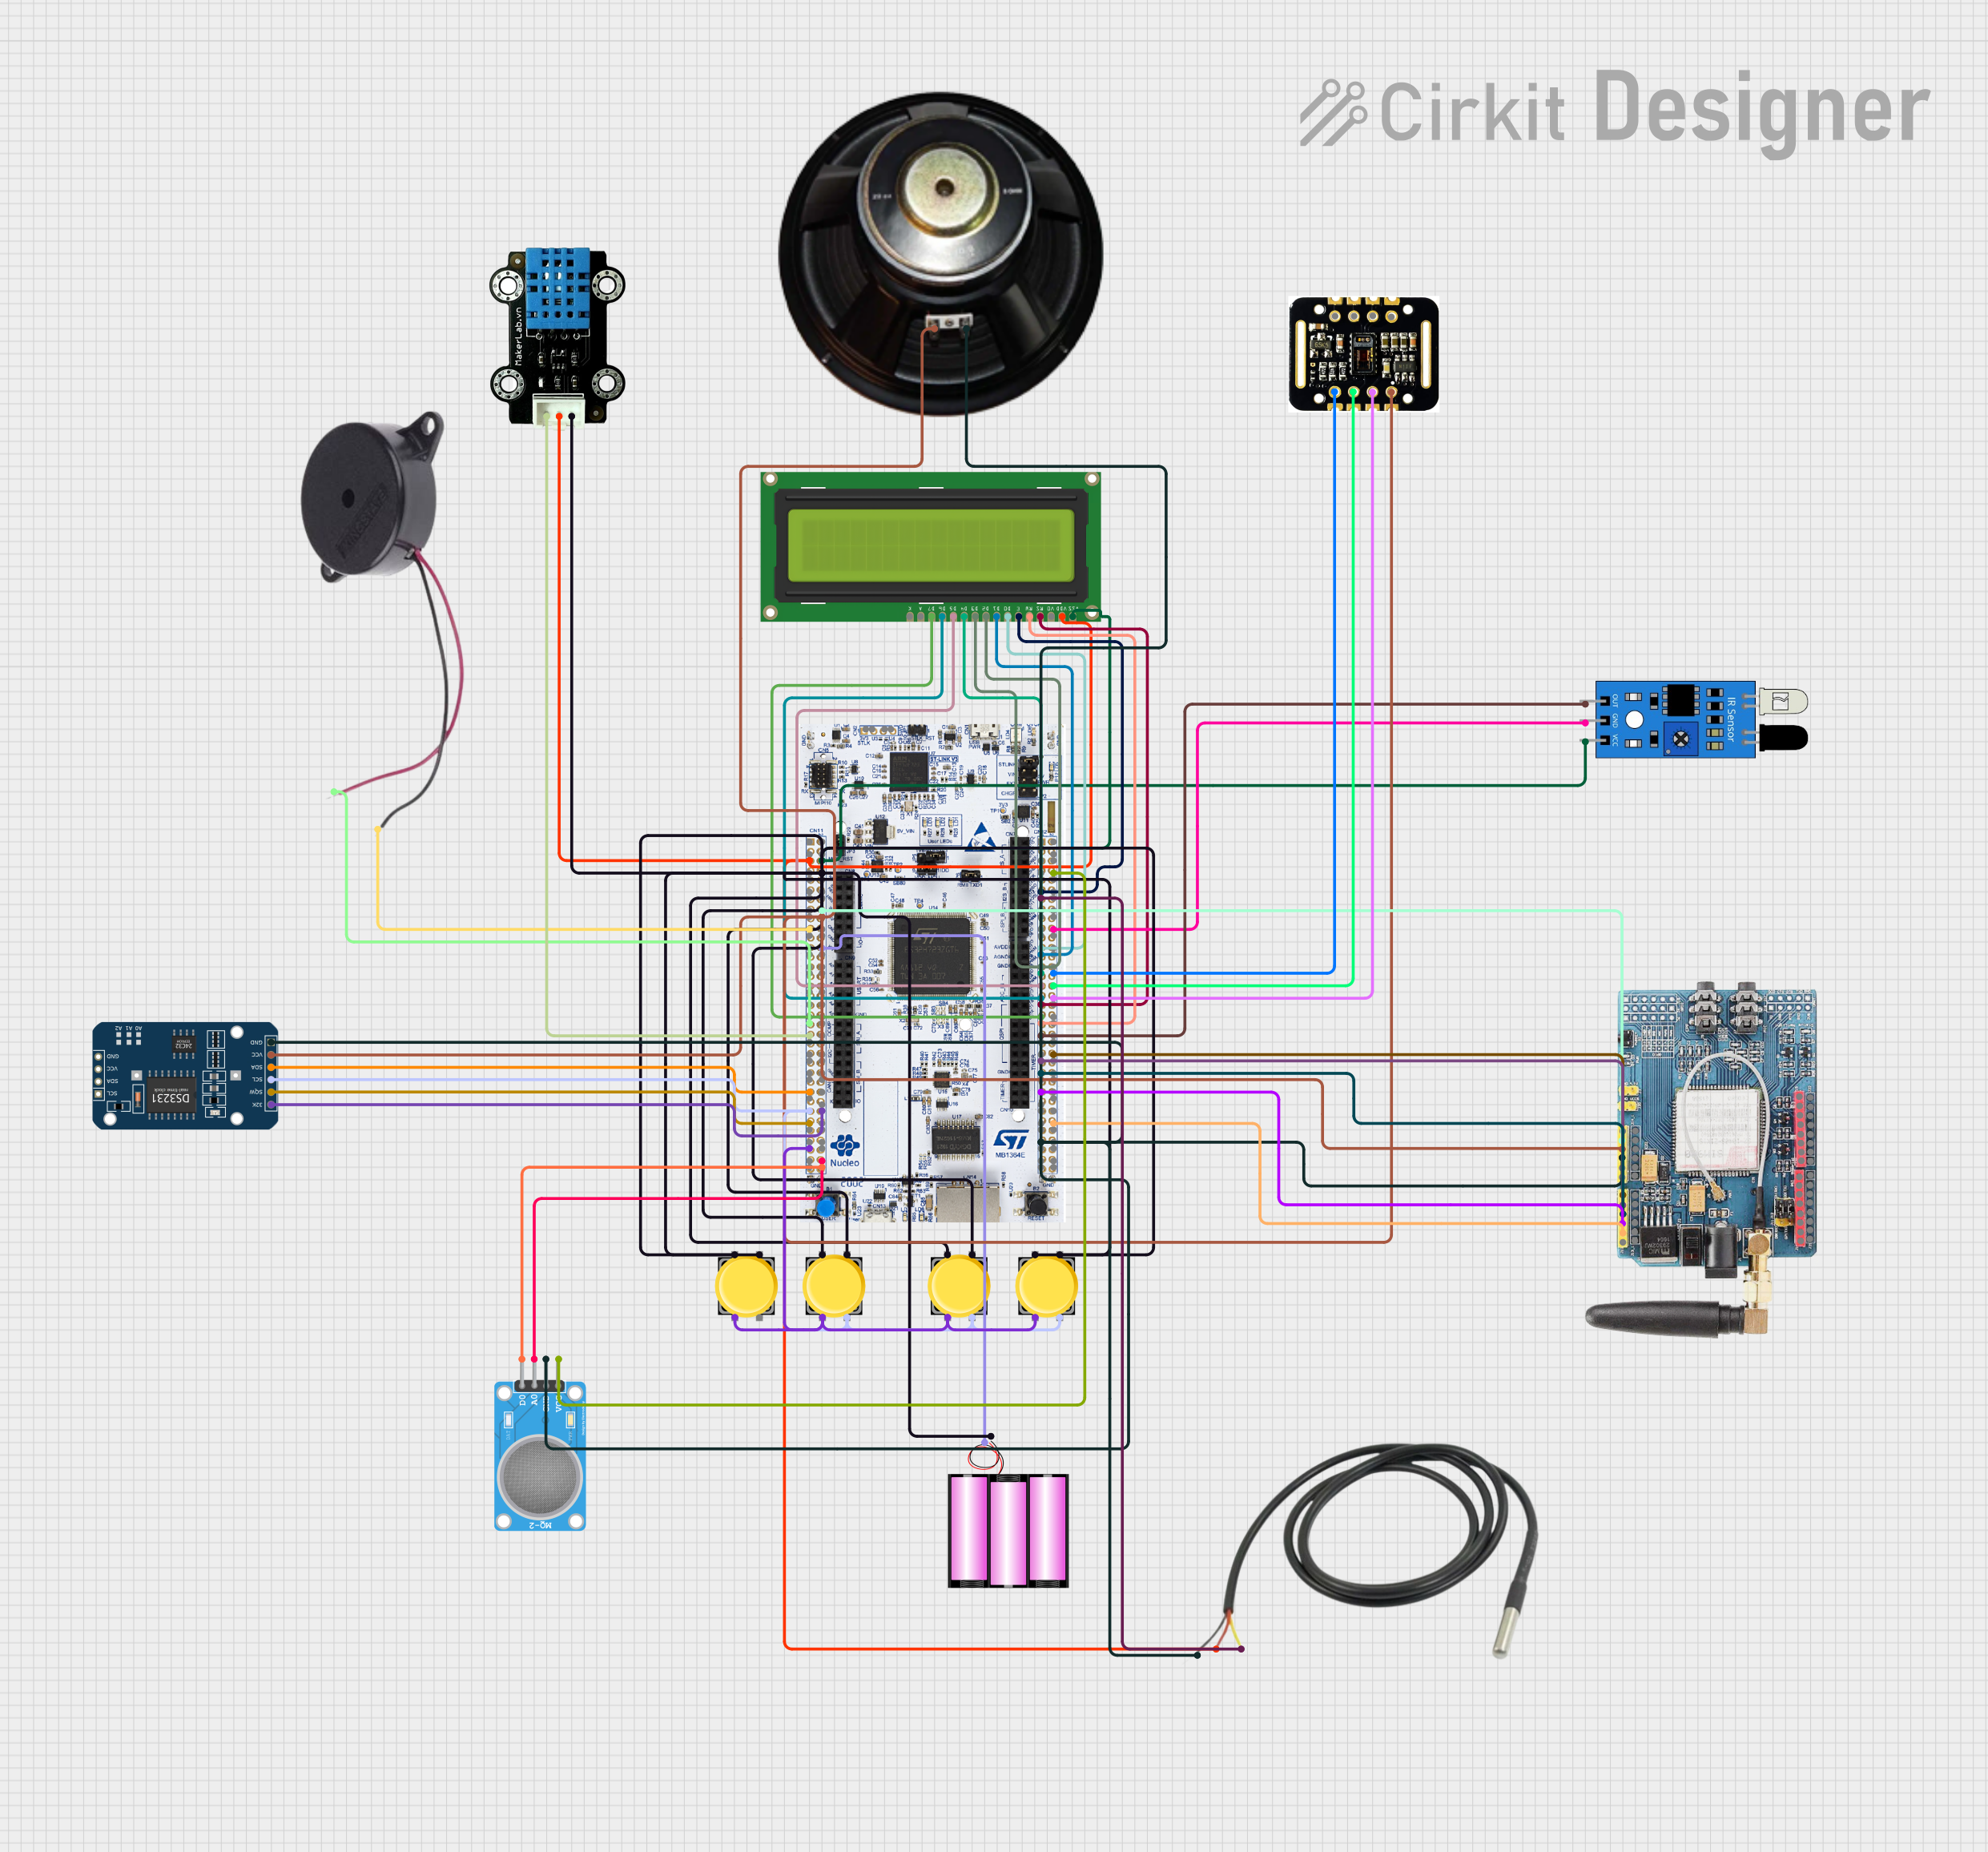
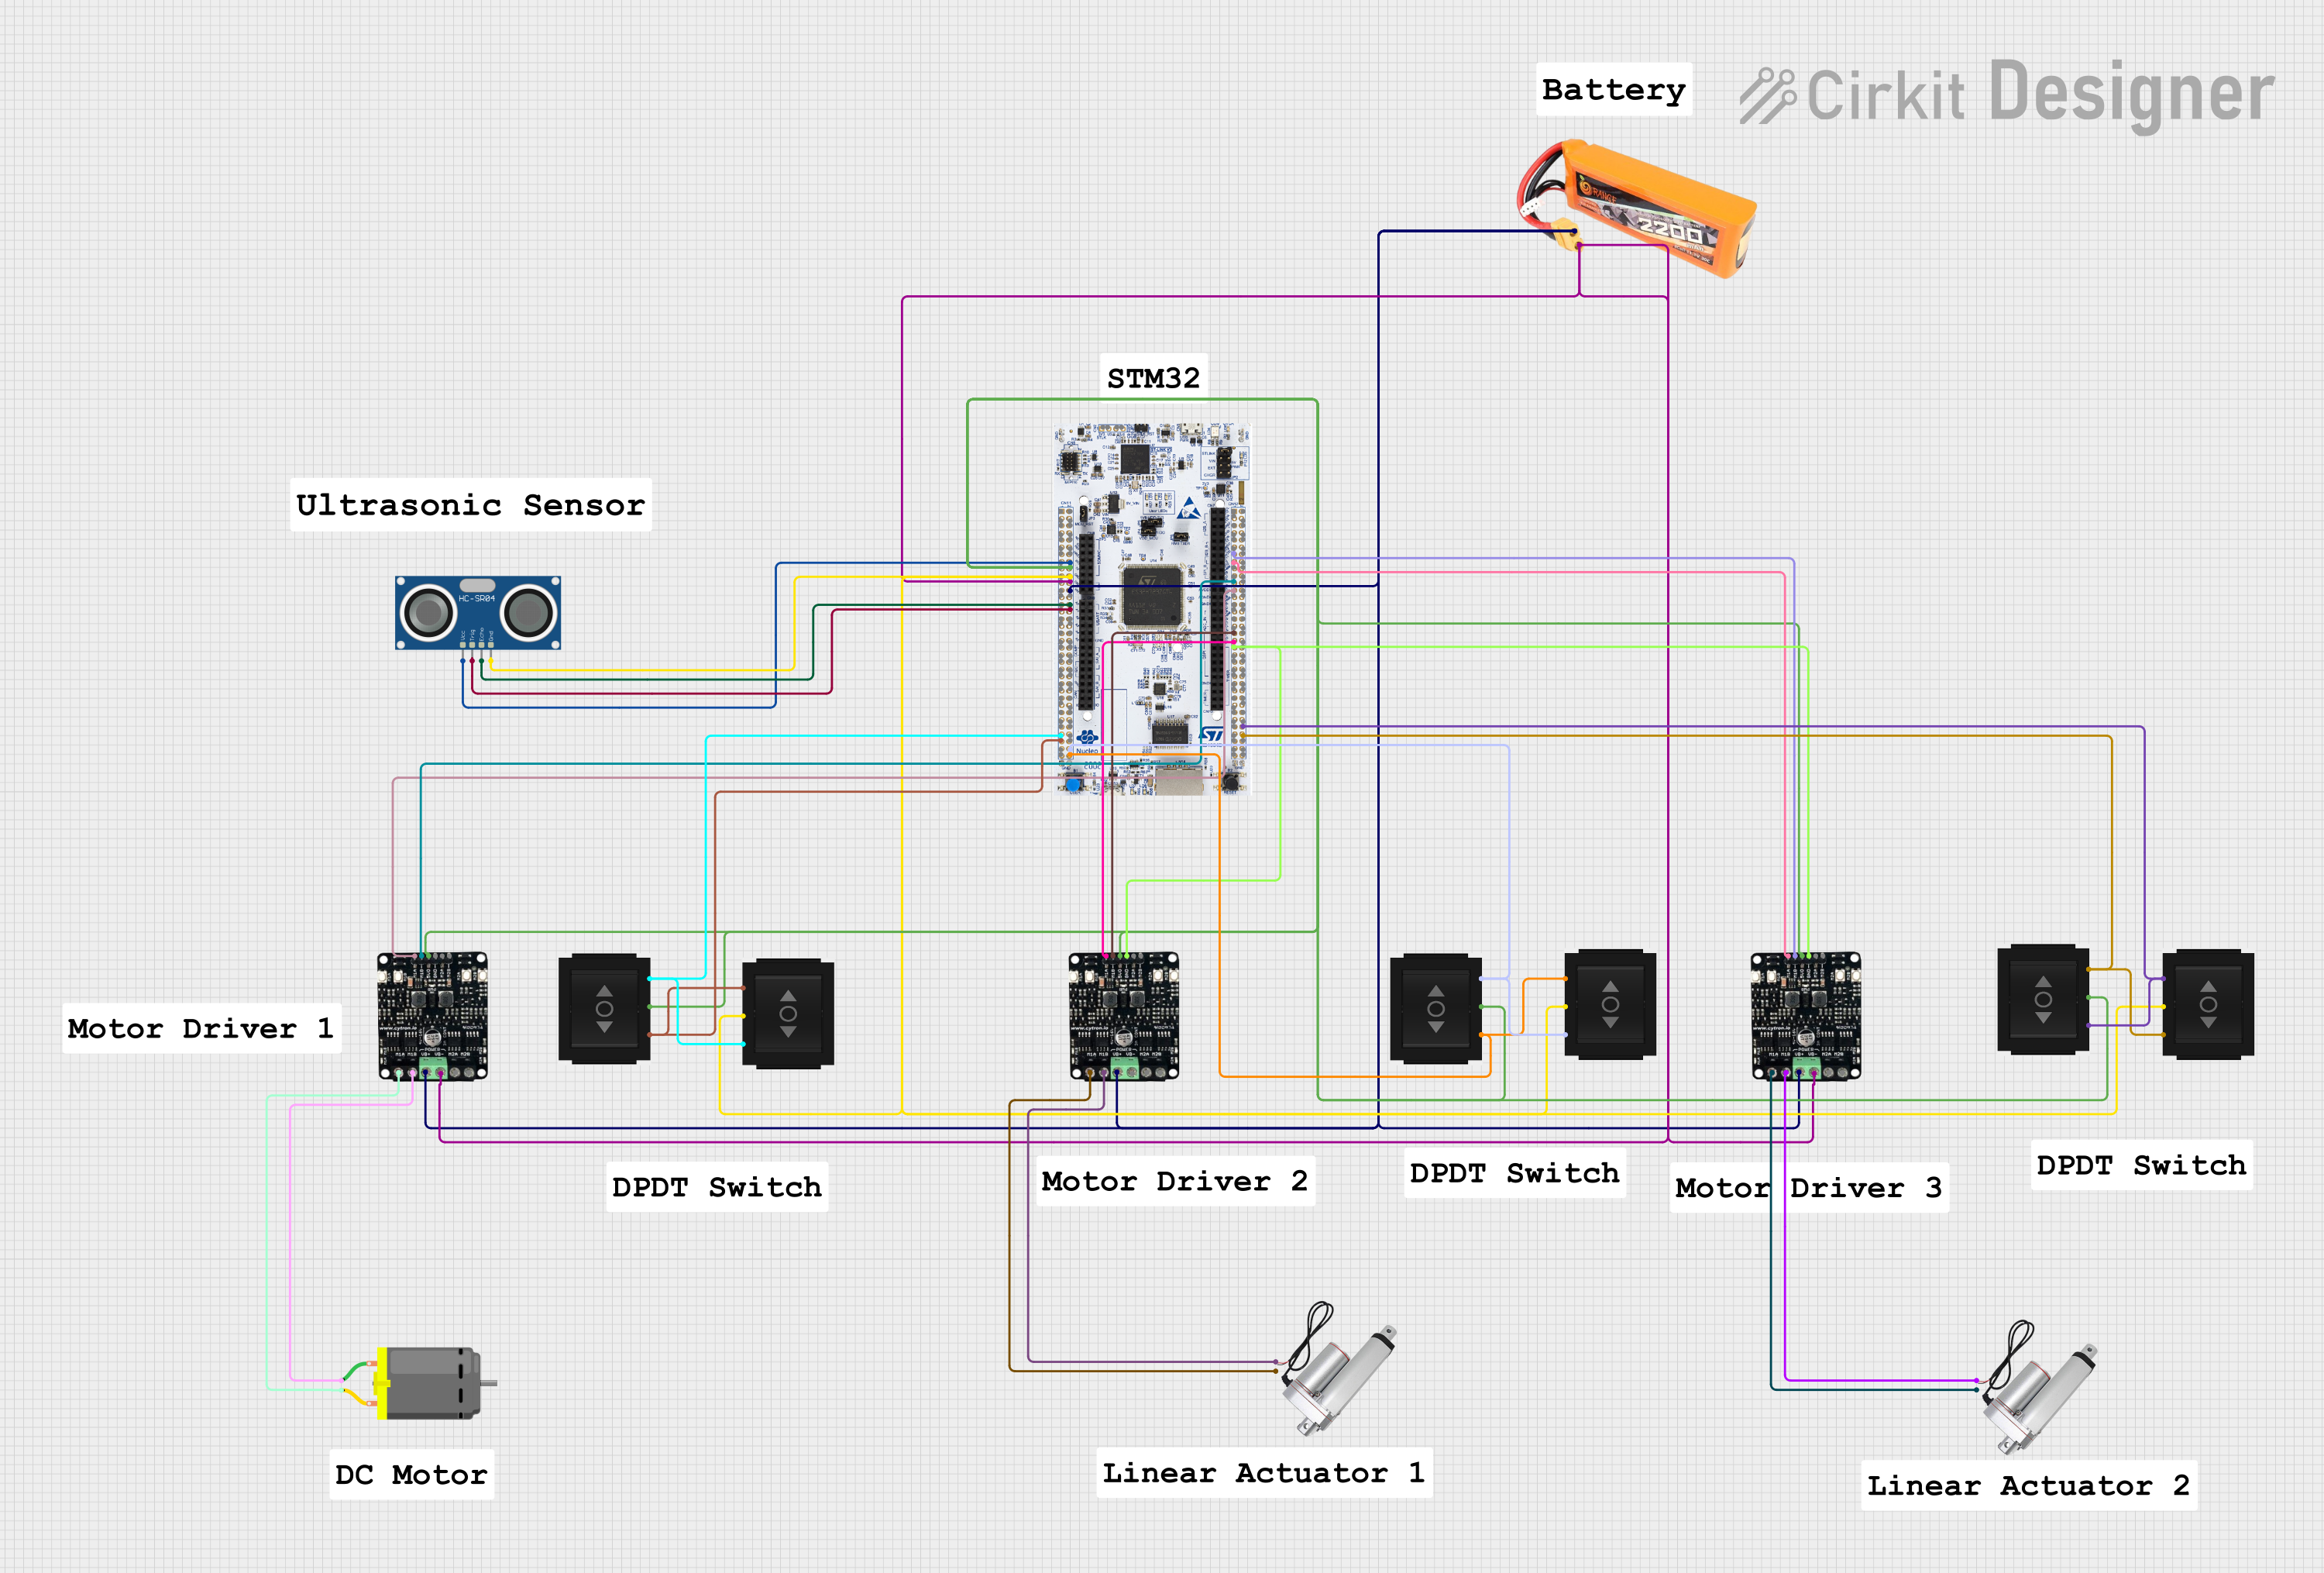


Explore Projects Built with STM32H7
Technical Specifications
Key Features
- Core: ARM Cortex-M7 with double-precision floating point unit (FPU)
- Operating Frequency: Up to 480 MHz
- Flash Memory: Up to 2 MB dual-bank with read-while-write support
- RAM: Up to 1 MB with the possibility of expansion through the Flexible Memory Controller (FMC)
- Supply Voltage: 1.7 V to 3.6 V
Pin Configuration and Descriptions
| Pin Number | Name | Description |
|---|---|---|
| 1 | VDD | Power supply voltage |
| 2 | VSS | Ground reference for power supply |
| 3 | NRST | Active-low reset input |
| ... | ... | ... |
| n | BOOT0 | Boot configuration pin |
Note: The above table is a simplified representation. The actual pin count and configuration depend on the specific STM32H7 model and package.
Usage Instructions
Integration into a Circuit
To integrate the STM32H7 microcontroller into a circuit, follow these general steps:
- Power Supply Connection: Connect VDD pins to a stable power source within the specified voltage range and VSS pins to ground.
- Clock Source: Connect an external crystal or resonator to the OSC_IN and OSC_OUT pins if an external clock source is required.
- Boot Configuration: Set the BOOT0 pin according to the desired boot mode (high for system memory boot, low for main flash memory boot).
- Programming Interface: Connect the SWDIO, SWCLK, and NRST pins to a compatible ST-Link debugger/programmer for firmware uploading and debugging.
Best Practices
- Use decoupling capacitors close to the power supply pins to filter out noise.
- Ensure that the power supply is capable of providing sufficient current for the application.
- Follow the manufacturer's guidelines for PCB layout, especially for high-frequency signals.
- Implement proper ESD protection measures to prevent damage to the MCU.
Example Code for Arduino UNO
The STM32H7 is not directly compatible with the Arduino UNO platform. However, you can use the STM32H7 in conjunction with an Arduino UNO for certain applications by using a serial or SPI interface for communication between the two. Below is an example of how to set up a serial communication link from the STM32H7 to an Arduino UNO.
// STM32H7 Serial Transmit Example
#include "stm32h7xx_hal.h"

void setup() {
  // Initialize the HAL Library
  HAL_Init();

  // Configure the system clock
  SystemClock_Config();

  // Initialize the UART peripheral
  UART_HandleTypeDef huart3;
  huart3.Instance = USART3;
  huart3.Init.BaudRate = 9600;
  huart3.Init.WordLength = UART_WORDLENGTH_8B;
  huart3.Init.StopBits = UART_STOPBITS_1;
  huart3.Init.Parity = UART_PARITY_NONE;
  huart3.Init.Mode = UART_MODE_TX_RX;
  huart3.Init.HwFlowCtl = UART_HWCONTROL_NONE;
  huart3.Init.OverSampling = UART_OVERSAMPLING_16;
  HAL_UART_Init(&huart3);
}

void loop() {
  // Transmit data over UART
  char *message = "Hello from STM32H7!";
  HAL_UART_Transmit(&huart3, (uint8_t*)message, strlen(message), HAL_MAX_DELAY);

  // Delay for demonstration purposes
  HAL_Delay(1000);
}

// System Clock Configuration
void SystemClock_Config(void) {
  // This function will be auto-generated by the STM32CubeMX tool
  // based on the user's clock configuration settings.
}
Note: The above code is for illustrative purposes and assumes the use of STM32CubeMX for peripheral initialization.
Troubleshooting and FAQs
Common Issues
- Device not responding: Ensure that the power supply is connected correctly and the voltage is within the specified range. Check the NRST pin for proper reset functionality.
- Programming errors: Verify the connection to the ST-Link debugger/programmer and ensure that the correct drivers are installed.
- Clock issues: If the MCU does not start or behaves erratically, check the external crystal and clock configuration settings.
FAQs
Q: Can the STM32H7 be programmed with the Arduino IDE? A: The STM32H7 is not natively supported by the Arduino IDE. However, there are third-party tools and cores that enable programming STM32 MCUs with the Arduino IDE.
Q: What is the maximum operating temperature for the STM32H7? A: The maximum operating temperature can vary between models. Refer to the specific datasheet for your STM32H7 model for temperature ratings.
Q: How can I reduce power consumption in my STM32H7-based application? A: Utilize low-power modes, reduce the operating frequency, and disable unused peripherals to save power.
For more detailed troubleshooting, refer to the STM32H7 reference manual and datasheets specific to your MCU model.