How to Use Adafruit Feather HUZZAH ESP8266: Examples, Pinouts, and Specs

Introduction
The Adafruit Feather HUZZAH ESP8266 is a compact, Wi-Fi-enabled development board that serves as a versatile platform for building Internet of Things (IoT) projects and applications. With its 80 MHz Tensilica Xtensa LX106 processor and 4 MB of flash memory, it is well-suited for tasks that require wireless communication and data handling. Common applications include home automation, sensor networks, and DIY electronics projects.
Explore Projects Built with Adafruit Feather HUZZAH ESP8266
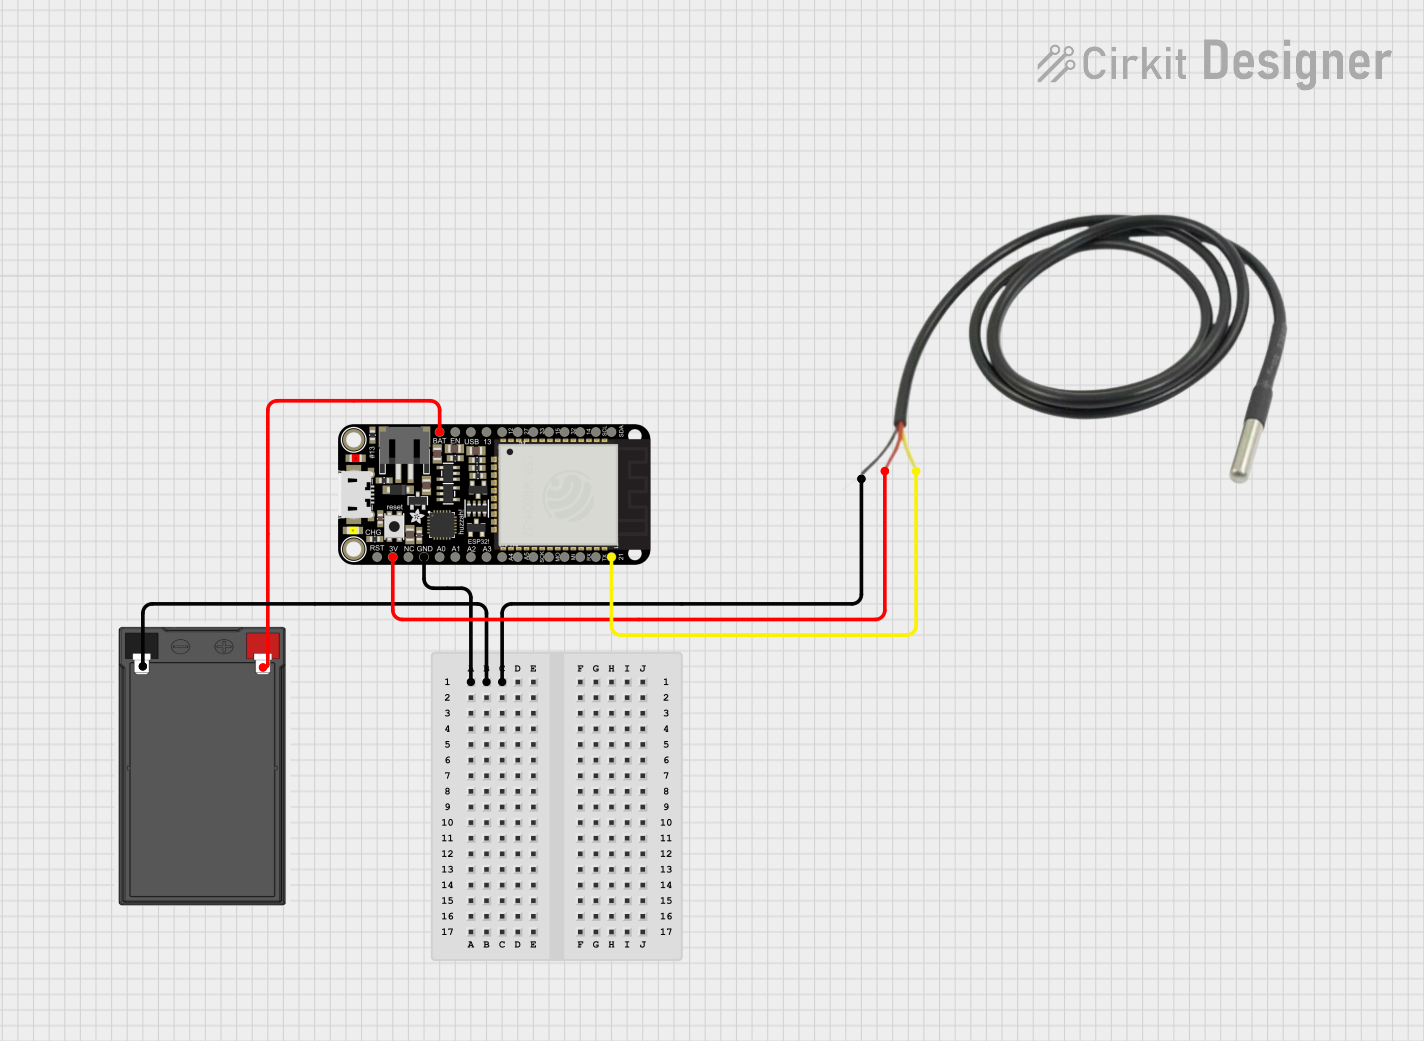

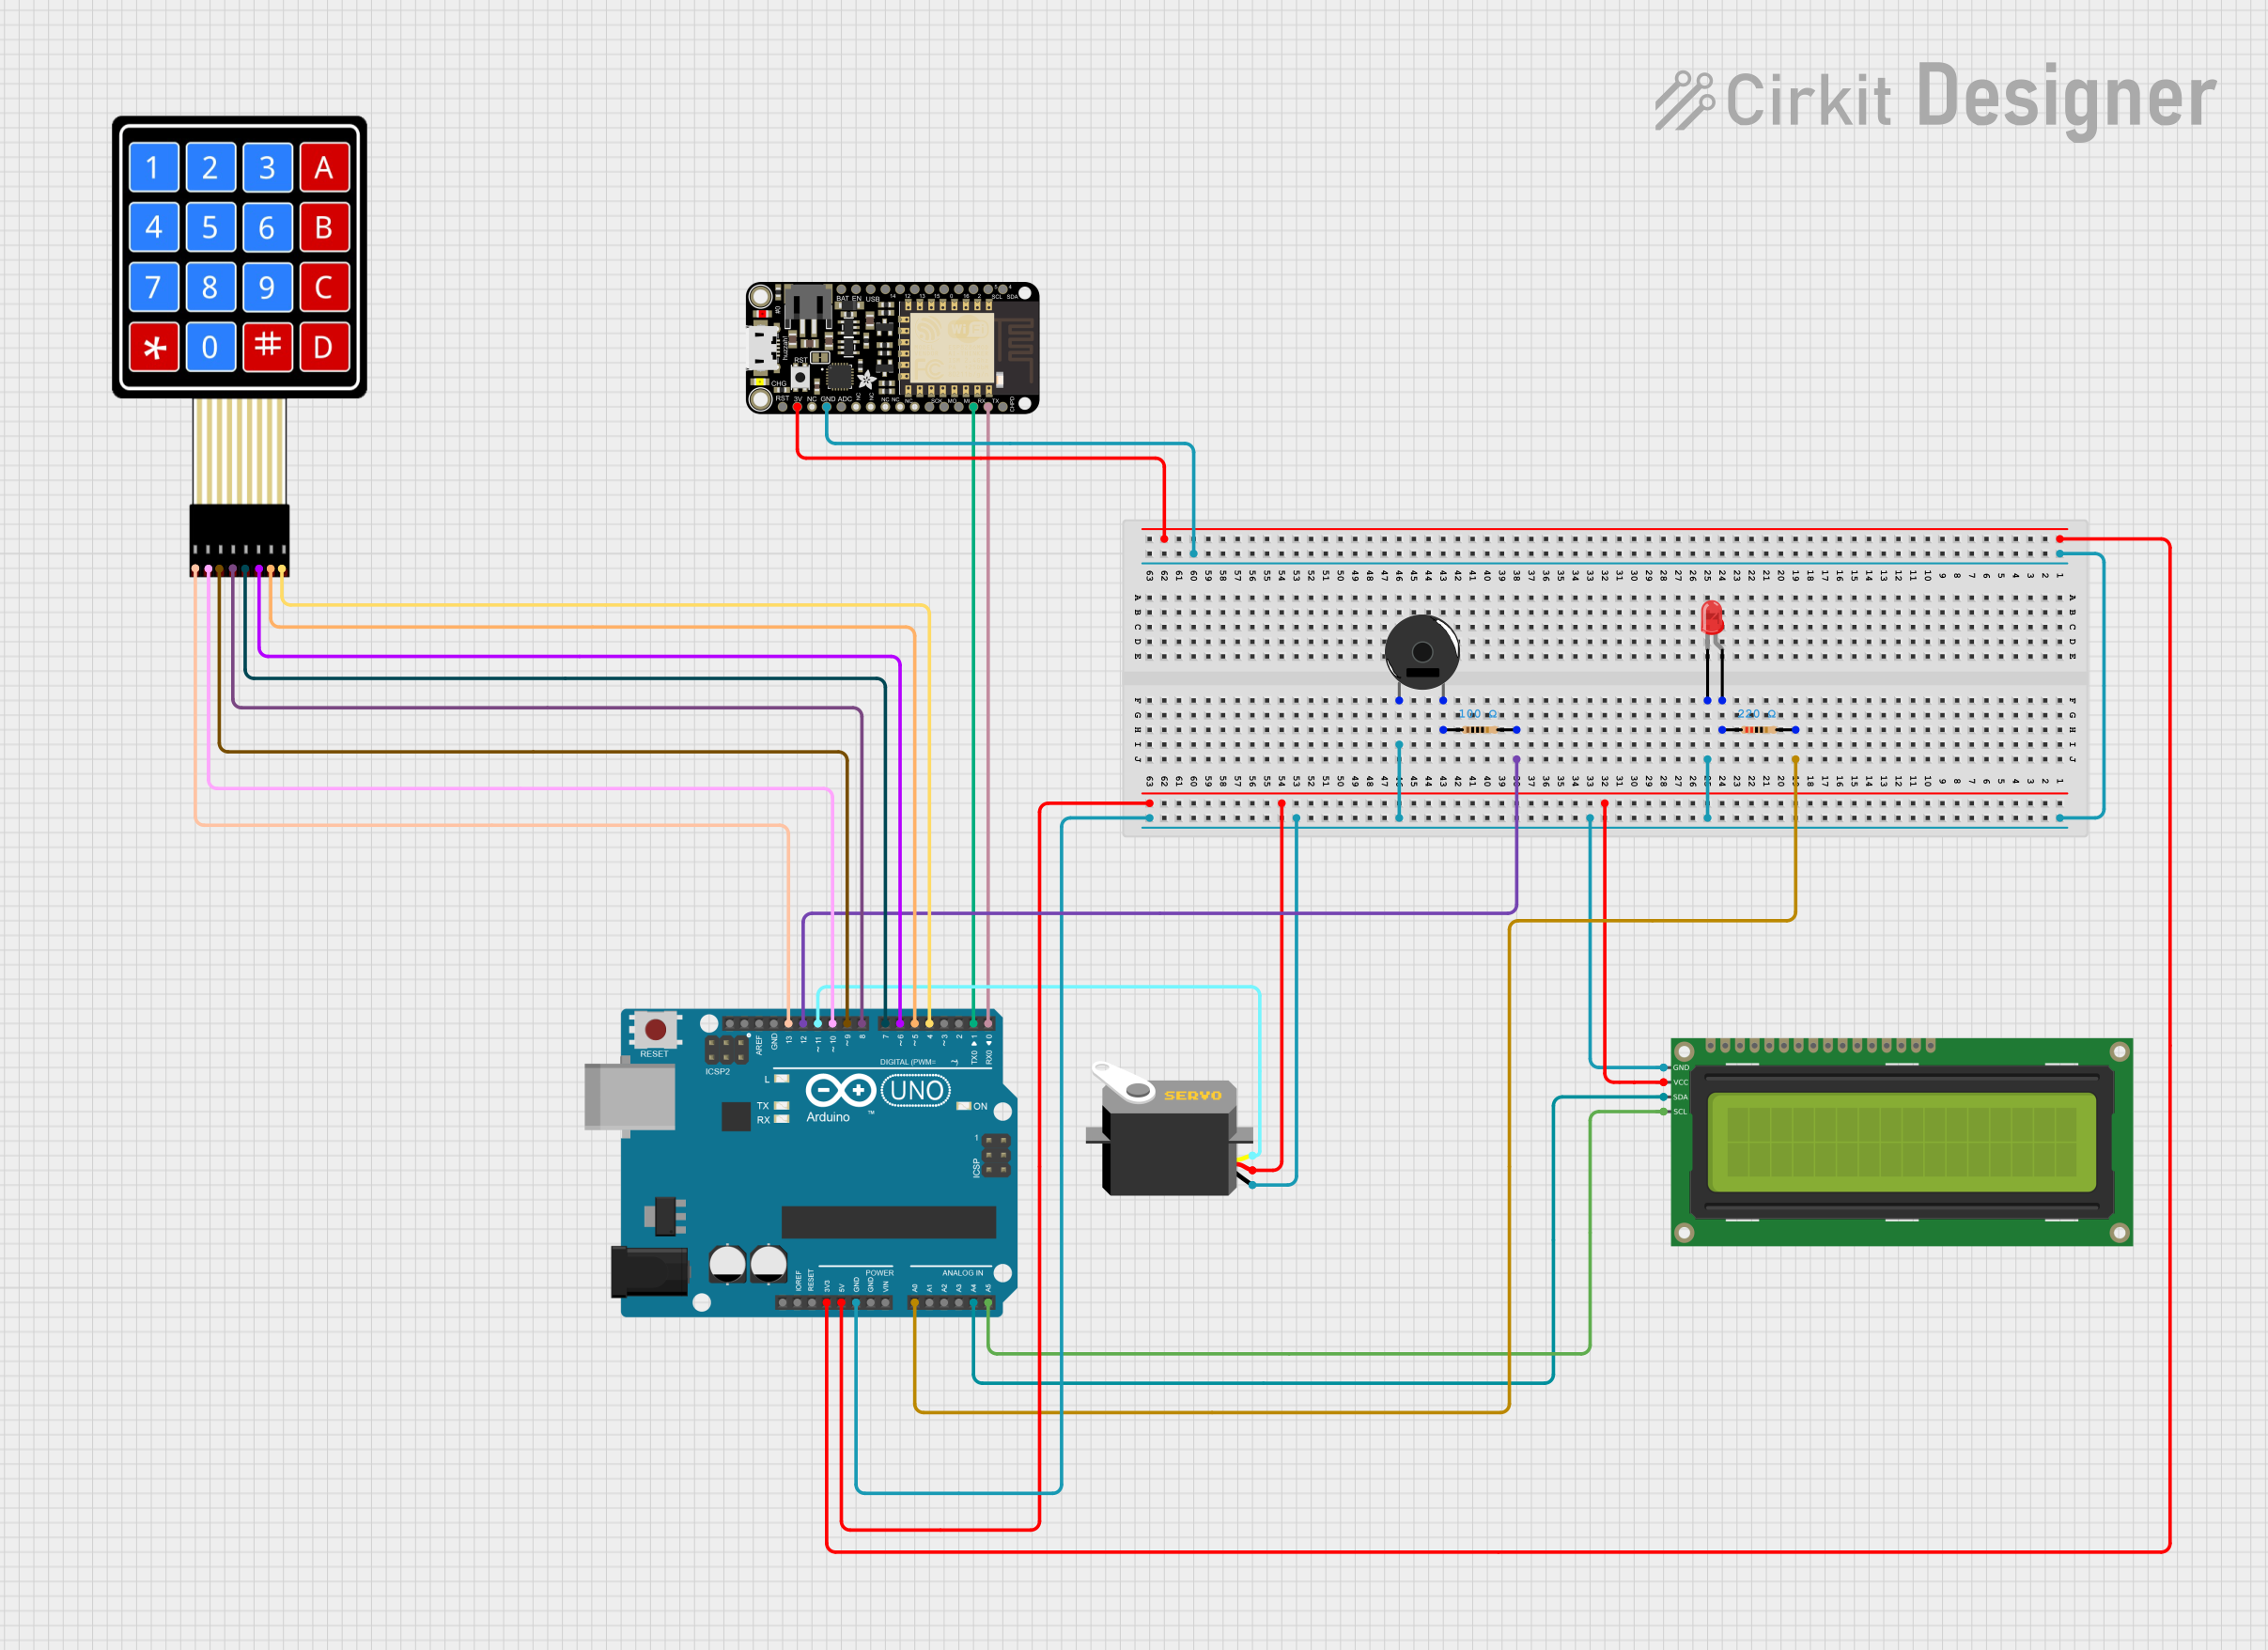
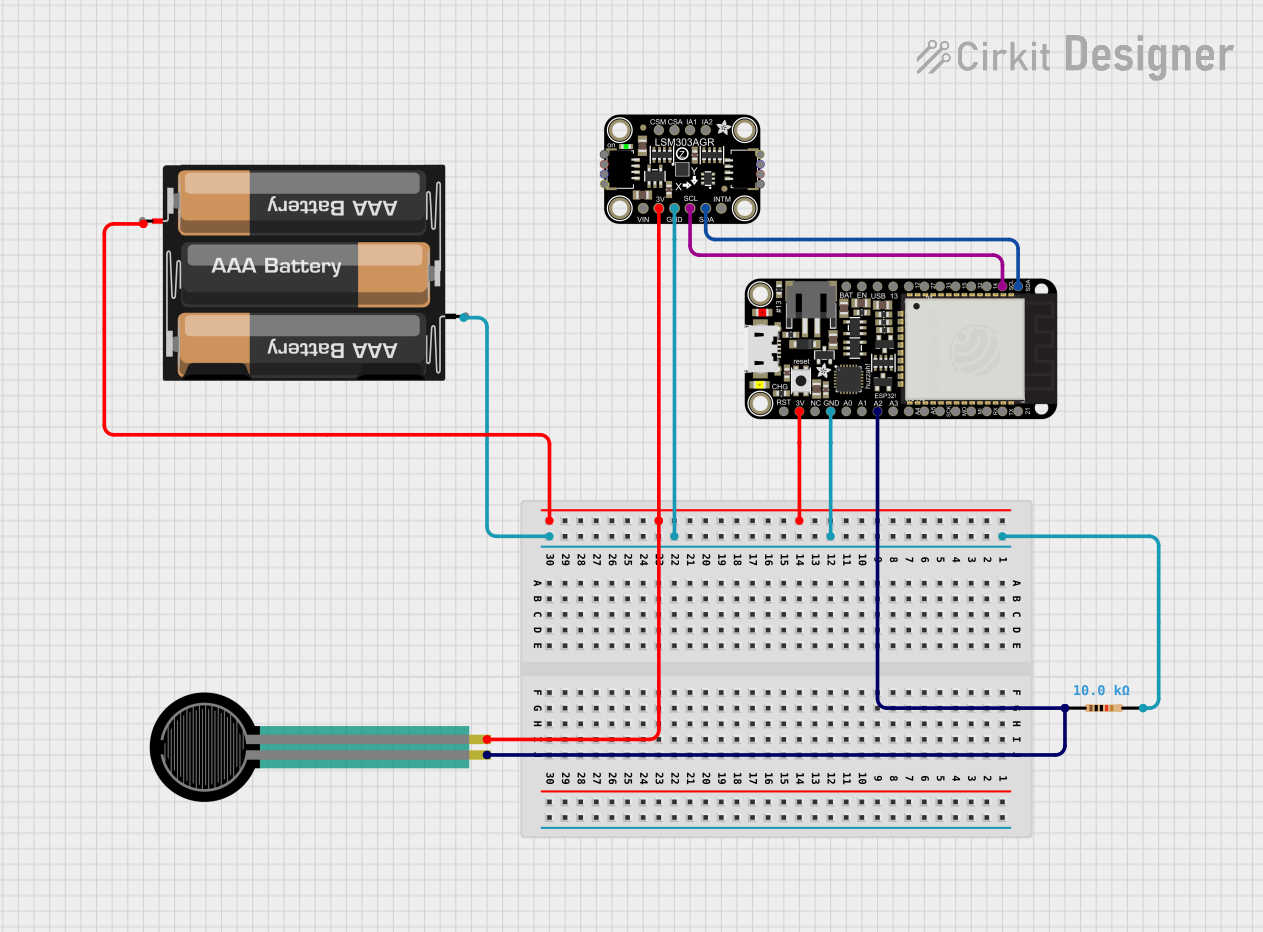
Explore Projects Built with Adafruit Feather HUZZAH ESP8266
Technical Specifications
Key Technical Details
- Microcontroller: ESP8266
- Operating Voltage: 3.3V
- Input Voltage: 4-6V (via USB or LiPo battery)
- Digital I/O Pins: 9 (with PWM capability)
- Analog Input Pins: 1 (1V max input)
- Flash Memory: 4 MB
- Clock Speed: 80 MHz
- Wi-Fi: Built-in 802.11 b/g/n
- Dimensions: 51mm x 23mm x 8mm
Pin Configuration and Descriptions
| Pin Number | Name | Description |
|---|---|---|
| 1 | GND | Ground |
| 2 | 3V | 3.3V power |
| 3 | EN | Enable pin (active high) |
| 4 | RST | Reset pin (active low) |
| 5-13 | D0-D8 | Digital I/O pins |
| A0 | A0 | Analog input pin |
Usage Instructions
Integrating with a Circuit
To use the Adafruit Feather HUZZAH ESP8266 in a circuit:
- Connect the
GNDpin to the ground of your power supply. - Supply 3.3V to the
3Vpin for logic levels. - Optionally, connect a LiPo battery for portable applications.
- Use the digital and analog pins to interface with sensors, actuators, and other peripherals.
- Program the board using the microUSB port.
Programming
The board can be programmed using the Arduino IDE:
- Install the ESP8266 board package in the Arduino IDE.
- Select the Adafruit HUZZAH ESP8266 from the Tools > Board menu.
- Choose the correct port from Tools > Port.
- Write your sketch and upload it to the board.
Best Practices
- Always ensure that the power supply is within the specified range to prevent damage.
- Use a logic level converter if interfacing with components that operate at 5V.
- Avoid applying more than 1V to the analog input to prevent damage to the ADC.
Example Code for Arduino UNO
Here is a simple example of how to blink an LED connected to pin D0:
// Define the LED pin
const int LED_PIN = 0; // D0 on the Feather HUZZAH ESP8266

void setup() {
  // Initialize the LED pin as an output
  pinMode(LED_PIN, OUTPUT);
}

void loop() {
  // Turn the LED on
  digitalWrite(LED_PIN, HIGH);
  delay(1000); // Wait for a second
  // Turn the LED off
  digitalWrite(LED_PIN, LOW);
  delay(1000); // Wait for a second
}
Troubleshooting and FAQs
Common Issues
- Board not recognized: Ensure the microUSB cable is data-capable and the correct drivers are installed.
- Cannot upload sketch: Check the selected board and port in the Arduino IDE. Ensure the boot mode is correct.
- Wi-Fi connection issues: Verify Wi-Fi credentials and signal strength. Ensure the antenna is not obstructed.
Solutions and Tips
- Board not responding: Perform a hard reset by pressing the RST button or momentarily connecting the RST pin to GND.
- Low power issues: If using a battery, ensure it is charged. For USB power, ensure the source can supply sufficient current.
FAQs
Q: Can I power the board with 5V? A: It is recommended to power the board with a regulated 3.3V supply. However, the USB and LiPo inputs can handle 4-6V.
Q: How do I connect to Wi-Fi? A: Use the ESP8266WiFi library included with the ESP8266 board package in the Arduino IDE to manage Wi-Fi connections.
Q: What is the maximum current the I/O pins can source/sink? A: Each I/O pin can source or sink up to 12 mA.
For further assistance, consult the Adafruit Feather HUZZAH ESP8266 forums and the extensive online community resources.