How to Use MKE-S13 Soil Moisture Sensor: Examples, Pinouts, and Specs

Introduction
The MKE-S13 Soil Moisture Sensor is an electronic device designed to measure the moisture content in soil. It is an invaluable tool for agriculture, gardening, and any application where monitoring water content is crucial for plant health. By providing accurate and real-time data on soil moisture levels, the MKE-S13 helps in optimizing irrigation schedules, conserving water, and improving plant growth.
Explore Projects Built with MKE-S13 Soil Moisture Sensor
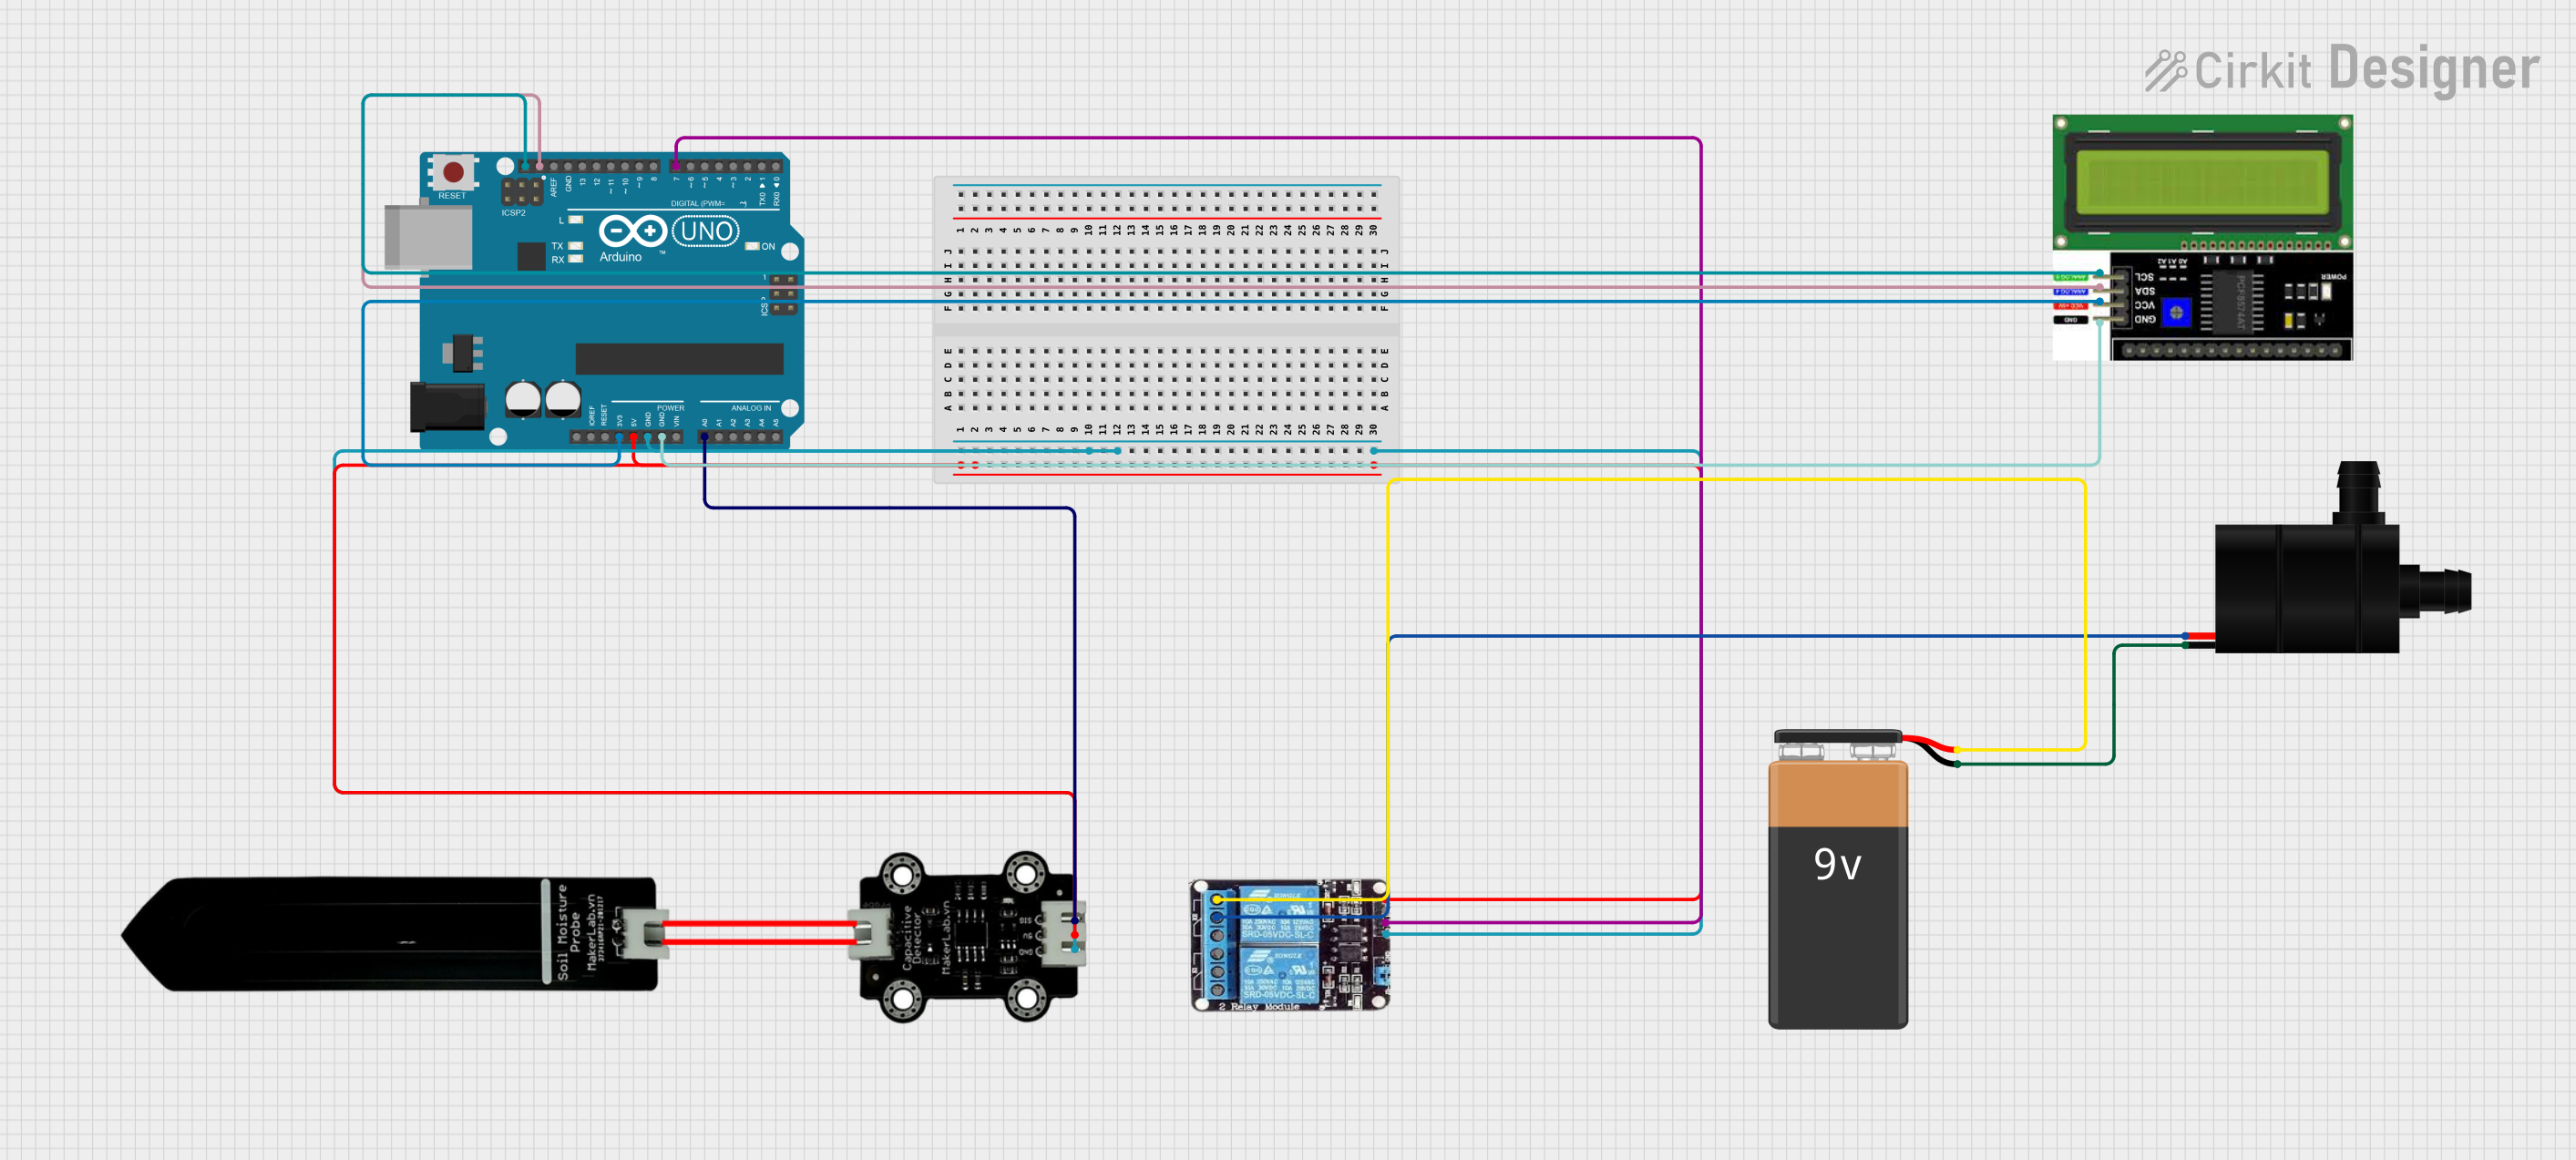
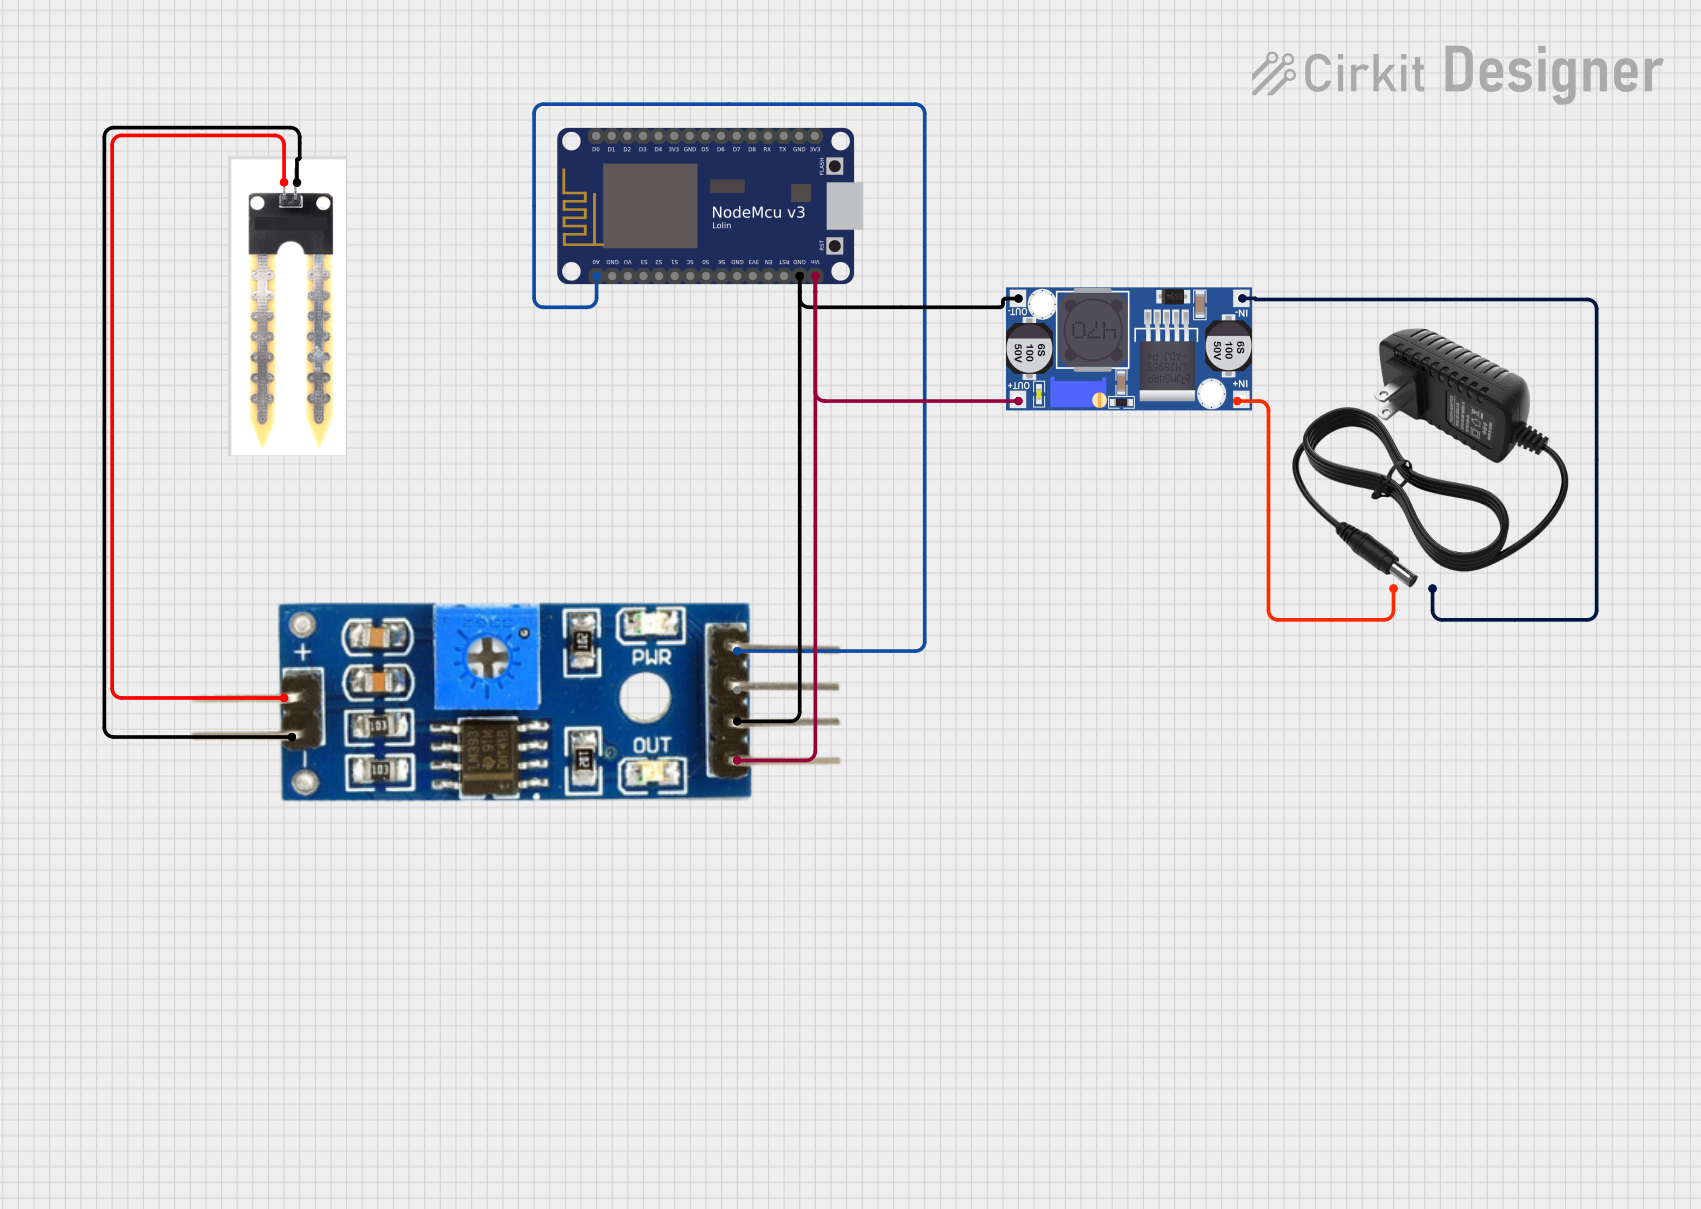
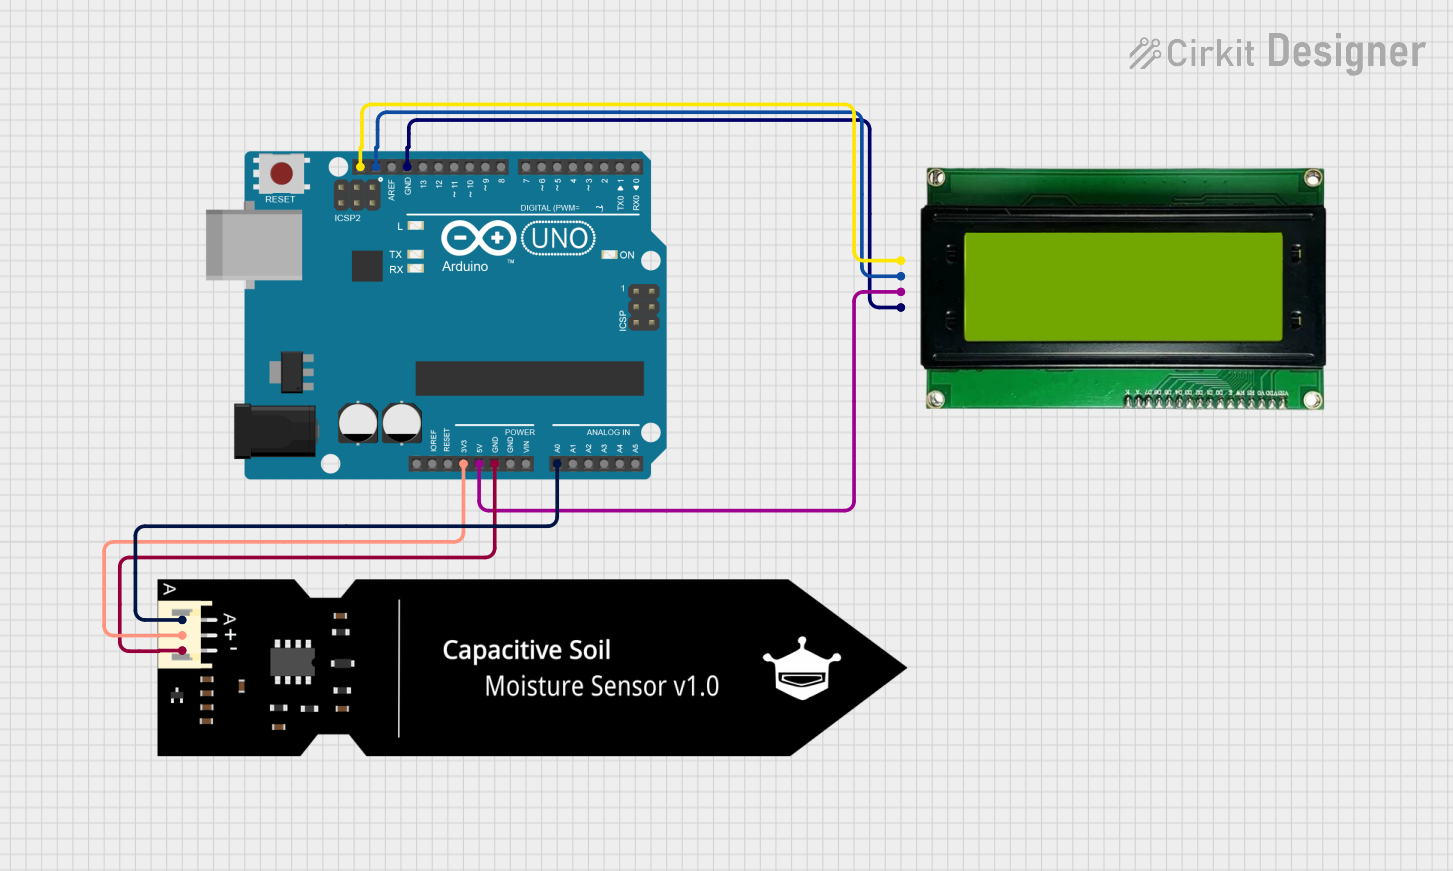
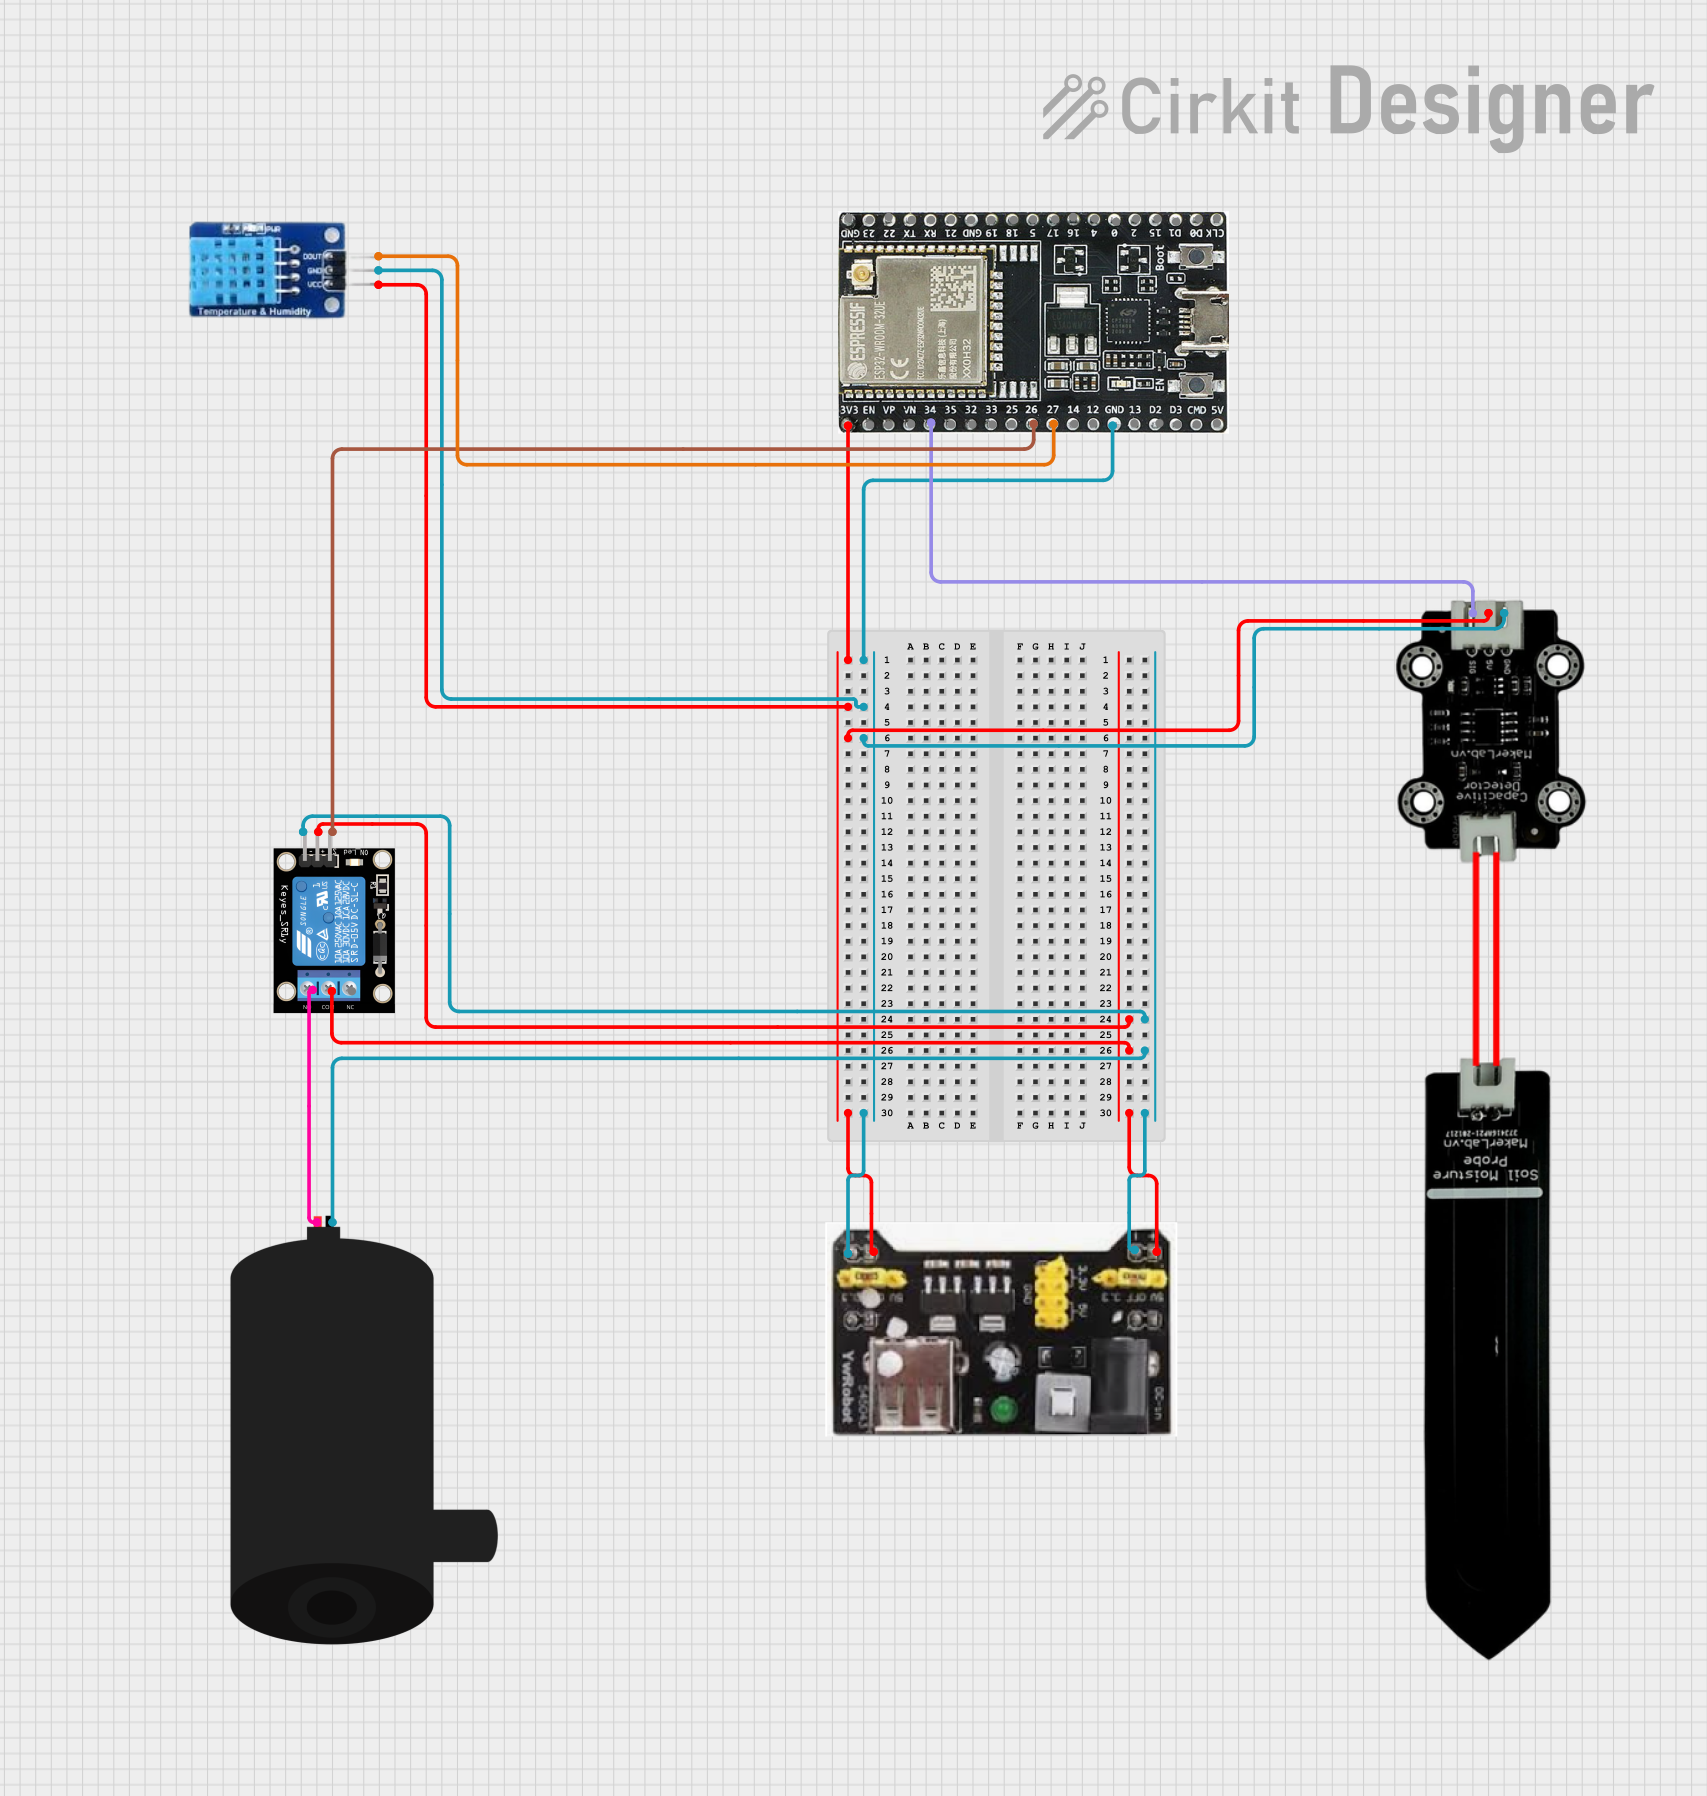
Explore Projects Built with MKE-S13 Soil Moisture Sensor
Common Applications and Use Cases
- Agriculture: Monitoring field conditions to optimize irrigation.
- Gardening: Ensuring plants receive the correct amount of water.
- Landscaping: Maintaining health of lawns and ornamental plants.
- Environmental Monitoring: Studying soil moisture trends over time.
Technical Specifications
Key Technical Details
- Operating Voltage: 3.3V to 5V
- Current Consumption: 5mA (typical)
- Analog Output Voltage: 0V to 3.0V (corresponding to dry to wet soil)
- Digital Output: TTL, High/Low moisture threshold adjustable via onboard potentiometer
- Operating Temperature Range: -10°C to +70°C
Pin Configuration and Descriptions
| Pin Number | Name | Description |
|---|---|---|
| 1 | VCC | Power supply (3.3V to 5V) |
| 2 | GND | Ground connection |
| 3 | AOUT | Analog output signal |
| 4 | DOUT | Digital output signal |
Usage Instructions
How to Use the Component in a Circuit
- Power Connection: Connect the VCC pin to a 3.3V or 5V power supply and the GND pin to the ground.
- Output Connection: Connect the AOUT pin to an analog input on your microcontroller to read the moisture level as an analog value. Alternatively, connect the DOUT pin to a digital input if you wish to use the digital output with a threshold.
- Adjusting Sensitivity: Use the onboard potentiometer to set the threshold for the digital output. Turn clockwise to increase the threshold (less sensitive) and counterclockwise to decrease it (more sensitive).
Important Considerations and Best Practices
- Avoid submerging the sensor completely in water or exposing it to moisture for extended periods to prevent corrosion.
- Insert the sensor into the soil up to the indicated line to avoid damaging the electronics.
- Calibrate the sensor for your specific soil type to ensure accurate readings.
- Use a pull-up resistor if you experience erratic readings from the digital output.
Example Code for Arduino UNO
// Define the sensor pin
const int moistureSensorPin = A0; // Analog input pin that the sensor is attached to
const int sensorPowerPin = 7;     // Digital pin to power the sensor

void setup() {
  Serial.begin(9600);             // Start serial communication at 9600 baud
  pinMode(sensorPowerPin, OUTPUT);// Set the sensor power pin as an output
}

void loop() {
  digitalWrite(sensorPowerPin, HIGH); // Turn the sensor on
  delay(10);                          // Wait 10 milliseconds for stabilization
  int sensorValue = analogRead(moistureSensorPin); // Read the analog value
  digitalWrite(sensorPowerPin, LOW);  // Turn the sensor off
  Serial.println(sensorValue);        // Print the sensor value to the serial monitor
  delay(1000);                        // Wait a second before the next reading
}
Note: The sensor is powered on and off for each reading to prevent corrosion due to electrolysis.
Troubleshooting and FAQs
Common Issues
- Inconsistent Readings: Ensure the sensor is inserted into the soil properly and that the soil is not too dry or too wet.
- Sensor Corrosion: Minimize the time the sensor is powered to reduce the risk of corrosion.
- No Readings: Check all connections and ensure the sensor is powered.
Solutions and Tips for Troubleshooting
- Calibration: Test the sensor in soil with known moisture levels and adjust the potentiometer accordingly.
- Connection Check: Verify that all pins are correctly connected to the microcontroller and that there are no loose wires.
- Code Debugging: Ensure the code uploaded to the microcontroller is correct and that the correct pin numbers are used.
FAQs
Q: Can the sensor be left in the soil permanently? A: It is not recommended to leave the sensor in the soil permanently due to the risk of corrosion. Only insert it when taking measurements.
Q: Is the sensor waterproof? A: The sensor probe is water-resistant but the electronic components are not waterproof. Do not submerge the entire sensor.
Q: How do I clean the sensor? A: Gently wipe the probe with a damp cloth and make sure it is dry before inserting it back into the soil.
Q: What is the accuracy of the sensor? A: The accuracy can vary depending on soil type and proper calibration. It is suitable for relative moisture measurement but not for scientific precision.
This documentation provides a comprehensive guide to using the MKE-S13 Soil Moisture Sensor. For further assistance, contact the manufacturer or refer to the community forums.