Introduction
A siren is an electronic sound-making device designed to emit a loud, piercing sound, which serves as a warning signal. It is commonly used in emergency situations, security systems, disaster warnings, and various alarm systems. The siren's distinctive sound is intended to attract attention and alert people to potential dangers.
Common Applications and Use Cases
- Emergency vehicles (ambulances, fire trucks, police cars)
- Home and commercial security alarms
- Public warning systems (tornado, tsunami, air raid)
- Personal safety alarms
- Industrial safety alerts
Technical Specifications
Key Technical Details
Pin Configuration and Descriptions
Usage Instructions
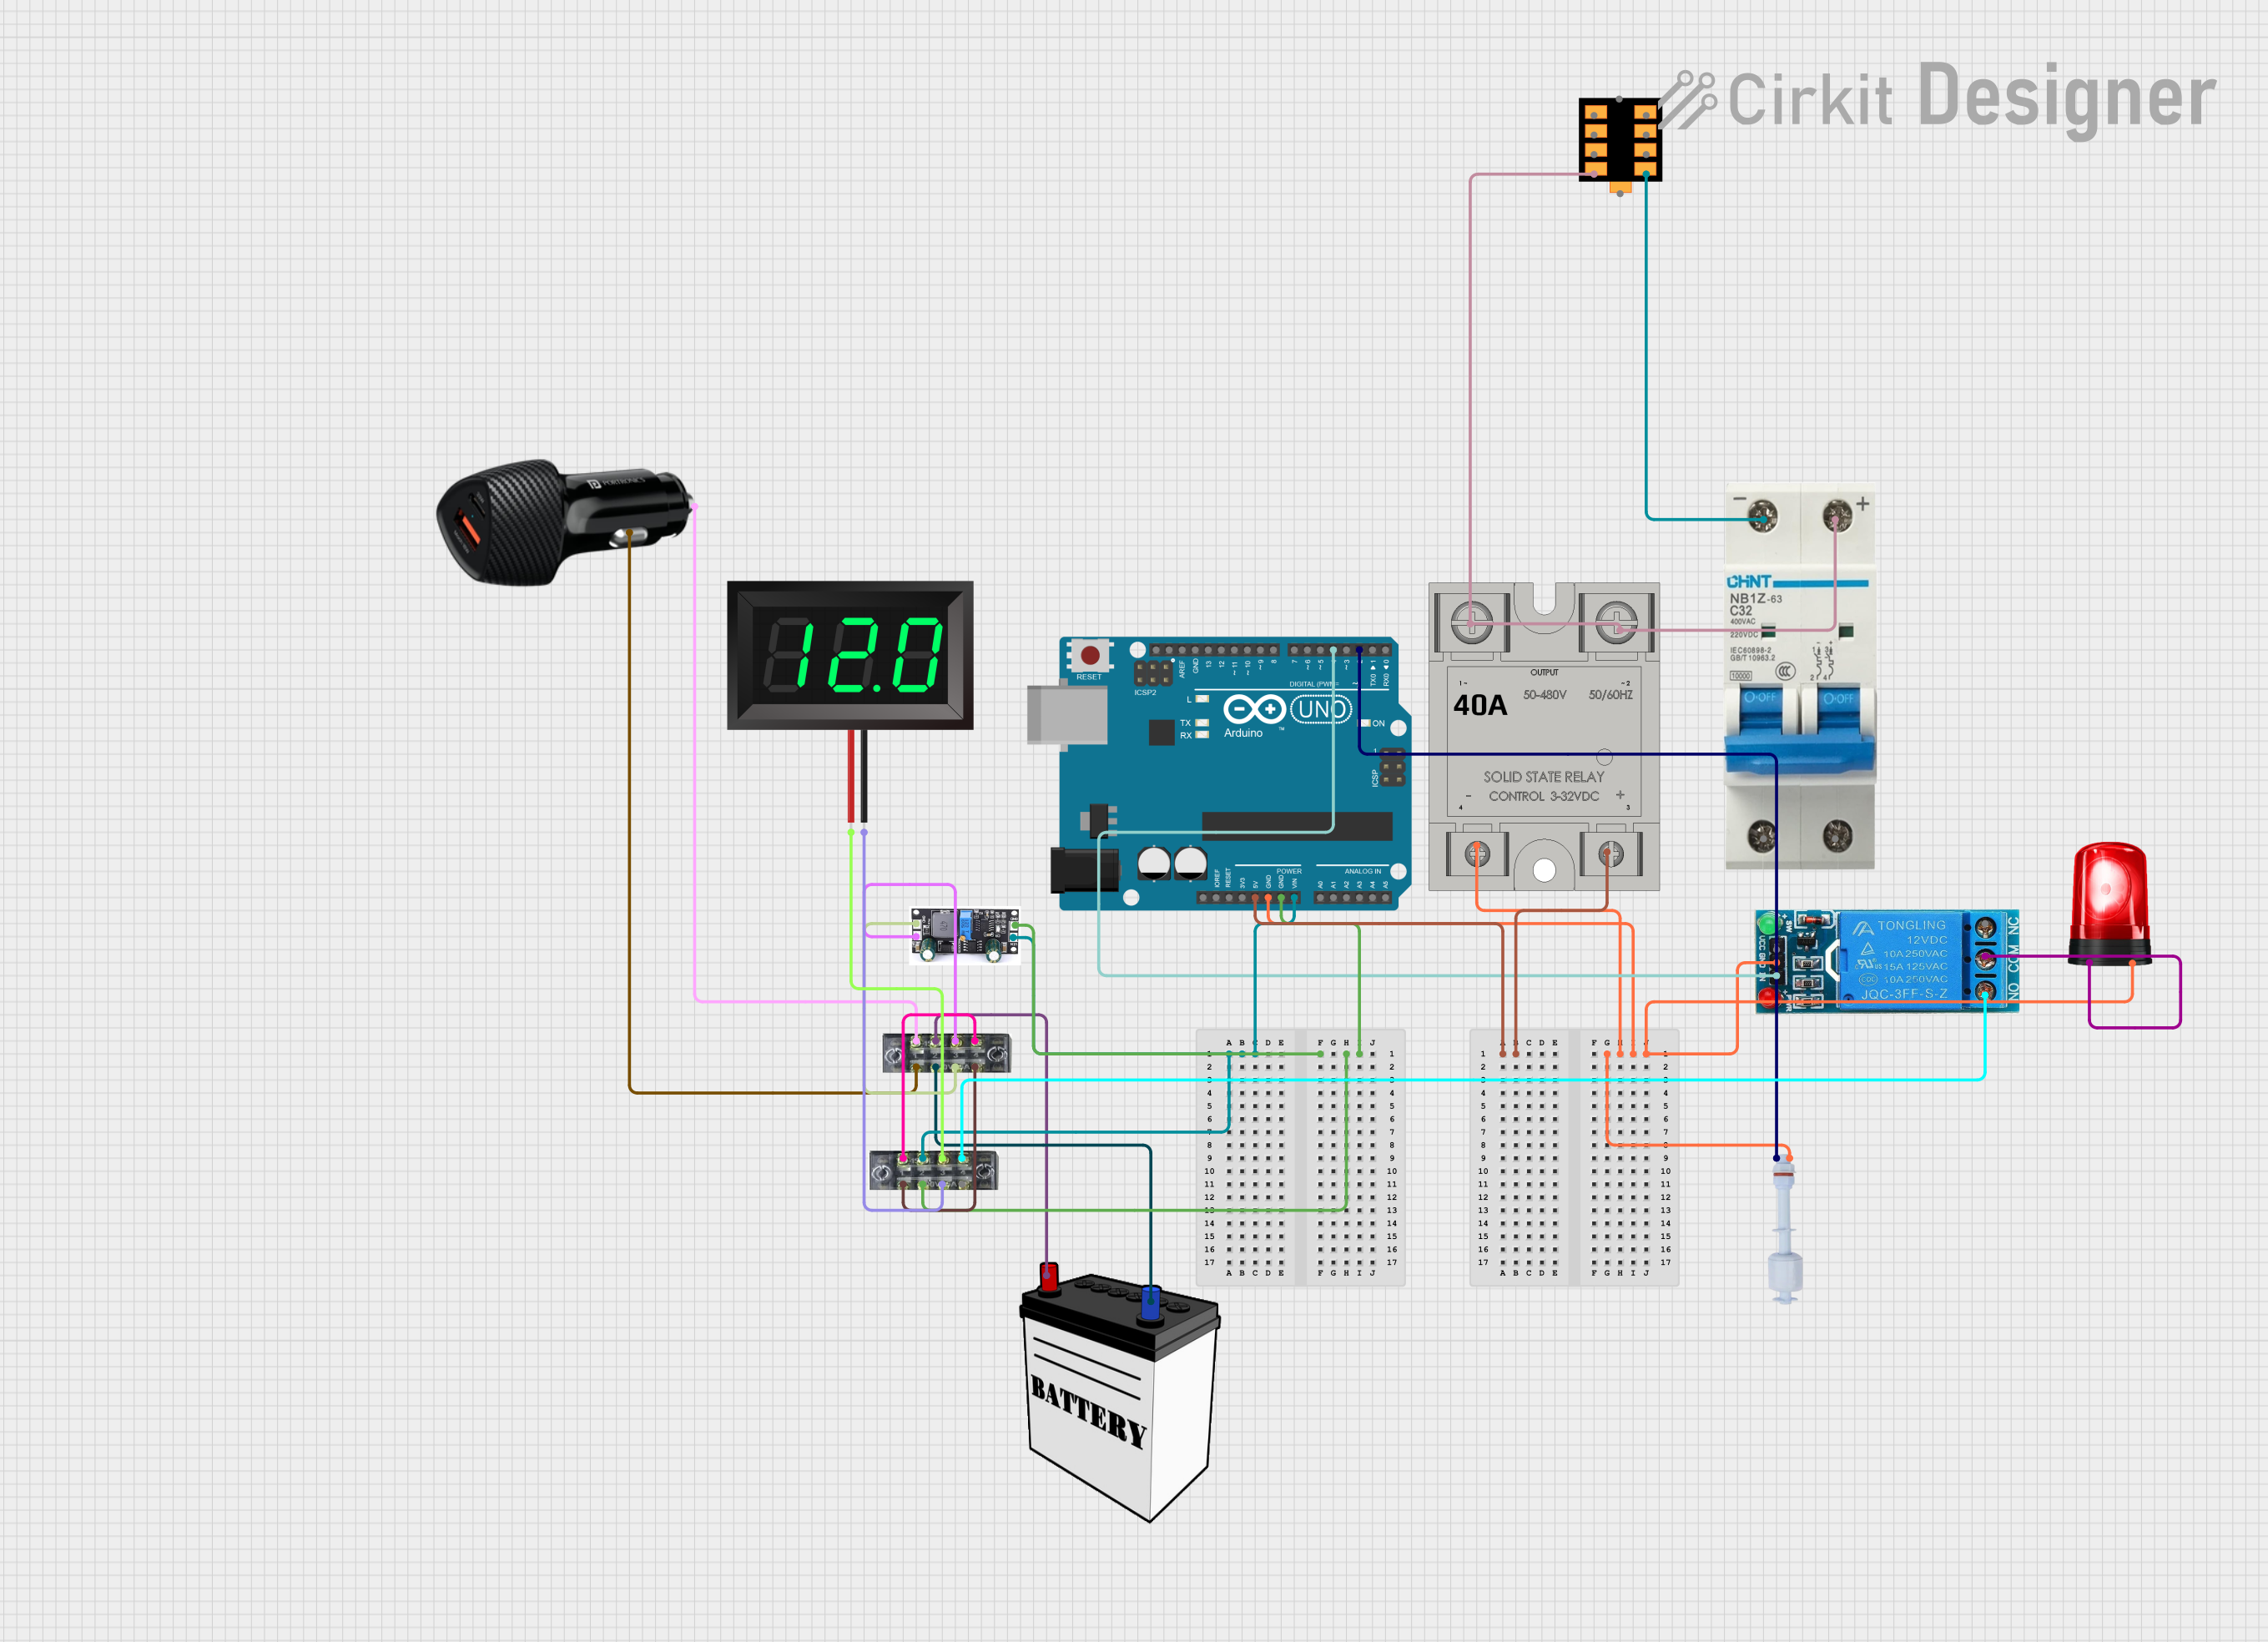
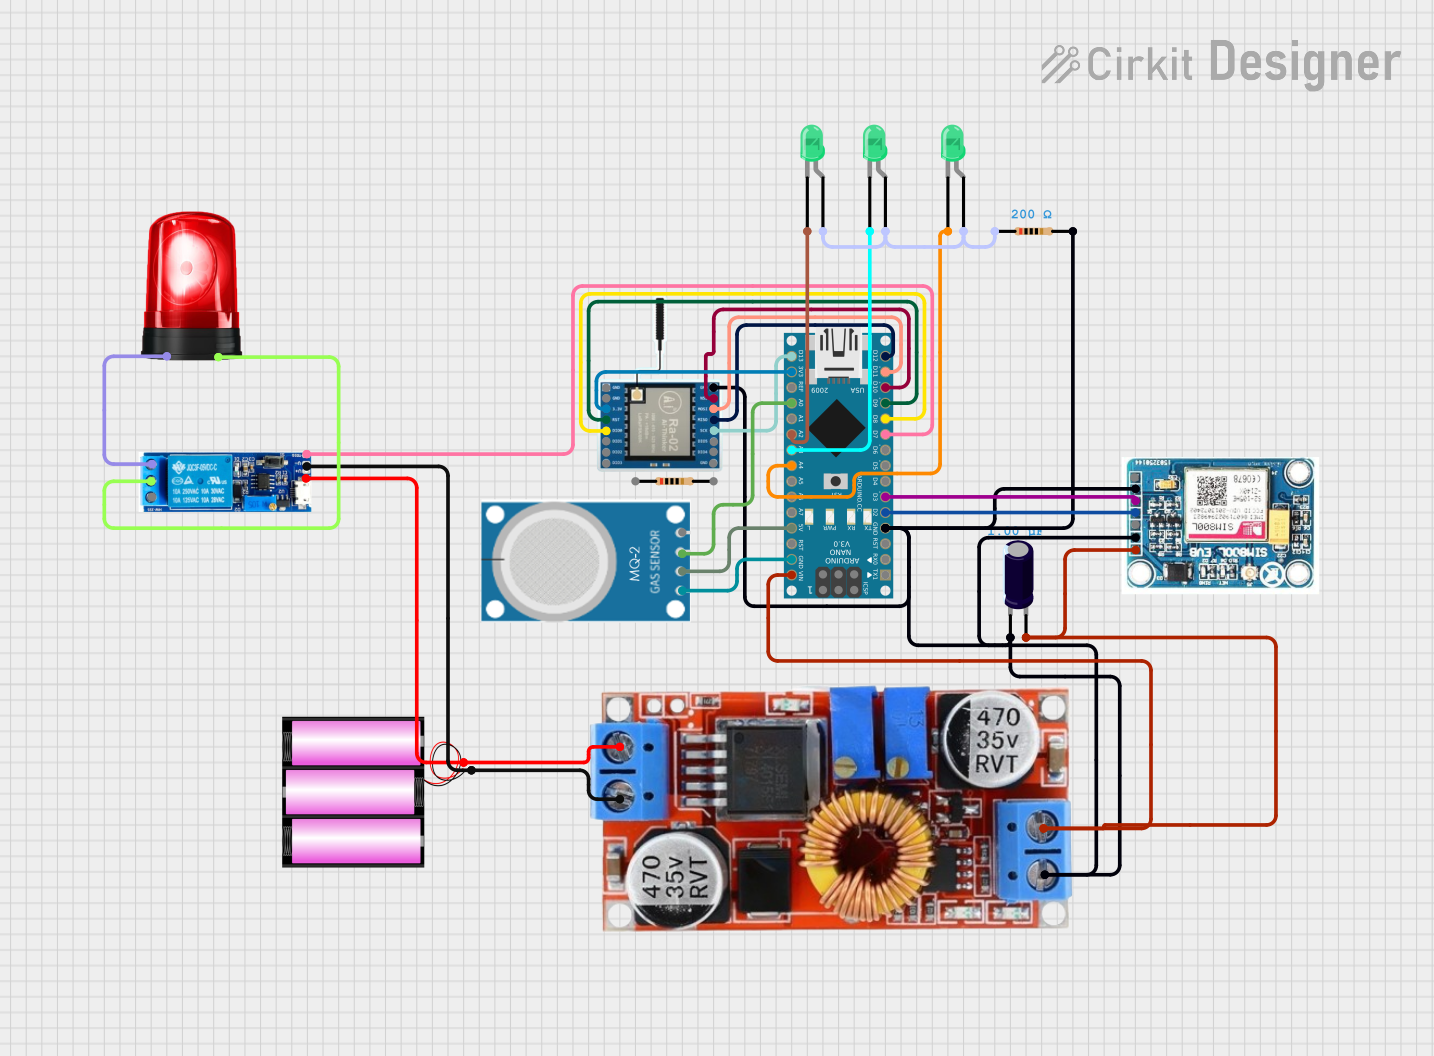
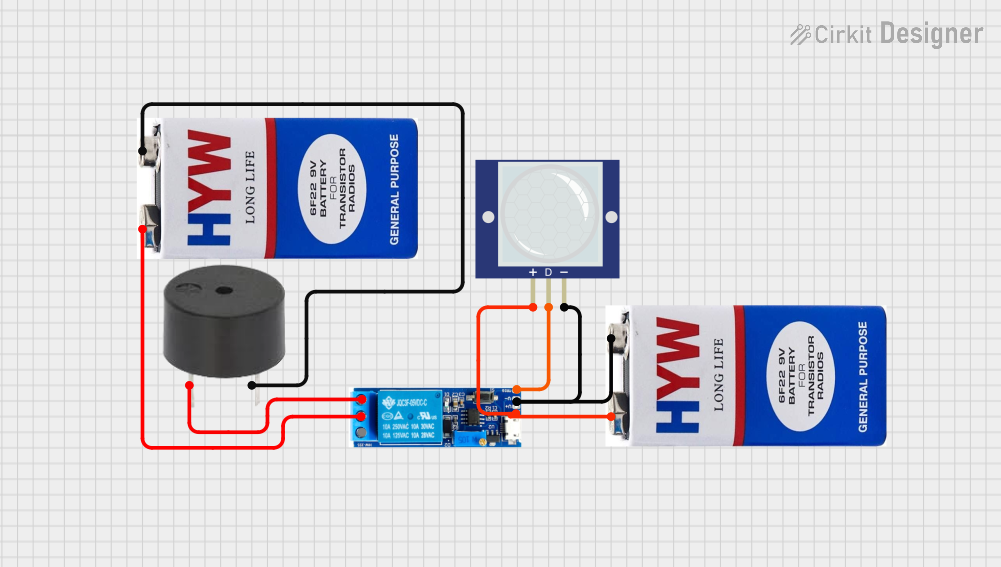
How to Use the Siren in a Circuit
- Power Supply: Connect the Vcc pin to a DC power supply within the siren's operating voltage range.
- Ground Connection: Connect the GND pin to the ground of the power supply.
- Triggering the Siren: Apply a voltage (usually 5V) to the IN pin to activate the siren. This can be done using a switch, a relay, or an electronic control unit like an Arduino.
Important Considerations and Best Practices
- Ensure the power supply can handle the current requirements of the siren.
- Avoid continuous operation at maximum volume to prevent damage to the siren or hearing.
- Use appropriate wire gauge for connections to handle the current draw.
- Consider the placement of the siren for maximum effectiveness and minimal nuisance.
- Always test the siren in a safe environment before deploying it in a real scenario.
Example Code for Arduino UNO
// Define the siren pin
const int sirenPin = 9; // Connect the IN pin of the siren to digital pin 9

void setup() {
  // Set the siren pin as an output
  pinMode(sirenPin, OUTPUT);
}

void loop() {
  // Activate the siren for 2 seconds
  digitalWrite(sirenPin, HIGH);
  delay(2000); // Wait for 2000 milliseconds (2 seconds)

  // Deactivate the siren for 3 seconds
  digitalWrite(sirenPin, LOW);
  delay(3000); // Wait for 3000 milliseconds (3 seconds)
}
Troubleshooting and FAQs
Common Issues
- Siren not sounding: Check the power supply and connections. Ensure the IN pin is receiving the correct trigger voltage.
- Low sound output: Verify that the siren is receiving the correct operating voltage. Check for any obstructions or damage to the siren.
- Intermittent operation: Inspect the connections for loose wires or poor solder joints. Ensure the trigger signal is stable.
Solutions and Tips for Troubleshooting
- Use a multimeter to check for continuity and correct voltage levels at the siren's pins.
- If using a microcontroller, verify the code is correctly written and uploaded.
- Ensure the siren is not exposed to moisture or extreme temperatures that could affect its performance.
FAQs
Q: Can I use a 9V battery to power the siren?
A: Yes, if the siren's operating voltage includes 9V, a 9V battery can be used.
Q: Is it possible to adjust the volume of the siren?
A: Most sirens do not have a volume control. However, reducing the operating voltage may lower the volume, but this can also affect the siren's performance.
Q: How long can I continuously run the siren?
A: It depends on the specific model of the siren. Check the manufacturer's datasheet for duty cycle information. Continuous operation at high volume may lead to overheating and damage.
Q: Can I use the siren with a 3.3V logic microcontroller?
A: If the siren's trigger voltage is compatible with 3.3V, it can be used. Otherwise, a logic level converter or a transistor may be required to interface with the siren.


 Open Project in Cirkit Designer