How to Use Esp32-TFT: Examples, Pinouts, and Specs
Introduction
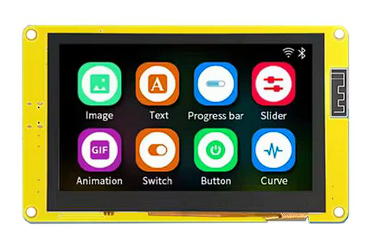
The ESP32-TFT is a versatile microcontroller that combines the powerful ESP32 chip with integrated Wi-Fi and Bluetooth capabilities and a built-in TFT display for visual output. This component is ideal for projects requiring wireless communication and graphical interfaces, making it a popular choice for IoT applications, smart devices, and embedded systems.
Explore Projects Built with Esp32-TFT


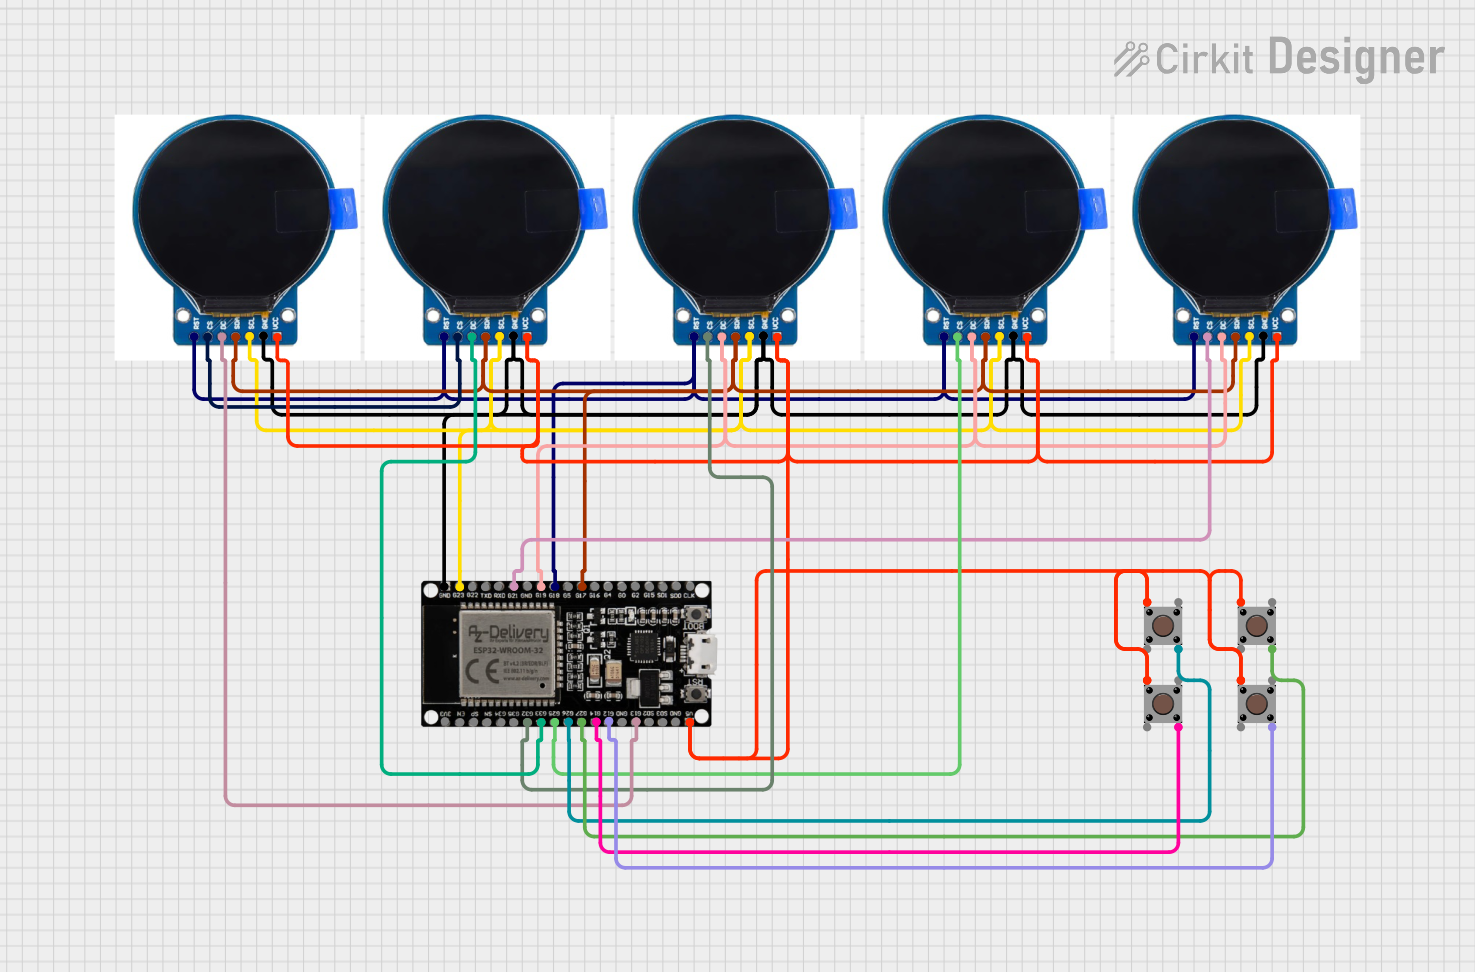

Explore Projects Built with Esp32-TFT
Common Applications and Use Cases
- IoT dashboards and monitoring systems
- Smart home devices with visual feedback
- Portable data loggers with graphical displays
- Embedded systems requiring wireless connectivity and user interfaces
- Educational projects for learning microcontroller programming and display integration
Technical Specifications
Key Technical Details
- Microcontroller: ESP32 dual-core processor
- Wireless Connectivity: Wi-Fi 802.11 b/g/n and Bluetooth 4.2 (BLE)
- Display: TFT LCD (typically 2.4" to 3.5", depending on the model)
- Resolution: 320x240 pixels (QVGA) or higher
- Operating Voltage: 3.3V
- Input Voltage Range: 5V (via USB or VIN pin)
- Flash Memory: 4MB (varies by model)
- SRAM: 520KB
- GPIO Pins: Up to 30 (depending on the breakout board)
- Communication Protocols: SPI, I2C, UART, PWM, ADC, DAC
- Power Consumption: Low-power modes available for energy-efficient applications
Pin Configuration and Descriptions
The ESP32-TFT typically has a pinout similar to other ESP32 development boards, with additional pins for the TFT display. Below is a general pin configuration:
| Pin Name | Description |
|---|---|
| VIN | Input voltage (5V) for powering the board |
| GND | Ground connection |
| 3V3 | 3.3V output for powering external components |
| GPIO0 | General-purpose I/O pin, often used for boot mode selection |
| GPIO2 | General-purpose I/O pin |
| GPIO16 | General-purpose I/O pin, often used for the TFT backlight control |
| MOSI | SPI Master Out Slave In (connected to the TFT display) |
| MISO | SPI Master In Slave Out |
| SCK | SPI Clock |
| CS | Chip Select for the TFT display |
| DC | Data/Command pin for the TFT display |
| RST | Reset pin for the TFT display |
| T_IRQ | Touch interrupt pin (if the TFT includes a touch interface) |
| T_CS | Chip Select for the touch controller (if applicable) |
Note: Pin assignments may vary depending on the specific ESP32-TFT module. Always refer to the datasheet or pinout diagram for your specific board.
Usage Instructions
How to Use the ESP32-TFT in a Circuit
- Powering the Board: Connect the VIN pin to a 5V power source or use the USB port for power and programming.
- Connecting the TFT Display: Ensure the SPI pins (MOSI, MISO, SCK, CS) are correctly connected to the ESP32. Use the DC and RST pins for display control.
- Programming the ESP32: Use the Arduino IDE or ESP-IDF to write and upload code. Install the necessary libraries for the TFT display (e.g.,
TFT_eSPIorAdafruit_GFX). - Wi-Fi and Bluetooth Setup: Configure the ESP32 for wireless communication as needed for your project.
Important Considerations and Best Practices
- Voltage Levels: Ensure all connected peripherals operate at 3.3V logic levels to avoid damaging the ESP32.
- Library Configuration: For the TFT display, configure the library settings (e.g.,
User_Setup.hinTFT_eSPI) to match your specific display model and pin connections. - Power Management: Use the ESP32's low-power modes for battery-powered applications.
- Heat Management: The ESP32 may generate heat during operation. Ensure proper ventilation or heat dissipation if used in enclosed spaces.
Example Code for Arduino IDE
Below is an example of initializing the ESP32-TFT display and displaying a simple message:
#include <TFT_eSPI.h> // Include the TFT library

TFT_eSPI tft = TFT_eSPI(); // Create an instance of the TFT object

void setup() {
  tft.init(); // Initialize the TFT display
  tft.setRotation(1); // Set display orientation (0-3)
  tft.fillScreen(TFT_BLACK); // Clear the screen with black color

  tft.setTextColor(TFT_WHITE, TFT_BLACK); // Set text color (foreground, background)
  tft.setTextSize(2); // Set text size multiplier
  tft.setCursor(10, 10); // Set cursor position (x, y)
  tft.println("Hello, ESP32-TFT!"); // Print a message to the display
}

void loop() {
  // Add your main code here
}
Tip: Adjust the
setRotation()andsetCursor()values to fit your display's orientation and layout.
Troubleshooting and FAQs
Common Issues and Solutions
TFT Display Not Working:
- Cause: Incorrect pin connections or library configuration.
- Solution: Double-check the wiring and ensure the library settings match your display.
Wi-Fi or Bluetooth Not Connecting:
- Cause: Incorrect credentials or interference.
- Solution: Verify the SSID and password for Wi-Fi. For Bluetooth, ensure the device is discoverable and within range.
ESP32 Not Detected by Computer:
- Cause: Missing drivers or faulty USB cable.
- Solution: Install the correct USB-to-serial drivers (e.g., CP2102 or CH340) and try a different cable.
Overheating:
- Cause: High power consumption or poor ventilation.
- Solution: Use low-power modes and ensure proper airflow around the ESP32.
FAQs
Q: Can I use the ESP32-TFT with a touch interface?
- A: Yes, if your TFT display includes a touch controller, you can use libraries like
XPT2046_Touchscreento handle touch input.
- A: Yes, if your TFT display includes a touch controller, you can use libraries like
Q: What is the maximum resolution supported by the ESP32-TFT?
- A: The resolution depends on the specific TFT display. Common resolutions are 320x240 (QVGA), but higher resolutions may be supported with optimized libraries.
Q: Can I use the ESP32-TFT with other microcontrollers?
- A: The TFT display can be used with other microcontrollers, but the ESP32 is required for its integrated Wi-Fi and Bluetooth features.
Q: How do I update the firmware on the ESP32-TFT?
- A: Use the Arduino IDE or ESP-IDF to upload new firmware via the USB connection.
By following this documentation, you can effectively integrate the ESP32-TFT into your projects and troubleshoot common issues.