
How to Use Gravity: Analog TDS Meter Sensor: Examples, Pinouts, and Specs
 Design with Gravity: Analog TDS Meter Sensor in Cirkit Designer
Introduction
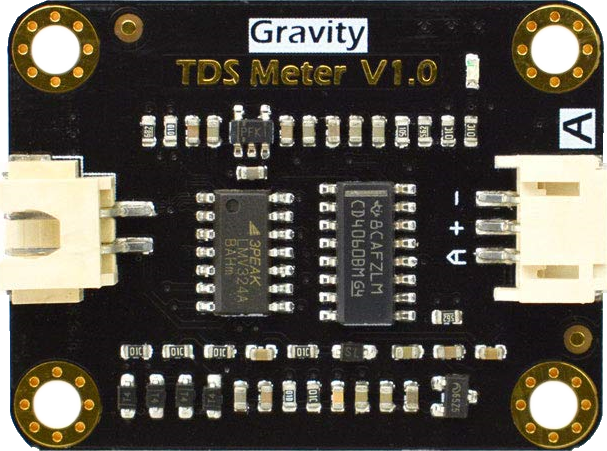
The Gravity: Analog TDS Meter Sensor (Manufacturer Part ID: SEN0244) by DFROBOT is a high-quality sensor designed to measure the Total Dissolved Solids (TDS) in water. TDS is an important parameter for assessing water quality, as it indicates the concentration of dissolved ions such as salts, minerals, and metals. This sensor provides an analog output that corresponds to the TDS value, making it easy to integrate into microcontroller-based systems.
Explore Projects Built with Gravity: Analog TDS Meter Sensor
 Open Project in Cirkit Designer
 Open Project in Cirkit Designer
 Open Project in Cirkit Designer
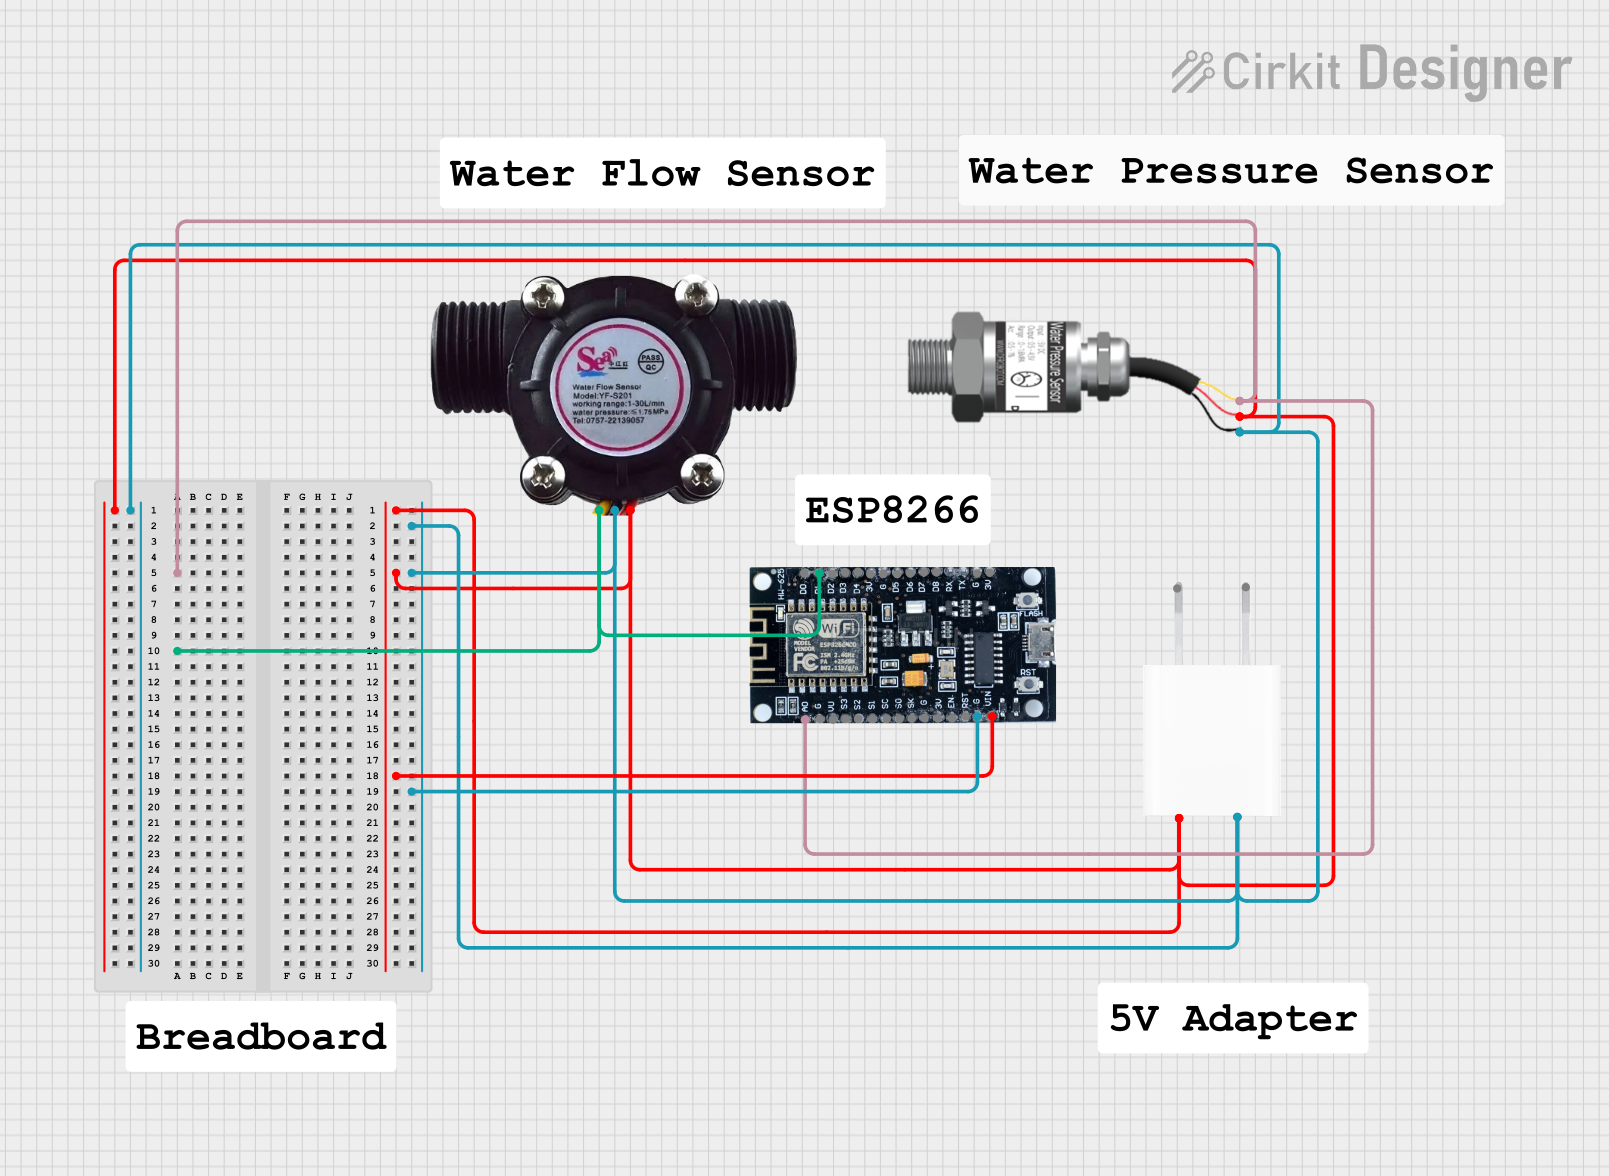
 Open Project in Cirkit Designer
Explore Projects Built with Gravity: Analog TDS Meter Sensor

 Open Project in Cirkit Designer
 Open Project in Cirkit Designer
 Open Project in Cirkit Designer
 Open Project in Cirkit Designer
Common Applications and Use Cases
- Water quality monitoring in aquariums, hydroponics, and aquaculture
- Environmental water testing for rivers, lakes, and reservoirs
- Industrial water treatment systems
- Educational and research projects involving water analysis
Technical Specifications
Below are the key technical details of the Gravity: Analog TDS Meter Sensor:
| Parameter | Value |
|---|---|
| Operating Voltage | 3.3V - 5.5V |
| Output Signal | Analog voltage (0 - 2.3V) |
| Measurement Range | 0 - 1000 ppm |
| Accuracy | ±10% Full Scale (25°C) |
| Temperature Compensation | Yes (requires external temperature sensor) |
| Probe Type | Waterproof TDS probe |
| Cable Length | 1 meter |
| Interface Type | Gravity Analog Interface |
| Dimensions | 42mm x 32mm |
Pin Configuration and Descriptions
The sensor module has a 3-pin Gravity interface for easy connection. The pinout is as follows:
| Pin | Name | Description |
|---|---|---|
| 1 | VCC | Power supply input (3.3V - 5.5V) |
| 2 | GND | Ground connection |
| 3 | AOUT | Analog output signal proportional to TDS value |
Usage Instructions
How to Use the Component in a Circuit
Connect the Sensor to a Microcontroller:
- Connect the
VCCpin to the 5V (or 3.3V) power supply of your microcontroller. - Connect the
GNDpin to the ground (GND) of your microcontroller. - Connect the
AOUTpin to an analog input pin on your microcontroller (e.g., A0 on an Arduino UNO).
- Connect the
Calibrate the Sensor:
- The sensor requires calibration to ensure accurate readings. Use a standard TDS calibration solution (e.g., 342 ppm) and adjust the potentiometer on the module until the output matches the expected value.
Temperature Compensation:
- For accurate measurements, the sensor supports temperature compensation. Connect an external temperature sensor (e.g., DS18B20) to your microcontroller and use its readings to adjust the TDS calculation.
Read the Analog Output:
- The analog output voltage corresponds to the TDS value. Use the formula provided in the sensor's datasheet or library to convert the voltage to ppm.
Important Considerations and Best Practices
- Avoid Air Exposure: Ensure the TDS probe is fully submerged in the liquid during measurement. Air exposure can lead to inaccurate readings.
- Clean the Probe Regularly: Rinse the probe with distilled water after each use to prevent contamination.
- Avoid High Temperatures: The probe is designed for use in water temperatures between 0°C and 40°C. Avoid exposing it to boiling water or freezing conditions.
- Use a Stable Power Supply: Fluctuations in the power supply can affect the accuracy of the sensor's output.
Example Code for Arduino UNO
Below is an example of how to use the Gravity: Analog TDS Meter Sensor with an Arduino UNO:
// Include the TDS library from DFROBOT (install via Arduino Library Manager)
// This example assumes the library is installed and the sensor is connected to A0.

#include <EEPROM.h> // Required for calibration storage
#include "DFRobot_TDS.h"

// Define the analog pin connected to the sensor
#define TDS_PIN A0

// Create a TDS object
DFRobot_TDS tds;

// Define the voltage of the Arduino board (5.0V or 3.3V)
#define VREF 5.0

void setup() {
  Serial.begin(9600); // Initialize serial communication
  tds.setPin(TDS_PIN); // Set the analog pin
  tds.setAref(VREF);   // Set the reference voltage
  tds.begin();         // Initialize the TDS sensor
}

void loop() {
  // Read the TDS value in ppm
  float tdsValue = tds.readTds();

  // Print the TDS value to the Serial Monitor
  Serial.print("TDS Value: ");
  Serial.print(tdsValue);
  Serial.println(" ppm");

  delay(1000); // Wait 1 second before the next reading
}
Troubleshooting and FAQs
Common Issues and Solutions
Inaccurate Readings:
- Cause: The sensor is not calibrated.
- Solution: Use a standard TDS calibration solution and adjust the potentiometer.
No Output Signal:
- Cause: Incorrect wiring or loose connections.
- Solution: Double-check the wiring and ensure all connections are secure.
Fluctuating Readings:
- Cause: Unstable power supply or electrical noise.
- Solution: Use a stable power source and keep the sensor away from high-frequency noise sources.
Probe Corrosion or Damage:
- Cause: Prolonged exposure to harsh chemicals or improper cleaning.
- Solution: Replace the probe and follow proper maintenance practices.
FAQs
Q: Can this sensor measure TDS in hot water?
A: No, the sensor is designed for use in water temperatures between 0°C and 40°C. Using it in hot water may damage the probe.
Q: Is the sensor suitable for long-term immersion?
A: Yes, the probe is waterproof and can be used for long-term immersion, but regular cleaning is recommended to maintain accuracy.
Q: Can I use this sensor with a 3.3V microcontroller?
A: Yes, the sensor operates with a voltage range of 3.3V to 5.5V, making it compatible with 3.3V systems like ESP32 or Raspberry Pi.
Q: How do I perform temperature compensation?
A: Use an external temperature sensor to measure the water temperature and apply the compensation formula provided in the sensor's datasheet or library.
By following this documentation, you can effectively integrate the Gravity: Analog TDS Meter Sensor into your projects and achieve accurate water quality measurements.