How to Use ESP32-CAM: Examples, Pinouts, and Specs
Introduction
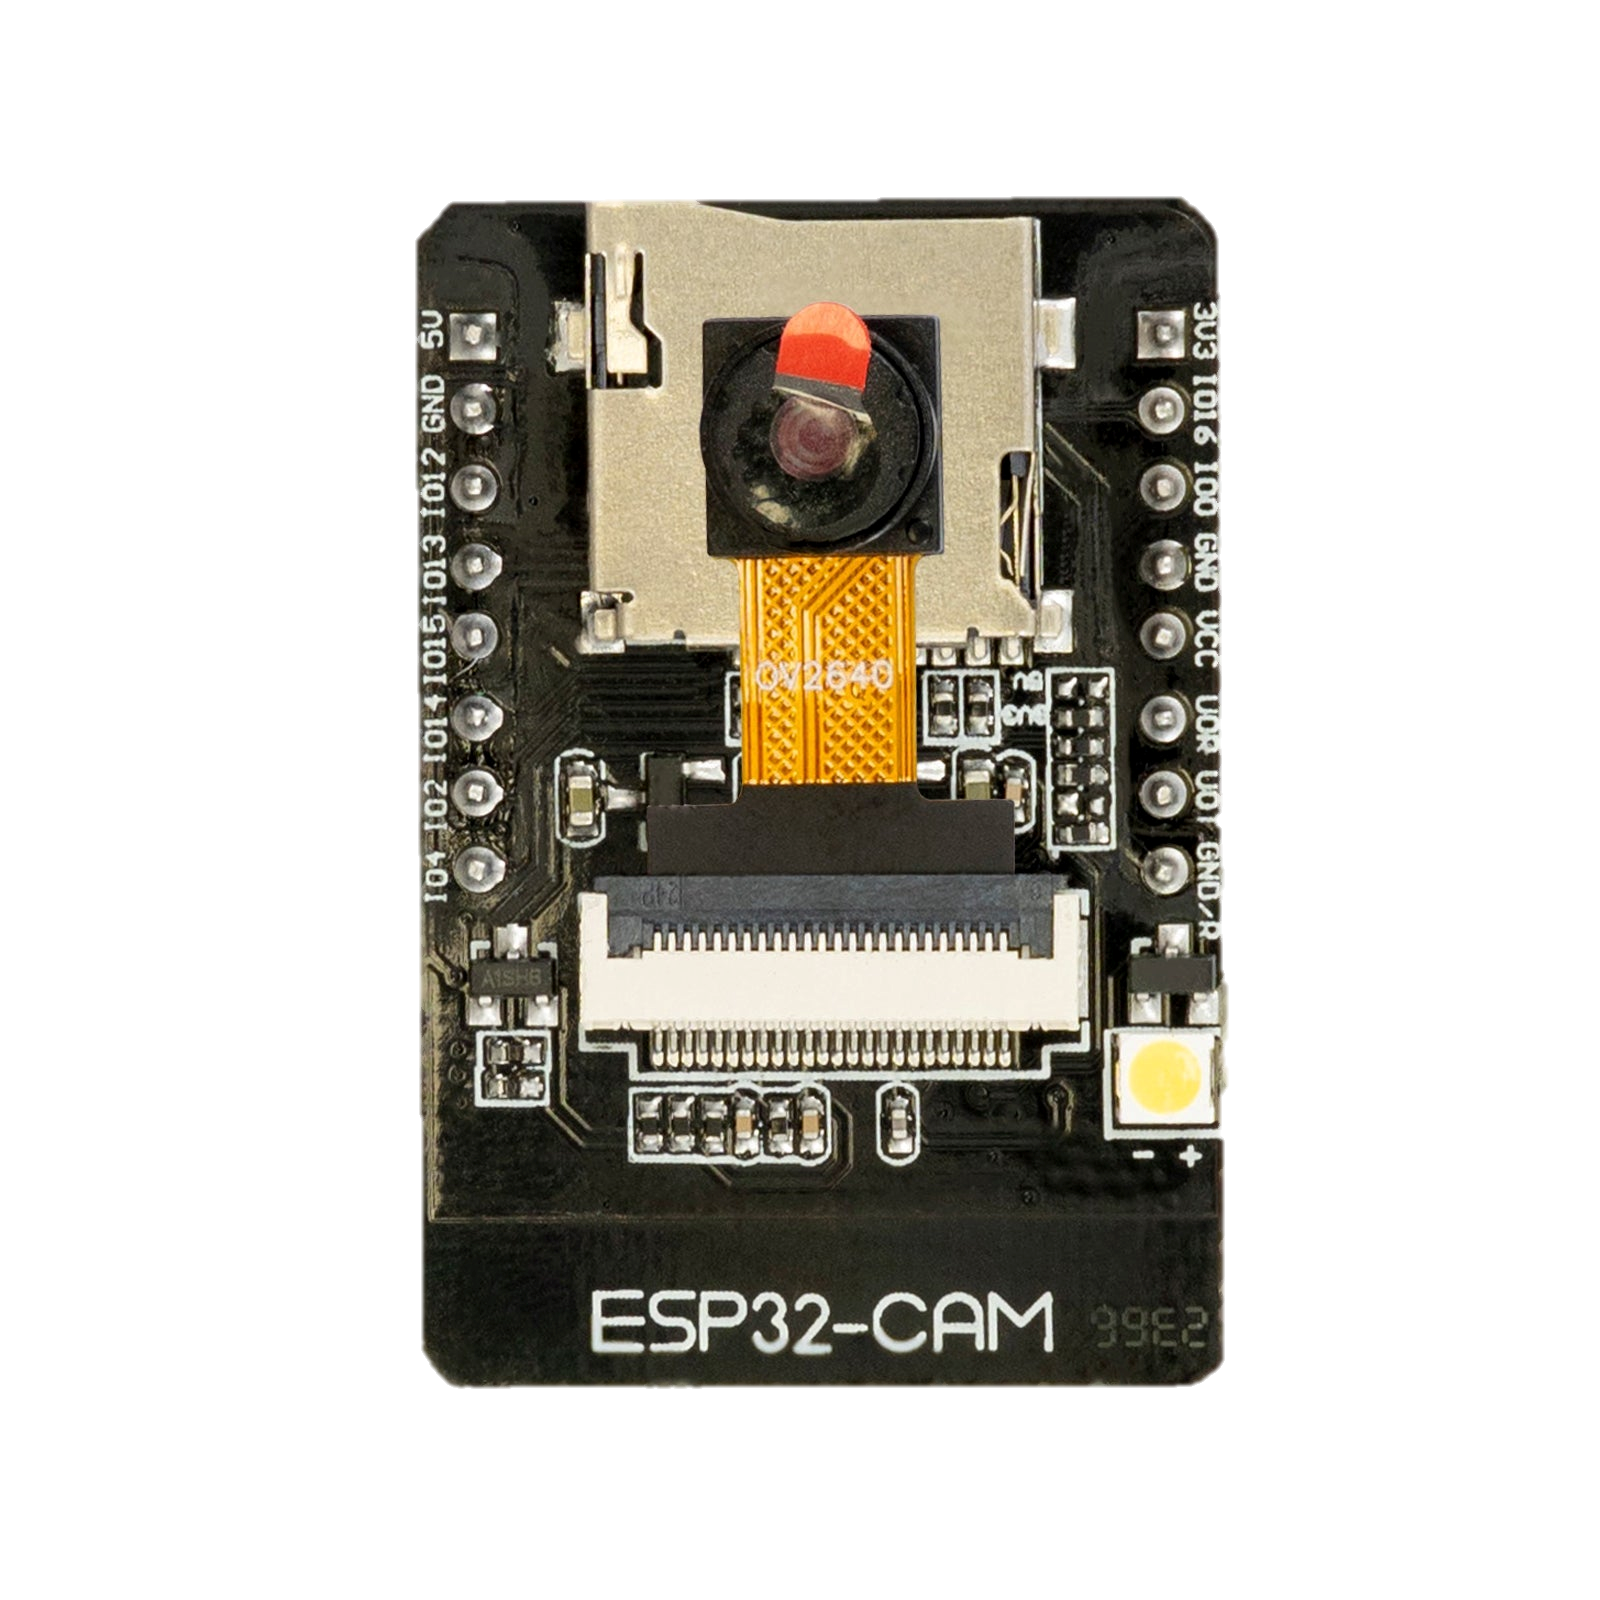
The ESP32-CAM is a low-cost development board manufactured by ESP32. It features a built-in camera module and Wi-Fi capabilities, making it a versatile solution for a wide range of applications. Powered by the ESP32 chip, this board combines powerful processing capabilities with wireless connectivity, making it ideal for Internet of Things (IoT) projects, surveillance systems, remote monitoring, and image processing tasks.
Explore Projects Built with ESP32-CAM


Explore Projects Built with ESP32-CAM
Common Applications and Use Cases
- IoT-based surveillance and security systems
- Smart home automation with video streaming
- Remote monitoring and control
- Face recognition and object detection
- Wireless camera systems for robotics
- Educational projects and prototyping
Technical Specifications
The ESP32-CAM is a compact and feature-rich module. Below are its key technical specifications:
| Specification | Details |
|---|---|
| Microcontroller | ESP32-D0WD |
| Flash Memory | 4 MB (external) |
| RAM | 520 KB SRAM + 4 MB PSRAM |
| Camera | OV2640 (2 MP) |
| Wi-Fi | 802.11 b/g/n |
| Bluetooth | Bluetooth 4.2 (BLE + Classic) |
| Operating Voltage | 3.3V |
| Input Voltage Range | 5V (via external power supply or USB-to-serial adapter) |
| GPIO Pins | 9 GPIO pins available for user applications |
| Interfaces | UART, SPI, I2C, PWM, ADC |
| Dimensions | 27 mm x 40.5 mm |
| Power Consumption | Deep Sleep: ~6 mA, Active: ~160-260 mA |
| Camera Resolution | Up to 1600x1200 (UXGA) |
| MicroSD Card Support | Up to 4 GB |
Pin Configuration and Descriptions
The ESP32-CAM has a total of 16 pins. Below is the pinout and description:
| Pin Name | Type | Description |
|---|---|---|
| GND | Power | Ground pin |
| 3.3V | Power | 3.3V power output |
| 5V | Power | 5V power input |
| GPIO0 | GPIO | General-purpose I/O pin; used for boot mode selection |
| GPIO1 (U0TXD) | UART | UART0 Transmit pin |
| GPIO3 (U0RXD) | UART | UART0 Receive pin |
| GPIO4 | GPIO | General-purpose I/O pin; can be used for PWM or ADC |
| GPIO12 | GPIO | General-purpose I/O pin; used for MicroSD card data (D2) |
| GPIO13 | GPIO | General-purpose I/O pin; used for MicroSD card data (D3) |
| GPIO14 | GPIO | General-purpose I/O pin; used for MicroSD card clock (CLK) |
| GPIO15 | GPIO | General-purpose I/O pin; used for MicroSD card command (CMD) |
| GPIO16 | GPIO | General-purpose I/O pin |
| GPIO33 | GPIO | General-purpose I/O pin; can be used for ADC |
| GPIO34 | Input Only | Input-only pin; can be used for ADC |
| GPIO35 | Input Only | Input-only pin; can be used for ADC |
| RESET | Reset | Reset pin; used to restart the module |
Usage Instructions
The ESP32-CAM is a versatile module that can be used in various projects. Below are the steps to get started:
1. Powering the ESP32-CAM
- The ESP32-CAM requires a 5V power supply, which can be provided via the 5V pin or an external USB-to-serial adapter.
- Ensure that the power supply can provide at least 500 mA to avoid instability.
2. Programming the ESP32-CAM
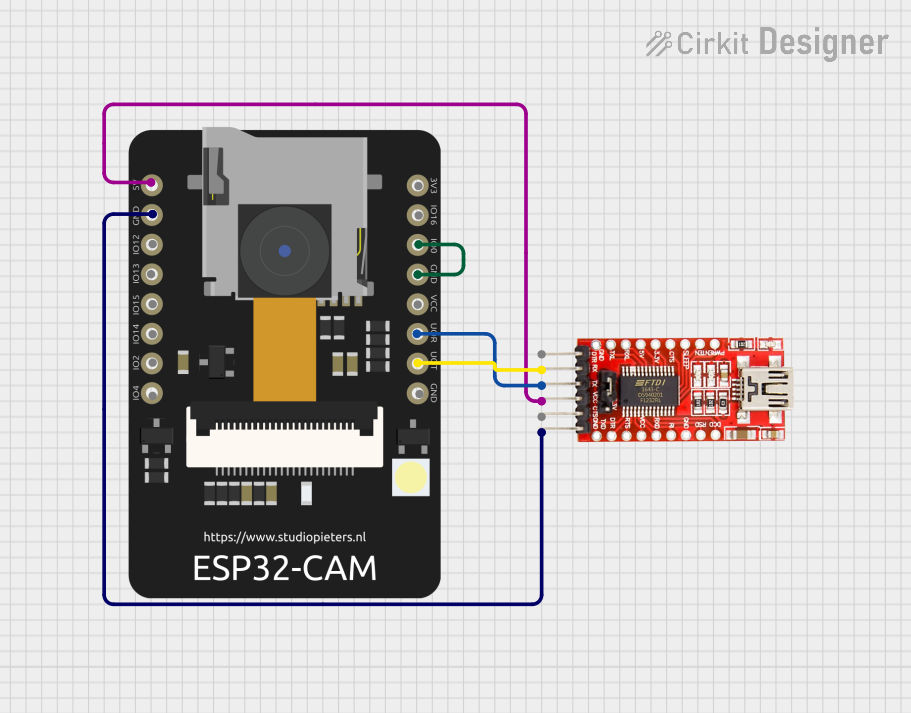
- The ESP32-CAM does not have a built-in USB interface, so you will need a USB-to-serial adapter (e.g., FTDI module) to program it.
- Connect the USB-to-serial adapter to the ESP32-CAM as follows:
- GND to GND
- 5V to 5V
- TX to U0RXD (GPIO3)
- RX to U0TXD (GPIO1)
- To enter programming mode, connect GPIO0 to GND before powering the module.
3. Uploading Code
- Install the ESP32 Board Manager in the Arduino IDE:
- Open the Arduino IDE and go to File > Preferences.
- Add the following URL to the "Additional Board Manager URLs" field:
https://dl.espressif.com/dl/package_esp32_index.json - Go to Tools > Board > Boards Manager, search for "ESP32," and install it.
- Select the AI-Thinker ESP32-CAM board from the Tools > Board menu.
- Write or load your code and upload it to the ESP32-CAM.
4. Example Code: Capturing and Streaming Video
Below is an example code to set up the ESP32-CAM as a video streaming server:
#include <WiFi.h>
#include "esp_camera.h"

// Replace with your network credentials
const char* ssid = "Your_SSID";
const char* password = "Your_PASSWORD";

// Camera configuration
#define PWDN_GPIO_NUM    -1
#define RESET_GPIO_NUM   -1
#define XCLK_GPIO_NUM     0
#define SIOD_GPIO_NUM    26
#define SIOC_GPIO_NUM    27
#define Y9_GPIO_NUM      35
#define Y8_GPIO_NUM      34
#define Y7_GPIO_NUM      39
#define Y6_GPIO_NUM      36
#define Y5_GPIO_NUM      21
#define Y4_GPIO_NUM      19
#define Y3_GPIO_NUM      18
#define Y2_GPIO_NUM       5
#define VSYNC_GPIO_NUM   25
#define HREF_GPIO_NUM    23
#define PCLK_GPIO_NUM    22

void startCameraServer();

void setup() {
  Serial.begin(115200);
  WiFi.begin(ssid, password);

  // Wait for Wi-Fi connection
  while (WiFi.status() != WL_CONNECTED) {
    delay(500);
    Serial.print(".");
  }
  Serial.println("");
  Serial.println("WiFi connected");

  // Start the camera server
  startCameraServer();
  Serial.println("Camera ready! Use the IP address to view the stream.");
  Serial.print("Camera Stream URL: http://");
  Serial.print(WiFi.localIP());
  Serial.println("/stream");
}

void loop() {
  // Nothing to do here
}
5. Accessing the Video Stream
- After uploading the code, open the Serial Monitor to find the ESP32-CAM's IP address.
- Enter the IP address in a web browser to view the video stream.
Important Considerations
- Ensure proper heat dissipation, as the ESP32-CAM can get warm during operation.
- Use a stable power supply to avoid unexpected resets or crashes.
- Avoid using GPIO pins reserved for the camera or MicroSD card for other purposes.
Troubleshooting and FAQs
Common Issues
The ESP32-CAM does not power on.
- Ensure that the power supply provides at least 5V and 500 mA.
- Check all connections for loose wires or incorrect pin mapping.
The code upload fails.
- Verify that GPIO0 is connected to GND during programming.
- Ensure the correct COM port and board are selected in the Arduino IDE.
The video stream is not accessible.
- Check the Serial Monitor for the correct IP address.
- Ensure that the ESP32-CAM is connected to the same Wi-Fi network as your device.
The module overheats.
- Use a heatsink or ensure proper ventilation to dissipate heat.
Tips for Troubleshooting
- Use a multimeter to check voltage levels at the 5V and 3.3V pins.
- If the module is unresponsive, try resetting it by pressing the RESET button.
- Double-check the wiring and ensure no pins are shorted.
By following this documentation, you can effectively use the ESP32-CAM for a variety of projects and applications.