How to Use battery: Examples, Pinouts, and Specs
Introduction
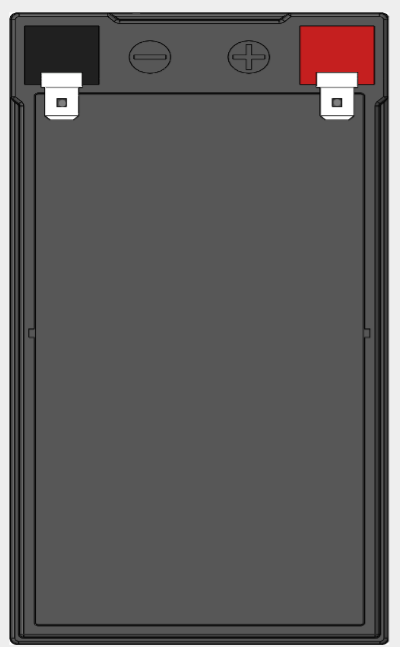
The Rover 3 battery, manufactured by Gokul, is a versatile and reliable power source for a wide range of electronic devices. Batteries are essential components in the electronics world, providing the energy needed for portable and backup power applications. The Rover 3 is designed to be efficient, durable, and easy to integrate into various circuits, making it suitable for powering devices such as flashlights, smartphones, electric vehicles, and can also be used in DIY projects, including those involving Arduino UNO.
Explore Projects Built with battery
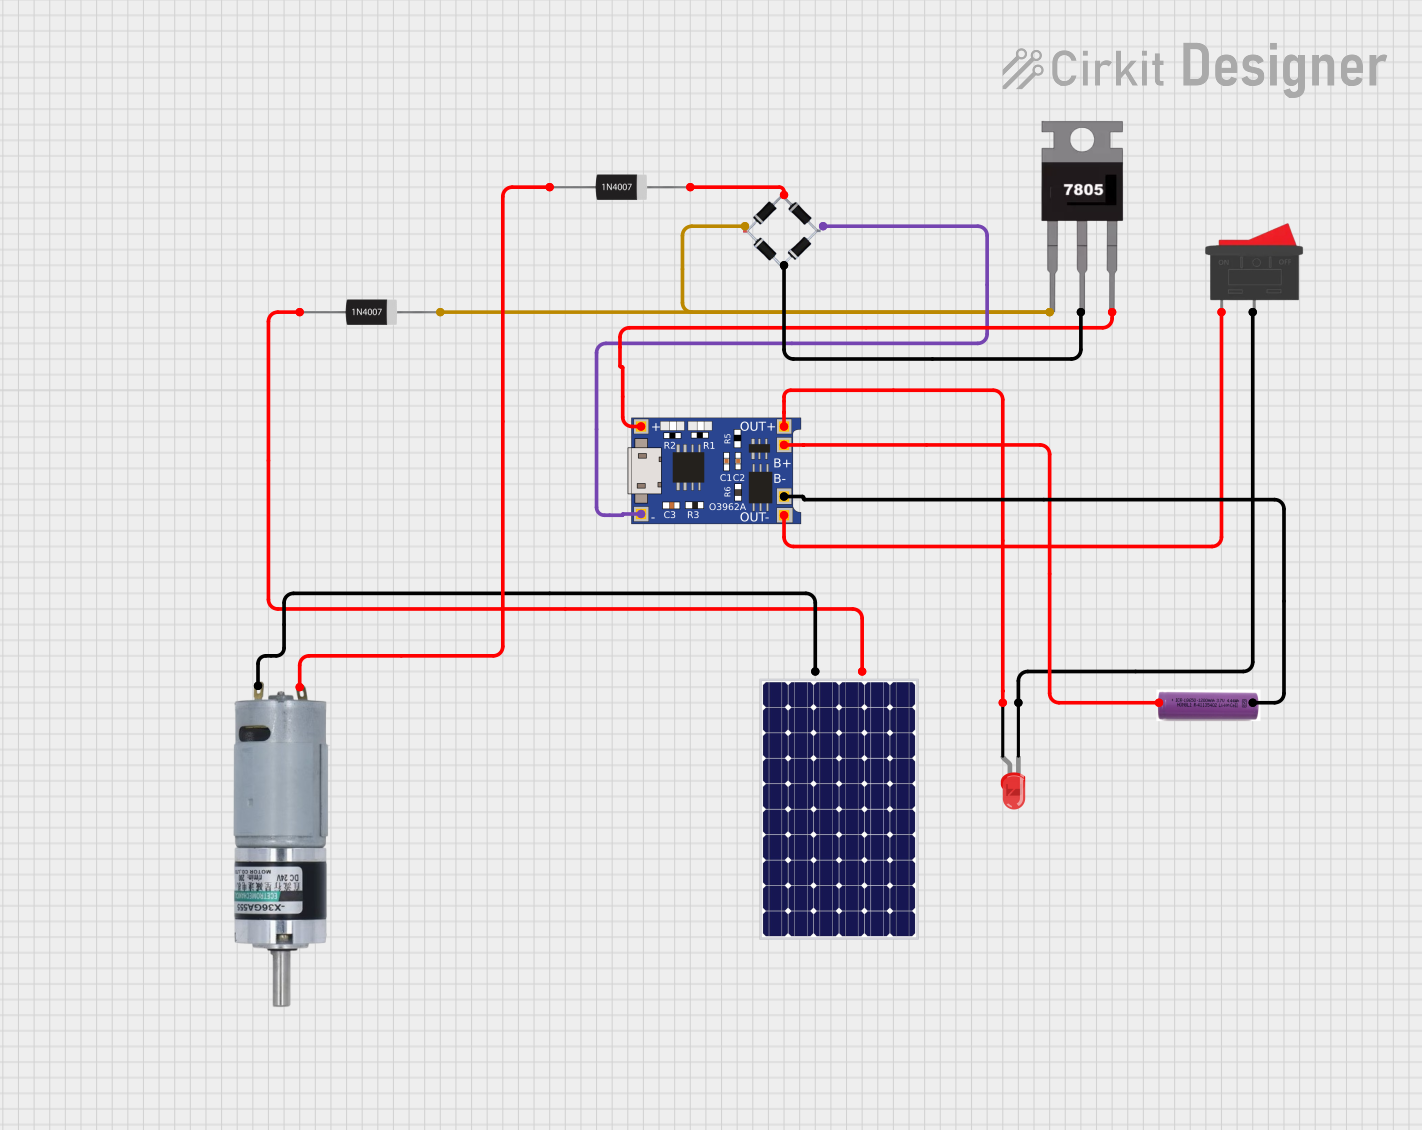
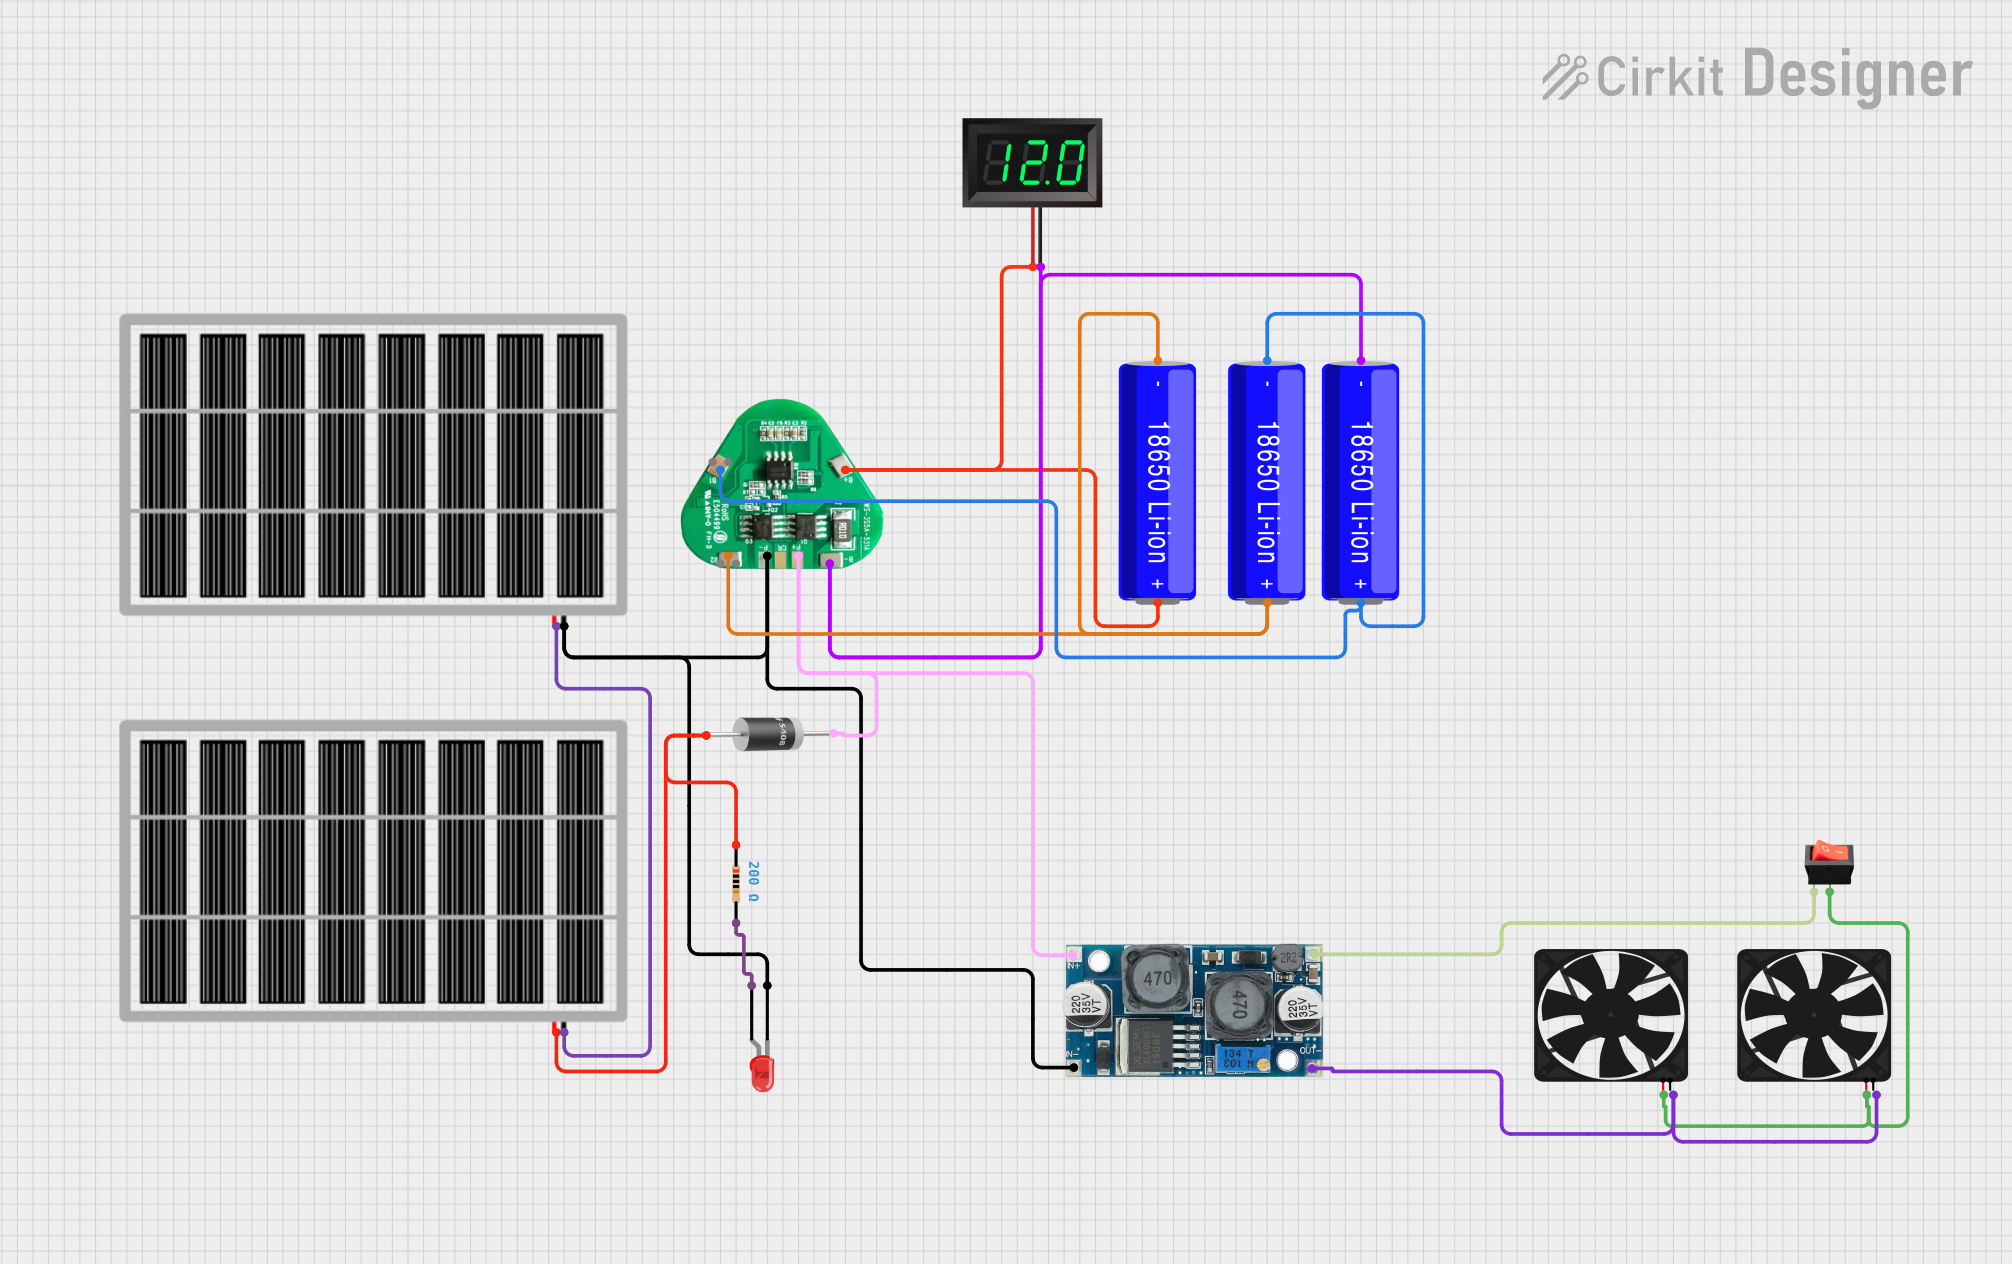


Explore Projects Built with battery
Technical Specifications
General Characteristics
- Manufacturer: Gokul
- Part ID: Rover 3
- Battery Type: [Insert Battery Chemistry, e.g., Li-Ion, NiMH, etc.]
- Nominal Voltage: [Insert Voltage, e.g., 3.7V]
- Capacity: [Insert Capacity, e.g., 2200mAh]
- Charge/Discharge Cycles: [Insert number of cycles, e.g., 1000 cycles]
- Operating Temperature Range: [Insert range, e.g., -20°C to 60°C]
Electrical Specifications
| Parameter | Specification | Unit |
|---|---|---|
| Nominal Voltage | [Insert Voltage] | V |
| Rated Capacity | [Insert Capacity] | mAh |
| Max Charging Voltage | [Insert Voltage] | V |
| Max Charging Current | [Insert Current] | A |
| Max Discharge Current | [Insert Current] | A |
| Cut-off Voltage | [Insert Voltage] | V |
Physical Characteristics
| Parameter | Specification | Unit |
|---|---|---|
| Dimensions (LxWxH) | [Insert Dimensions] | mm |
| Weight | [Insert Weight] | g |
| Terminal Type | [Insert Terminal Type, e.g., flat top, button top] | - |
| Case Material | [Insert Material, e.g., steel, aluminum] | - |
Usage Instructions
Integrating with a Circuit
- Identify Polarity: Ensure the positive (+) and negative (-) terminals are correctly identified before connecting the battery to a circuit.
- Voltage Matching: Verify that the voltage requirements of your device match the nominal voltage of the Rover 3 battery.
- Current Limitations: Do not exceed the maximum charging and discharging current specifications.
- Temperature Considerations: Operate the battery within the specified temperature range to avoid damage.
Best Practices
- Always use a compatible charger for recharging the battery.
- Avoid short-circuiting the battery terminals.
- Store the battery in a cool, dry place when not in use.
- Regularly check the battery voltage to prevent over-discharge.
- Follow proper recycling protocols for battery disposal.
Troubleshooting and FAQs
Common Issues
- Battery not charging: Ensure the charger is functioning and compatible with the Rover 3 battery. Check for any damage to the battery terminals.
- Reduced capacity: Over time, the battery may experience reduced capacity. This is normal after many charge/discharge cycles.
- Device not powering on: Verify that the battery is properly charged and that the terminals are making good contact with the device.
FAQs
Q: How long does it take to fully charge the Rover 3 battery? A: The charging time depends on the charger used and the current provided. Refer to the charging specifications for details.
Q: Can the Rover 3 battery be used in series or parallel configurations? A: Yes, but ensure that all batteries in the configuration are at the same voltage and capacity level to prevent imbalances.
Q: Is it safe to leave the battery charging overnight? A: It is recommended to use a charger with overcharge protection and to avoid leaving batteries charging unattended for extended periods.
Q: What should I do if the battery gets wet? A: Remove the battery from the device immediately and dry it thoroughly. Do not use a wet battery.
Example Arduino UNO Connection
// Example code to monitor battery voltage using Arduino UNO

const int batteryPin = A0; // Analog pin connected to battery voltage divider

void setup() {
  Serial.begin(9600);
}

void loop() {
  int sensorValue = analogRead(batteryPin); // Read the analog value
  float voltage = sensorValue * (5.0 / 1023.0); // Convert to voltage
  Serial.print("Battery Voltage: ");
  Serial.println(voltage);
  delay(1000); // Wait for 1 second before next reading
}
Note: This example assumes the use of a voltage divider to reduce the battery voltage to a safe level for the Arduino analog input. Always ensure that the input voltage does not exceed the maximum voltage rating of the Arduino pin (5V for most models).
For further assistance or more detailed information about the Rover 3 battery, please contact Gokul's customer support.