How to Use 120 fan 12v: Examples, Pinouts, and Specs
Introduction
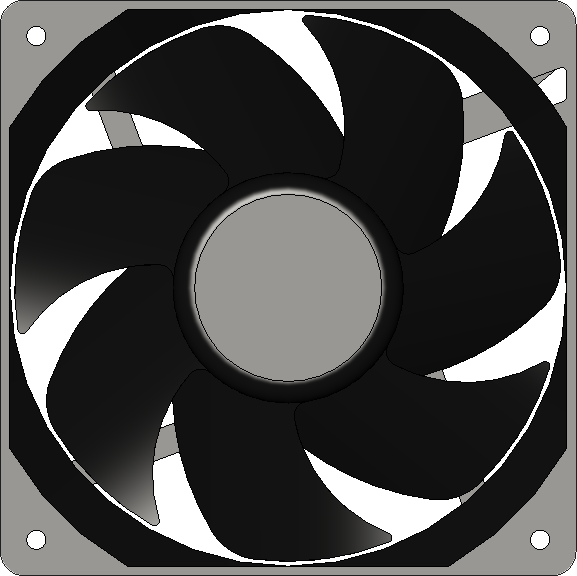
The 120mm 12V DC Cooling Fan is an essential component widely used in various electronic and computing devices to dissipate heat. Its primary function is to maintain an optimal operating temperature, thus prolonging the lifespan of the device. Common applications include computer cases, power supplies, amplifiers, and other electronic equipment that require active cooling.
Explore Projects Built with 120 fan 12v


Explore Projects Built with 120 fan 12v
Technical Specifications
General Features
- Size: 120mm x 120mm x 25mm
- Operating Voltage: 12V DC
- Current: Typically between 0.15A to 0.30A
- Power Consumption: Approximately 1.8W to 3.6W
- Airflow: 50-70 CFM (Cubic Feet per Minute)
- Noise Level: 20-35 dBA
- Bearing Type: Sleeve/Ball
- Expected Life Span: 30,000 - 50,000 hours
Pin Configuration and Descriptions
| Pin Number | Description | Wire Color (Typical) |
|---|---|---|
| 1 | Ground (-) | Black |
| 2 | +12V DC Power (+) | Red |
| 3 | Tachometer Signal | Yellow |
| 4 | PWM Speed Control | Blue (if available) |
Note: The pin configuration may vary slightly depending on the manufacturer. Always refer to the manufacturer's datasheet for exact details.
Usage Instructions
Connecting to a Power Source
Power Connection: Connect the red wire to the +12V DC power supply and the black wire to the ground. Ensure that the power supply can handle the current draw of the fan.
Speed Monitoring: The yellow wire, if present, outputs a tachometer signal that can be used to monitor the fan's speed. This can be connected to a motherboard or controller that supports RPM monitoring.
Speed Control: If the fan includes a fourth blue wire for PWM control, it can be connected to a PWM-capable pin on a motherboard or controller to adjust the fan speed dynamically.
Best Practices
- Airflow Direction: Ensure the fan is oriented correctly to either push air into the device or exhaust hot air out, depending on the cooling requirements.
- Mounting: Secure the fan using all mounting holes to minimize vibrations and noise.
- Dust Filters: Use dust filters to prevent dust accumulation on the fan blades and within the device.
- Voltage: Do not exceed the rated voltage of 12V DC to prevent damage to the fan.
Troubleshooting and FAQs
Common Issues and Solutions
- Fan Not Starting: Check the power connections and ensure the voltage is within the specified range. Inspect for any obstructions that may prevent the fan blades from spinning.
- Noisy Operation: Verify that the fan is securely mounted. If the noise persists, the fan may be failing or obstructed by dust.
- Inconsistent Speed: Ensure that the PWM signal (if applicable) is correctly configured. Check for loose connections or damaged wires.
FAQs
Q: Can I run the fan at a lower voltage? A: Yes, running the fan at a lower voltage will reduce its speed and noise, but it may not start if the voltage is too low.
Q: How do I reverse the airflow direction? A: To reverse the airflow, you must physically flip the fan to face the opposite direction. Do not reverse the power connections.
Q: Can I connect multiple fans to the same power source? A: Yes, as long as the total current draw does not exceed the capacity of the power source.
Q: What is PWM and how does it control fan speed? A: PWM stands for Pulse Width Modulation. It controls the fan speed by varying the duty cycle of the power signal, allowing for more precise speed control without reducing voltage.
Example Arduino Code for PWM Fan Control
// Define the PWM pin connected to the fan
const int pwmFanPin = 9; // Must be a PWM-capable pin

void setup() {
  // Set the PWM pin as an output
  pinMode(pwmFanPin, OUTPUT);
}

void loop() {
  // Set the fan speed to 50% duty cycle
  analogWrite(pwmFanPin, 127); // PWM value range: 0 (off) to 255 (full speed)

  // Add your own logic to change the fan speed based on temperature or other conditions
}
Note: The above code assumes the use of a 4-wire fan with PWM control. The Arduino's PWM frequency may not be ideal for all fans, and additional circuitry may be required to provide a suitable PWM signal.
This documentation provides a comprehensive overview of the 120mm 12V DC Cooling Fan. For further assistance, consult the manufacturer's datasheet or contact technical support.