How to Use Adafruit VL6180 Time of Flight Sensor: Examples, Pinouts, and Specs
Introduction
The Adafruit VL6180 Time of Flight (ToF) Sensor is a cutting-edge proximity sensor module that utilizes time-of-flight measurements to accurately determine the distance to an object. This sensor is capable of measuring distances from 0 to a few centimeters with high precision, making it an ideal choice for a variety of applications including gesture recognition, obstacle avoidance in robotics, and user interface controls.
Explore Projects Built with Adafruit VL6180 Time of Flight Sensor
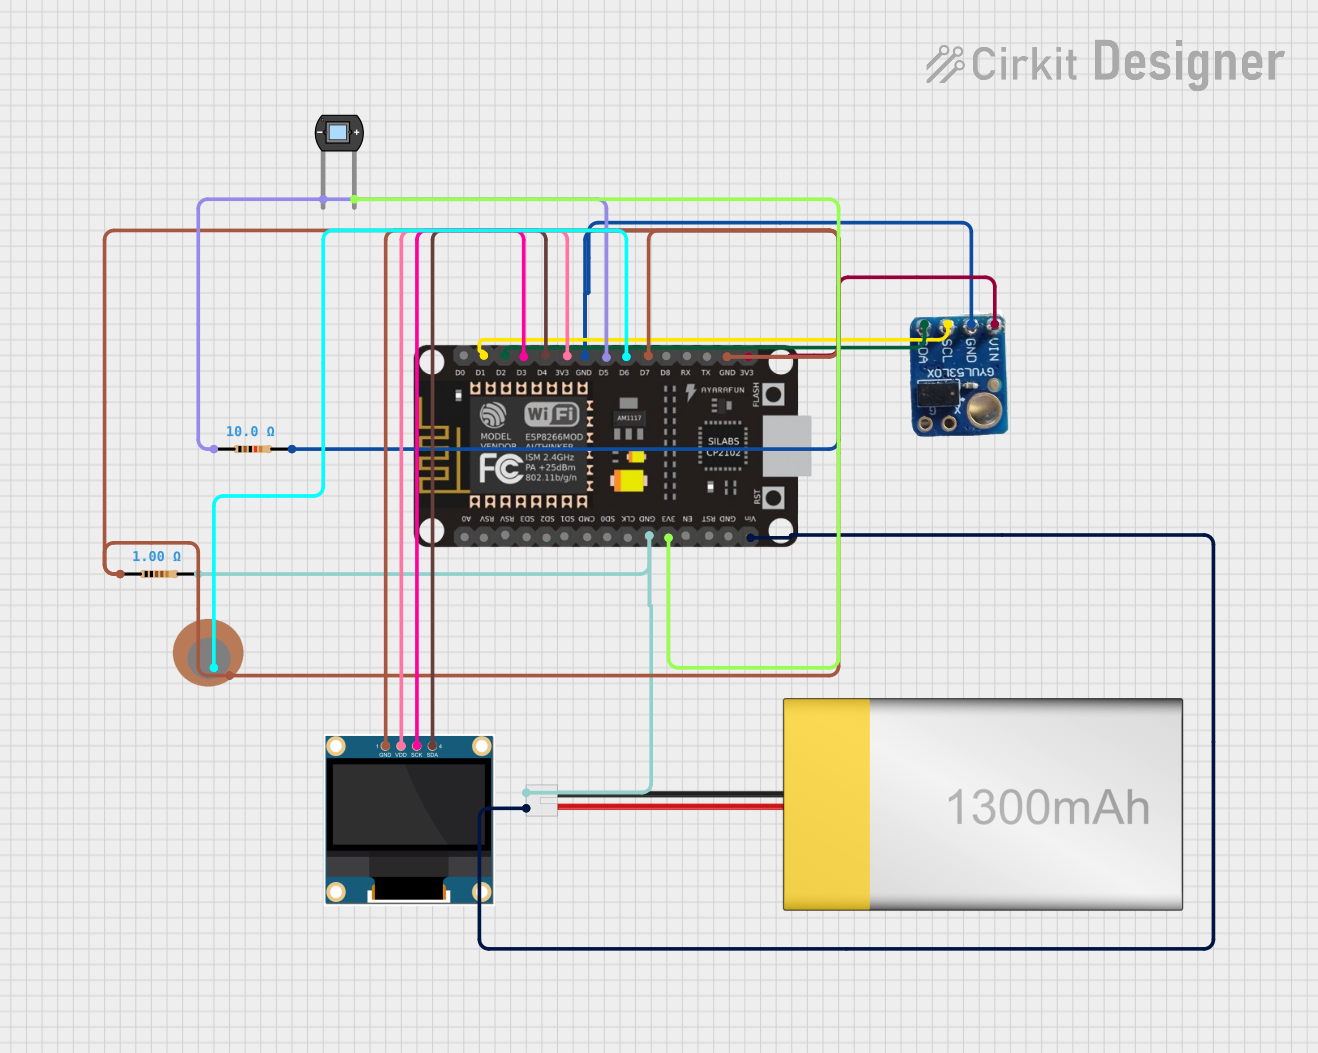

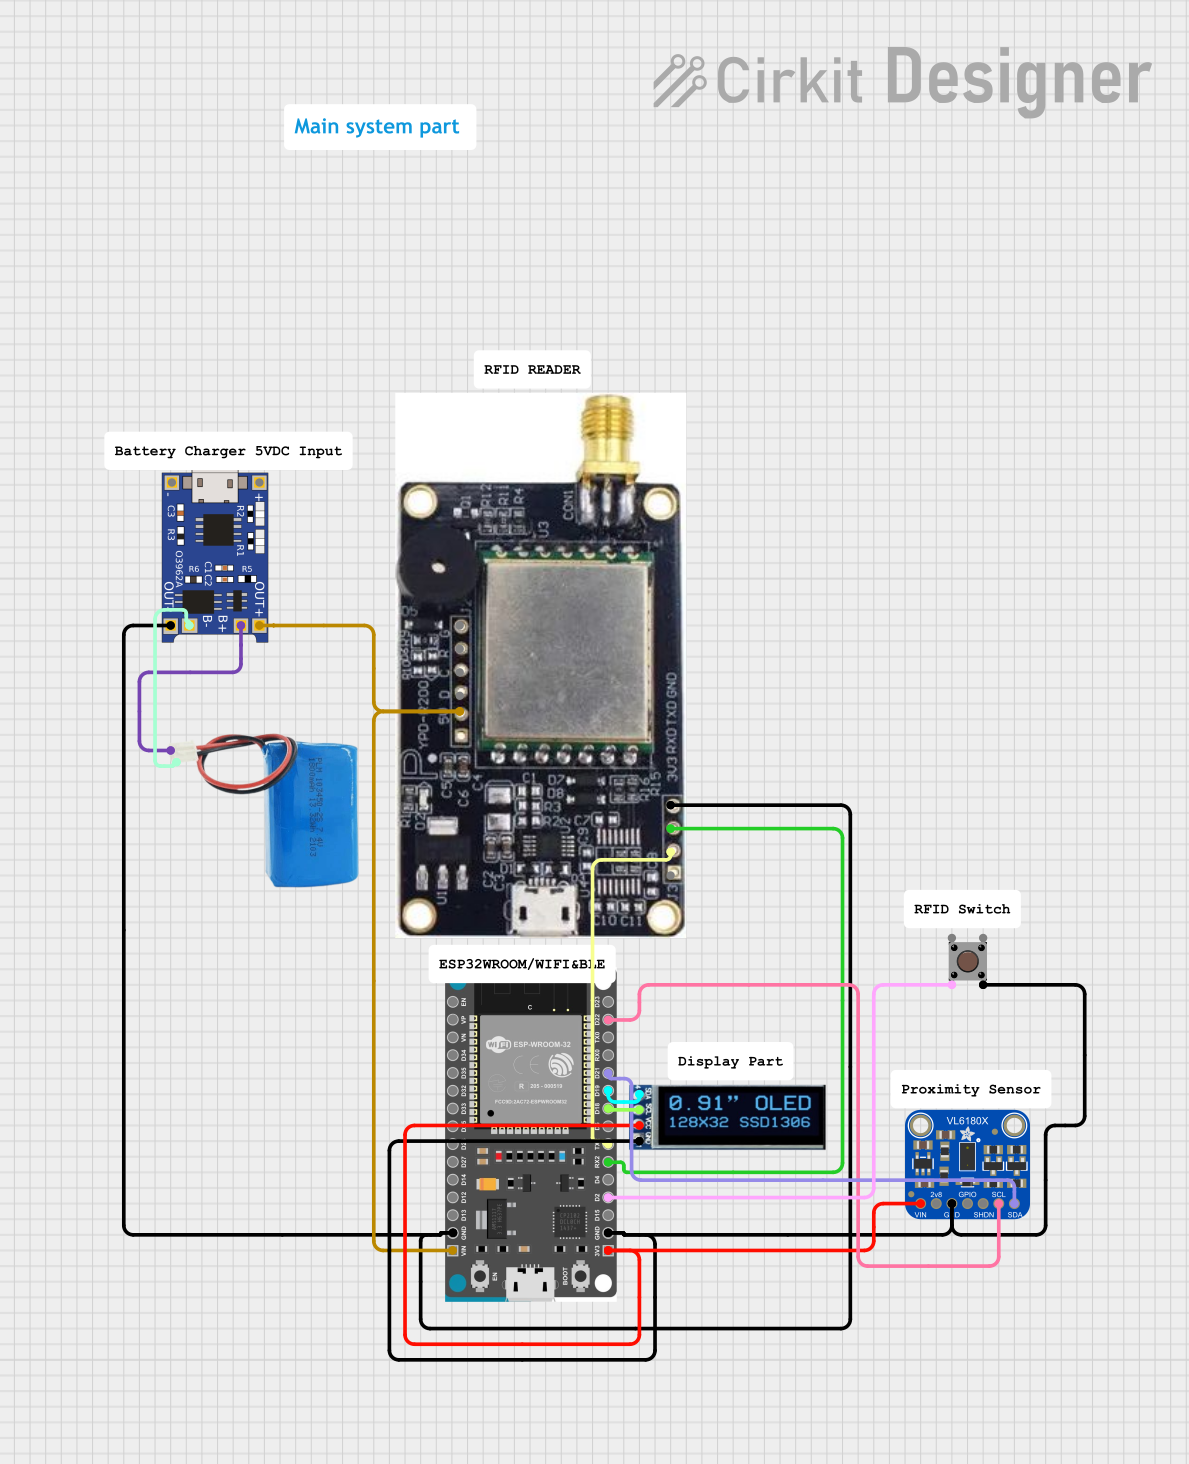
Explore Projects Built with Adafruit VL6180 Time of Flight Sensor
Technical Specifications
Key Technical Details
- Operating Voltage: 2.6V to 3.5V
- Current Consumption: 10mA (typical)
- Range: Up to 200mm (approx. 7.9 inches)
- Resolution: 1mm
- Interface: I2C
- I2C Address: 0x29 (default)
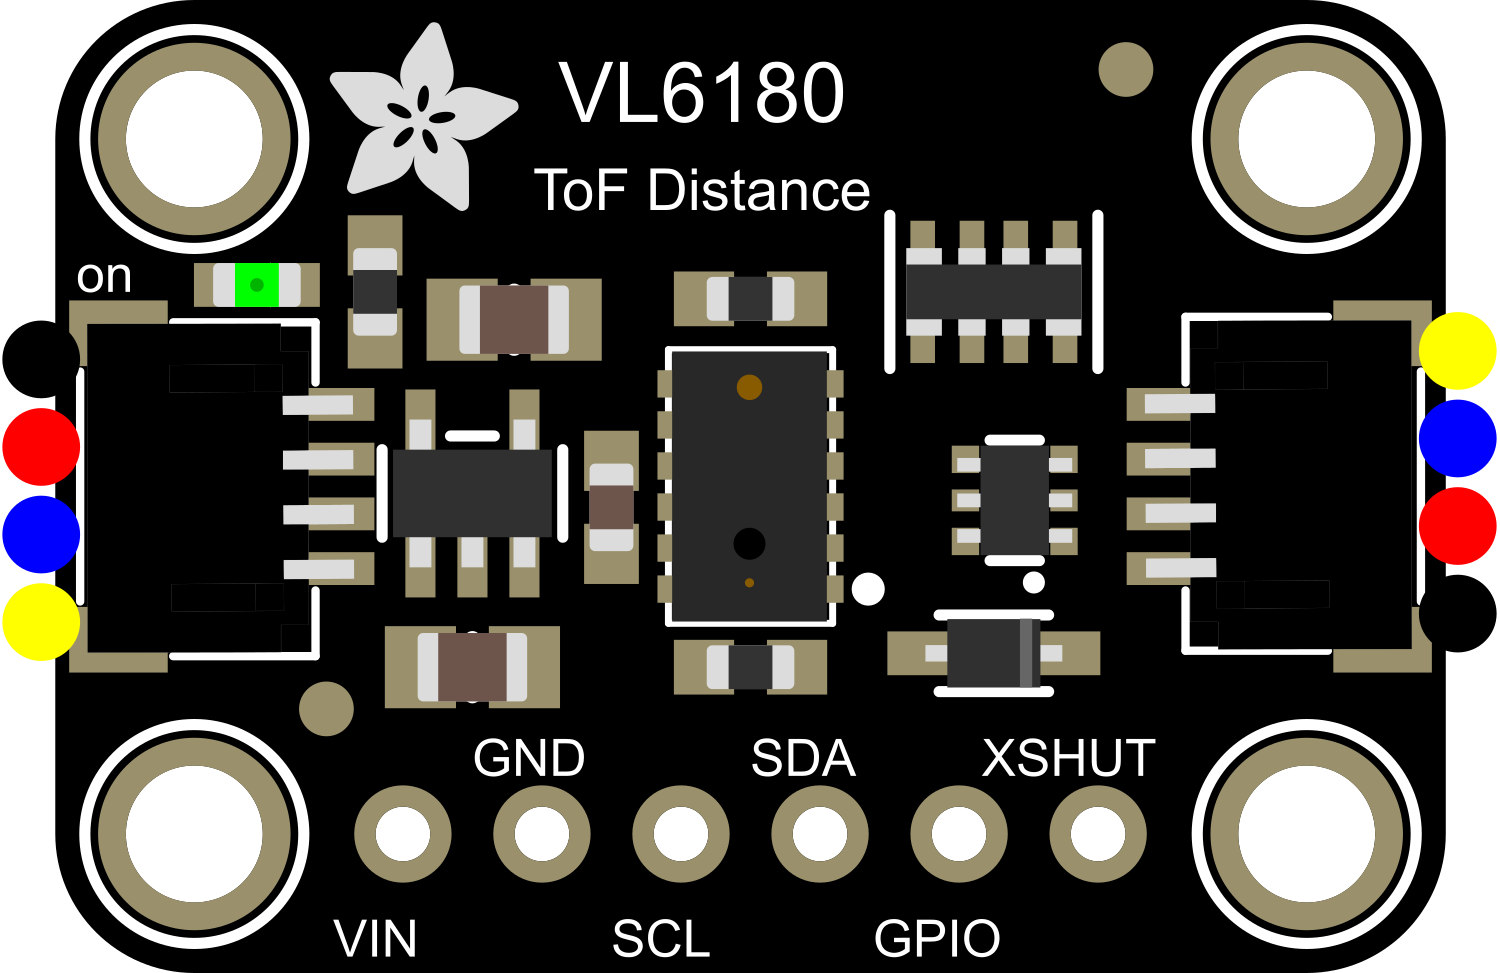
Pin Configuration and Descriptions
| Pin Number | Name | Description |
|---|---|---|
| 1 | VIN | Power supply (2.6V to 3.5V) |
| 2 | GND | Ground connection |
| 3 | SCL | I2C clock line |
| 4 | SDA | I2C data line |
| 5 | GPIO1 | General-purpose input/output (optional use) |
| 6 | - | No connection (NC) |
Usage Instructions
Integrating with a Circuit
To use the Adafruit VL6180 ToF Sensor in a circuit, follow these steps:
- Connect the VIN pin to a 2.6V to 3.5V power supply.
- Connect the GND pin to the ground of the power supply.
- Connect the SCL and SDA pins to the I2C clock and data lines, respectively.
- If necessary, use the GPIO1 pin for additional functionality as per your application's requirements.
Important Considerations and Best Practices
- Ensure that the power supply voltage does not exceed the maximum rating of 3.5V.
- Use pull-up resistors on the I2C lines if they are not already present on the microcontroller board.
- Avoid placing objects too close to the sensor during startup, as this may affect calibration.
- Keep the sensor away from direct sunlight and other strong infrared light sources to prevent measurement errors.
Example Code for Arduino UNO
#include <Wire.h>
#include <Adafruit_VL6180X.h>

Adafruit_VL6180X vl = Adafruit_VL6180X();

void setup() {
  Serial.begin(115200);

  // Wait for serial port to be available (for boards with native USB)
  while (!Serial) {
    delay(1);
  }

  Serial.println("Adafruit VL6180x test!");
  if (!vl.begin()) {
    Serial.println("Failed to find sensor");
    while (1);
  }
  Serial.println("Sensor found!");
}

void loop() {
  float lux = vl.readLux(VL6180X_ALS_GAIN_5);
  Serial.print("Lux: "); Serial.println(lux);

  uint8_t range = vl.readRange();
  uint8_t status = vl.readRangeStatus();

  if (status == VL6180X_ERROR_NONE) {
    Serial.print("Range: "); Serial.println(range);
  }

  // Some error occurred, print it out!

  if  (status != VL6180X_ERROR_NONE) {
    Serial.print("Range Status: ");
    if (status == VL6180X_ERROR_SYSTEM_ERROR) {
      Serial.println("System error");
    } else if (status == VL6180X_ERROR_ECEFAIL) {
      Serial.println("ECE failure");
    } else if (status == VL6180X_ERROR_NOCONVERGE) {
      Serial.println("No convergence");
    } else if (status == VL6180X_ERROR_RANGEIGNORE) {
      Serial.println("Ignoring range");
    } else if (status == VL6180X_ERROR_SNR) {
      Serial.println("Signal/Noise error");
    } else if (status == VL6180X_ERROR_RAWUFLOW) {
      Serial.println("Raw reading underflow");
    } else if (status == VL6180X_ERROR_RAWOFLOW) {
      Serial.println("Raw reading overflow");
    } else if (status == VL6180X_ERROR_RANGEUFLOW) {
      Serial.println("Range underflow");
    } else if (status == VL6180X_ERROR_RANGEOFLOW) {
      Serial.println("Range overflow");
    }
  }

  delay(50);
}
Troubleshooting and FAQs
Common Issues
- Sensor not responding: Ensure that the I2C connections are correct and that the sensor is properly powered.
- Inaccurate readings: Make sure the sensor is not exposed to direct sunlight or strong infrared light sources.
- No readings: Check if the sensor is properly calibrated and that no objects are too close to the sensor during startup.
Solutions and Tips for Troubleshooting
- Double-check wiring, especially the I2C connections.
- Use the I2C scanner sketch to confirm the sensor's address and connectivity.
- Reset the sensor and microcontroller to ensure a clean startup.
- Consult the Adafruit VL6180X library documentation for advanced configuration and calibration procedures.
FAQs
Q: What is the maximum sensing distance of the VL6180 sensor? A: The maximum sensing distance is approximately 200mm, but it can vary depending on the object's reflectivity and environmental conditions.
Q: Can the sensor measure distances beyond its rated range? A: The sensor is optimized for short-range measurements, and attempting to measure beyond its rated range may result in inaccurate or unreliable data.
Q: How can I change the I2C address of the sensor? A: The I2C address can be changed by writing to the I2C_SLAVE_DEVICE_ADDRESS register. However, this is an advanced procedure and should be done with caution to avoid address conflicts on the I2C bus.