
How to Use Fan 1: Examples, Pinouts, and Specs
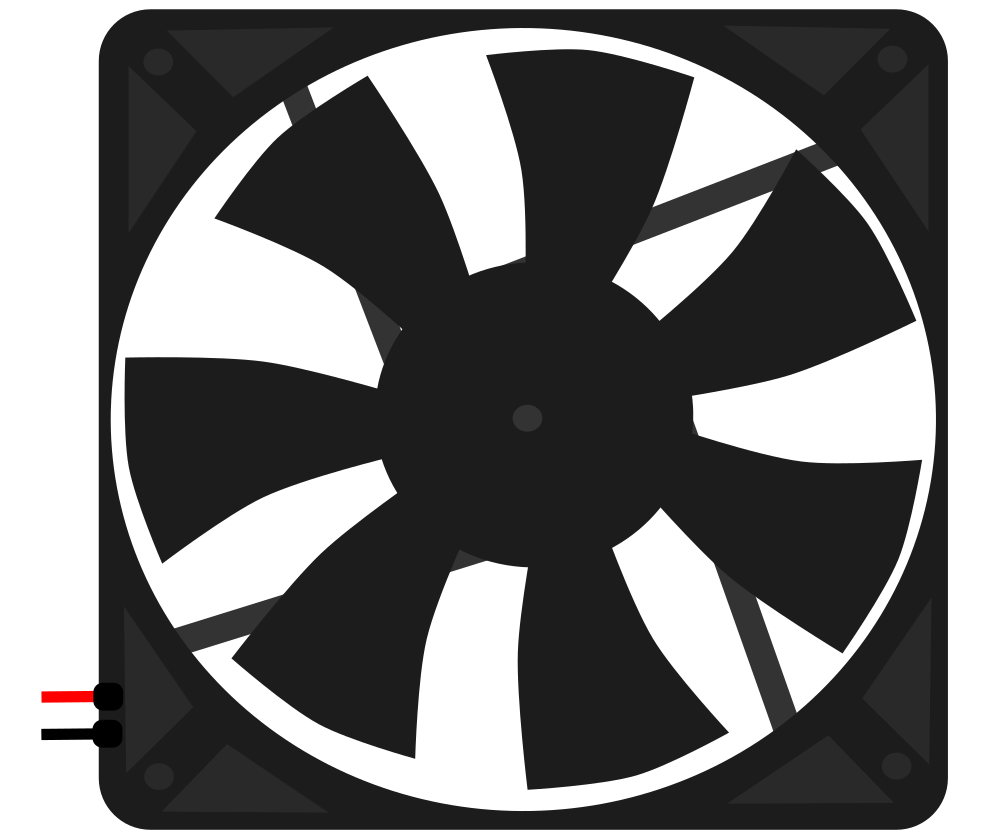
 Design with Fan 1 in Cirkit Designer
Introduction
Fan 1 is a compact and efficient device designed to create airflow for cooling or ventilation purposes. It is commonly used in electronic enclosures, power supplies, and other systems where heat dissipation is critical to ensure optimal performance and prevent overheating. Its simple design and ease of integration make it a versatile component for various applications.
Explore Projects Built with Fan 1
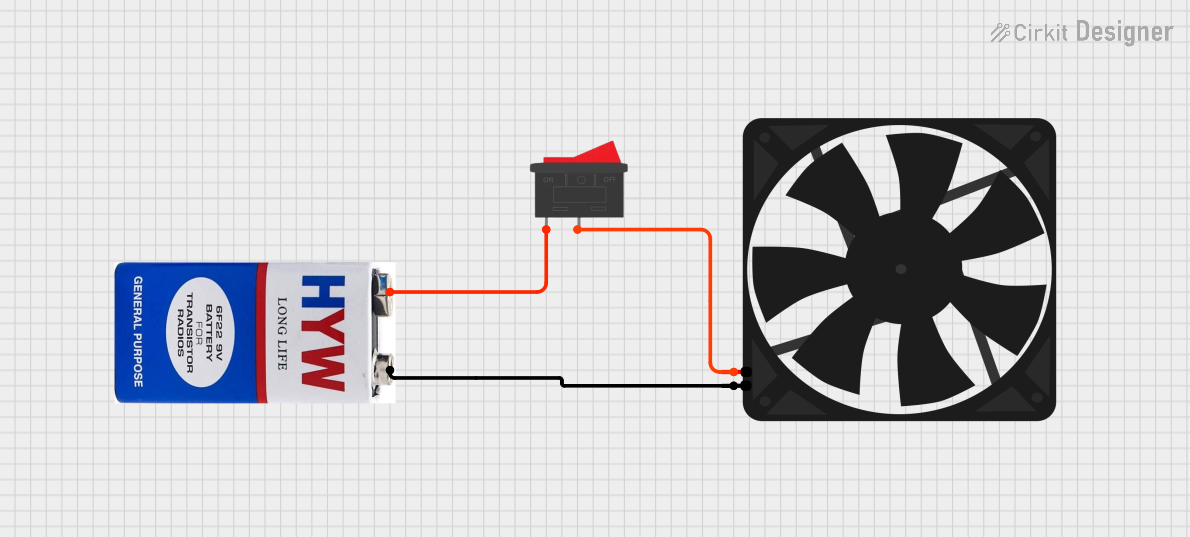 Open Project in Cirkit Designer
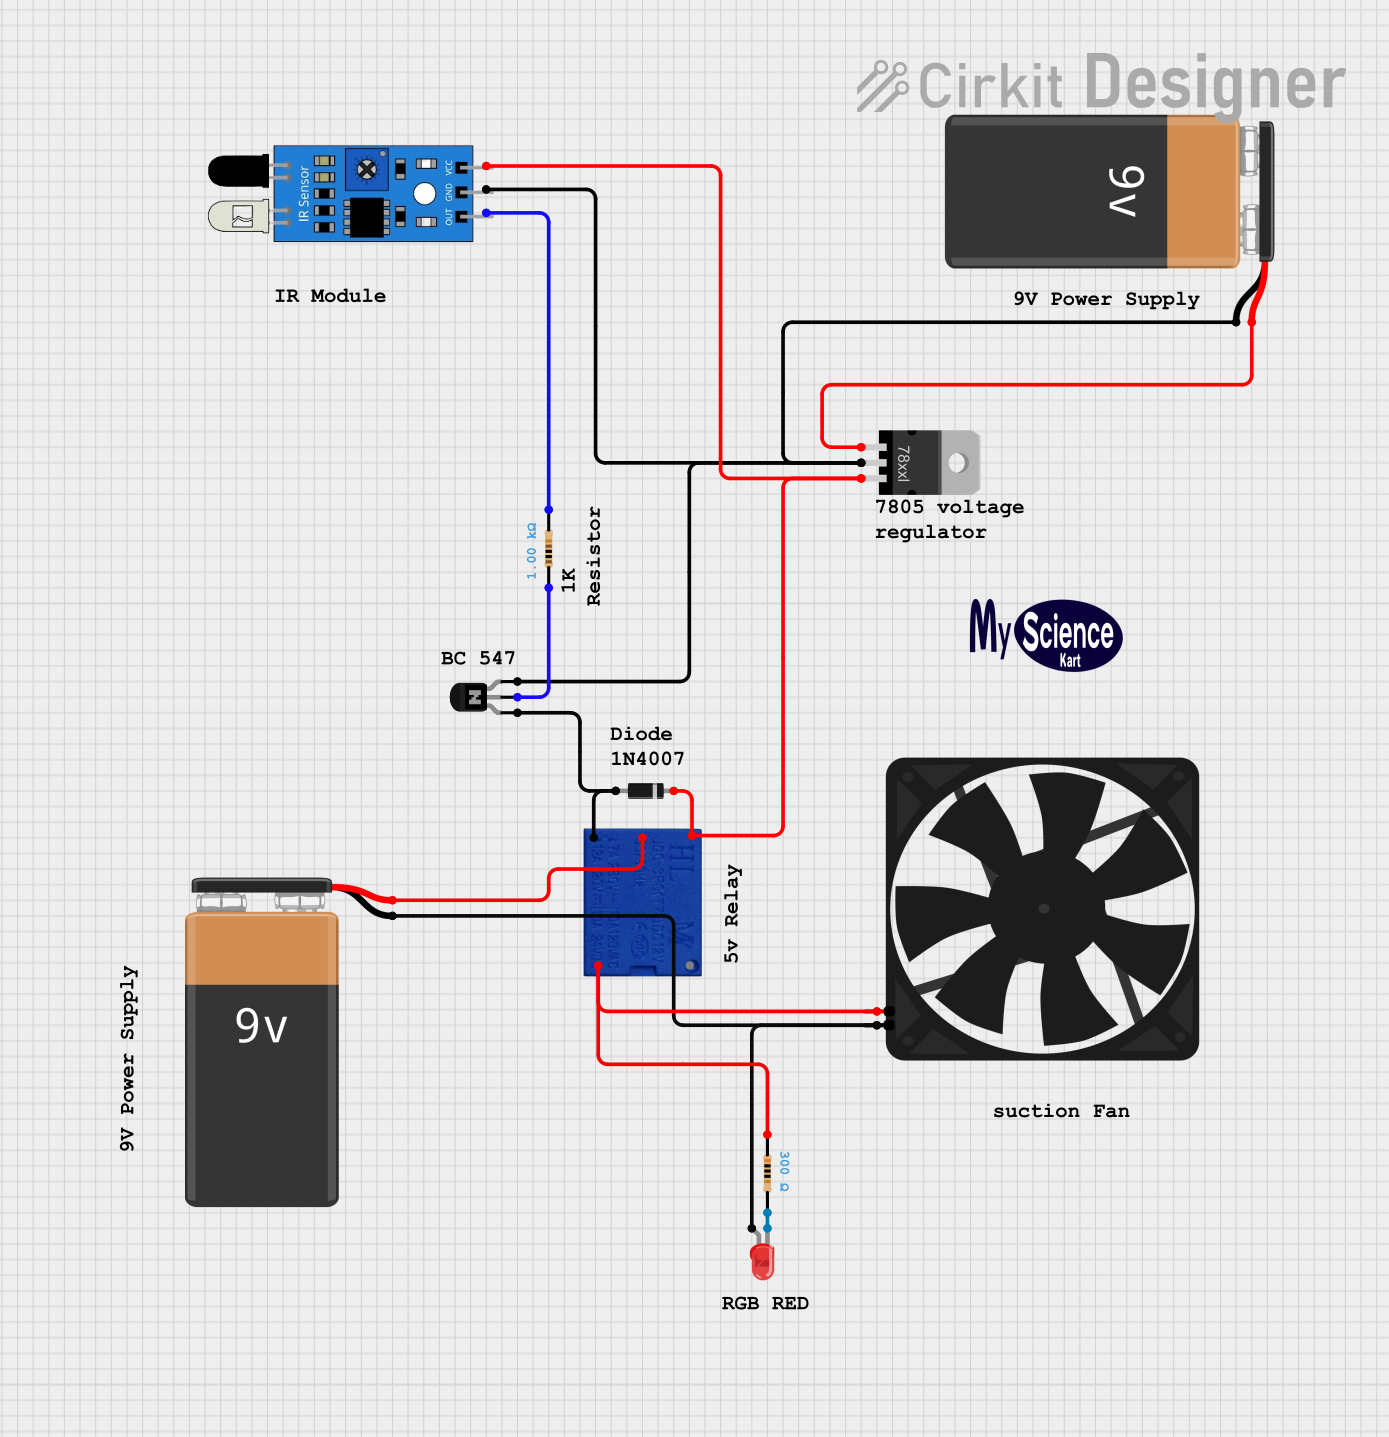 Open Project in Cirkit Designer
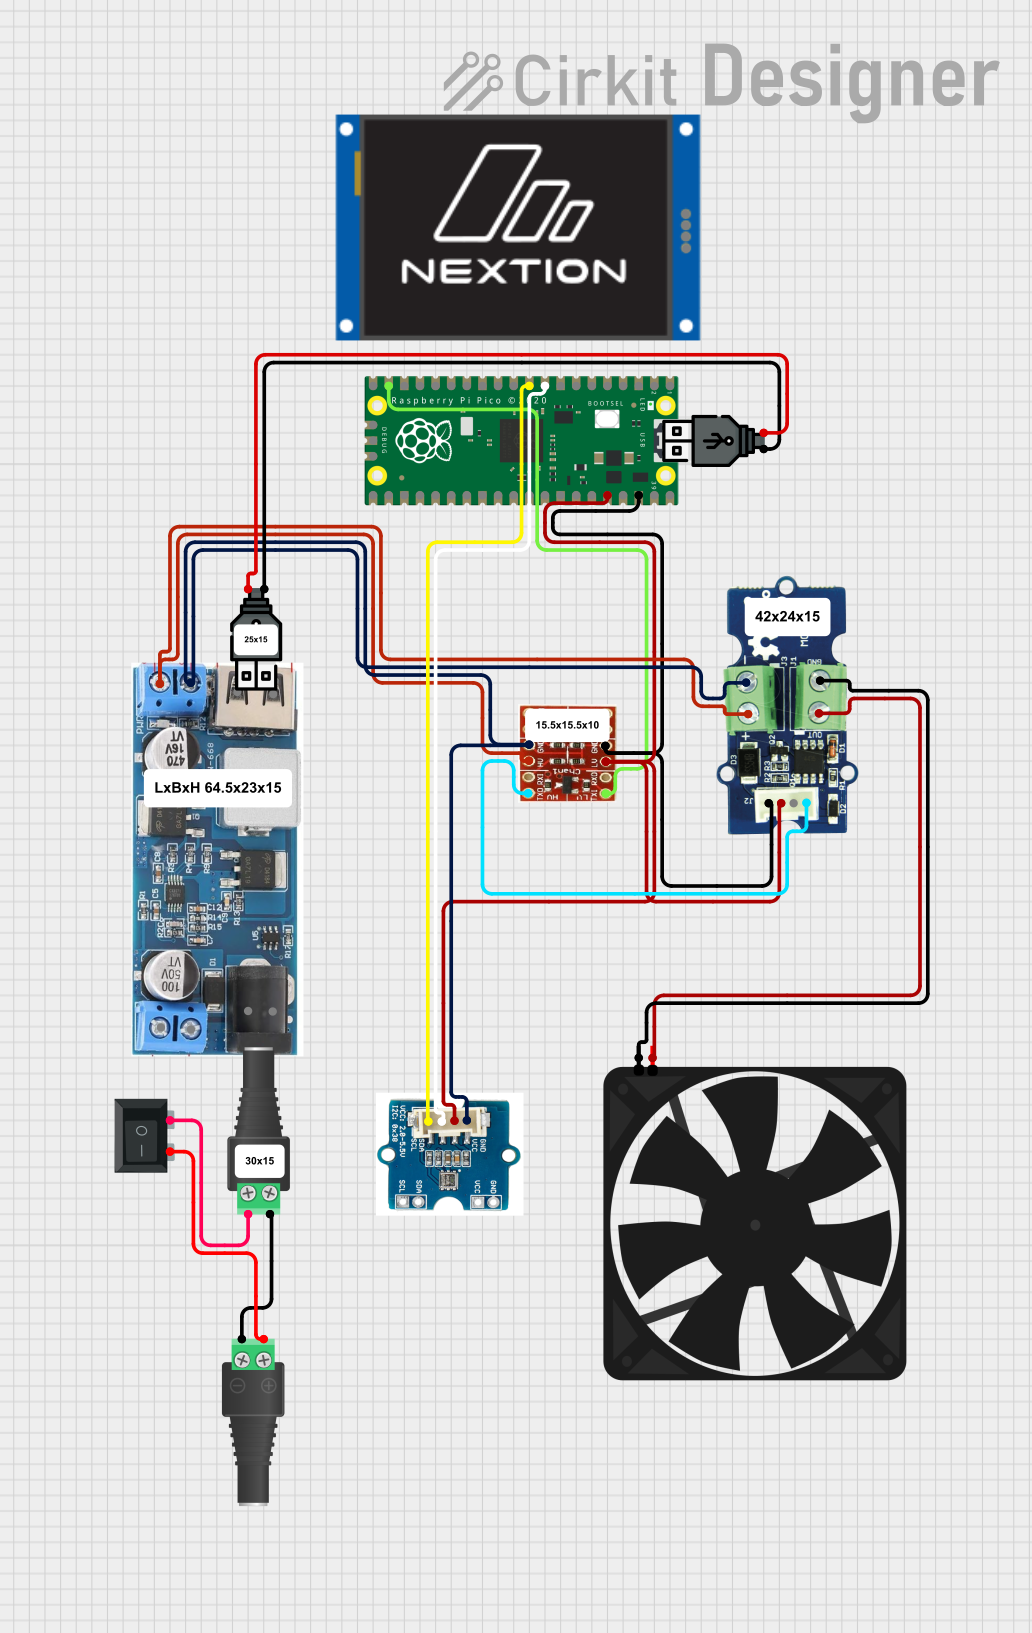 Open Project in Cirkit Designer
 Open Project in Cirkit Designer
Explore Projects Built with Fan 1
Open Project in Cirkit DesignerOpen Project in Cirkit DesignerOpen Project in Cirkit DesignerOpen Project in Cirkit DesignerCommon Applications:
- Cooling electronic components in enclosures or cases
- Ventilating small spaces to maintain airflow
- Heat dissipation in power supplies, amplifiers, and other high-power devices
- General-purpose airflow management in DIY projects
Technical Specifications
Below are the key technical details for Fan 1:
| Parameter | Value |
|---|---|
| Operating Voltage | 5V DC |
| Operating Current | 0.2A |
| Power Consumption | 1W |
| Airflow | 10 CFM (Cubic Feet per Minute) |
| Dimensions | 40mm x 40mm x 10mm |
| Connector Type | 2-pin JST or bare wires |
| Noise Level | 25 dBA |
| Bearing Type | Sleeve Bearing |
| Operating Temperature | -10°C to 70°C |
| Lifespan | 30,000 hours (at 25°C) |
Pin Configuration:
Fan 1 typically comes with a 2-pin connector or bare wires for power input. The pin configuration is as follows:
| Pin/Wire | Color | Description |
|---|---|---|
| Pin 1 | Red | Positive Voltage (VCC) |
| Pin 2 | Black | Ground (GND) |
Usage Instructions
How to Use Fan 1 in a Circuit
- Power Supply: Connect the red wire (VCC) to a 5V DC power source and the black wire (GND) to the ground. Ensure the power supply can provide at least 0.2A of current.
- Mounting: Secure the fan in place using screws or adhesive mounts. Ensure the airflow direction aligns with your cooling or ventilation requirements (usually indicated by arrows on the fan housing).
- Wiring: If using a 2-pin JST connector, plug it into a compatible socket. For bare wires, solder or use a terminal block to connect the wires securely.
- Testing: Power on the circuit and verify that the fan spins smoothly and creates airflow.
Important Considerations:
- Polarity: Ensure correct polarity when connecting the wires. Reversing the polarity may damage the fan.
- Voltage: Do not exceed the rated 5V DC operating voltage, as this can shorten the lifespan or damage the fan.
- Noise: If noise is a concern, consider using vibration-dampening mounts or selecting a fan with a lower dBA rating.
- Airflow Direction: Check the airflow direction (usually marked on the fan housing) to ensure proper cooling.
Example: Controlling Fan 1 with an Arduino UNO
Fan 1 can be controlled using an Arduino UNO and a transistor to switch it on and off. Below is an example circuit and code:
Circuit:
- Connect the red wire of Fan 1 to the collector of an NPN transistor (e.g., 2N2222).
- Connect the black wire of Fan 1 to the ground (GND).
- Connect the emitter of the transistor to GND.
- Connect a 1kΩ resistor between the base of the transistor and a digital pin (e.g., D9) on the Arduino.
- Connect the Arduino GND to the power supply GND.
Code:
// Define the pin connected to the transistor base
const int fanPin = 9;

void setup() {
  pinMode(fanPin, OUTPUT); // Set the fan control pin as an output
}

void loop() {
  digitalWrite(fanPin, HIGH); // Turn the fan ON
  delay(5000);               // Keep the fan ON for 5 seconds
  digitalWrite(fanPin, LOW);  // Turn the fan OFF
  delay(5000);               // Keep the fan OFF for 5 seconds
}
Note: The transistor acts as a switch to control the fan, as the Arduino cannot directly supply the required current.
Troubleshooting and FAQs
Common Issues:
Fan Does Not Spin:
- Cause: Incorrect wiring or insufficient power supply.
- Solution: Verify the wiring connections and ensure the power supply provides 5V DC and at least 0.2A.
Fan Spins Slowly:
- Cause: Voltage drop or insufficient current.
- Solution: Check the power supply voltage and current rating. Ensure no significant voltage drop across the wires.
Excessive Noise:
- Cause: Loose mounting or worn-out bearings.
- Solution: Secure the fan properly and consider replacing it if the bearings are worn.
Fan Overheats:
- Cause: Operating at higher than rated voltage or blocked airflow.
- Solution: Ensure the fan operates at 5V DC and clear any obstructions in the airflow path.
FAQs:
Can I use Fan 1 with a 12V power supply? No, Fan 1 is designed for 5V DC operation. Using a higher voltage may damage the fan.
How do I determine the airflow direction? The airflow direction is typically indicated by arrows on the fan housing. One arrow shows the airflow direction, and the other shows the blade rotation direction.
Can I control the fan speed? Fan 1 does not have built-in speed control. However, you can use a PWM signal with a transistor or a dedicated fan controller to adjust the speed.
What is the lifespan of Fan 1? The fan has an expected lifespan of 30,000 hours under normal operating conditions (25°C).