How to Use Duet 3 6HC: Examples, Pinouts, and Specs

Introduction
The Duet 3 6HC is a high-performance 3D printer controller board manufactured by Duet. Designed for precision, flexibility, and scalability, it is ideal for advanced 3D printing applications. The board features six high-current stepper motor drivers, support for multiple extruders, and advanced connectivity options such as Wi-Fi and Ethernet. Its modular design allows for easy expansion, making it suitable for complex and large-scale 3D printing setups.
Explore Projects Built with Duet 3 6HC
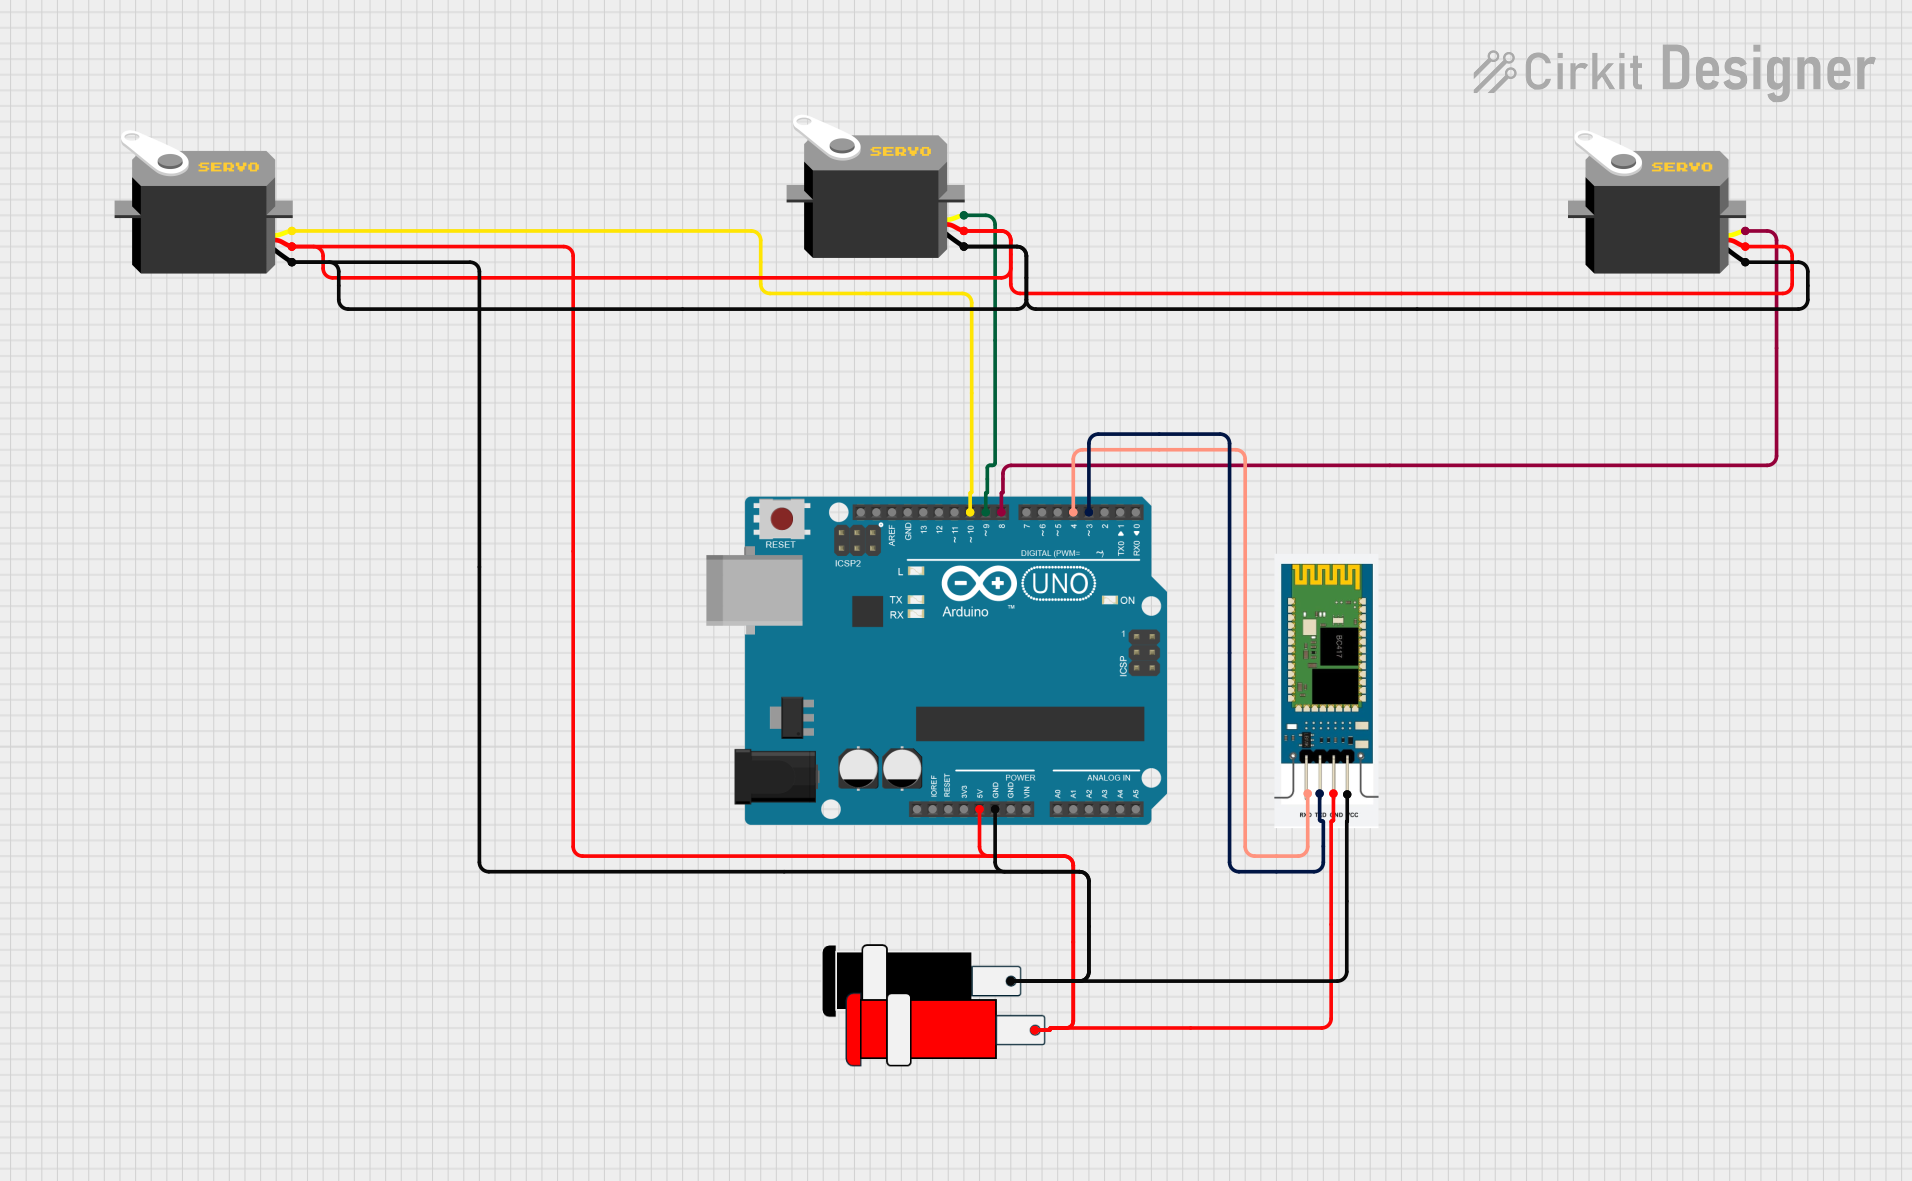


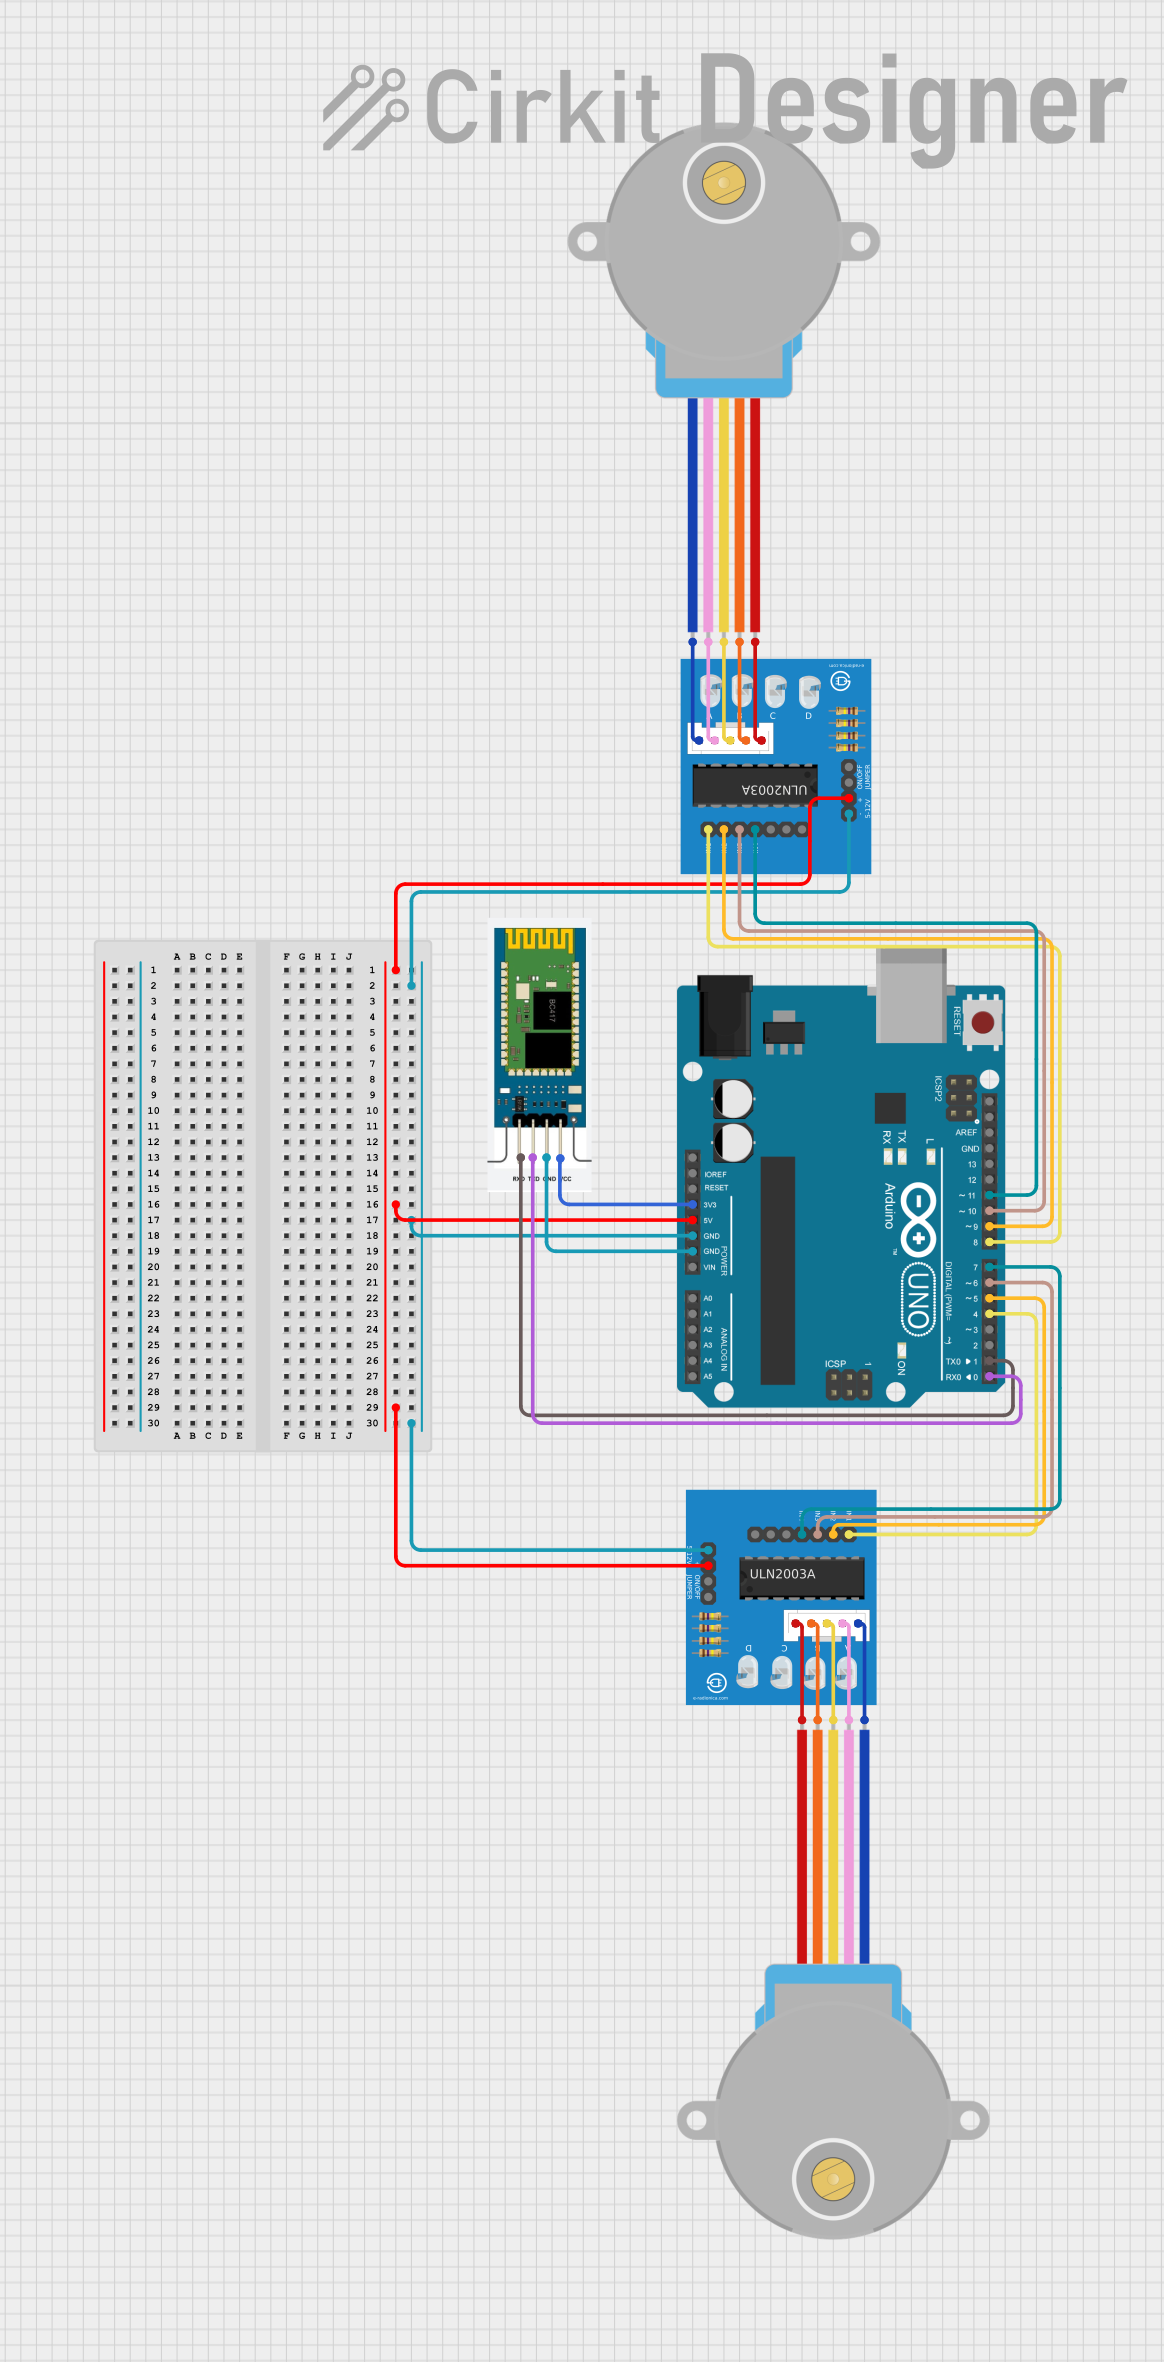
Explore Projects Built with Duet 3 6HC
Common Applications and Use Cases
- High-precision 3D printers with multiple extruders
- CNC machines and laser cutters
- Robotics and automation systems
- Large-format 3D printers requiring high-current stepper drivers
- Research and development projects in additive manufacturing
Technical Specifications
Key Technical Details
| Specification | Value |
|---|---|
| Processor | 32-bit ARM Cortex-M7 running at 300 MHz |
| Stepper Drivers | 6x TMC5160 high-current stepper drivers |
| Input Voltage Range | 12V to 32V DC |
| Maximum Motor Current | Up to 6.3A peak (4.3A RMS) per stepper driver |
| Connectivity Options | Ethernet, Wi-Fi (via optional module), CAN-FD for expansion |
| Supported Firmware | RepRapFirmware |
| Heater Channels | 3 high-power heater channels (up to 18A each) |
| Thermistor/RTD Inputs | 4 thermistor inputs, PT100/PT1000 support |
| Expansion Ports | CAN-FD for connecting Duet 3 expansion boards |
| Dimensions | 160mm x 100mm |
Pin Configuration and Descriptions
Power Input and Motor Connections
| Pin/Port Name | Description |
|---|---|
| VIN (12-32V) | Main power input for the board |
| MOTOR1 - MOTOR6 | Stepper motor connections for six independent drivers |
| HEATER0 - HEATER2 | High-power heater outputs for extruders or heated beds |
Communication and Expansion
| Pin/Port Name | Description |
|---|---|
| Ethernet Port | RJ45 connector for wired network connectivity |
| CAN-FD Ports | Two CAN-FD connectors for expansion boards |
| USB Port | USB Type-B connector for firmware updates and direct PC communication |
Sensor and Peripheral Connections
| Pin/Port Name | Description |
|---|---|
| TEMP0 - TEMP3 | Thermistor inputs for temperature sensing |
| FAN0 - FAN6 | PWM-controlled fan outputs |
| IO_0 - IO_9 | General-purpose I/O pins for endstops, probes, or other peripherals |
Usage Instructions
How to Use the Duet 3 6HC in a Circuit
Powering the Board:
- Connect a 12V to 32V DC power supply to the VIN terminals.
- Ensure the power supply can handle the current requirements of your motors and heaters.
Connecting Stepper Motors:
- Attach stepper motors to the MOTOR1 through MOTOR6 connectors.
- Configure the motor current and steps per mm in the firmware (RepRapFirmware).
Connecting Sensors and Heaters:
- Attach thermistors or PT100/PT1000 sensors to TEMP0 through TEMP3 for temperature monitoring.
- Connect heaters to HEATER0 through HEATER2, ensuring the power rating matches the heater specifications.
Network Configuration:
- For Ethernet: Connect the board to your network using the RJ45 port.
- For Wi-Fi: Install the optional Wi-Fi module and configure it via the Duet Web Control interface.
Firmware Setup:
- Install and configure RepRapFirmware using the Duet Web Control or USB connection.
- Use the
config.gfile to define motor, heater, and sensor parameters.
Expansion:
- Use the CAN-FD ports to connect additional Duet 3 expansion boards for more functionality.
Important Considerations and Best Practices
- Ensure proper cooling for the board, especially when running high-current stepper motors.
- Use appropriately rated wires and connectors for power and heater connections.
- Always double-check wiring to avoid short circuits or damage to the board.
- Update the firmware regularly to benefit from new features and bug fixes.
Example Code for Arduino UNO Integration
While the Duet 3 6HC is a standalone controller, it can communicate with an Arduino UNO via serial or I2C for additional functionality. Below is an example of how to send commands from an Arduino UNO to the Duet 3 6HC over serial:
#include <SoftwareSerial.h>

// Define RX and TX pins for SoftwareSerial
SoftwareSerial duetSerial(10, 11); // RX = pin 10, TX = pin 11

void setup() {
  // Initialize serial communication with the Duet 3 6HC
  duetSerial.begin(115200); // Baud rate for Duet communication
  Serial.begin(9600);       // Serial monitor for debugging

  // Send an initial command to the Duet
  duetSerial.println("M115"); // Request firmware version
}

void loop() {
  // Check if the Duet has sent a response
  if (duetSerial.available()) {
    String response = duetSerial.readStringUntil('\n');
    Serial.println("Duet Response: " + response); // Print response to Serial Monitor
  }

  // Example: Send a command to the Duet every 5 seconds
  static unsigned long lastCommandTime = 0;
  if (millis() - lastCommandTime > 5000) {
    duetSerial.println("M114"); // Request current position
    lastCommandTime = millis();
  }
}
Troubleshooting and FAQs
Common Issues and Solutions
Board Not Powering On:
- Verify the power supply voltage is within the 12V to 32V range.
- Check for loose or incorrect connections at the VIN terminals.
Stepper Motors Not Moving:
- Ensure the motors are connected to the correct MOTOR ports.
- Verify motor current settings in the
config.gfile. - Check for firmware errors in the Duet Web Control interface.
Temperature Readings Are Incorrect:
- Confirm the thermistor type is correctly configured in the firmware.
- Check the wiring of the thermistor or RTD sensor.
Ethernet or Wi-Fi Not Working:
- For Ethernet: Ensure the network cable is securely connected and the network settings are correct.
- For Wi-Fi: Verify the Wi-Fi module is installed and configured properly.
FAQs
Q: Can I use the Duet 3 6HC with a 24V power supply?
A: Yes, the board supports input voltages from 12V to 32V, including 24V.
Q: How do I update the firmware?
A: Firmware updates can be performed via the Duet Web Control interface or by uploading the firmware file through USB.
Q: Can I connect additional stepper drivers?
A: Yes, additional stepper drivers can be connected using Duet 3 expansion boards via the CAN-FD ports.
Q: Is the Duet 3 6HC compatible with Marlin firmware?
A: No, the Duet 3 6HC is designed to run RepRapFirmware exclusively.