How to Use BTS7960 High Current 43A H-Bridge Motor Driver: Examples, Pinouts, and Specs

Introduction
The BTS7960 is a robust and powerful motor driver designed to control DC motors with high current ratings of up to 43A. It features an H-Bridge configuration, enabling bidirectional control of motors, making it ideal for applications such as robotics, automation, electric vehicles, and industrial machinery. With built-in protection features like overcurrent and thermal shutdown, the BTS7960 ensures reliable and safe operation in demanding environments.
Explore Projects Built with BTS7960 High Current 43A H-Bridge Motor Driver
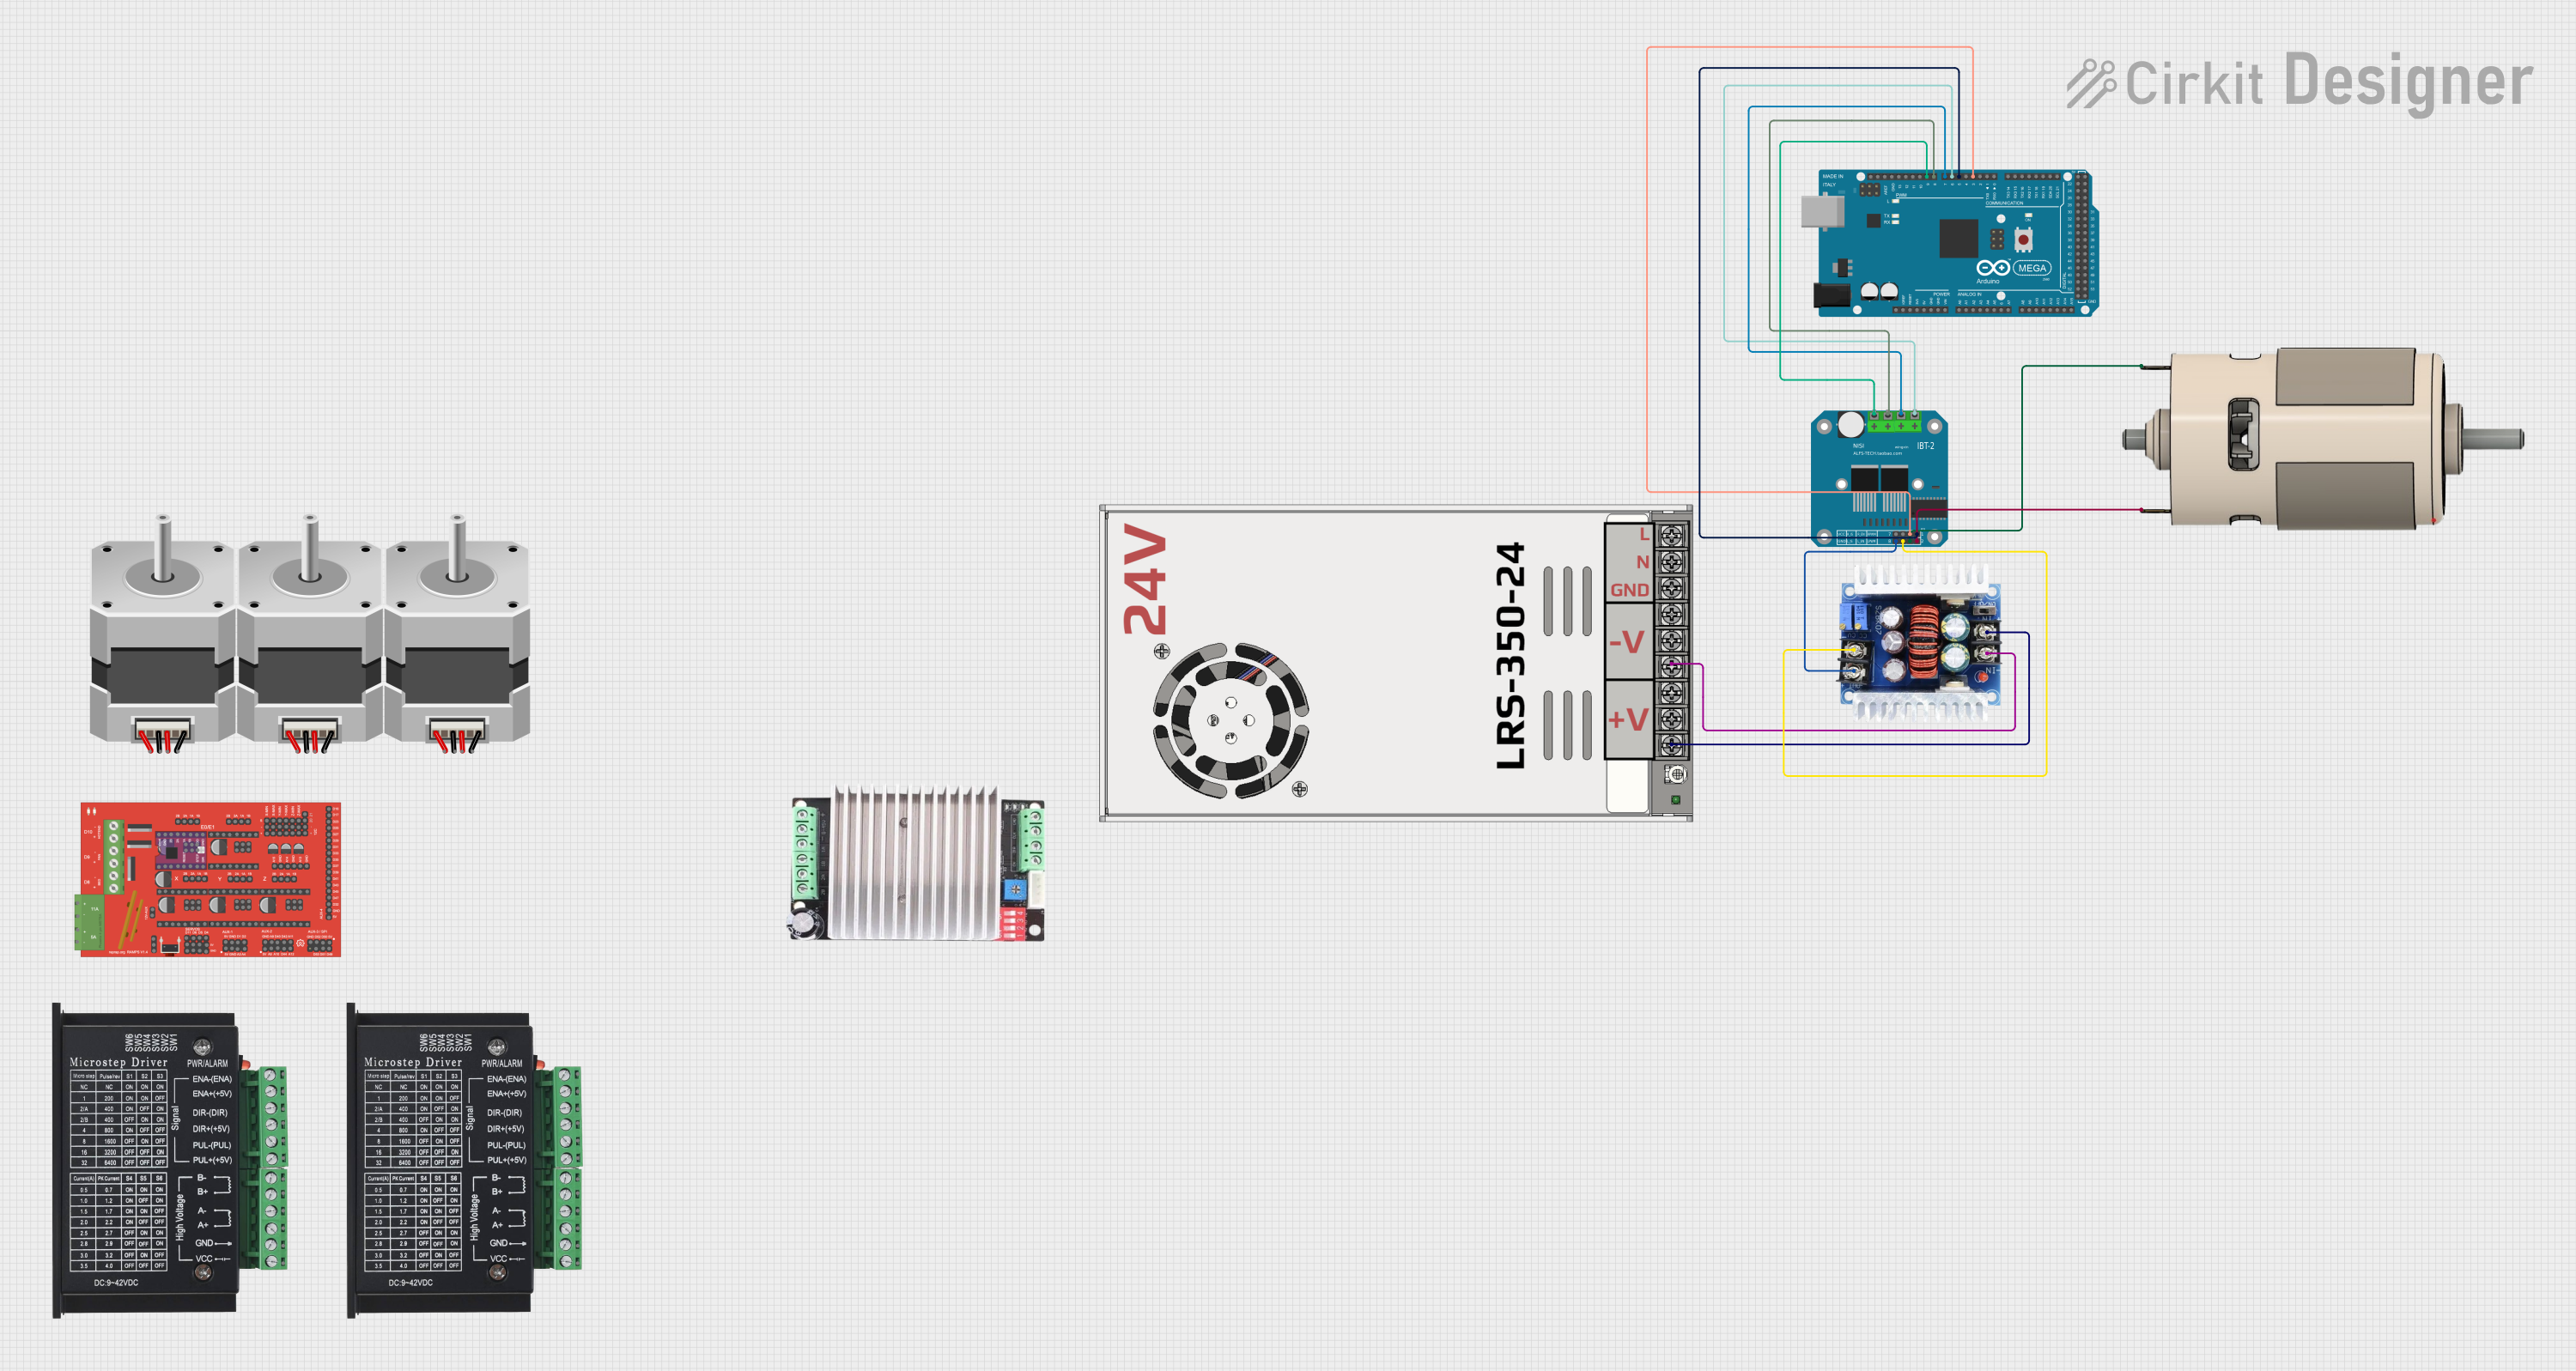
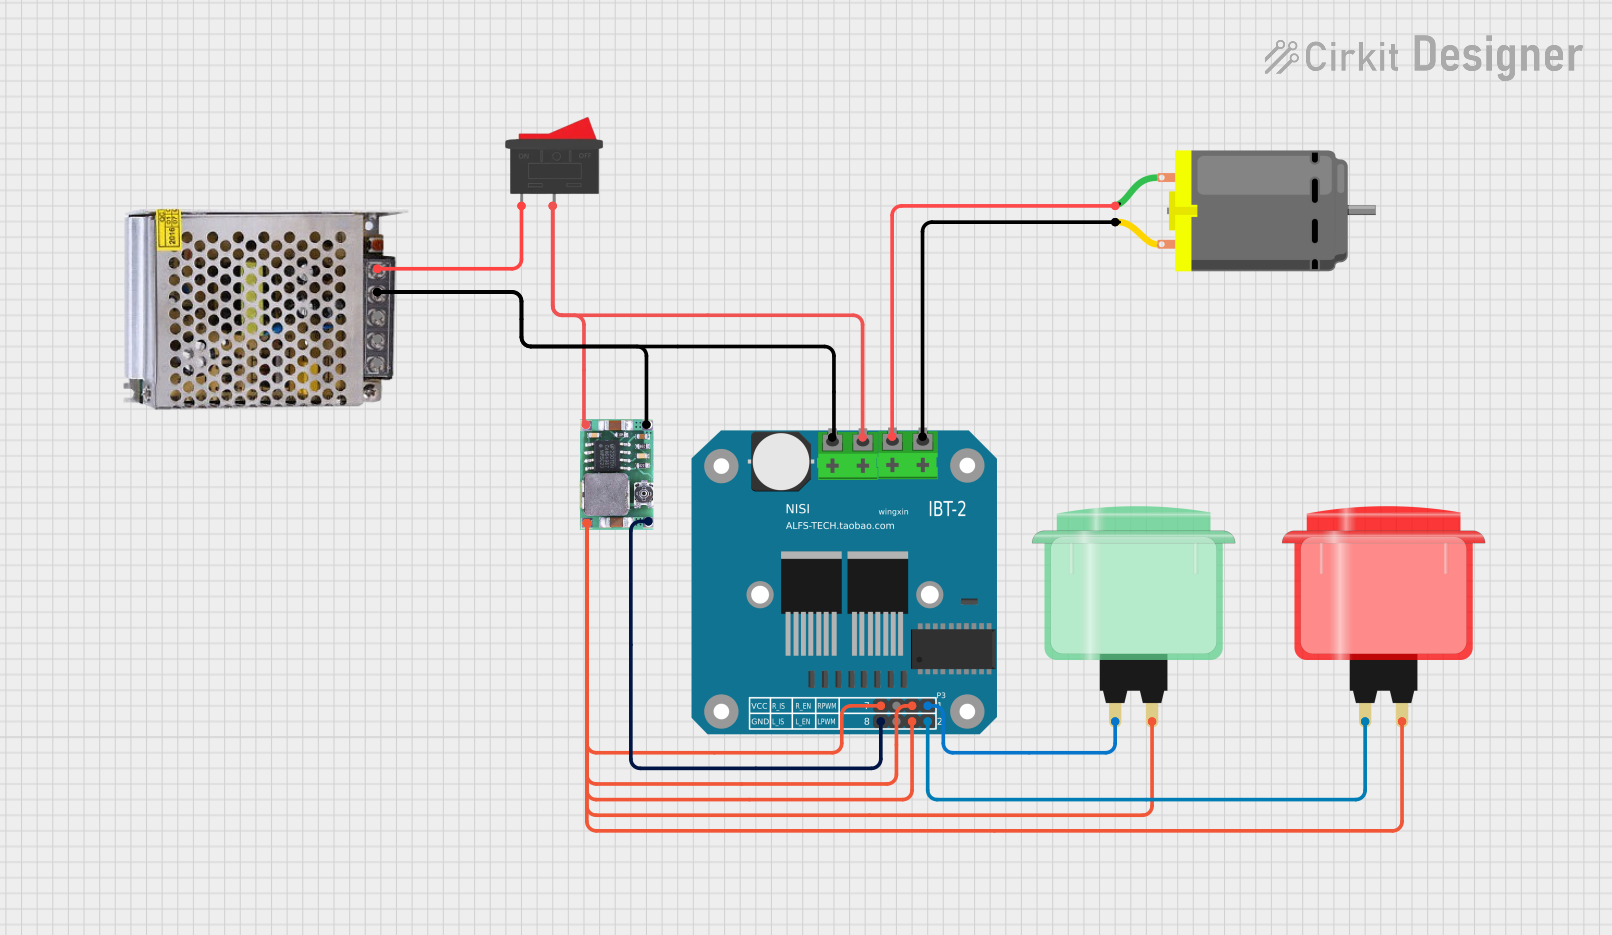
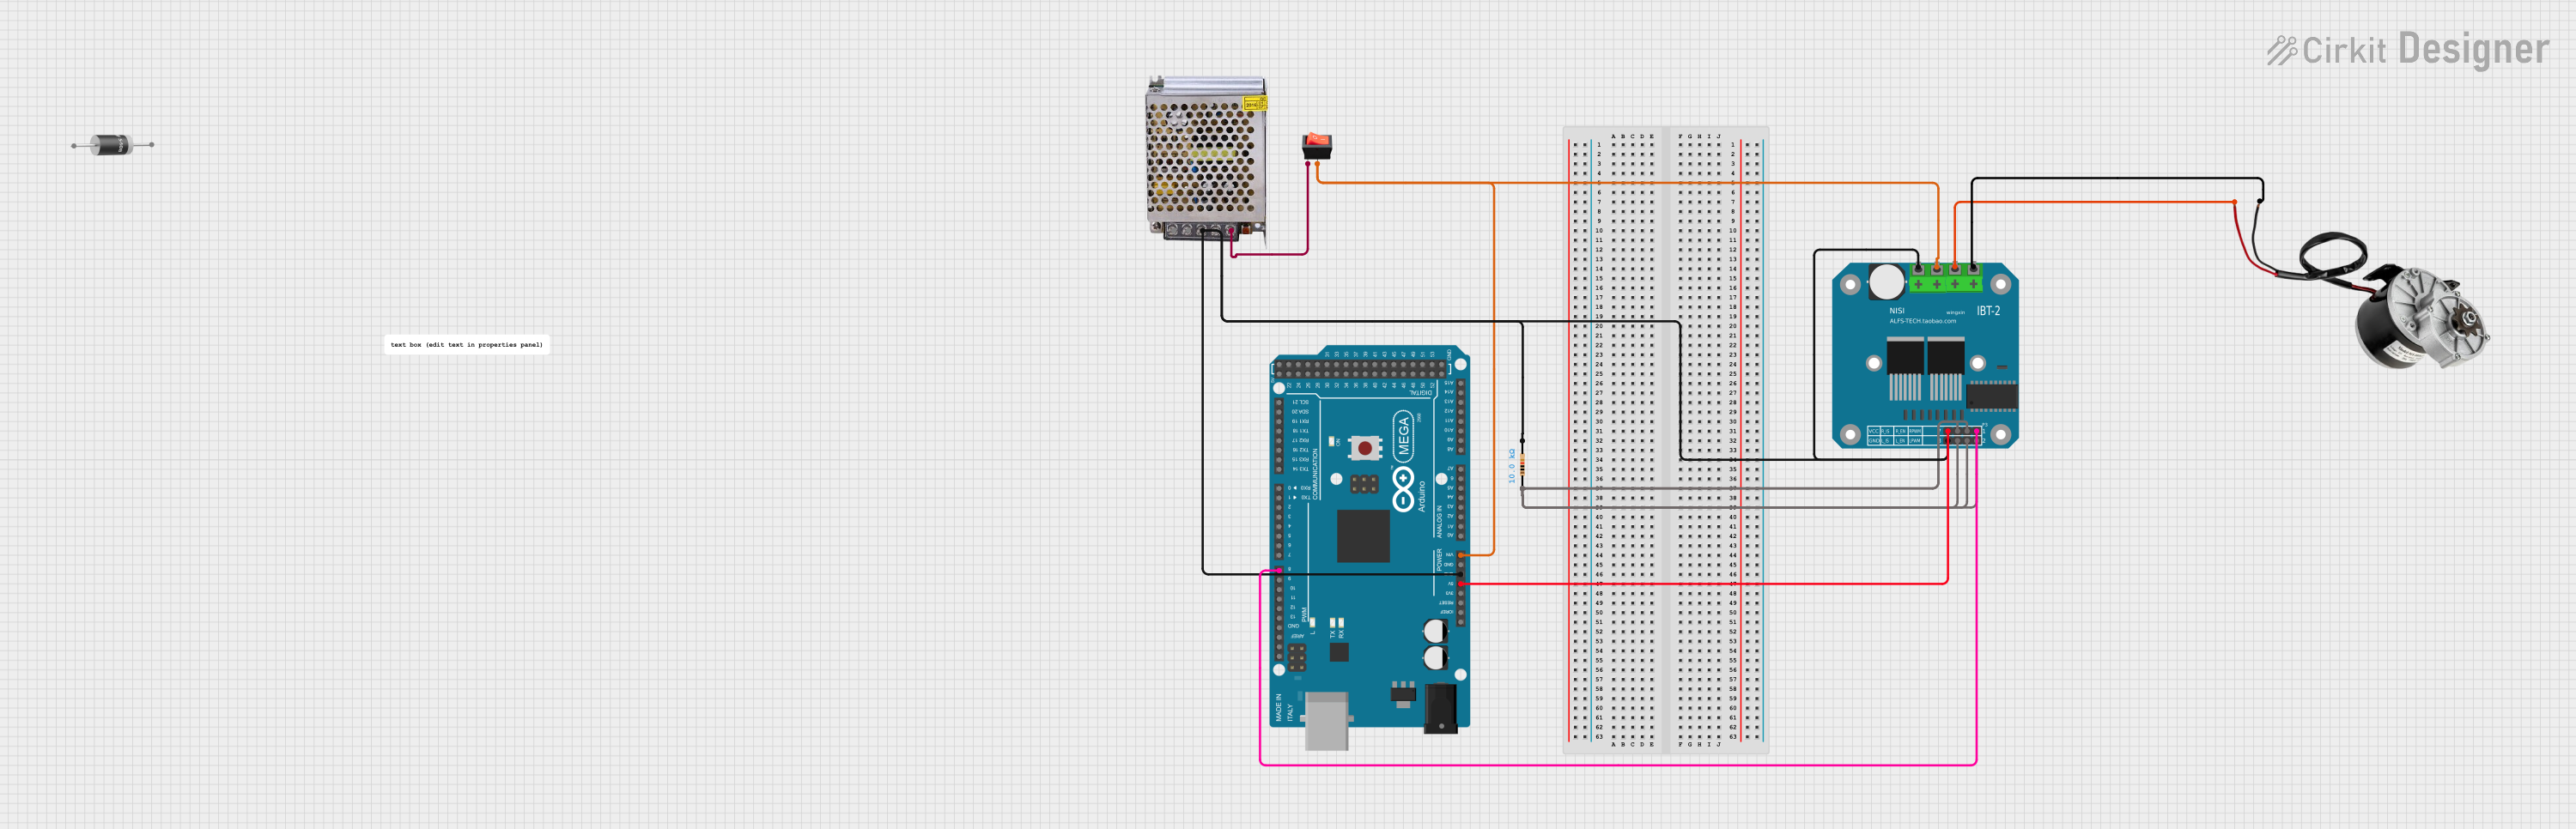
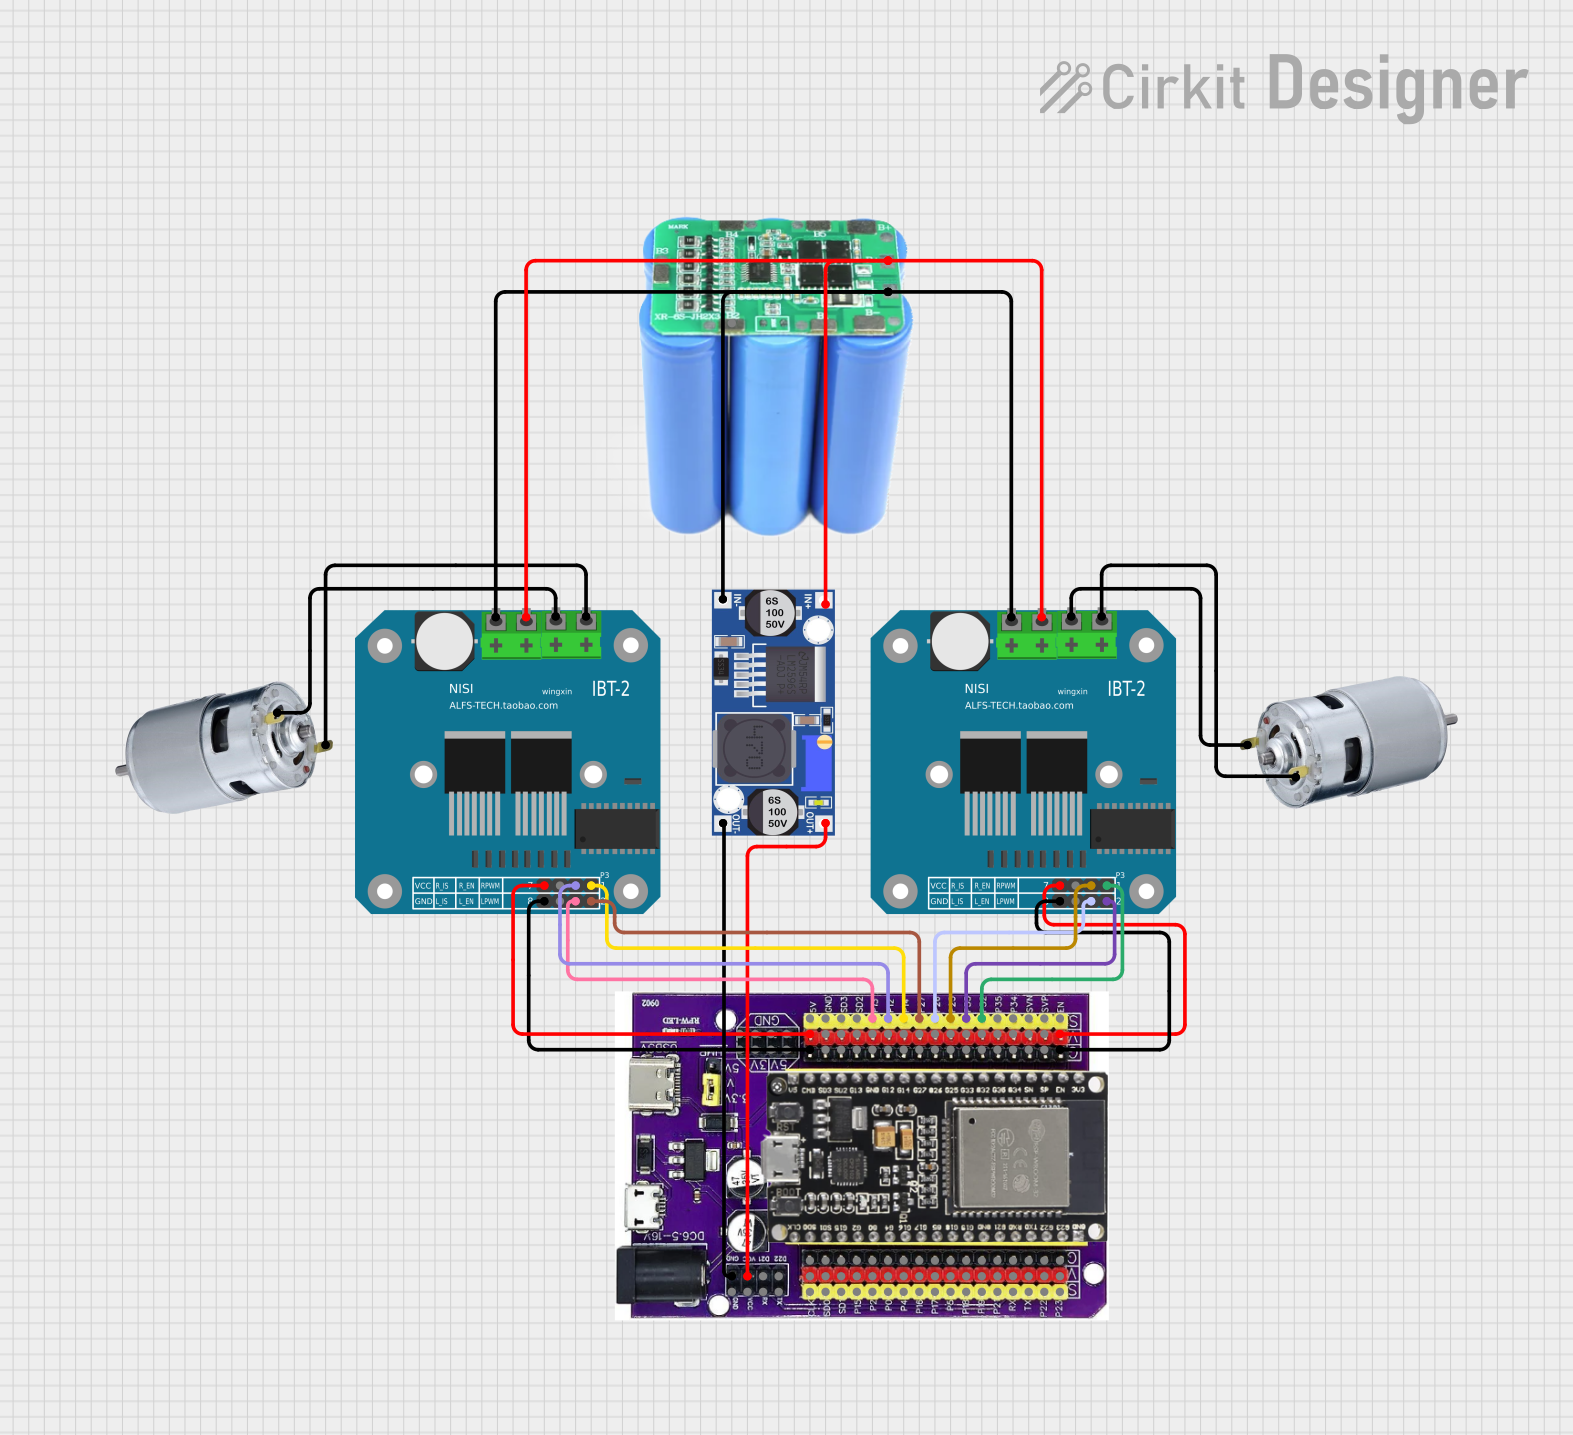
Explore Projects Built with BTS7960 High Current 43A H-Bridge Motor Driver
Common Applications
- Robotics (e.g., controlling wheels or robotic arms)
- Automation systems
- Electric vehicles
- Conveyor belts and industrial machinery
- High-power motor control in DIY projects
Technical Specifications
The BTS7960 motor driver is designed to handle high-power motors with ease. Below are its key technical specifications:
| Parameter | Value |
|---|---|
| Operating Voltage | 5.5V to 27V |
| Maximum Continuous Current | 43A |
| Peak Current | 50A |
| Logic Voltage | 3.3V or 5V (compatible) |
| PWM Frequency | Up to 25kHz |
| Control Inputs | 2 PWM pins, 2 direction pins |
| Overcurrent Protection | Yes |
| Thermal Shutdown | Yes |
| Dimensions | 43mm x 43mm x 28mm |
Pin Configuration and Descriptions
The BTS7960 module has several pins for motor control and power connections. Below is the pinout:
Control Pins
| Pin Name | Description |
|---|---|
| R_EN | Right motor enable (active HIGH) |
| L_EN | Left motor enable (active HIGH) |
| R_PWM | PWM signal for right motor direction |
| L_PWM | PWM signal for left motor direction |
| VCC | Logic voltage input (3.3V or 5V) |
| GND | Ground for logic and power |
Power and Motor Connections
| Pin Name | Description |
|---|---|
| V+ | Motor power supply (5.5V to 27V) |
| GND | Ground for motor power |
| MOTOR+ | Positive terminal of the motor |
| MOTOR- | Negative terminal of the motor |
Usage Instructions
The BTS7960 motor driver is straightforward to use in a circuit. Follow the steps below to integrate it into your project:
Connecting the BTS7960
- Power Supply: Connect the motor power supply to the
V+pin and ground to theGNDpin. Ensure the power supply matches the motor's voltage requirements. - Motor Connections: Connect the motor terminals to the
MOTOR+andMOTOR-pins. - Logic Connections:
- Connect the
VCCpin to the 5V or 3.3V logic supply of your microcontroller. - Connect the
GNDpin to the ground of your microcontroller. - Use the
R_ENandL_ENpins to enable the motor driver. - Use the
R_PWMandL_PWMpins to control the motor's speed and direction via PWM signals.
- Connect the
Example Arduino Code
Below is an example of how to control the BTS7960 with an Arduino UNO:
// Define control pins for the BTS7960
#define R_EN 7    // Right enable pin
#define L_EN 8    // Left enable pin
#define R_PWM 9   // Right PWM pin
#define L_PWM 10  // Left PWM pin

void setup() {
  // Set control pins as outputs
  pinMode(R_EN, OUTPUT);
  pinMode(L_EN, OUTPUT);
  pinMode(R_PWM, OUTPUT);
  pinMode(L_PWM, OUTPUT);

  // Enable the motor driver
  digitalWrite(R_EN, HIGH); // Enable right motor
  digitalWrite(L_EN, HIGH); // Enable left motor
}

void loop() {
  // Example: Rotate motor forward at 50% speed
  analogWrite(R_PWM, 128);  // Set right PWM to 50% duty cycle
  analogWrite(L_PWM, 0);    // Set left PWM to 0 (no reverse)

  delay(2000); // Run motor for 2 seconds

  // Example: Rotate motor backward at 75% speed
  analogWrite(R_PWM, 0);    // Set right PWM to 0 (no forward)
  analogWrite(L_PWM, 192);  // Set left PWM to 75% duty cycle

  delay(2000); // Run motor for 2 seconds
}
Important Considerations
- Heat Dissipation: The BTS7960 can handle high currents, but it may generate heat. Use a heatsink or active cooling for prolonged high-current operation.
- Power Supply: Ensure the motor power supply can provide sufficient current for the motor and driver.
- PWM Frequency: Use a PWM frequency below 25kHz for optimal performance.
- Protection Features: The module includes overcurrent and thermal protection. If the driver shuts down unexpectedly, check for overheating or excessive current draw.
Troubleshooting and FAQs
Common Issues and Solutions
Motor Not Running
- Ensure the
R_ENandL_ENpins are set HIGH to enable the driver. - Verify the motor power supply is connected and providing the correct voltage.
- Ensure the
Motor Running in the Wrong Direction
- Check the polarity of the motor connections (
MOTOR+andMOTOR-). - Verify the PWM signals on the
R_PWMandL_PWMpins.
- Check the polarity of the motor connections (
Driver Overheating
- Ensure proper heat dissipation with a heatsink or fan.
- Check that the motor is not drawing more current than the driver's maximum rating.
No Response from the Driver
- Confirm the
VCCpin is connected to the correct logic voltage (3.3V or 5V). - Verify all ground connections are properly connected.
- Confirm the
FAQs
Q: Can I use the BTS7960 with a 3.3V microcontroller like the ESP32?
A: Yes, the BTS7960 is compatible with both 3.3V and 5V logic levels.
Q: What is the maximum motor voltage the BTS7960 can handle?
A: The BTS7960 can handle motor voltages between 5.5V and 27V.
Q: Can I control two motors with one BTS7960 module?
A: No, the BTS7960 is designed to control a single motor. For dual-motor control, use two modules.
Q: How do I know if the driver is overheating?
A: The BTS7960 has a built-in thermal shutdown feature. If it overheats, it will automatically disable itself until it cools down.
By following this documentation, you can effectively use the BTS7960 motor driver in your projects.