
How to Use Orin Nano: Examples, Pinouts, and Specs
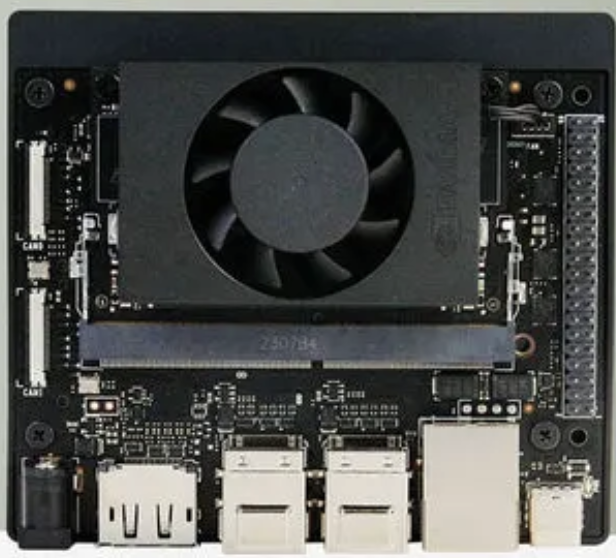
 Design with Orin Nano in Cirkit Designer
Introduction
The NVIDIA Orin Nano is a compact, high-performance computing module designed for AI and robotics applications. It features the NVIDIA Orin system-on-chip (SoC), which integrates multiple processing cores, including ARM Cortex CPUs and NVIDIA GPUs, to deliver exceptional computational power in a small form factor. The Orin Nano is ideal for edge AI applications, enabling advanced machine learning, computer vision, and robotics tasks.
Explore Projects Built with Orin Nano
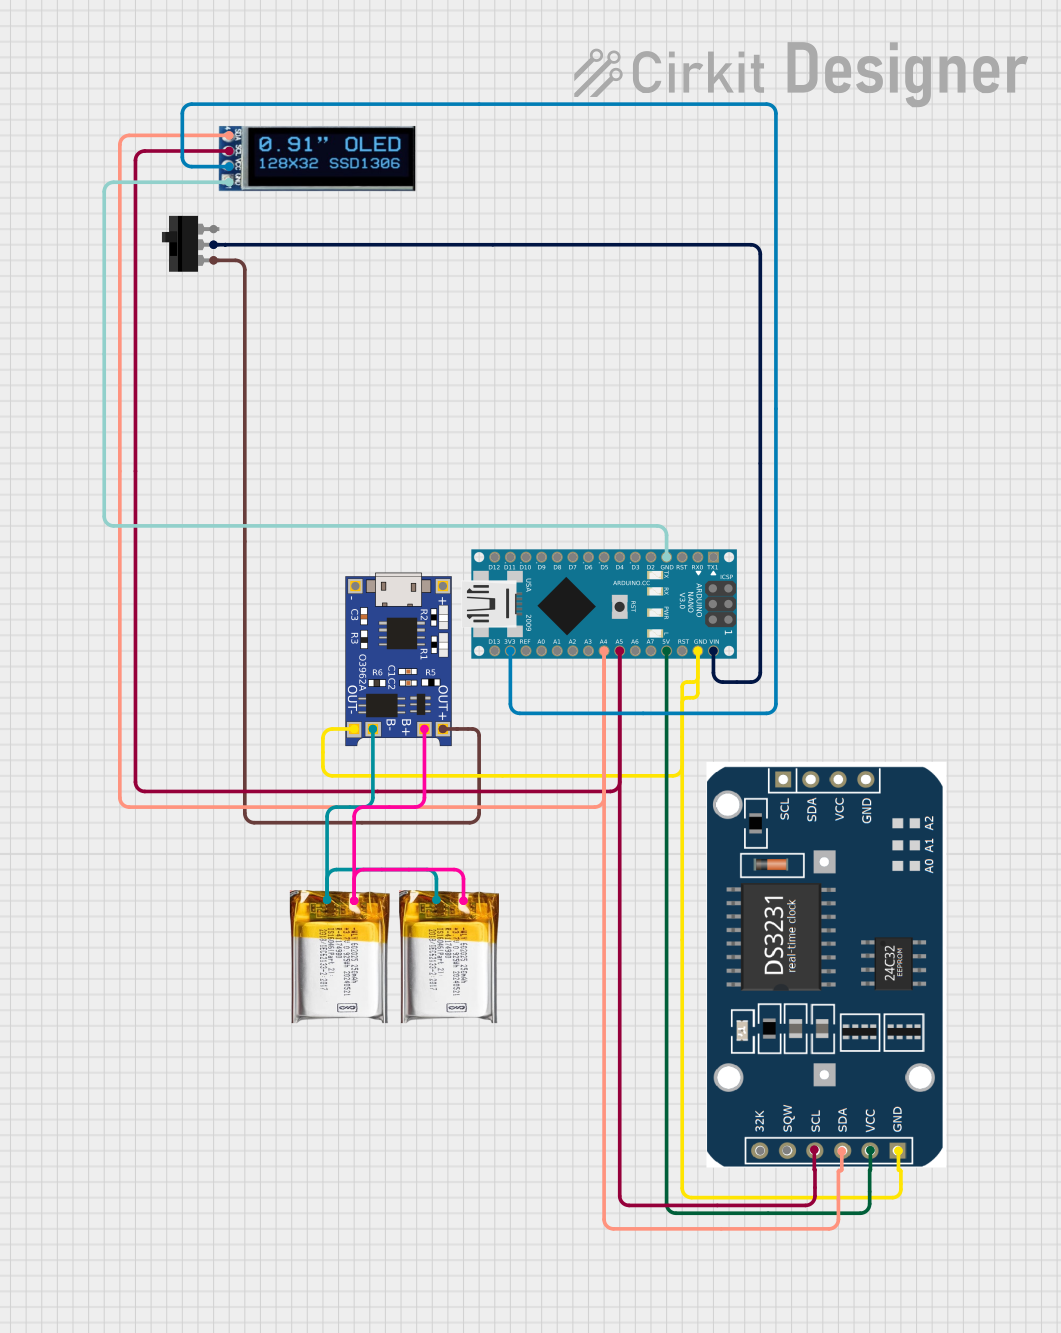 Open Project in Cirkit Designer
 Open Project in Cirkit Designer
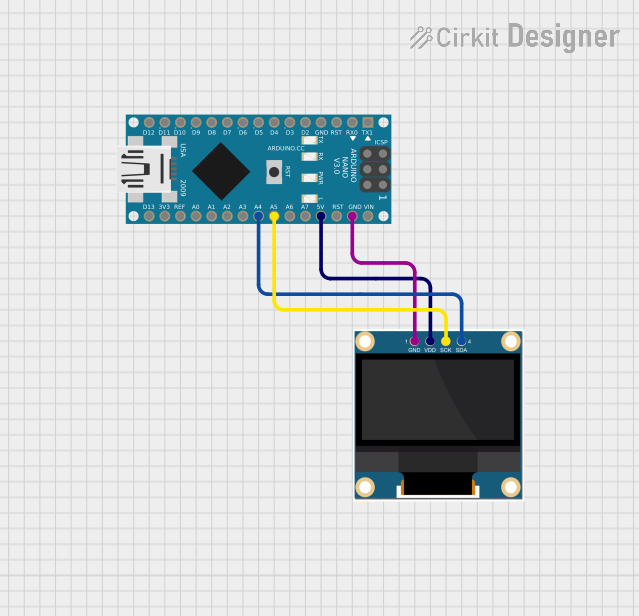 Open Project in Cirkit Designer
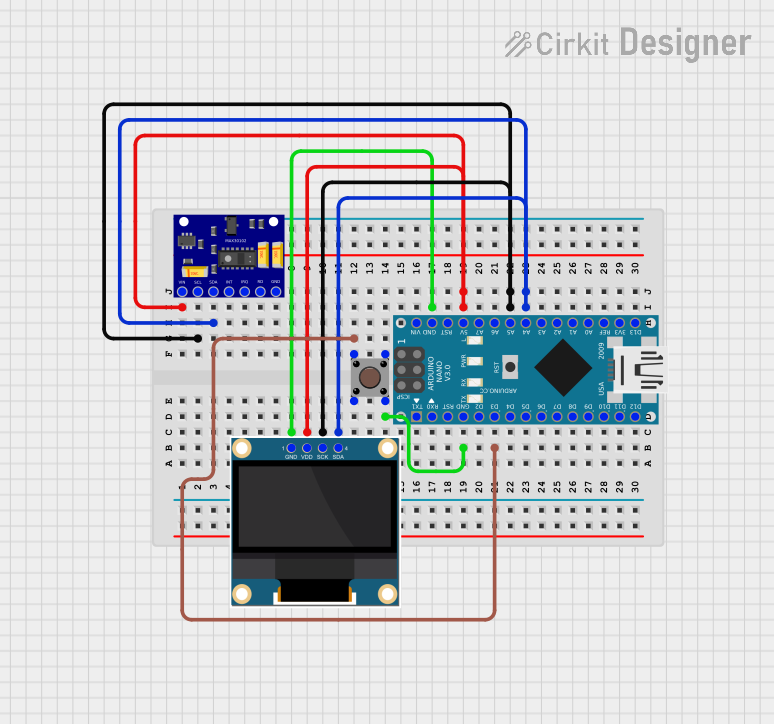 Open Project in Cirkit Designer
Explore Projects Built with Orin Nano
Open Project in Cirkit DesignerOpen Project in Cirkit DesignerOpen Project in Cirkit DesignerOpen Project in Cirkit DesignerCommon Applications and Use Cases
- Autonomous robots and drones
- Smart cameras and video analytics
- Industrial automation and IoT devices
- Natural language processing and speech recognition
- Edge AI for healthcare and retail
Technical Specifications
The Orin Nano is built to deliver high performance while maintaining energy efficiency. Below are its key technical specifications:
Key Technical Details
| Specification | Value |
|---|---|
| Processor | NVIDIA Orin SoC with ARM Cortex CPUs |
| GPU | NVIDIA Ampere architecture GPU with 1024 CUDA cores |
| Memory | 4GB or 8GB LPDDR5 (depending on model) |
| Storage | eMMC 5.1 (16GB) |
| AI Performance | Up to 40 TOPS (Tera Operations Per Second) |
| Power Consumption | Configurable: 7W to 15W |
| Operating Temperature Range | -25°C to 80°C |
| Dimensions | 69.6mm x 45mm |
Pin Configuration and Descriptions
The Orin Nano module uses a 260-pin SO-DIMM connector for interfacing with carrier boards. Below is a summary of key pin groups:
| Pin Group | Description |
|---|---|
| Power Pins | Provides power input to the module (e.g., 5V, 3.3V) |
| GPIO Pins | General-purpose input/output pins for custom interfacing |
| I2C Pins | Communication interface for sensors and peripherals |
| UART Pins | Serial communication interface for debugging and external devices |
| SPI Pins | High-speed communication interface for peripherals |
| USB Pins | USB 3.2 interface for external devices and data transfer |
| Ethernet Pins | Gigabit Ethernet interface for network connectivity |
| Display Pins | Supports HDMI and DisplayPort for video output |
| Camera Pins | MIPI CSI interface for camera modules |
For a detailed pinout diagram, refer to the official NVIDIA Orin Nano datasheet.
Usage Instructions
The Orin Nano is designed to be used with a compatible carrier board, such as the NVIDIA Jetson Orin Nano Developer Kit. Below are the steps to get started:
Step 1: Hardware Setup
- Mount the Orin Nano Module: Insert the Orin Nano module into the SO-DIMM slot on the carrier board.
- Connect Peripherals: Attach peripherals such as a keyboard, mouse, monitor, and power supply.
- Insert Storage: If additional storage is required, connect an external SSD or microSD card.
- Connect Network: Use the Ethernet port or a USB Wi-Fi adapter for internet connectivity.
Step 2: Software Setup
- Download JetPack SDK: Visit the NVIDIA website and download the JetPack SDK, which includes the necessary drivers, libraries, and tools for the Orin Nano.
- Flash the Module: Use the NVIDIA SDK Manager to flash the JetPack image onto the Orin Nano module.
- Boot the System: Power on the module and follow the on-screen instructions to complete the setup.
Step 3: Running AI Applications
The Orin Nano supports popular AI frameworks such as TensorFlow, PyTorch, and ONNX. Below is an example of running a simple object detection model using TensorFlow:
Import necessary libraries
import tensorflow as tf import numpy as np
Load a pre-trained object detection model
model = tf.saved_model.load("ssd_mobilenet_v2")
Load an image for inference
image = tf.io.read_file("image.jpg") image = tf.image.decode_jpeg(image) image = tf.image.resize(image, (300, 300)) image = tf.expand_dims(image, axis=0)
Perform inference
detections = model(image)
Print detection results
print("Detections:", detections)
Important Considerations and Best Practices
- Power Supply: Ensure the power supply meets the module's requirements (7W to 15W).
- Cooling: Use an appropriate heatsink or fan to maintain optimal operating temperatures.
- Software Updates: Regularly update the JetPack SDK to access the latest features and security patches.
- Peripheral Compatibility: Verify that connected peripherals are compatible with the Orin Nano.
Troubleshooting and FAQs
Common Issues and Solutions
Issue: The module does not boot.
- Solution: Check the power supply and ensure the module is properly seated in the SO-DIMM slot.
Issue: Peripherals are not detected.
- Solution: Verify that the peripherals are compatible and connected to the correct ports.
Issue: Overheating during operation.
- Solution: Install a heatsink or fan and ensure proper airflow around the module.
Issue: Poor AI performance.
- Solution: Optimize the AI model using NVIDIA TensorRT for better performance on the Orin Nano.
FAQs
Q: Can the Orin Nano run multiple AI models simultaneously?
A: Yes, the Orin Nano's powerful GPU and multi-core CPU allow it to run multiple AI models concurrently, depending on the workload and available resources.
Q: What operating systems are supported?
A: The Orin Nano supports Linux-based operating systems, including NVIDIA's custom Ubuntu-based OS provided with the JetPack SDK.
Q: Can I use the Orin Nano for real-time applications?
A: Yes, the Orin Nano is suitable for real-time applications, especially when paired with optimized software and low-latency peripherals.
Q: Is the Orin Nano compatible with Arduino?
A: While the Orin Nano is not directly compatible with Arduino, it can communicate with Arduino boards via UART, I2C, or SPI interfaces.
For additional support, refer to the official NVIDIA documentation and community forums.