How to Use JAKON JK76: Examples, Pinouts, and Specs
Introduction
The JAKON JK76 is a versatile electronic component designed for signal processing and control applications. Manufactured by Jakon, this component is known for its robust performance, reliability, and adaptability, making it a popular choice in both industrial and consumer electronics. Its compact design and wide range of functionalities allow it to be integrated into various systems, including automation, audio processing, and embedded control.
Explore Projects Built with JAKON JK76


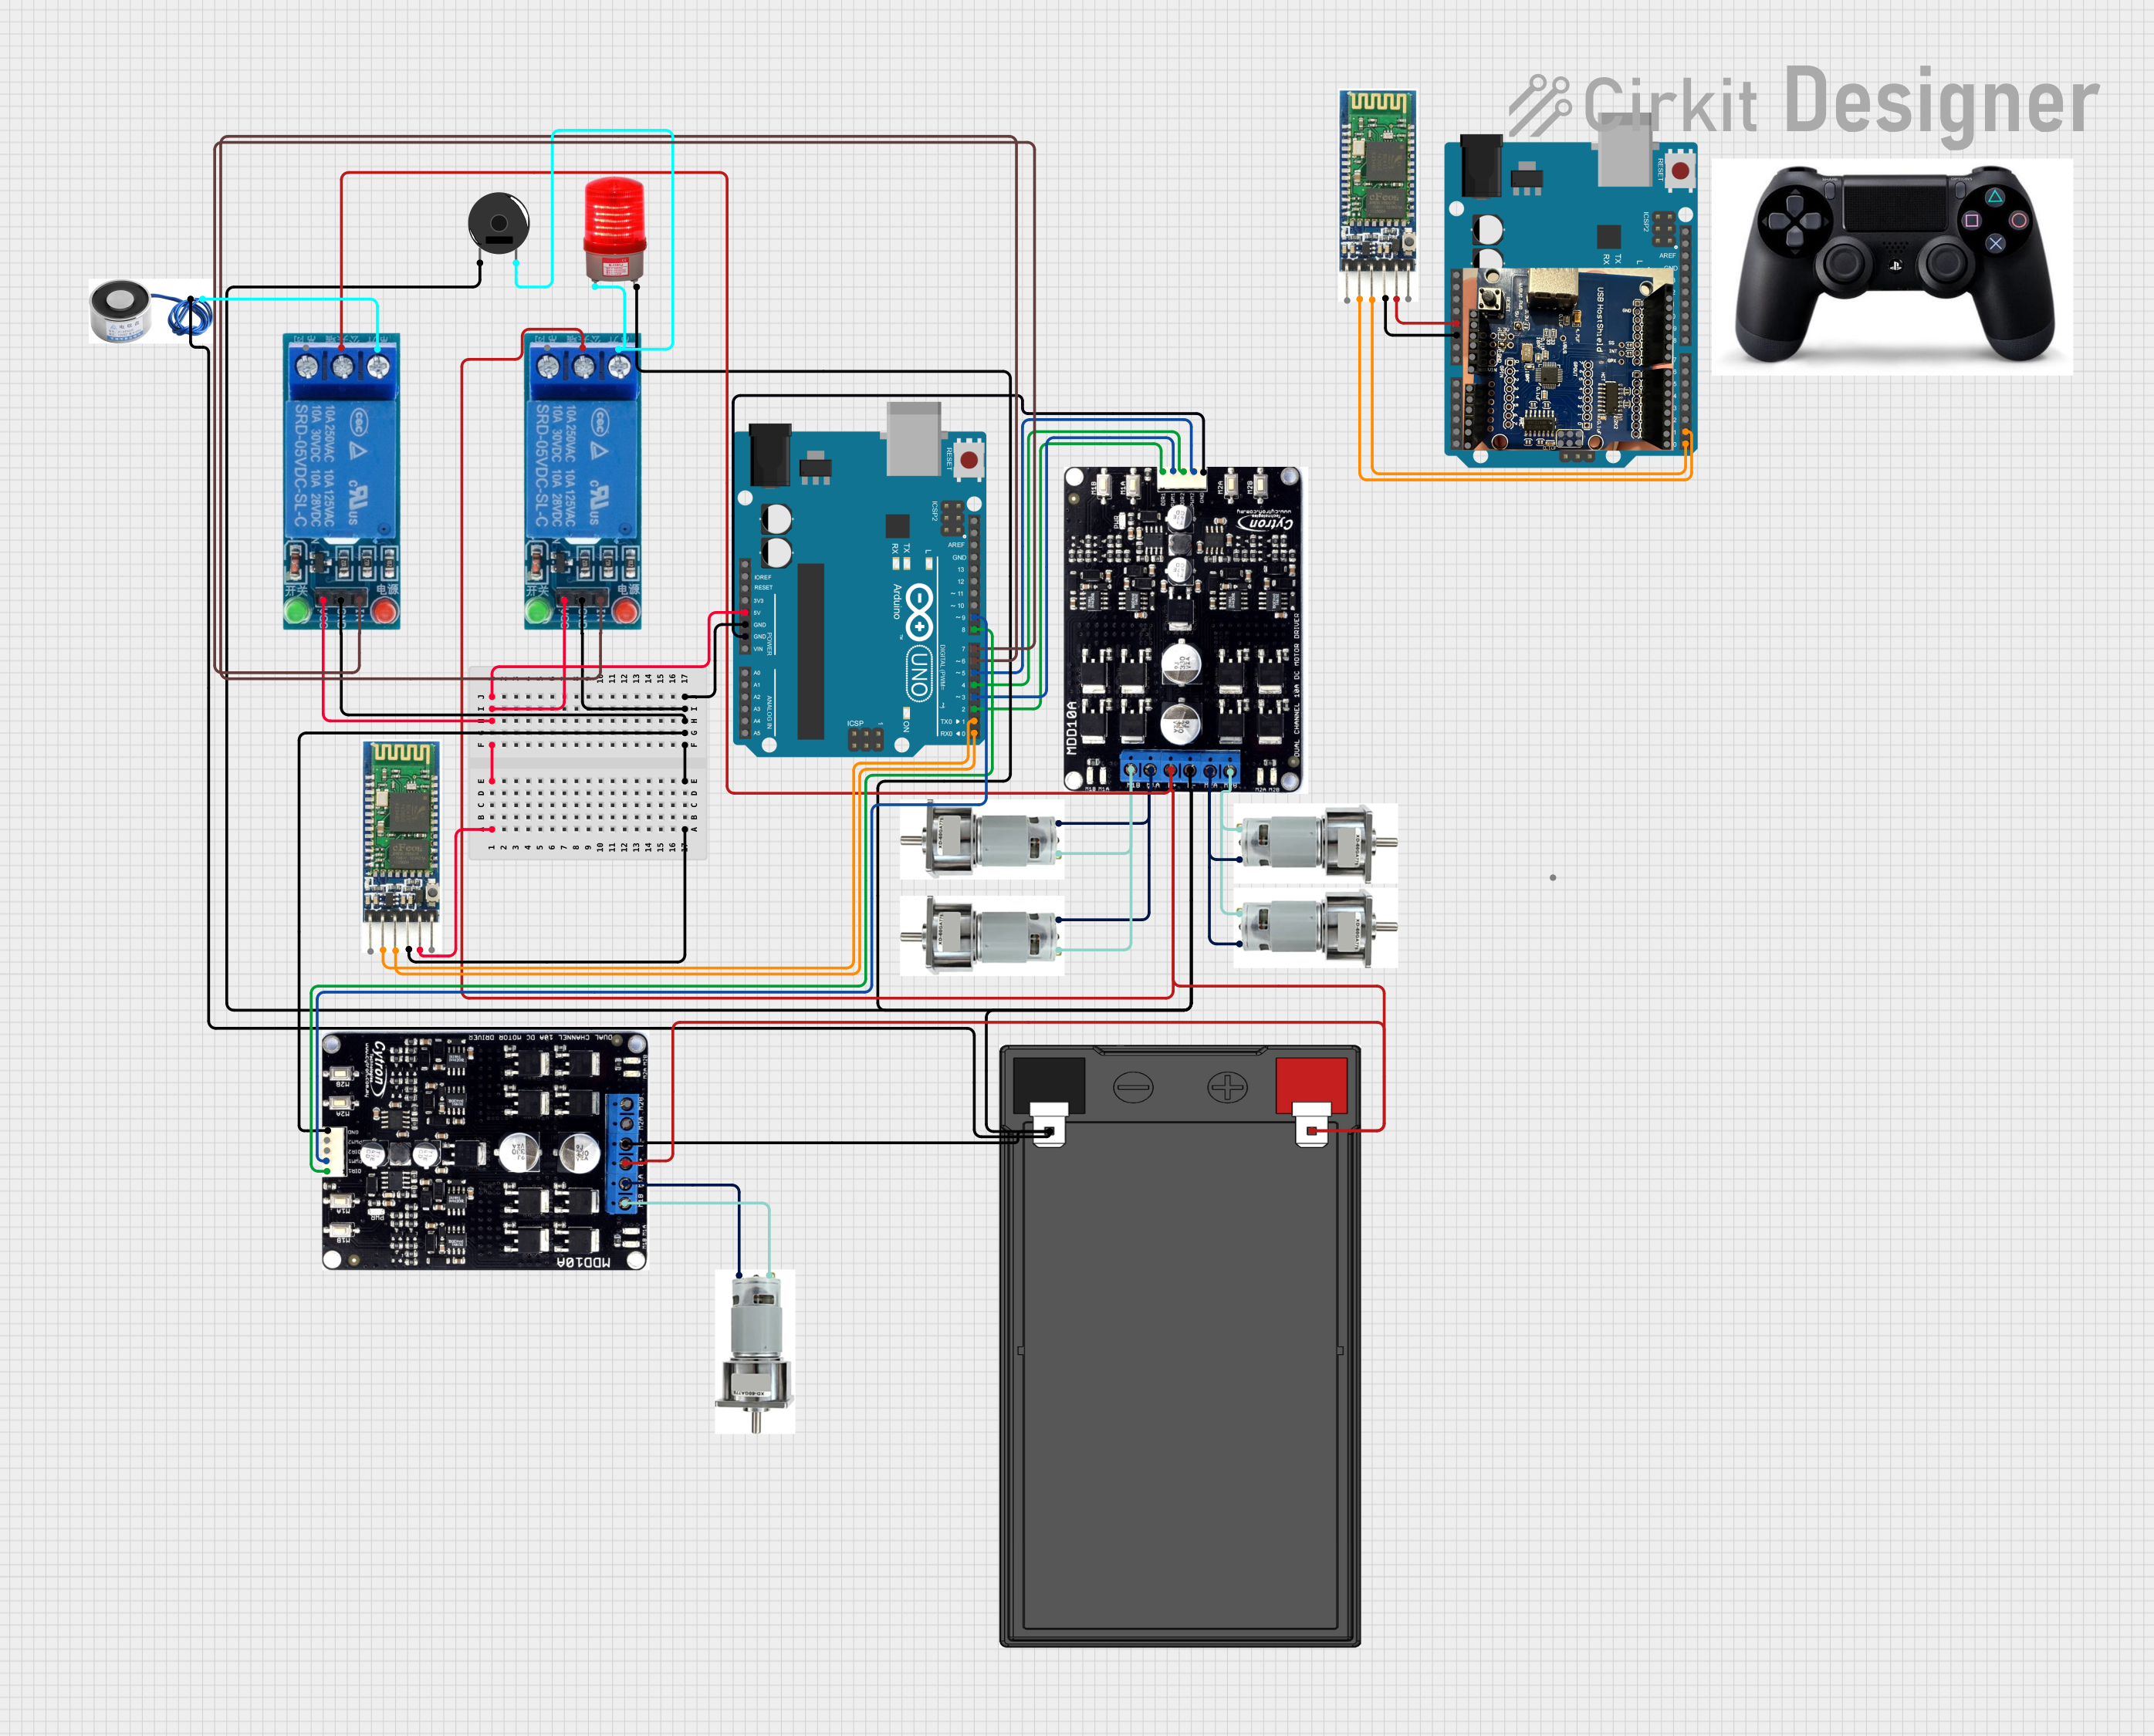
Explore Projects Built with JAKON JK76
Common Applications and Use Cases
- Signal amplification and conditioning
- Industrial automation systems
- Audio signal processing
- Embedded control systems
- Consumer electronics, such as home appliances and smart devices
Technical Specifications
The JAKON JK76 is engineered to deliver consistent performance under a variety of operating conditions. Below are its key technical specifications:
General Specifications
| Parameter | Value |
|---|---|
| Manufacturer | Jakon |
| Part ID | JK76 |
| Operating Voltage Range | 3.3V to 12V |
| Maximum Current Rating | 500mA |
| Power Dissipation | 1.5W |
| Operating Temperature | -40°C to +85°C |
| Package Type | 8-pin Dual In-line Package (DIP) |
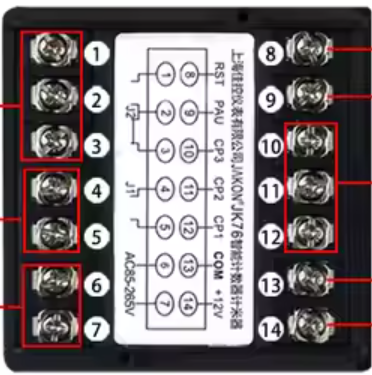
Pin Configuration and Descriptions
The JAKON JK76 features an 8-pin configuration. Below is the pinout and description:
| Pin Number | Pin Name | Description |
|---|---|---|
| 1 | VCC | Power supply input (3.3V to 12V) |
| 2 | IN1 | Input signal 1 for processing |
| 3 | IN2 | Input signal 2 for processing |
| 4 | GND | Ground connection |
| 5 | OUT1 | Output signal 1 |
| 6 | OUT2 | Output signal 2 |
| 7 | ENABLE | Enable pin to activate the component |
| 8 | NC | No connection (leave unconnected or grounded) |
Usage Instructions
The JAKON JK76 is straightforward to use in a variety of circuits. Below are the steps and best practices for integrating it into your design:
How to Use the Component in a Circuit
- Power Supply: Connect the VCC pin (Pin 1) to a stable power source within the operating voltage range (3.3V to 12V). Connect the GND pin (Pin 4) to the ground of the circuit.
- Input Signals: Feed the input signals to the IN1 (Pin 2) and IN2 (Pin 3) pins. Ensure the input signals are within the acceptable voltage range to avoid damage.
- Output Signals: The processed signals will be available at OUT1 (Pin 5) and OUT2 (Pin 6). Connect these pins to the desired load or next stage of the circuit.
- Enable Functionality: Use the ENABLE pin (Pin 7) to activate the component. Pull this pin high to enable the JK76 or low to disable it.
- Unused Pins: Leave the NC pin (Pin 8) unconnected or connect it to ground.
Important Considerations and Best Practices
- Decoupling Capacitors: Place a 0.1µF ceramic capacitor close to the VCC pin to filter out noise and ensure stable operation.
- Signal Integrity: Use shielded cables or proper PCB layout techniques to minimize noise interference on the input and output signals.
- Thermal Management: Ensure adequate ventilation or heat sinking if the component operates near its maximum power dissipation (1.5W).
- Avoid Overvoltage: Do not exceed the maximum voltage or current ratings to prevent permanent damage.
Example: Using JAKON JK76 with Arduino UNO
The JAKON JK76 can be easily interfaced with an Arduino UNO for signal processing tasks. Below is an example code snippet:
// Example: Using JAKON JK76 with Arduino UNO
// This code demonstrates how to enable the JK76 and process input signals.

// Define pin connections
const int enablePin = 7;  // Arduino pin connected to JK76 ENABLE pin
const int inputPin1 = A0; // Arduino analog pin connected to JK76 IN1
const int inputPin2 = A1; // Arduino analog pin connected to JK76 IN2
const int outputPin1 = 9; // Arduino PWM pin connected to JK76 OUT1
const int outputPin2 = 10; // Arduino PWM pin connected to JK76 OUT2

void setup() {
  pinMode(enablePin, OUTPUT); // Set ENABLE pin as output
  pinMode(outputPin1, OUTPUT); // Set OUT1 as output
  pinMode(outputPin2, OUTPUT); // Set OUT2 as output

  digitalWrite(enablePin, HIGH); // Enable the JK76
}

void loop() {
  // Read input signals from IN1 and IN2
  int signal1 = analogRead(inputPin1); // Read signal from IN1
  int signal2 = analogRead(inputPin2); // Read signal from IN2

  // Process and output signals
  analogWrite(outputPin1, signal1 / 4); // Output processed signal to OUT1
  analogWrite(outputPin2, signal2 / 4); // Output processed signal to OUT2

  delay(10); // Small delay for stability
}
Troubleshooting and FAQs
Common Issues and Solutions
Component Not Powering On
- Cause: Incorrect power supply voltage or loose connections.
- Solution: Verify that the VCC pin is receiving a stable voltage within the 3.3V to 12V range. Check all connections.
No Output Signal
- Cause: ENABLE pin not activated or input signals not connected.
- Solution: Ensure the ENABLE pin is pulled high. Verify that the input signals are properly connected and within the acceptable range.
Overheating
- Cause: Exceeding the maximum power dissipation or poor ventilation.
- Solution: Reduce the load on the output pins or improve thermal management with heat sinks or better airflow.
Noise in Output Signals
- Cause: Poor grounding or lack of decoupling capacitors.
- Solution: Add a 0.1µF ceramic capacitor near the VCC pin and ensure proper grounding.
FAQs
Q1: Can the JAKON JK76 handle AC input signals?
A1: Yes, the JK76 can process AC signals, but ensure the input voltage levels remain within the specified range.
Q2: What happens if the ENABLE pin is left floating?
A2: If the ENABLE pin is left floating, the component may behave unpredictably. Always pull it high or low as required.
Q3: Can I use the JK76 with a 5V power supply?
A3: Yes, the JK76 operates within a voltage range of 3.3V to 12V, so a 5V supply is suitable.
Q4: Is the JK76 suitable for high-frequency signal processing?
A4: The JK76 is optimized for general-purpose signal processing. For high-frequency applications, consult the manufacturer for additional details.