How to Use Adafruit LED Sequin - Ruby Red: Examples, Pinouts, and Specs

Introduction
The Adafruit LED Sequin - Ruby Red is a compact, luminous LED designed to add eye-catching visual indicators to various projects. With its vibrant red glow, it is particularly popular in wearable electronics and decorative applications. The LED Sequin is easy to sew onto fabric or attach to other materials, making it versatile for hobbyists and designers alike.
Explore Projects Built with Adafruit LED Sequin - Ruby Red
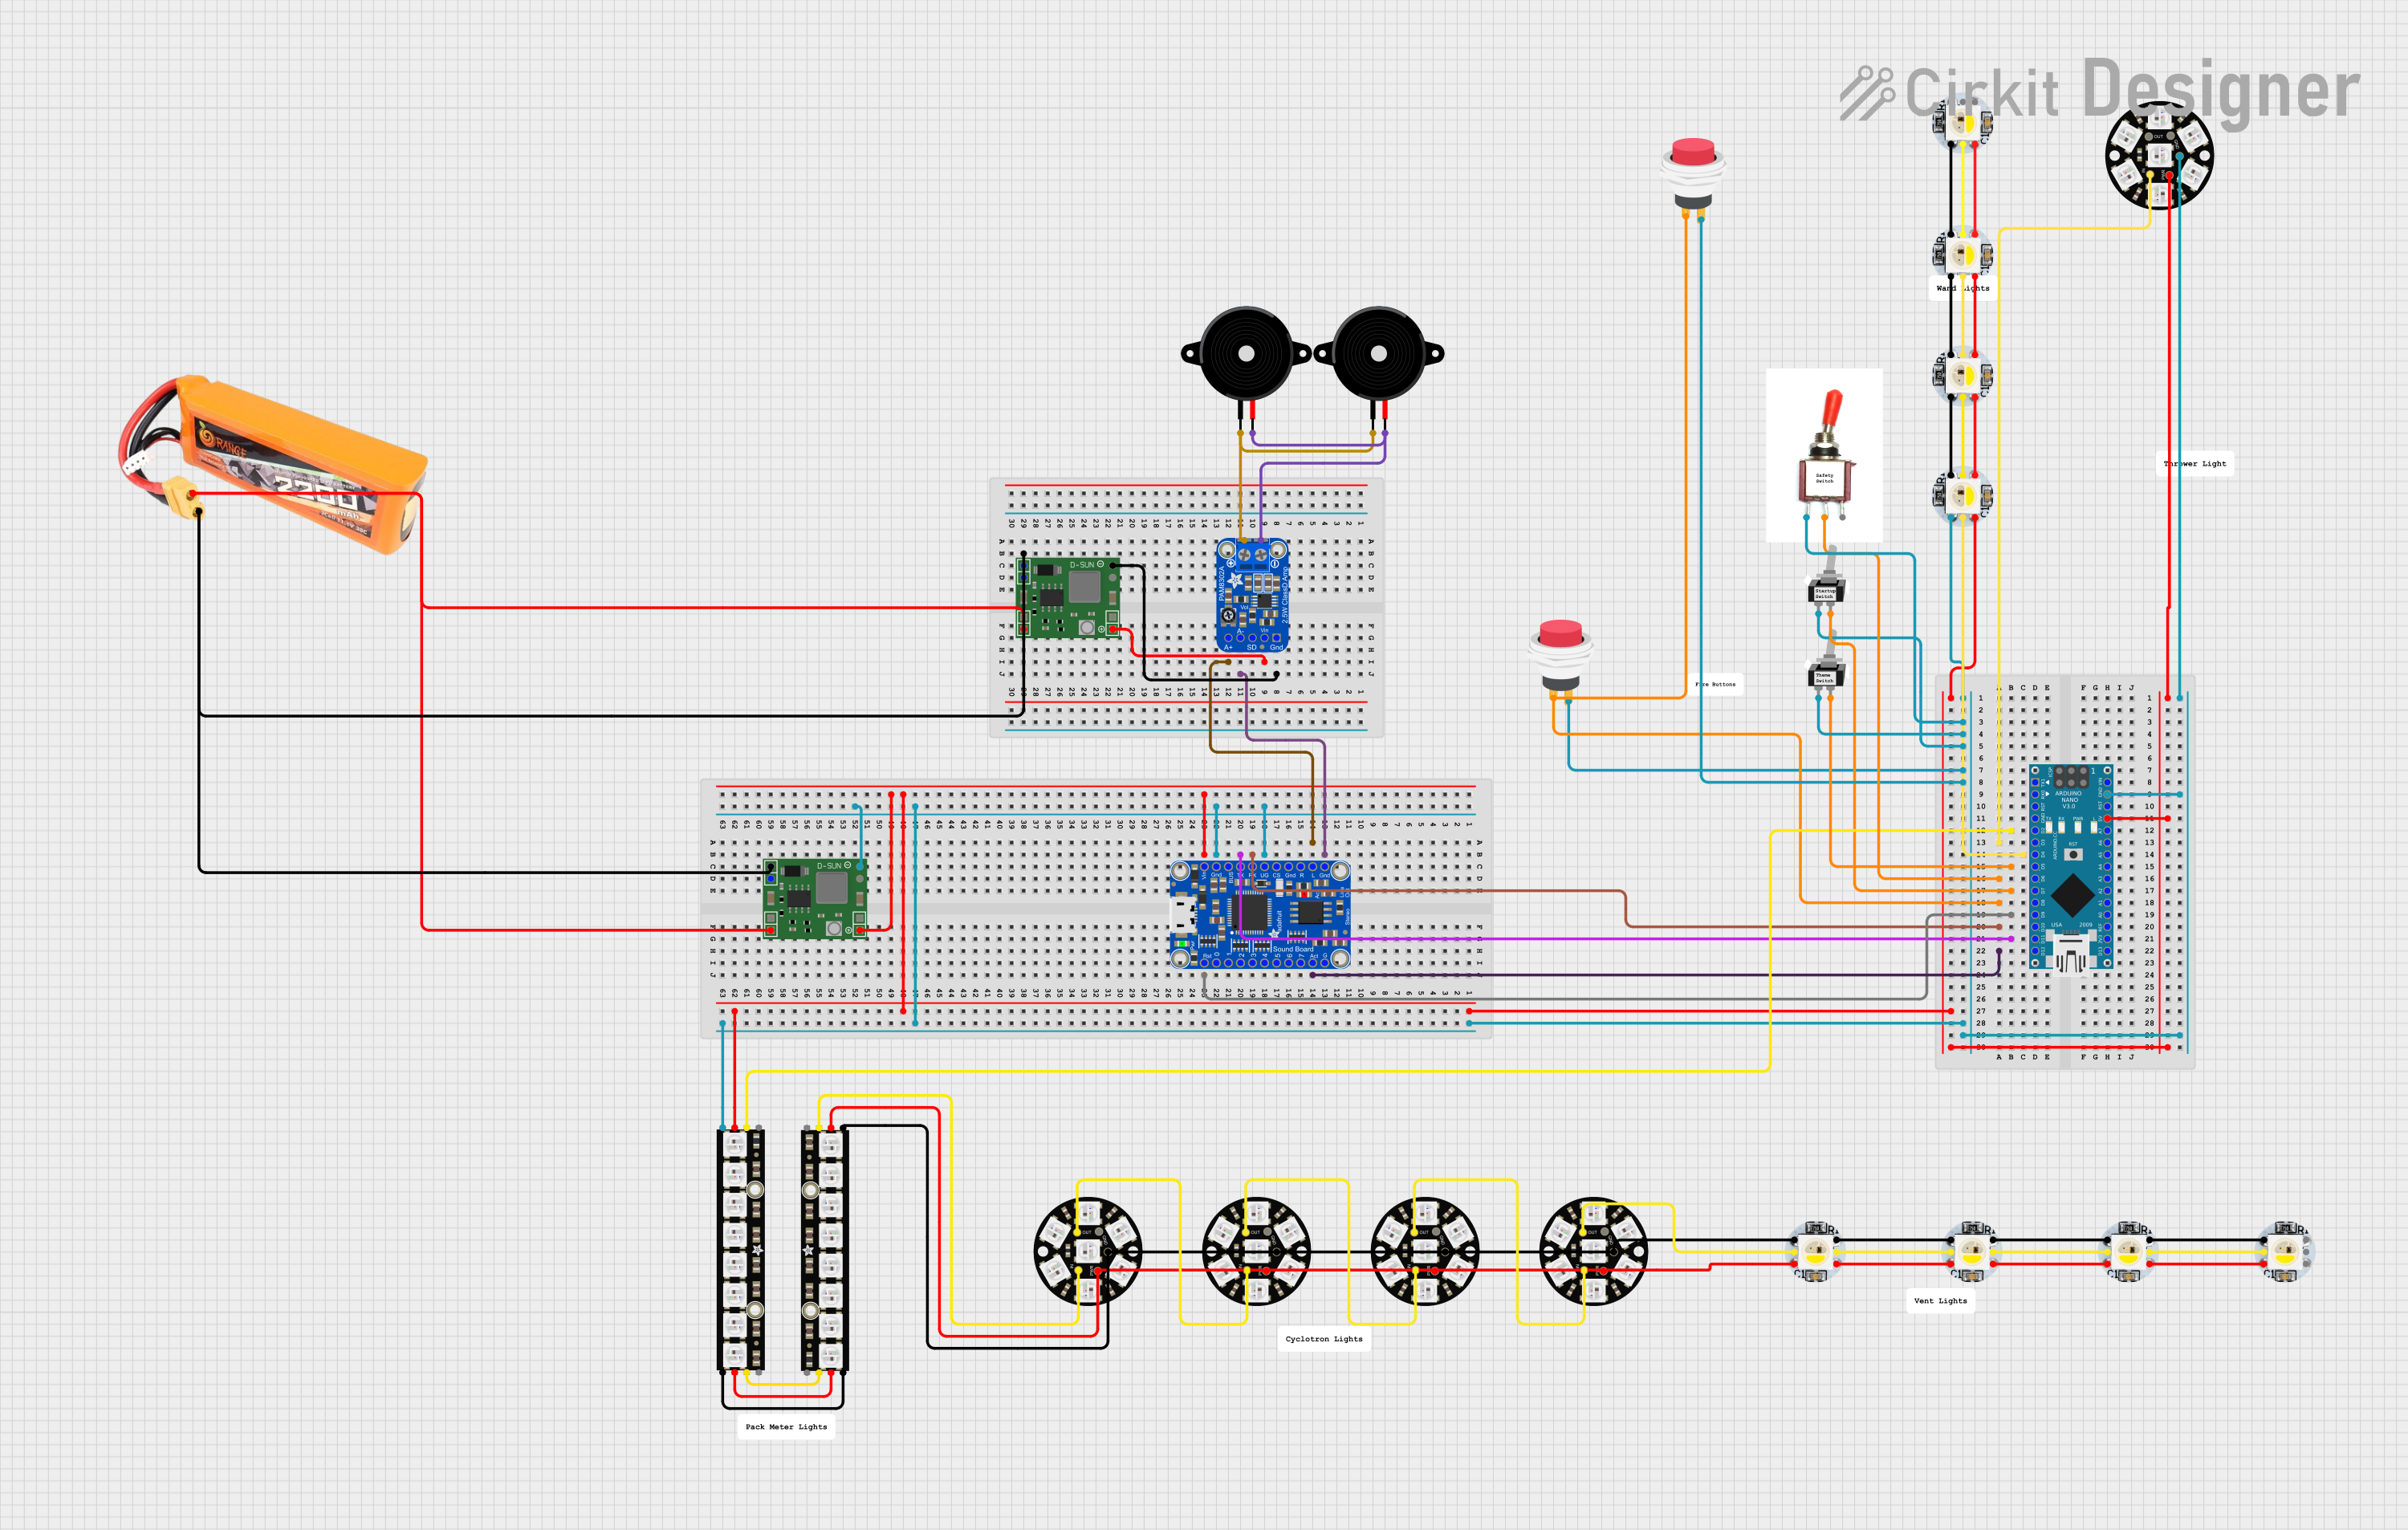
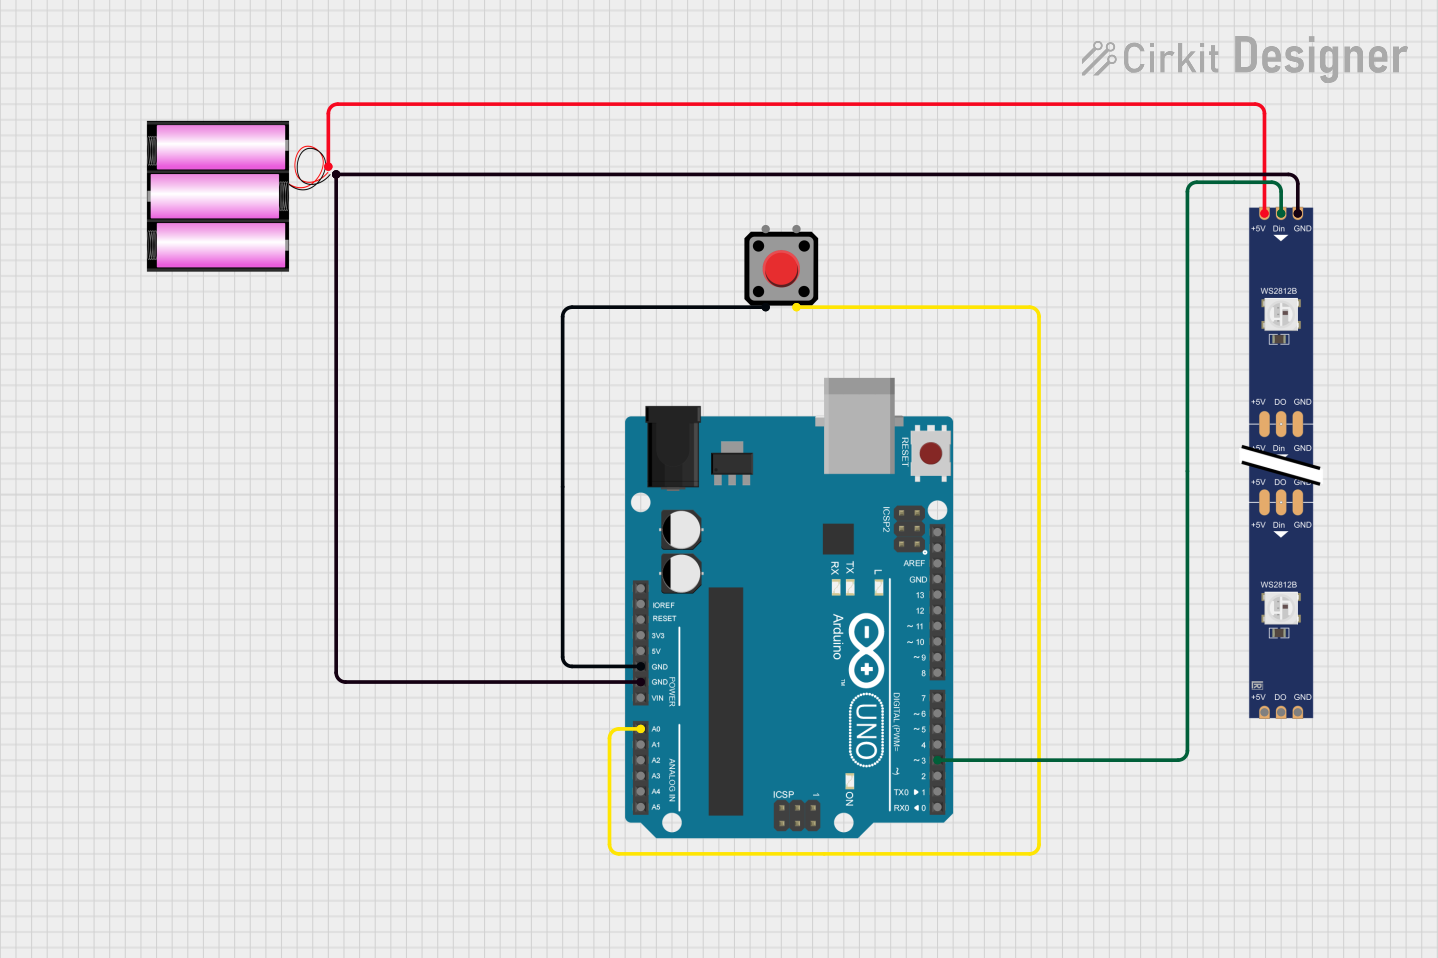

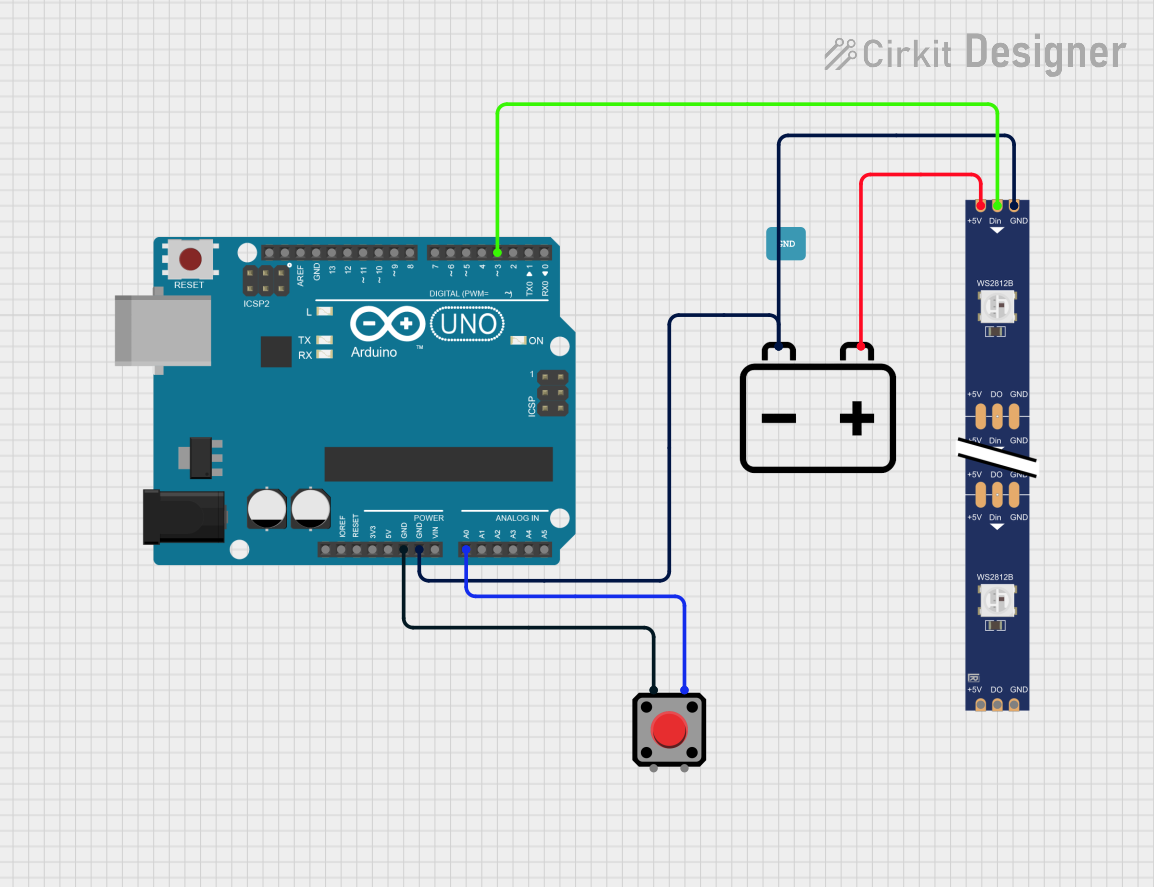
Explore Projects Built with Adafruit LED Sequin - Ruby Red
Common Applications and Use Cases
- Wearable electronics (e.g., costumes, fashion accessories)
- Decorative lighting for events and parties
- Indicator lights for small-scale projects
- Educational projects to teach basic electronics and sewing with conductive thread
Technical Specifications
Key Technical Details
- Color: Ruby Red
- Forward Voltage: Typically 2.0-2.5V
- Current: 5mA (max 20mA)
- Brightness: 500-600 mcd
- Viewing Angle: ~120 degrees
Pin Configuration and Descriptions
| Pin Number | Name | Description |
|---|---|---|
| 1 | + | Positive power supply input (Anode) |
| 2 | - | Ground connection (Cathode) |
Usage Instructions
How to Use the Component in a Circuit
- Power Supply: Connect the positive power supply to the "+" pin of the LED Sequin. Ensure that the voltage is within the specified forward voltage range.
- Current Limiting: Place a current-limiting resistor in series with the LED to prevent exceeding the maximum current rating. A resistor value of 270Ω to 560Ω is recommended for a 5V supply.
- Ground Connection: Connect the "-" pin of the LED Sequin to the ground of the power supply.
- Testing: Power on the circuit to test the LED Sequin. It should emit a bright red light if connected correctly.
Important Considerations and Best Practices
- Do not exceed the maximum current rating of 20mA to avoid damaging the LED.
- When sewing with conductive thread, ensure there are no short circuits between the "+" and "-" connections.
- If using with a microcontroller like an Arduino UNO, use a digital pin to control the LED with a proper current-limiting resistor.
Example Code for Arduino UNO
// Define the pin connected to the LED Sequin
const int ledPin = 9; // Can be any digital pin

void setup() {
  pinMode(ledPin, OUTPUT); // Set the LED pin as an output
}

void loop() {
  digitalWrite(ledPin, HIGH); // Turn on the LED
  delay(1000);                // Wait for 1 second
  digitalWrite(ledPin, LOW);  // Turn off the LED
  delay(1000);                // Wait for 1 second
}
Troubleshooting and FAQs
Common Issues
- LED not lighting up: Check the polarity of the connections. Ensure the "+" pin is connected to the positive supply and the "-" pin to the ground.
- LED is dim: Verify that the power supply voltage is within the forward voltage range and that the current-limiting resistor is correctly calculated.
- LED burned out: This may occur if the current exceeds the maximum rating. Always use a current-limiting resistor.
Solutions and Tips for Troubleshooting
- Double-check all connections for proper polarity and secure soldering or attachment.
- Use a multimeter to measure the voltage across the LED and the current through the circuit.
- If using conductive thread, ensure there are no frayed ends that could cause shorts.
FAQs
Q: Can I power the LED Sequin directly from an Arduino pin? A: Yes, but ensure you use a current-limiting resistor and do not exceed the maximum current rating of the pin (typically 20mA).
Q: How do I attach the LED Sequin to fabric? A: You can sew the LED Sequin onto fabric using conductive thread, making sure to connect the "+" and "-" pins to your power supply and ground, respectively.
Q: Is it possible to control the brightness of the LED Sequin?
A: Yes, you can control the brightness by using pulse-width modulation (PWM) on a digital pin of a microcontroller like an Arduino. Use the analogWrite() function to adjust the duty cycle.