
How to Use A9g module: Examples, Pinouts, and Specs
 Design with A9g module in Cirkit Designer
A9G Module Documentation
1. Introduction
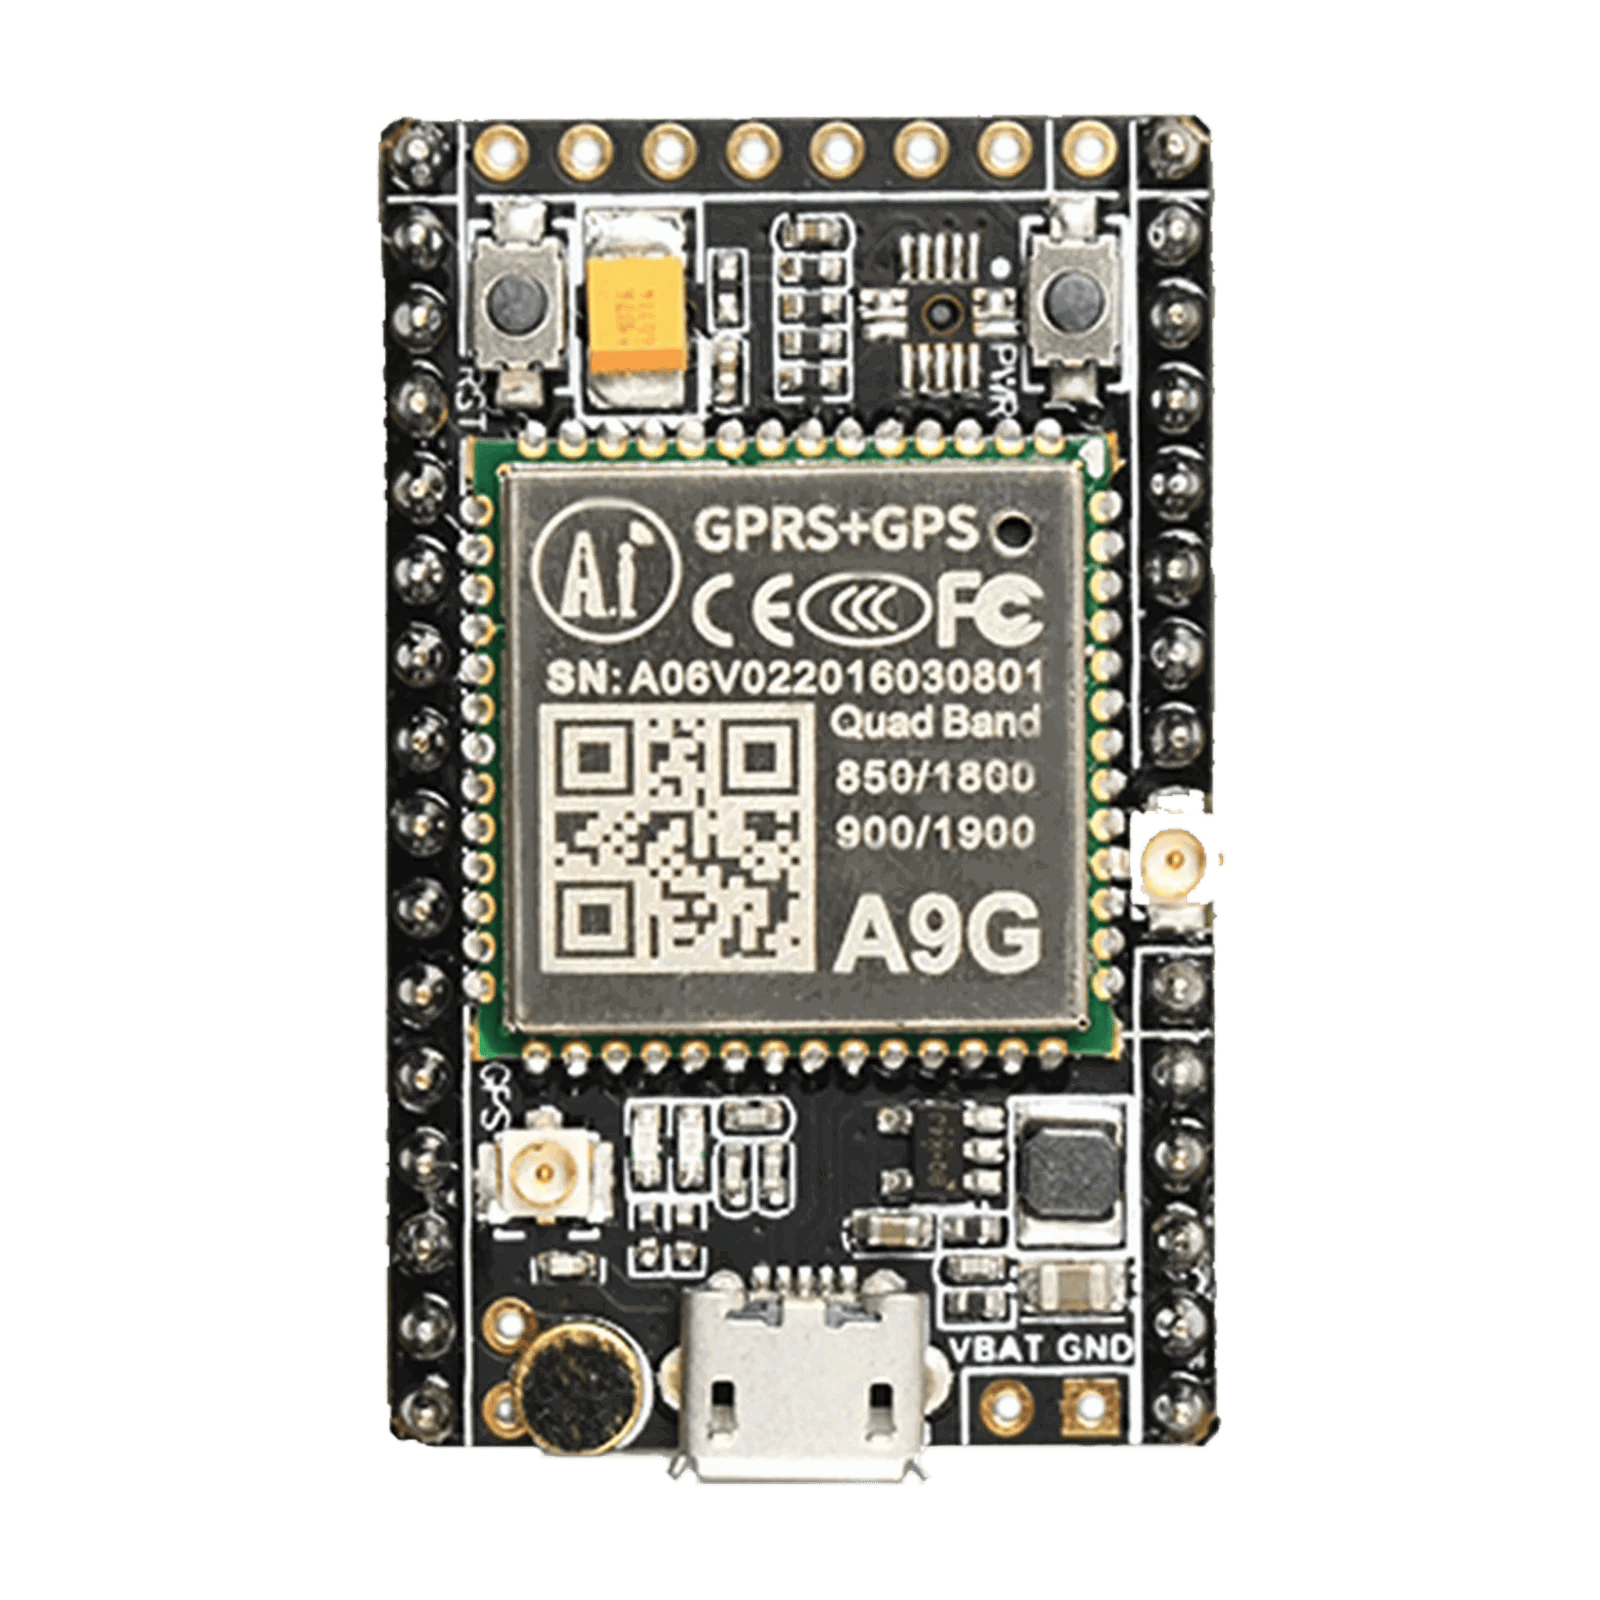
The A9G module, manufactured by Ai-Thinker, is a compact GSM/GPRS module designed for mobile connectivity in IoT applications. It supports 2G communication protocols and integrates GPS functionality, making it ideal for applications requiring both communication and location tracking. The module is widely used in projects such as vehicle tracking, remote monitoring, smart agriculture, and wearable devices.
With its small form factor and low power consumption, the A9G module is a versatile solution for developers looking to implement mobile communication and GPS tracking in their projects.
Key Features:
- GSM/GPRS communication for mobile connectivity.
- GPS/AGPS support for location tracking.
- Low power consumption, suitable for battery-powered devices.
- Compact size for space-constrained applications.
- UART interface for easy integration with microcontrollers like Arduino.
2. Technical Specifications
The following table outlines the key technical specifications of the A9G module:
| Parameter | Specification |
|---|---|
| Manufacturer | Ai-Thinker |
| Part Number | A9G |
| Supply Voltage | 3.3V to 4.2V (Typical: 3.8V) |
| Operating Current | 20mA (Idle), 200mA (GSM Transmission Peak) |
| Communication Protocol | GSM/GPRS (850/900/1800/1900 MHz) |
| GPS Sensitivity | -165 dBm |
| GPS Accuracy | < 2.5 meters |
| Operating Temperature | -40°C to +85°C |
| Interface | UART, GPIO, ADC |
| Dimensions | 22mm x 20mm x 2.3mm |
Pin Configuration
The A9G module has 24 pins. Below is the pinout and description:
| Pin Number | Pin Name | Description |
|---|---|---|
| 1 | VCC | Power supply input (3.3V to 4.2V). |
| 2 | GND | Ground connection. |
| 3 | TXD | UART Transmit pin (connect to RX of microcontroller). |
| 4 | RXD | UART Receive pin (connect to TX of microcontroller). |
| 5 | PWRKEY | Power key. Pull low for 1 second to power on/off the module. |
| 6 | NETLIGHT | Network status indicator (blinks to indicate GSM status). |
| 7 | GPS_TXD | GPS UART Transmit pin. |
| 8 | GPS_RXD | GPS UART Receive pin. |
| 9 | ADC | Analog-to-Digital Converter input. |
| 10-24 | GPIOs | General-purpose input/output pins for custom applications. |
3. Usage Instructions
Connecting the A9G Module to an Arduino UNO
To use the A9G module with an Arduino UNO, follow these steps:
- Power Supply: Ensure the module is powered with a stable 3.8V supply. Use a DC-DC converter or a Li-ion battery.
- UART Connection: Connect the A9G's
TXDpin to the Arduino'sRXpin and theRXDpin to the Arduino'sTXpin. - Power Key: Connect the
PWRKEYpin to a GPIO pin on the Arduino or pull it low for 1 second to power on the module. - Antenna: Attach GSM and GPS antennas to the respective connectors on the module for proper signal reception.
- Network Status: Monitor the
NETLIGHTpin to check the GSM network status.
Sample Circuit Diagram
A9G Module       Arduino UNO
-----------      -----------
VCC (Pin 1)  ->  3.3V (External Power Supply)
GND (Pin 2)  ->  GND
TXD (Pin 3)  ->  RX (Pin 0)
RXD (Pin 4)  ->  TX (Pin 1)
PWRKEY (Pin 5) -> GPIO Pin (e.g., Pin 7)
Sample Arduino Code
Below is a simple example to send an SMS using the A9G module:
#include <SoftwareSerial.h>

// Define RX and TX pins for SoftwareSerial
SoftwareSerial A9G(10, 11); // RX = Pin 10, TX = Pin 11

void setup() {
  // Initialize serial communication
  Serial.begin(9600);       // For debugging
  A9G.begin(9600);          // For A9G communication

  // Power on the A9G module
  pinMode(7, OUTPUT);       // PWRKEY connected to Pin 7
  digitalWrite(7, LOW);     // Pull PWRKEY low
  delay(1000);              // Wait for 1 second
  digitalWrite(7, HIGH);    // Release PWRKEY

  Serial.println("Initializing A9G...");
  delay(5000);              // Wait for the module to initialize

  // Send SMS
  A9G.println("AT+CMGF=1"); // Set SMS mode to text
  delay(1000);
  A9G.println("AT+CMGS=\"+1234567890\""); // Replace with recipient's phone number
  delay(1000);
  A9G.println("Hello from A9G!"); // SMS content
  delay(1000);
  A9G.write(26);            // Send Ctrl+Z to send the SMS
  Serial.println("SMS Sent!");
}

void loop() {
  // Check for incoming data from A9G
  if (A9G.available()) {
    Serial.write(A9G.read());
  }
}
Important Considerations:
- Use a stable power supply to avoid unexpected resets.
- Ensure proper antenna placement for optimal GSM and GPS performance.
- Avoid using the Arduino's hardware serial (pins 0 and 1) for debugging when connected to the A9G module.
4. Troubleshooting and FAQs
Common Issues and Solutions
| Issue | Possible Cause | Solution |
|---|---|---|
| Module does not power on | Insufficient power supply | Ensure a stable 3.8V power source with sufficient current (at least 2A). |
| No GSM network connection | Poor signal or incorrect antenna connection | Check the GSM antenna and ensure proper placement in a signal-rich area. |
| GPS not working | Weak GPS signal | Place the GPS antenna outdoors or near a window for better satellite visibility. |
| No response from the module | Incorrect UART connection | Verify TX and RX connections between the module and the microcontroller. |
| SMS not sent | Incorrect AT command or phone number | Double-check the AT command syntax and recipient's phone number. |
FAQs
Can the A9G module work with 5V logic levels?
- No, the A9G module operates at 3.3V logic levels. Use a level shifter if interfacing with a 5V microcontroller.
What is the maximum baud rate supported by the A9G module?
- The A9G module supports baud rates up to 115200 bps.
How can I check the GSM signal strength?
- Use the AT command
AT+CSQ. A response like+CSQ: 15,0indicates the signal strength (15 in this case).
- Use the AT command
Does the A9G module support 3G or 4G networks?
- No, the A9G module only supports 2G (GSM/GPRS) networks.
This documentation provides a comprehensive guide to using the A9G module in your projects. For further assistance, refer to the official datasheet or contact Ai-Thinker support.
Explore Projects Built with A9g module
 Open Project in Cirkit Designer
 Open Project in Cirkit Designer
 Open Project in Cirkit Designer
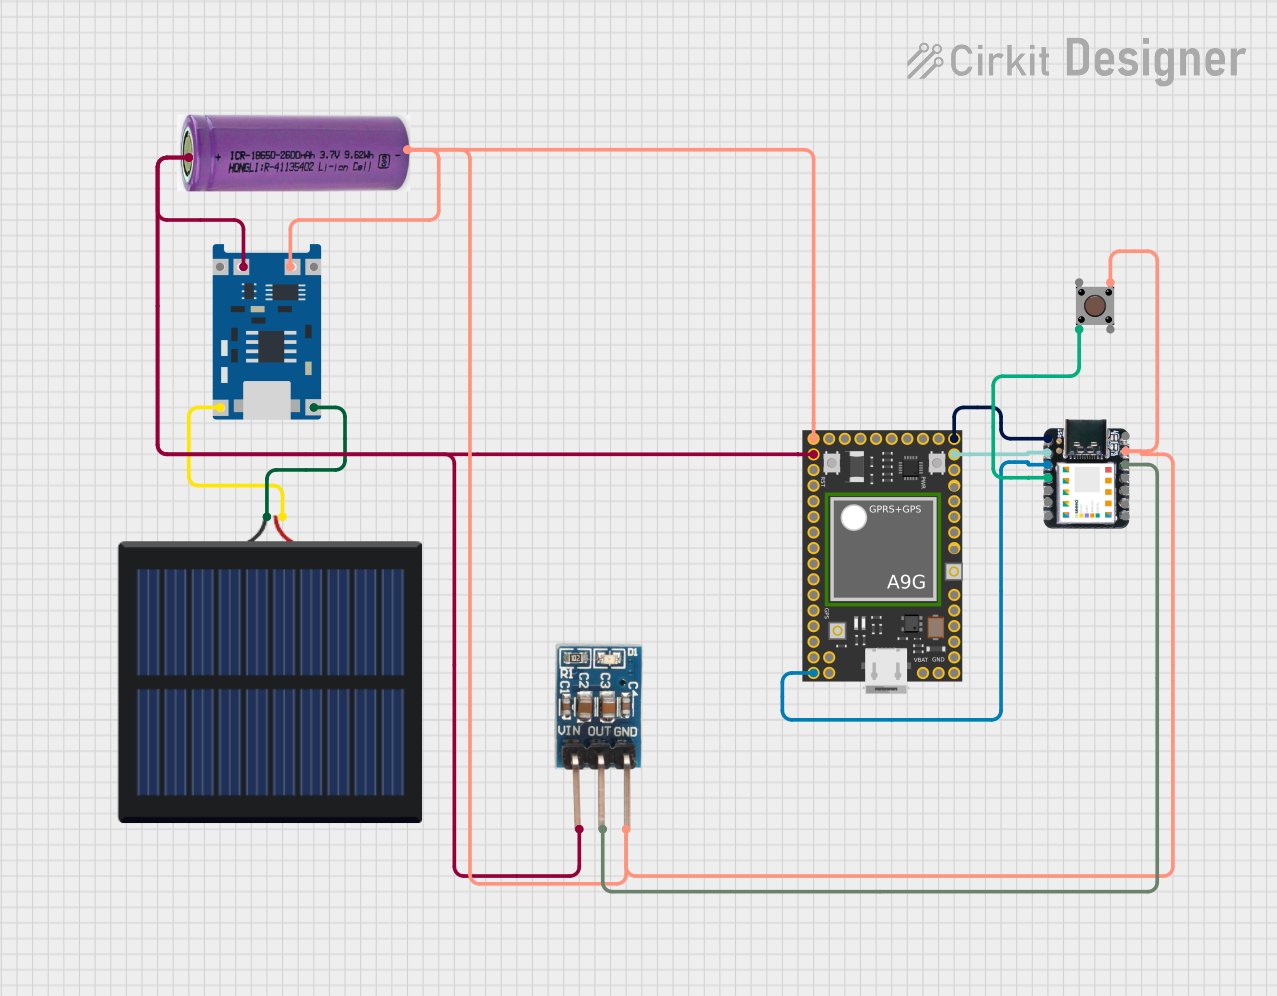
 Open Project in Cirkit Designer
Explore Projects Built with A9g module

 Open Project in Cirkit Designer
 Open Project in Cirkit Designer
 Open Project in Cirkit Designer
 Open Project in Cirkit Designer