How to Use Solar Inverter: Examples, Pinouts, and Specs
Introduction
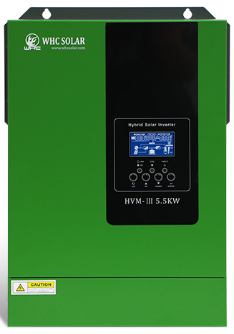
A solar inverter, also known as a PV inverter, is an essential component in a solar energy system. It serves the critical function of converting the variable direct current (DC) output from solar panels into alternating current (AC), which is the standard used by most home appliances and the electrical grid. Solar inverters are pivotal for both grid-tied and off-grid solar systems, enabling the integration of solar energy into various applications such as residential, commercial, and industrial power systems.
Explore Projects Built with Solar Inverter
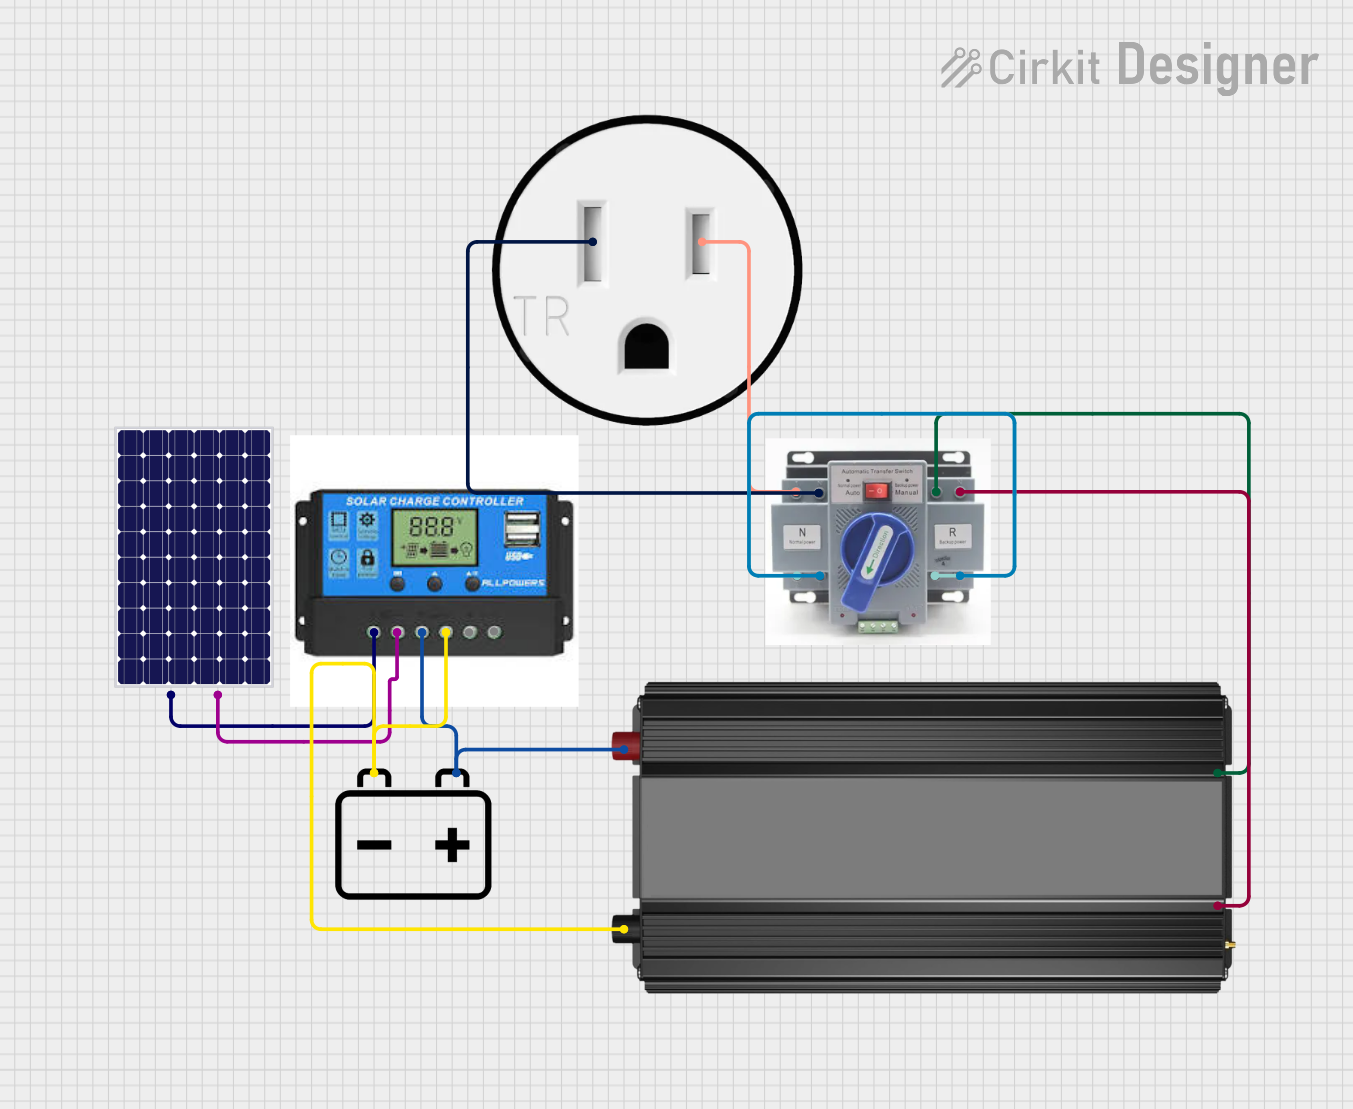

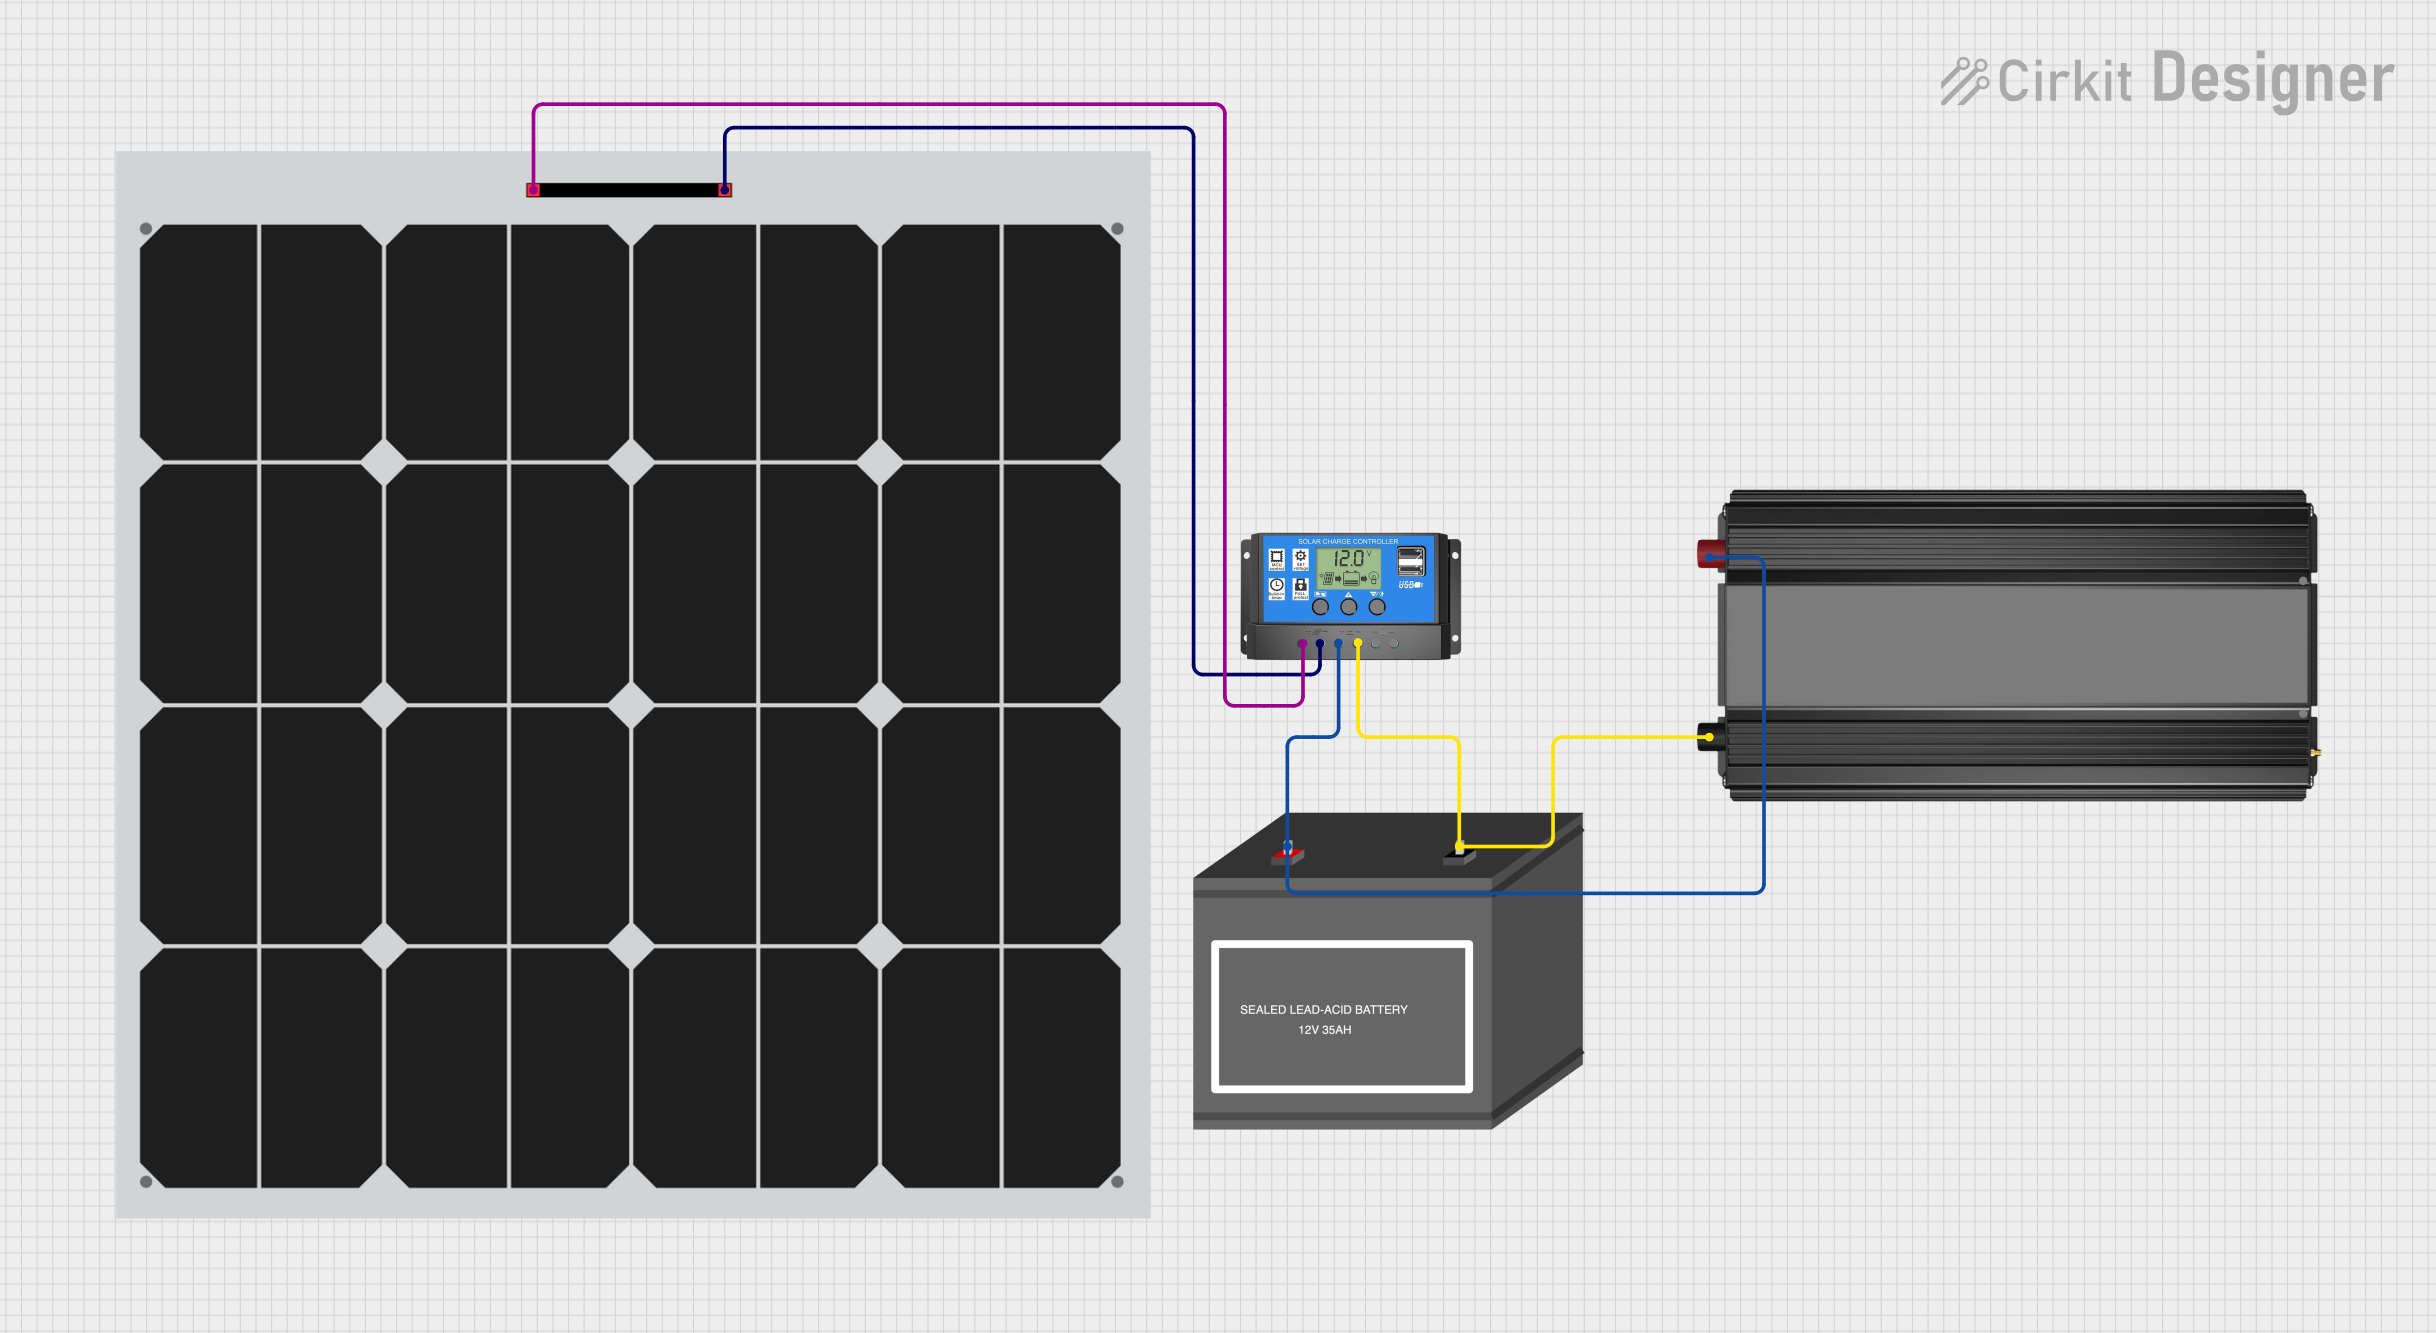
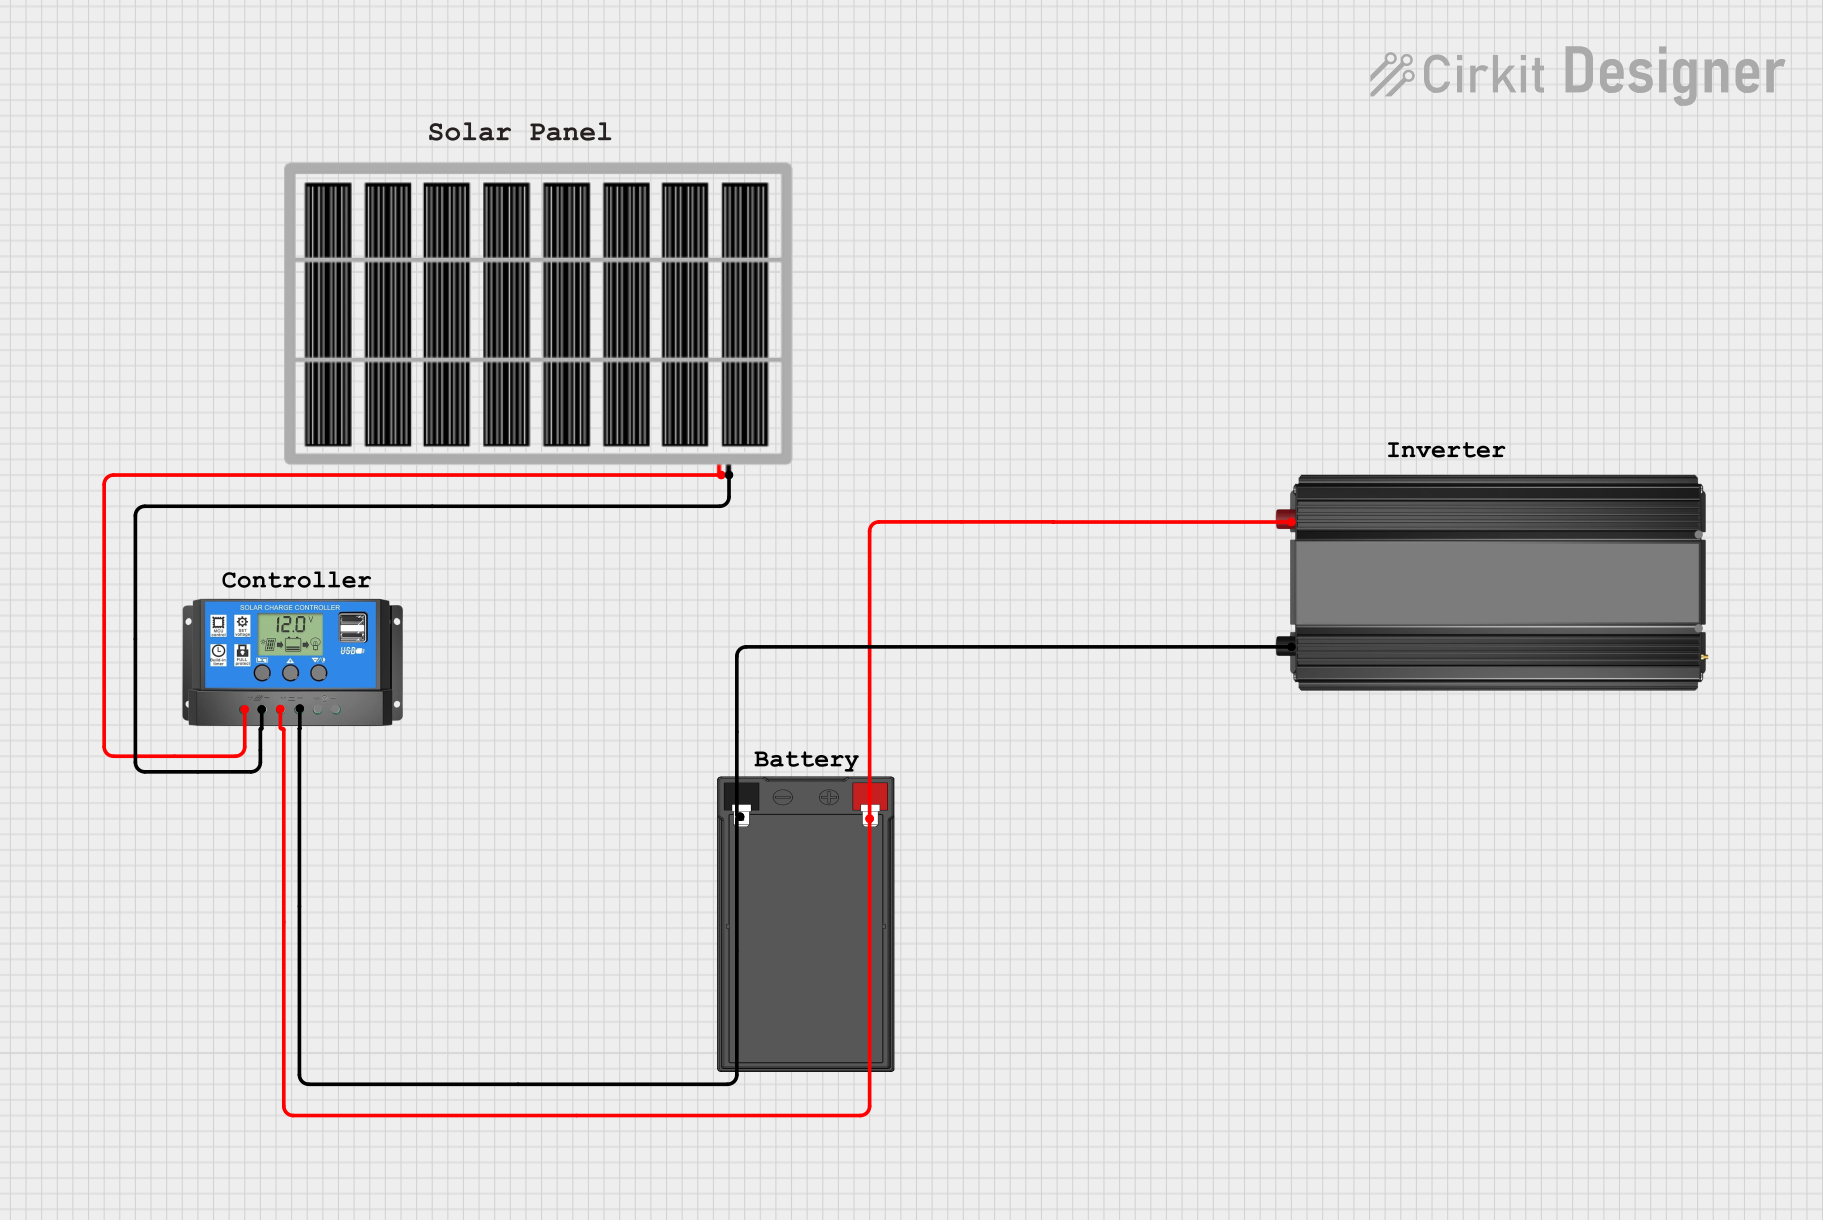
Explore Projects Built with Solar Inverter
Common Applications and Use Cases
- Residential solar power systems
- Commercial solar installations
- Large-scale solar power plants
- Grid-tied systems for net metering
- Off-grid systems with battery storage
- Hybrid systems (solar and wind, for example)
Technical Specifications
Key Technical Details
- Rated AC Power Output: The maximum AC power the inverter can deliver continuously.
- Max DC Input Voltage: The highest DC voltage the inverter can handle from the solar array.
- Peak Efficiency: The highest efficiency at which the inverter can convert DC to AC.
- Operating Temperature Range: The ambient temperature range within which the inverter operates safely.
Pin Configuration and Descriptions
| Pin/Port | Description |
|---|---|
| DC Input | Connects to the solar panel array |
| AC Output | Connects to the electrical grid or local network |
| Ground | Safety ground connection |
| Communication | For system monitoring and control (optional) |
Usage Instructions
How to Use the Component in a Circuit
- Installation: Ensure the inverter is installed in a location that meets the manufacturer's specifications for temperature, ventilation, and clearance.
- Wiring: Connect the DC input terminals to the solar panel array, observing proper polarity. Connect the AC output terminals to the electrical grid or local network.
- Configuration: Set up the inverter according to the system's requirements, which may include input voltage range, output frequency, and power settings.
Important Considerations and Best Practices
- Safety: Always follow electrical codes and safety standards during installation.
- Ventilation: Ensure adequate airflow around the inverter to prevent overheating.
- Compatibility: Verify that the inverter's specifications match the solar panel array's output characteristics.
- Monitoring: Use the communication port, if available, to monitor the inverter's performance and solar energy production.
Troubleshooting and FAQs
Common Issues Users Might Face
- Inverter Not Starting: Check for proper DC input voltage and connections. Ensure that the inverter is receiving power from the solar panels.
- Low Output Power: Verify that the solar panels are not shaded and are clean. Check for proper inverter configuration and settings.
- Overheating: Ensure that the inverter's ventilation is not obstructed and that it is installed in a location within the recommended temperature range.
Solutions and Tips for Troubleshooting
- Resetting the Inverter: Sometimes, simply resetting the inverter can resolve issues. Refer to the manufacturer's manual for the correct procedure.
- Checking Error Codes: Many inverters display error codes that can help diagnose problems. Consult the manual for code meanings and solutions.
- Maintenance: Regularly inspect the inverter and solar panels to ensure optimal performance and to prevent potential issues.
FAQs
Q: Can a solar inverter work without batteries? A: Yes, grid-tied inverters do not require batteries as they feed the converted AC power directly into the electrical grid.
Q: How long do solar inverters last? A: Solar inverters typically have a lifespan of 10 to 15 years, depending on the brand and model.
Q: What is the difference between a string inverter and a microinverter? A: A string inverter is connected to a series of solar panels (a string), while microinverters are installed on each solar panel for individual optimization and monitoring.
Q: Can I connect my solar inverter to an Arduino UNO for monitoring? A: While direct connection to an Arduino UNO is not standard, some inverters offer communication ports that can be interfaced with a microcontroller for data logging and monitoring with additional hardware and software.
Example Code for Arduino UNO (Hypothetical)
// This example assumes the solar inverter provides a serial data output that can be read by an Arduino UNO.
// The code reads the data from the inverter and prints it to the Serial Monitor.

#include <SoftwareSerial.h>

SoftwareSerial inverterSerial(10, 11); // RX, TX

void setup() {
  // Start the hardware serial communication
  Serial.begin(9600);
  // Start the software serial communication
  inverterSerial.begin(4800);
  Serial.println("Solar Inverter Data Monitoring");
}

void loop() {
  if (inverterSerial.available()) {
    // Read the data from the inverter
    String inverterData = inverterSerial.readStringUntil('\n');
    // Print the data to the Serial Monitor
    Serial.println(inverterData);
  }
}
Note: The above code is hypothetical and for illustrative purposes only. Actual implementation would depend on the specific inverter's communication protocol and available interfaces. Always refer to the inverter's technical documentation for accurate interfacing details.