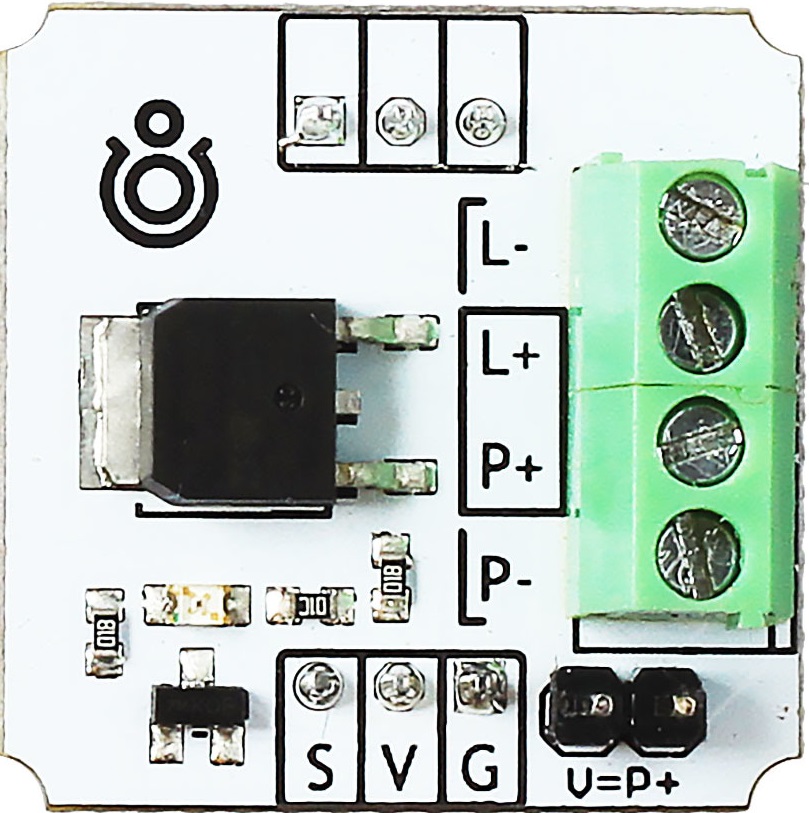
How to Use Mosfet N-channel: Examples, Pinouts, and Specs

 Design with Mosfet N-channel in Cirkit Designer
Introduction
An N-Channel MOSFET (Metal-Oxide-Semiconductor Field-Effect Transistor) is a type of transistor that is widely used for switching and amplifying electronic signals. Its conduction channel is composed of electrons, which are majority carriers in N-type material. N-Channel MOSFETs are preferred in many applications due to their high efficiency, fast switching speeds, and ability to handle significant power levels. Common applications include power supplies, motor controllers, and audio amplifiers.
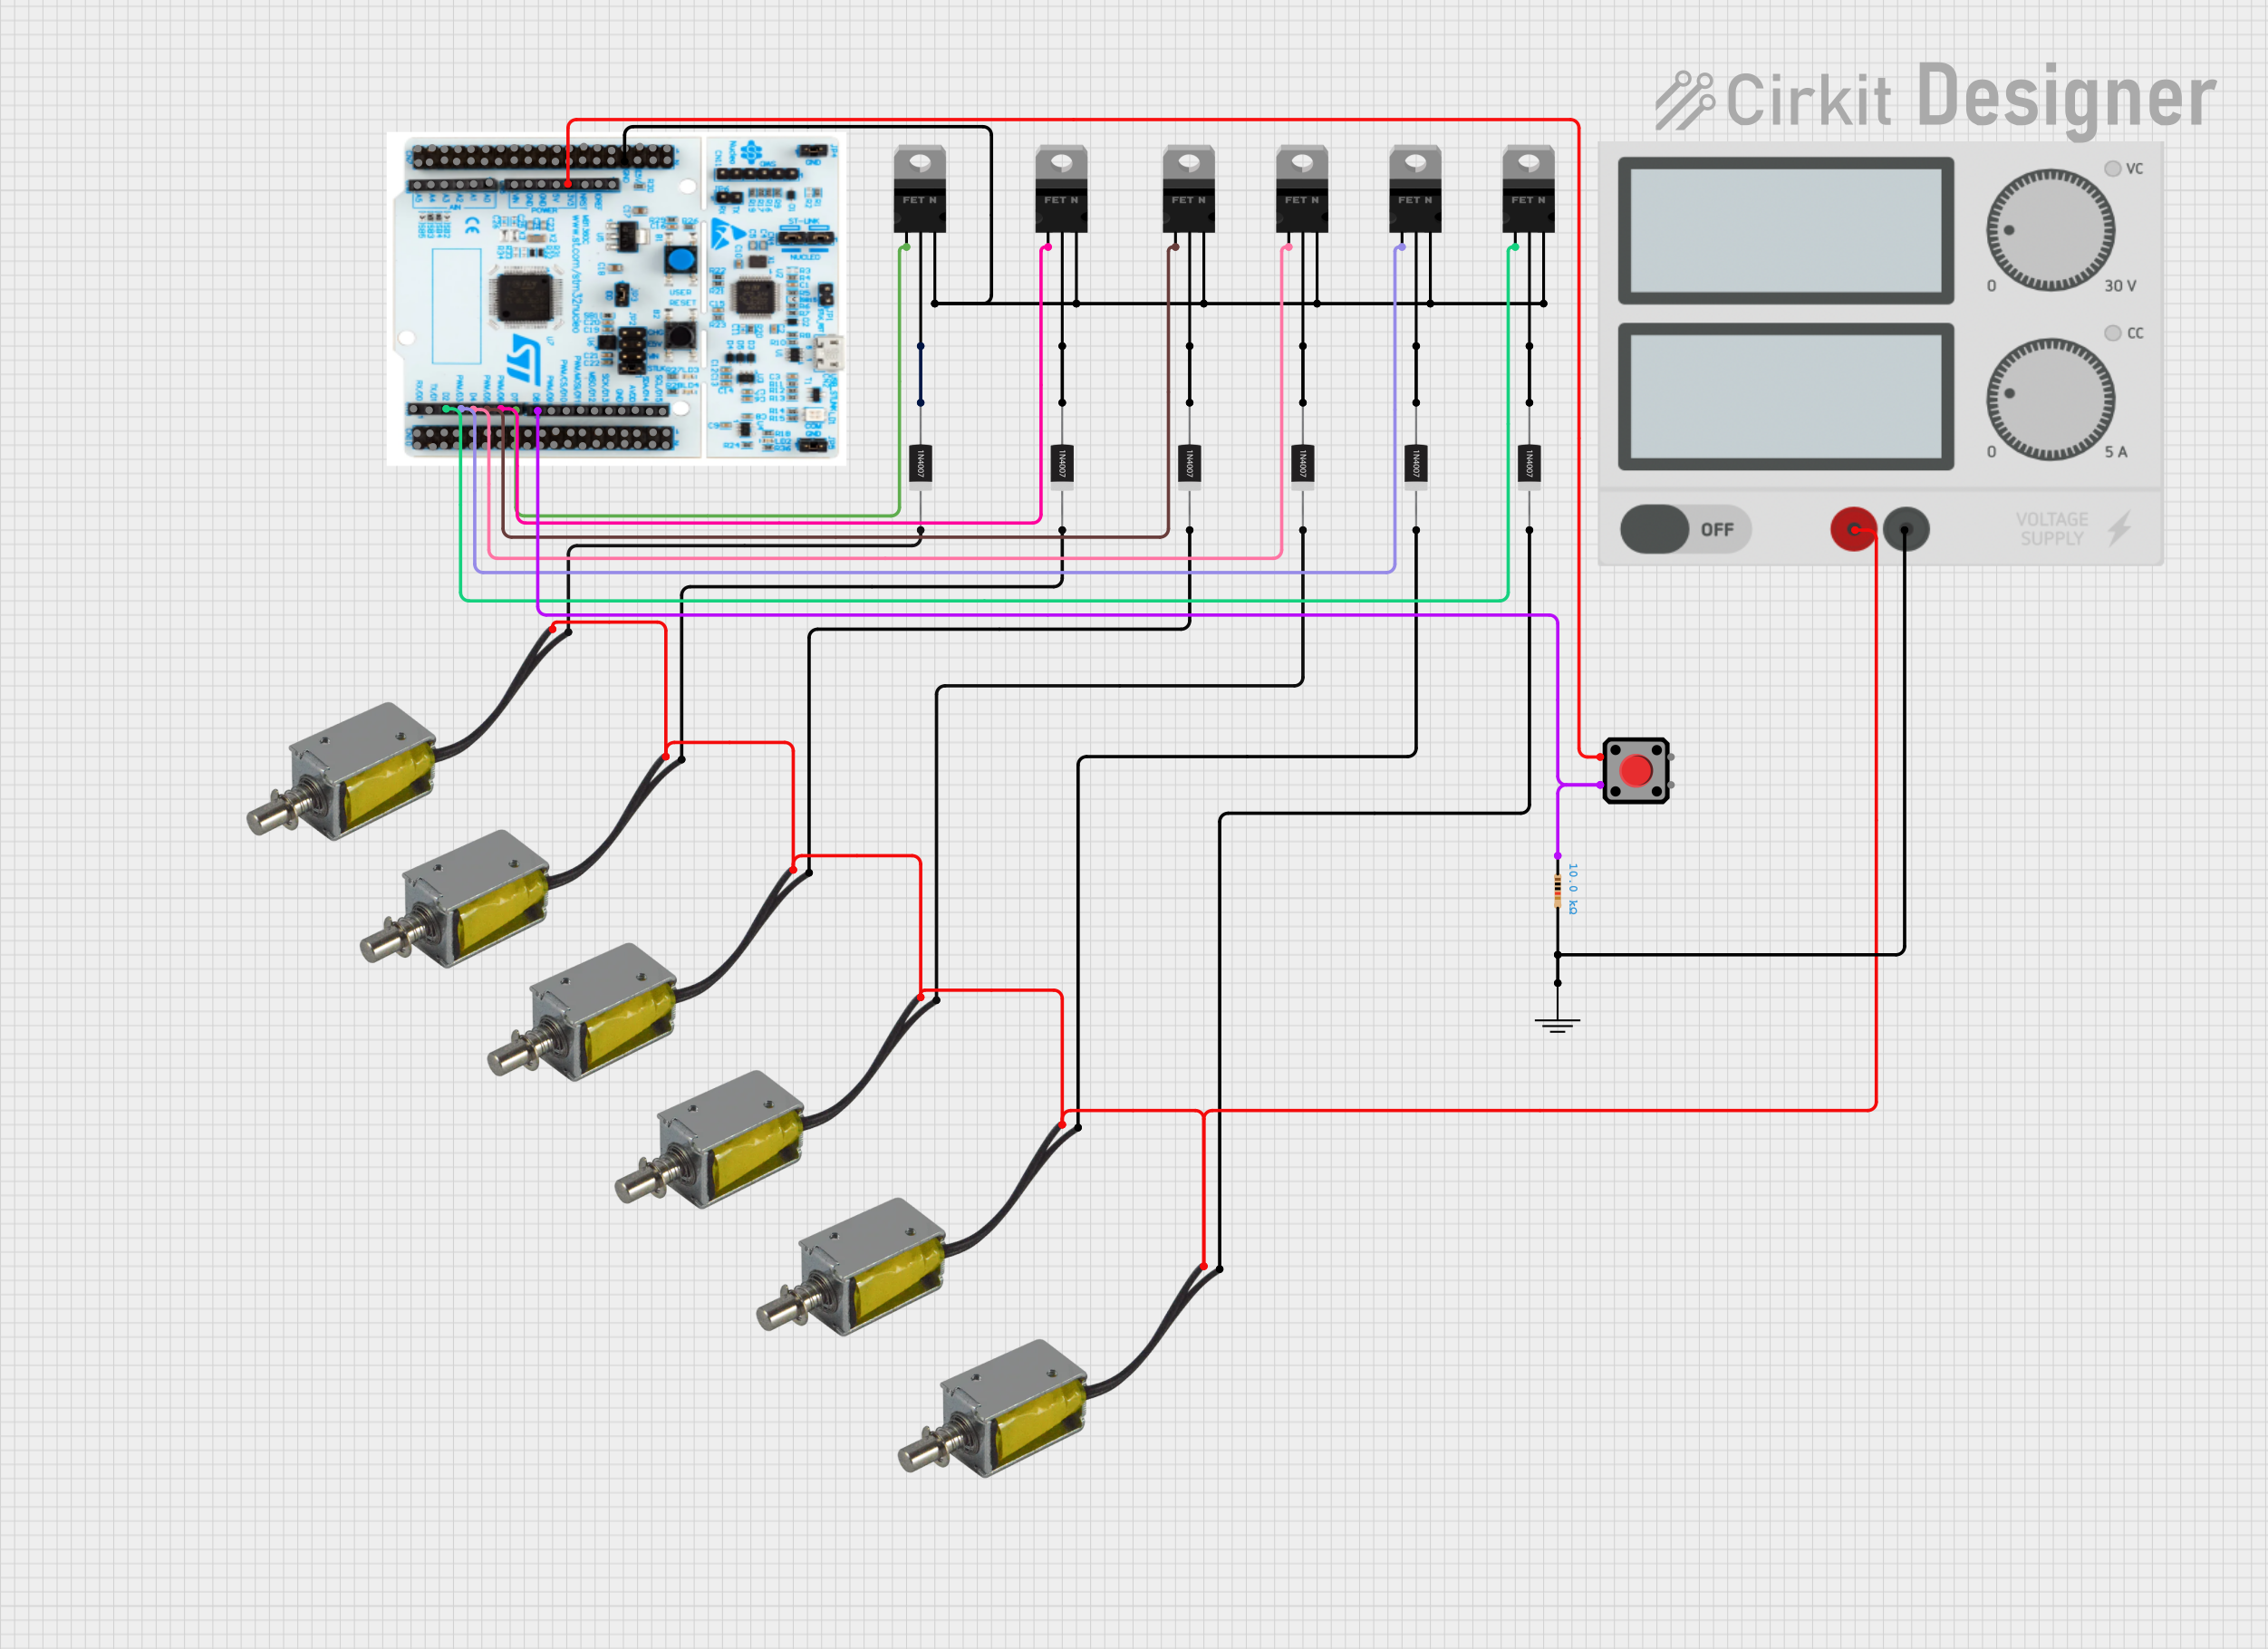
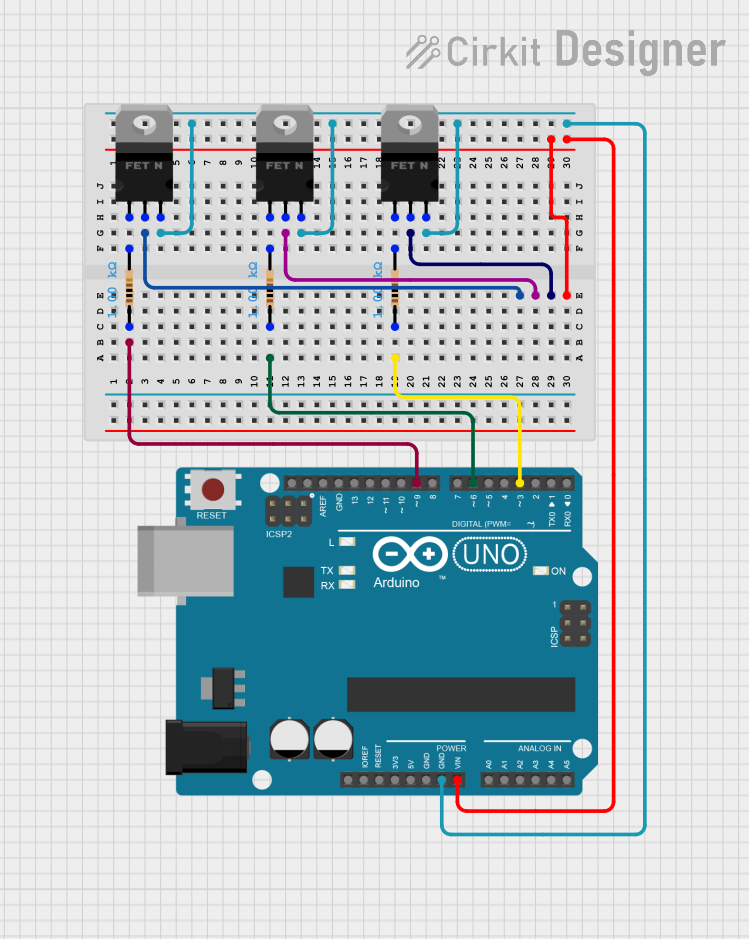
Explore Projects Built with Mosfet N-channel

 Open Project in Cirkit Designer
 Open Project in Cirkit Designer
 Open Project in Cirkit Designer
 Open Project in Cirkit Designer
Explore Projects Built with Mosfet N-channel

 Open Project in Cirkit Designer
 Open Project in Cirkit Designer
 Open Project in Cirkit Designer
 Open Project in Cirkit Designer
Technical Specifications
Key Technical Details
- Type: N-Channel Enhancement Mode MOSFET
- Maximum Drain-Source Voltage (Vds): Specified in volts (V)
- Maximum Gate-Source Voltage (Vgs): Specified in volts (V)
- Continuous Drain Current (Id): Specified in amperes (A)
- Power Dissipation (Pd): Specified in watts (W)
- Rds(on): Drain-Source On-Resistance in ohms (Ω) when Vgs is applied
- Total Gate Charge (Qg): Specified in nanocoulombs (nC)
Pin Configuration and Descriptions
| Pin Number | Name | Description |
|---|---|---|
| 1 | Gate (G) | Controls the MOSFET's operation; voltage applied here regulates the flow of current between drain and source. |
| 2 | Drain (D) | The terminal through which the main current flows from drain to source; connected to the high potential side of the load in most applications. |
| 3 | Source (S) | The terminal through which the main current flows out; typically connected to the low potential side of the circuit. |
Usage Instructions
How to Use the Component in a Circuit
- Gate Drive: Apply a voltage to the gate relative to the source to turn the MOSFET on. Ensure this voltage does not exceed the maximum Vgs rating.
- Load Connection: Connect the load between the drain and the positive supply voltage. The source is connected to the ground.
- Current Limiting: Always use a current limiting resistor or another form of current protection to prevent damage to the MOSFET.
- Heat Sinking: For high-power applications, attach a heat sink to the MOSFET to dissipate excess heat and prevent thermal runaway.
Important Considerations and Best Practices
- Gate Protection: Use a gate resistor to limit the inrush current and a zener diode to clamp the voltage to protect the gate from voltage spikes.
- Switching Frequency: Higher switching frequencies can lead to increased heat generation. Ensure the MOSFET can handle the thermal load.
- Gate Drive Voltage: Ensure the gate drive voltage is sufficient to fully turn on the MOSFET for minimal Rds(on) and maximum efficiency.
Troubleshooting and FAQs
Common Issues
- MOSFET Not Turning On: Check if the gate voltage is above the threshold voltage and if the gate-source connection is correct.
- Overheating: Ensure proper heat sinking and verify that the current and power ratings are not exceeded.
- Unexpected Shutdown: This could be due to thermal overload or exceeding the maximum current rating. Check for short circuits or overcurrent conditions.
Solutions and Tips
- Gate Voltage: If the MOSFET does not turn on, increase the gate voltage slightly without exceeding the maximum Vgs.
- Heat Management: Attach a larger heat sink or improve airflow around the MOSFET to enhance cooling.
- Current Monitoring: Use a current sensor to monitor the drain current and prevent overcurrent conditions.
FAQs
Q: Can I use an N-Channel MOSFET for AC switching?
- A: N-Channel MOSFETs are typically used for DC switching. For AC applications, consider using a relay or a TRIAC.
Q: What is the threshold voltage?
- A: The threshold voltage is the minimum gate-to-source voltage required to create a conducting path between the drain and source.
Q: How do I choose the right MOSFET for my application?
- A: Consider the maximum voltage, current, power requirements, and switching frequency of your application when selecting a MOSFET.
Example Code for Arduino UNO
// Example code to control an N-Channel MOSFET with an Arduino UNO

const int mosfetGatePin = 3; // Connect to the gate of the MOSFET

void setup() {
  pinMode(mosfetGatePin, OUTPUT); // Set the MOSFET gate as an output
}

void loop() {
  digitalWrite(mosfetGatePin, HIGH); // Turn on the MOSFET
  delay(1000); // Wait for 1 second
  digitalWrite(mosfetGatePin, LOW); // Turn off the MOSFET
  delay(1000); // Wait for 1 second
}
Note: The above code assumes that the Arduino can provide sufficient gate voltage to fully turn on the MOSFET. If the MOSFET requires a higher gate voltage, an external gate driver circuit will be necessary. Always ensure that the gate voltage does not exceed the Vgs max rating of the MOSFET.