How to Use charger: Examples, Pinouts, and Specs

 Design with charger in Cirkit Designer
Introduction
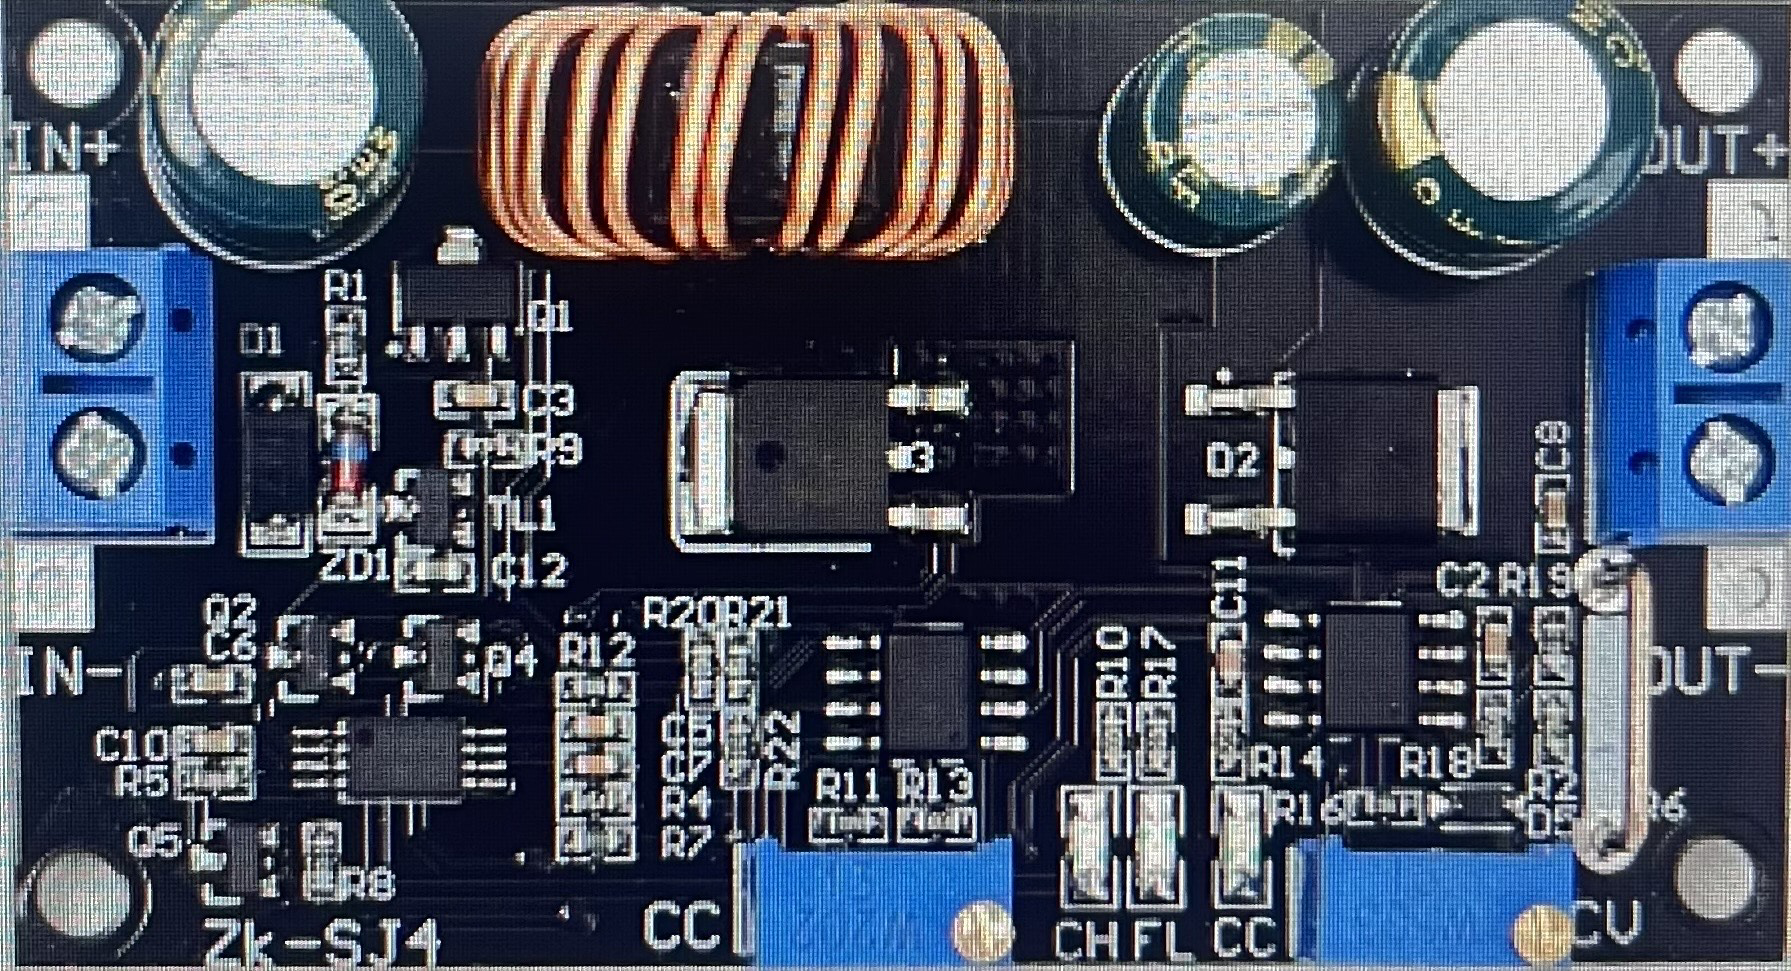
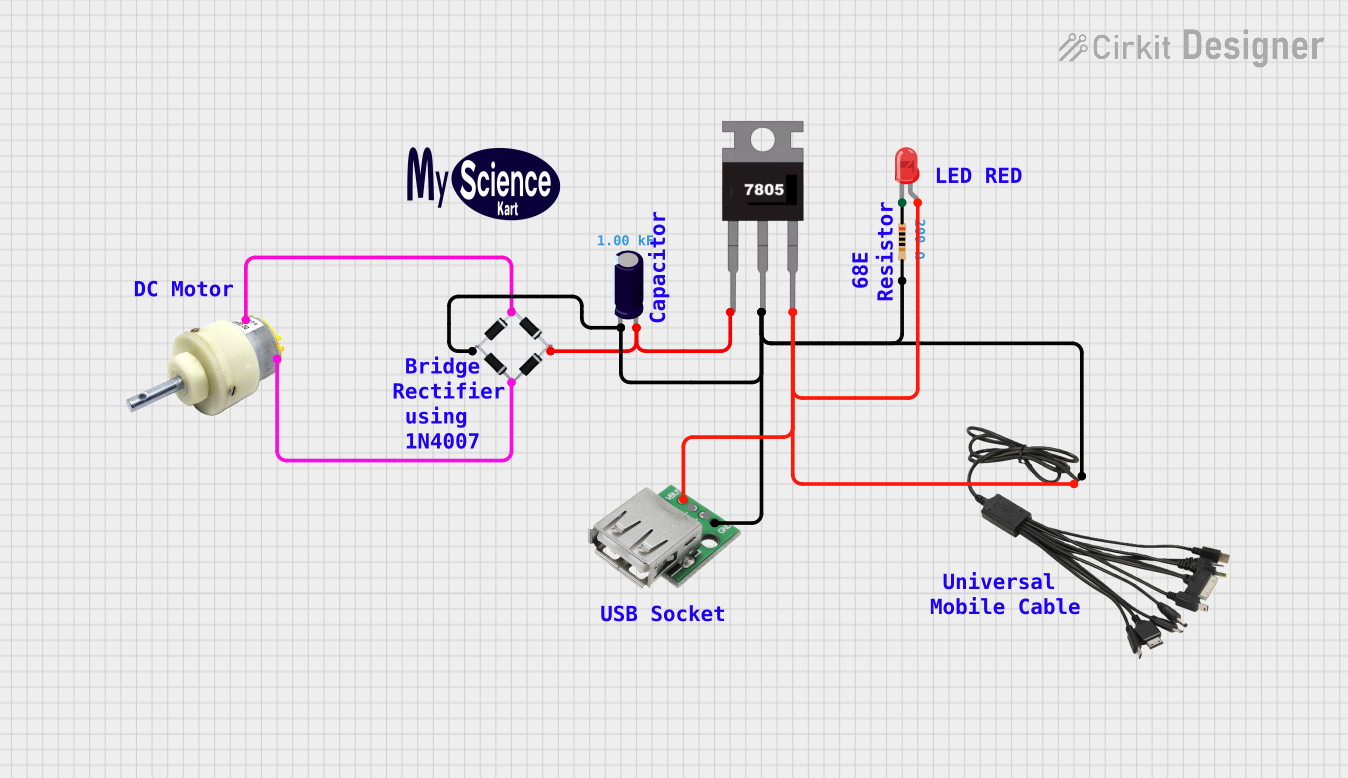
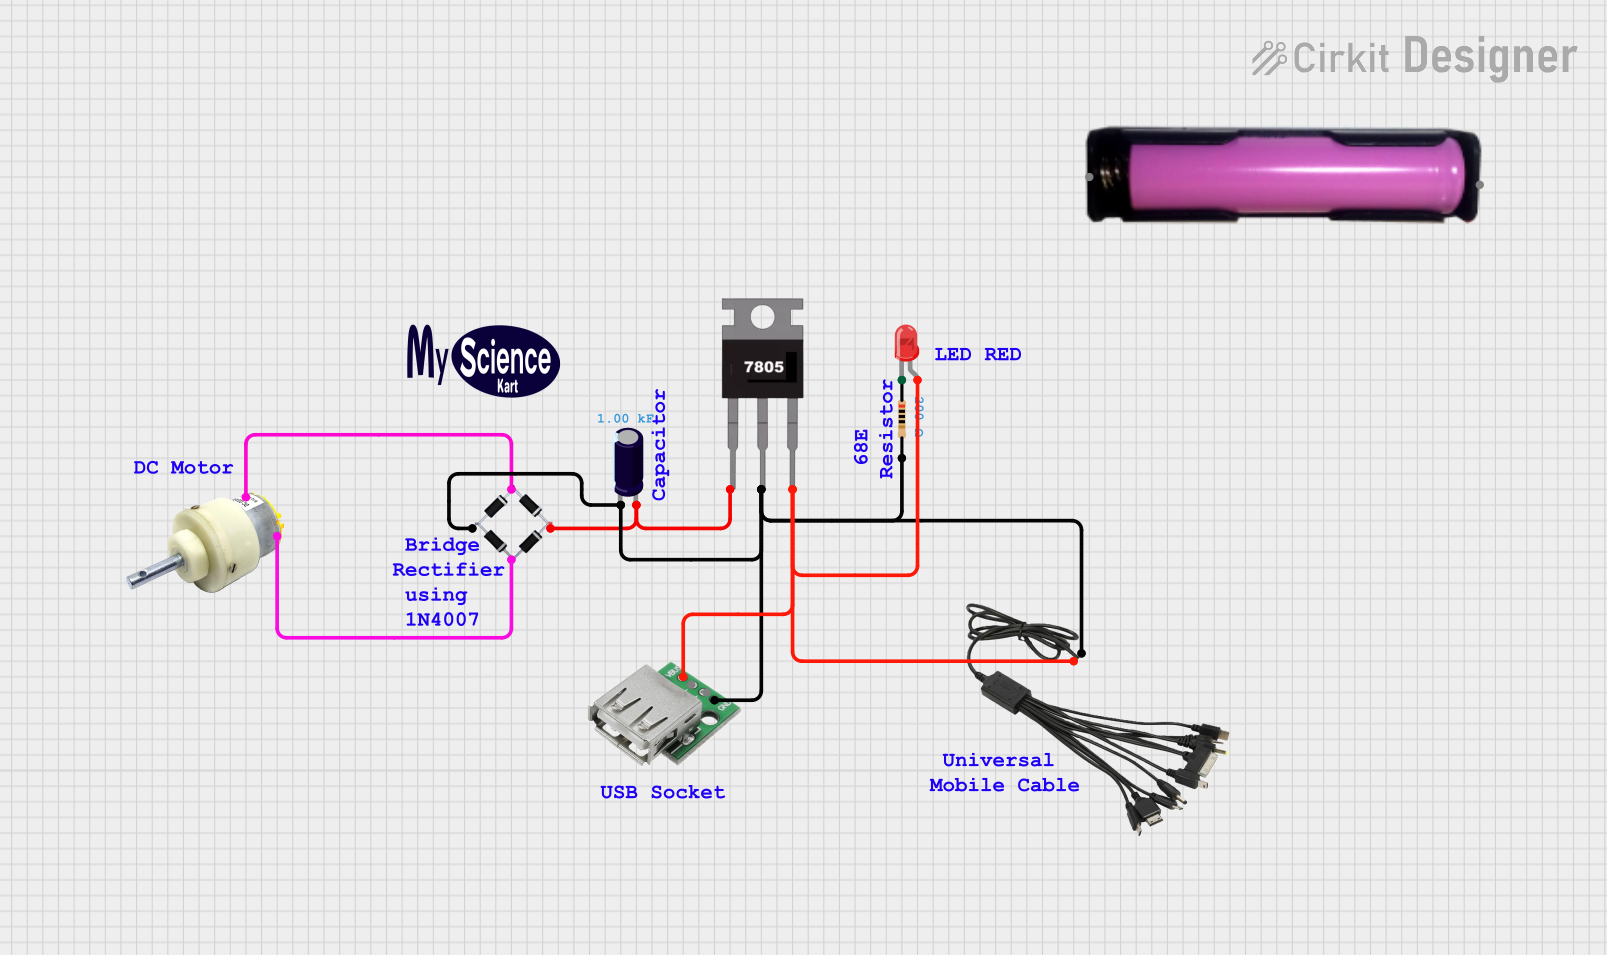
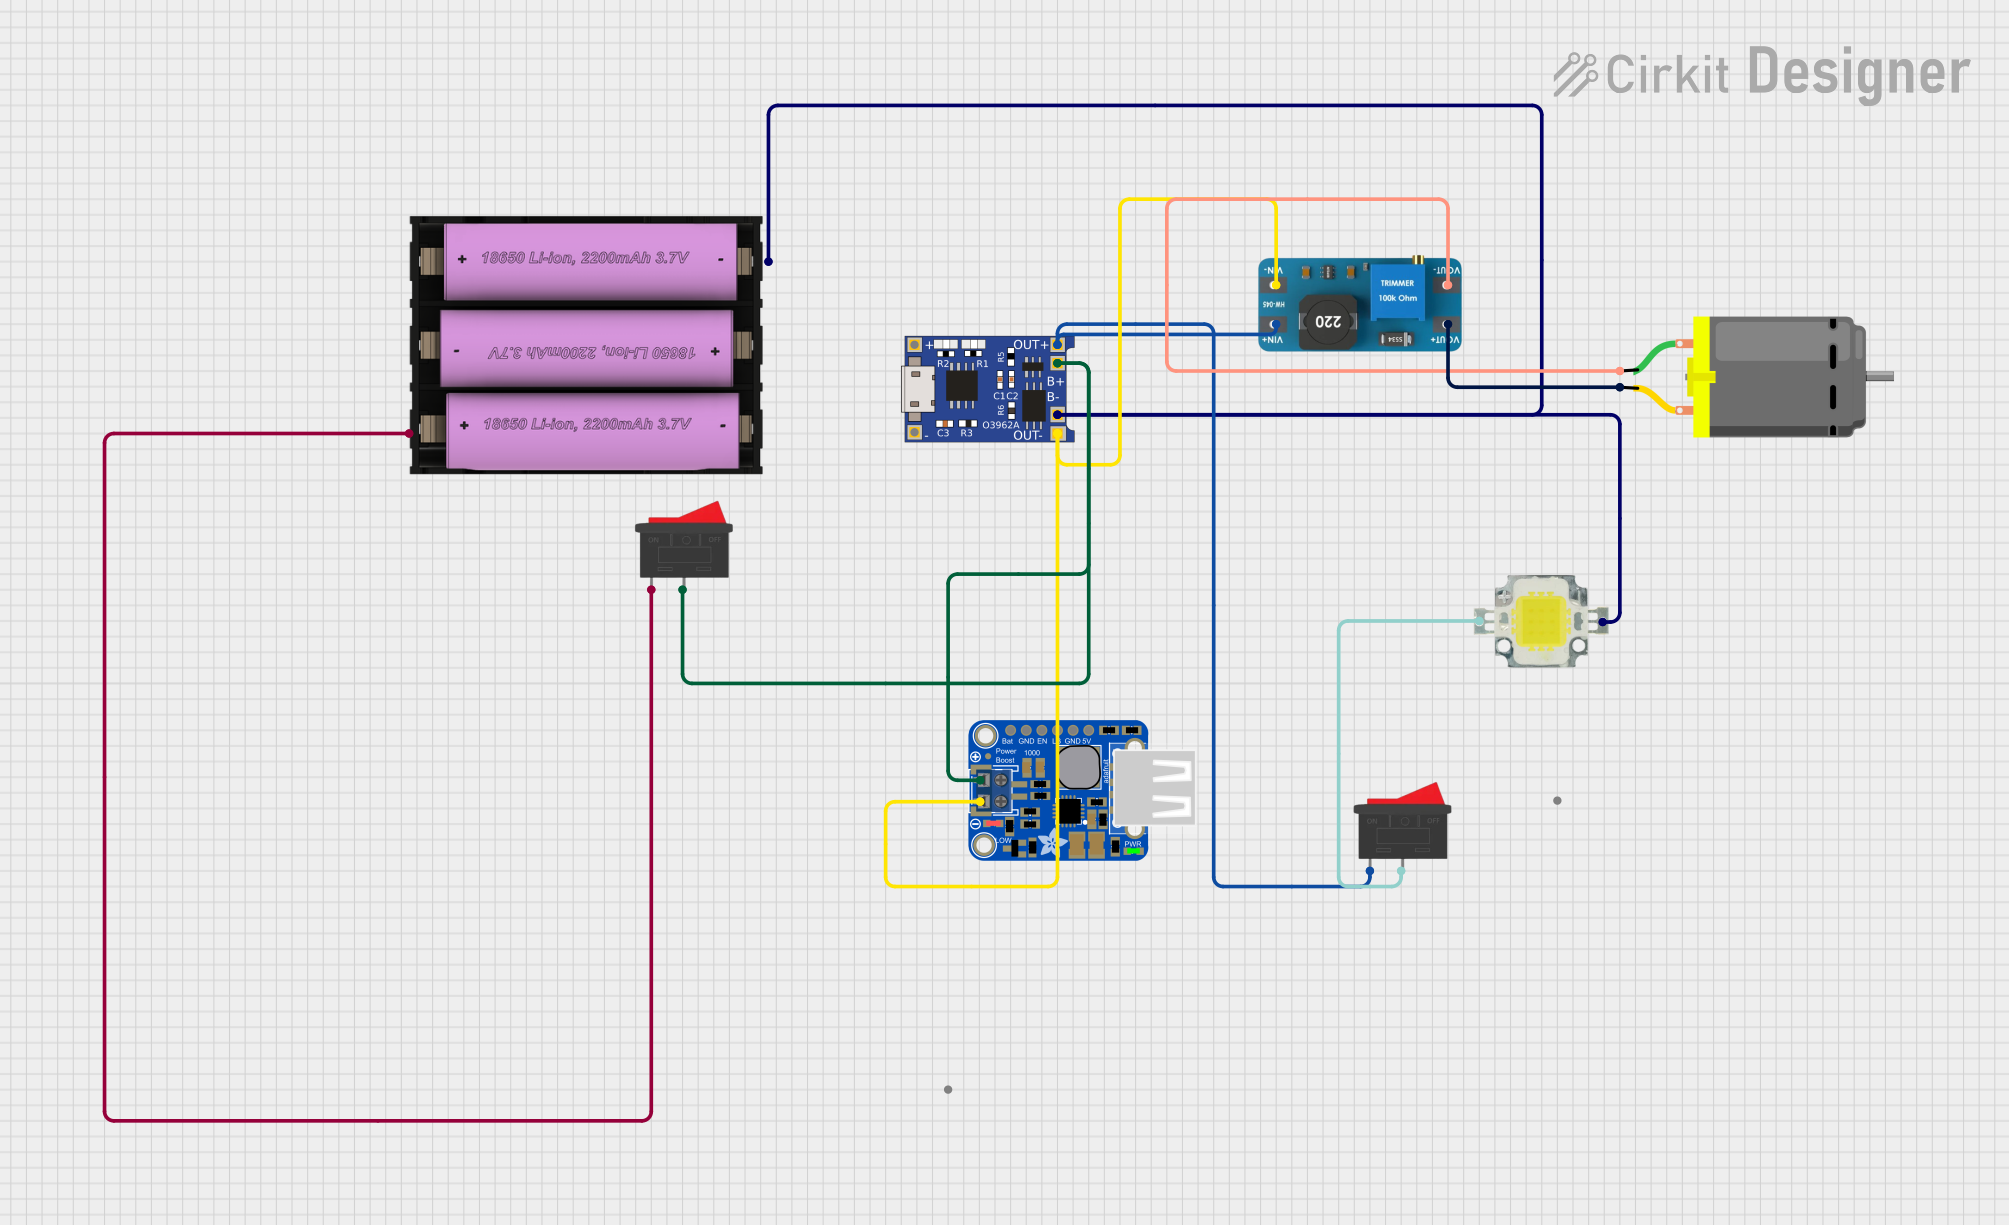
A charger is an electronic device used to replenish the energy in a battery by supplying it with electrical power. Chargers are essential for maintaining the functionality of various battery-powered devices, ranging from smartphones and laptops to electric vehicles and power tools. This documentation provides a comprehensive overview of a typical charger, including its technical specifications, usage instructions, and troubleshooting tips.
Explore Projects Built with charger

 Open Project in Cirkit Designer
 Open Project in Cirkit Designer
 Open Project in Cirkit Designer
 Open Project in Cirkit Designer
Explore Projects Built with charger

 Open Project in Cirkit Designer
 Open Project in Cirkit Designer
 Open Project in Cirkit Designer
 Open Project in Cirkit Designer
Technical Specifications
Below are the key technical details and pin configuration for a standard charger:
Key Technical Details
| Parameter | Value |
|---|---|
| Input Voltage | 100-240V AC |
| Output Voltage | 5V DC (typical for USB) |
| Output Current | 1A, 2A, 3A (varies by model) |
| Power Rating | 5W, 10W, 15W (varies by model) |
| Efficiency | >85% |
| Connector Type | USB-A, USB-C, Micro-USB |
| Protection | Over-voltage, Over-current, Short-circuit |
Pin Configuration and Descriptions
USB-A Connector
| Pin Number | Name | Description |
|---|---|---|
| 1 | VBUS | +5V DC |
| 2 | D- | Data - |
| 3 | D+ | Data + |
| 4 | GND | Ground |
USB-C Connector
| Pin Number | Name | Description |
|---|---|---|
| A1, A12 | GND | Ground |
| A4, A9 | VBUS | +5V DC |
| B1, B12 | GND | Ground |
| B4, B9 | VBUS | +5V DC |
| A5, B5 | CC1 | Configuration Channel 1 |
| A6, B6 | CC2 | Configuration Channel 2 |
| A2, A3, A10, A11, B2, B3, B10, B11 | D+, D- | Data Lines |
Usage Instructions
How to Use the Charger in a Circuit
Connect the Charger to a Power Source:
- Plug the charger into an AC outlet (100-240V AC).
- Ensure the charger is rated for the voltage of your power source.
Connect the Charger to the Battery:
- Use the appropriate connector (USB-A, USB-C, etc.) to connect the charger to the device's charging port.
- Ensure the connection is secure and the correct polarity is maintained.
Monitor the Charging Process:
- Most chargers have an LED indicator to show the charging status (e.g., red for charging, green for fully charged).
- Avoid overcharging by disconnecting the charger once the battery is fully charged.
Important Considerations and Best Practices
- Use the Correct Charger: Always use a charger that matches the voltage and current requirements of your device.
- Avoid Overheating: Ensure the charger is in a well-ventilated area to prevent overheating.
- Check for Damage: Regularly inspect the charger and cables for any signs of wear or damage.
- Unplug When Not in Use: Disconnect the charger from the power source when not in use to save energy and reduce wear.
Troubleshooting and FAQs
Common Issues Users Might Face
Charger Not Working:
- Solution: Check the power source and ensure the charger is properly plugged in. Verify that the outlet is functioning by testing with another device.
Device Not Charging:
- Solution: Ensure the charger is compatible with the device. Check the connection and try a different cable if necessary.
Overheating Charger:
- Solution: Place the charger in a well-ventilated area. If the problem persists, discontinue use and replace the charger.
Slow Charging:
- Solution: Verify that the charger provides sufficient current for the device. Using a higher-rated charger may improve charging speed.
FAQs
Q: Can I use a higher-rated charger for my device? A: Yes, as long as the voltage matches, a higher-rated charger can provide faster charging. However, ensure the device supports the higher current.
Q: Is it safe to leave the charger plugged in overnight? A: While most modern chargers have overcharge protection, it is generally recommended to unplug the charger once the device is fully charged to prolong battery life.
Q: Why does my charger make a buzzing noise? A: A slight buzzing noise is normal due to the internal components. However, if the noise is loud or unusual, it may indicate a problem, and you should consider replacing the charger.
Example Code for Arduino UNO
If you are using a charger to power an Arduino UNO, you can use the following code to monitor the charging status via a simple LED indicator:
// Define pin for LED indicator
const int ledPin = 13; // Built-in LED on Arduino UNO

void setup() {
  // Initialize the LED pin as an output
  pinMode(ledPin, OUTPUT);
}

void loop() {
  // Check if the charger is connected
  if (isChargerConnected()) {
    digitalWrite(ledPin, HIGH); // Turn on LED if charging
  } else {
    digitalWrite(ledPin, LOW);  // Turn off LED if not charging
  }
  delay(1000); // Wait for 1 second before checking again
}

// Function to simulate charger connection status
bool isChargerConnected() {
  // Replace with actual logic to check charger connection
  // For demonstration, we'll assume the charger is always connected
  return true;
}
This code uses the built-in LED on the Arduino UNO to indicate the charging status. Replace the isChargerConnected function with actual logic to check the charger's connection status.
This documentation provides a detailed overview of a typical charger, including its technical specifications, usage instructions, and troubleshooting tips. Whether you are a beginner or an experienced user, this guide will help you effectively use and maintain your charger.