
How to Use DC Fan: Examples, Pinouts, and Specs
 Design with DC Fan in Cirkit Designer
Introduction
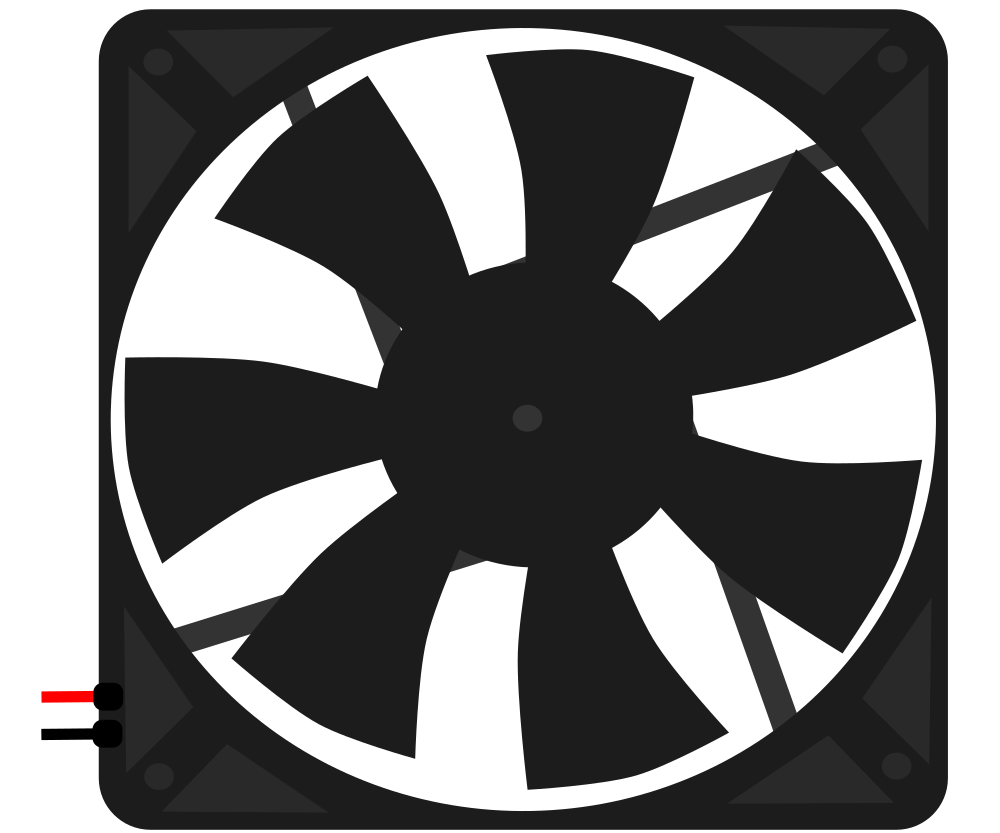
A DC fan is an electric fan powered by direct current (DC) electricity. It is widely used for cooling and ventilation in electronic devices and systems. DC fans are known for their efficiency, compact size, and ability to provide consistent airflow. They are commonly found in computers, power supplies, industrial equipment, and other applications where heat dissipation is critical.
Explore Projects Built with DC Fan
 Open Project in Cirkit Designer
 Open Project in Cirkit Designer
 Open Project in Cirkit Designer
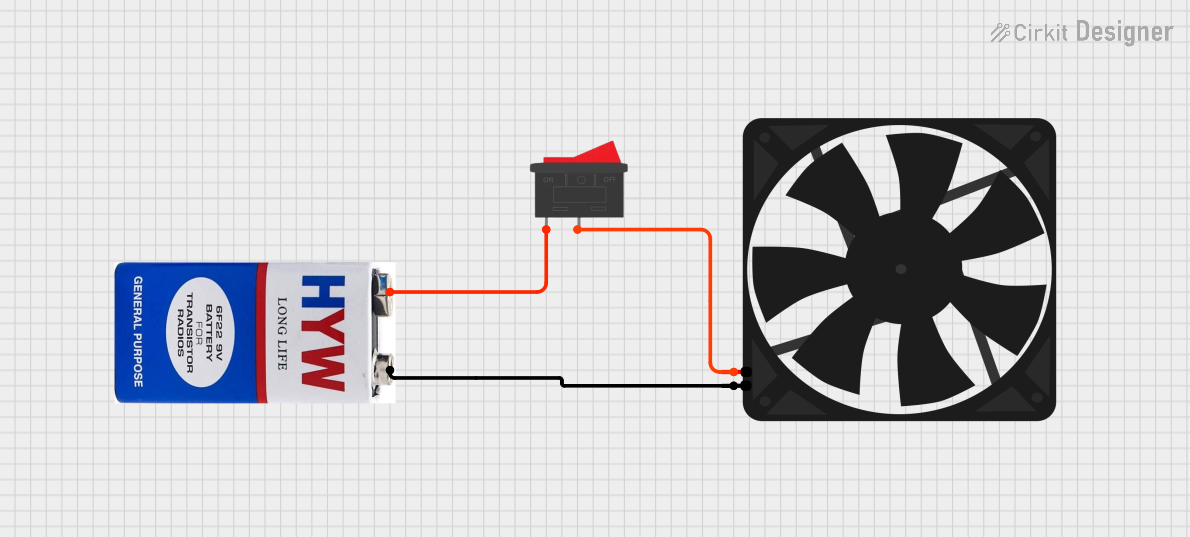 Open Project in Cirkit Designer
Explore Projects Built with DC Fan
Open Project in Cirkit DesignerOpen Project in Cirkit DesignerOpen Project in Cirkit DesignerOpen Project in Cirkit DesignerCommon Applications and Use Cases
- Cooling electronic components such as CPUs, GPUs, and power supplies
- Ventilation in enclosures and cabinets
- Industrial equipment cooling
- Automotive applications for air circulation
- Home appliances like air purifiers and humidifiers
Technical Specifications
Below are the key technical details for the DC fan manufactured by KATHIRAVAN R, part ID UNO:
General Specifications
| Parameter | Value |
|---|---|
| Operating Voltage | 5V DC to 12V DC |
| Current Consumption | 0.1A to 0.5A (depending on model) |
| Power Rating | 0.5W to 6W |
| Speed | 1000 to 5000 RPM |
| Airflow | 10 to 50 CFM |
| Noise Level | 20 to 40 dBA |
| Bearing Type | Sleeve or Ball Bearing |
| Dimensions | 40mm x 40mm, 80mm x 80mm, or 120mm x 120mm |
| Lifespan | 30,000 to 50,000 hours |
Pin Configuration and Descriptions
| Pin Number | Pin Name | Description |
|---|---|---|
| 1 | VCC | Positive power supply input (5V to 12V DC) |
| 2 | GND | Ground connection |
| 3 | PWM (optional) | Pulse Width Modulation input for speed control (if supported) |
Usage Instructions
How to Use the DC Fan in a Circuit
- Power Supply: Connect the VCC pin of the DC fan to a DC power source (5V to 12V, depending on the fan's rating). Ensure the power supply can provide sufficient current for the fan's operation.
- Ground Connection: Connect the GND pin to the ground of the power supply or circuit.
- Speed Control (Optional): If the fan supports PWM control, connect the PWM pin to a microcontroller or PWM signal generator to adjust the fan speed.
Important Considerations and Best Practices
- Voltage Compatibility: Always ensure the fan's operating voltage matches the power supply to avoid damage.
- Current Rating: Verify that the power supply can handle the fan's current requirements.
- Airflow Direction: Check the fan's markings to determine the airflow direction and install it accordingly.
- Mounting: Secure the fan using screws or brackets to minimize vibration and noise.
- PWM Control: Use a PWM signal with a frequency between 20 kHz and 25 kHz for optimal speed control (if supported).
Example: Connecting a DC Fan to an Arduino UNO
Below is an example of how to control a DC fan using an Arduino UNO and a transistor for speed control:
// Example: Controlling a DC fan with Arduino UNO using PWM
// Pin 9 is used to generate the PWM signal for fan speed control

const int fanPin = 9; // PWM pin connected to the transistor base

void setup() {
  pinMode(fanPin, OUTPUT); // Set the fan pin as an output
}

void loop() {
  analogWrite(fanPin, 128); // Set fan speed to 50% (128 out of 255)
  delay(5000); // Run the fan at 50% speed for 5 seconds

  analogWrite(fanPin, 255); // Set fan speed to 100% (255 out of 255)
  delay(5000); // Run the fan at full speed for 5 seconds

  analogWrite(fanPin, 0); // Turn off the fan
  delay(5000); // Wait for 5 seconds before repeating
}
Note: Use a suitable NPN transistor (e.g., 2N2222) and a base resistor (e.g., 1kΩ) to control the fan. Connect the fan's VCC to the power supply and its GND to the transistor's collector. The emitter should be connected to the circuit ground.
Troubleshooting and FAQs
Common Issues and Solutions
Fan Does Not Spin
- Cause: Incorrect wiring or insufficient power supply.
- Solution: Verify the connections and ensure the power supply matches the fan's voltage and current requirements.
Fan Spins Slowly
- Cause: Low voltage or high resistance in the circuit.
- Solution: Check the power supply voltage and ensure all connections are secure.
Excessive Noise
- Cause: Loose mounting or worn-out bearings.
- Solution: Tighten the mounting screws and consider replacing the fan if the bearings are damaged.
PWM Control Not Working
- Cause: Incorrect PWM frequency or wiring.
- Solution: Ensure the PWM signal frequency is within the fan's supported range (20 kHz to 25 kHz) and verify the connections.
FAQs
Q1: Can I use a DC fan with a 3.3V power supply?
A1: Most DC fans require a minimum of 5V to operate. Using a 3.3V supply may not provide sufficient power for the fan to spin.
Q2: How do I determine the airflow direction of the fan?
A2: Most DC fans have arrows on the housing indicating the airflow direction and blade rotation.
Q3: Can I connect the fan directly to an Arduino pin?
A3: No, the Arduino pins cannot supply enough current to drive a DC fan. Use a transistor or motor driver circuit to control the fan.
Q4: What is the lifespan of the DC fan?
A4: The lifespan typically ranges from 30,000 to 50,000 hours, depending on the bearing type and operating conditions.
By following this documentation, you can effectively integrate and troubleshoot the KATHIRAVAN R UNO DC fan in your projects.