How to Use MCP23S17: Examples, Pinouts, and Specs
Introduction
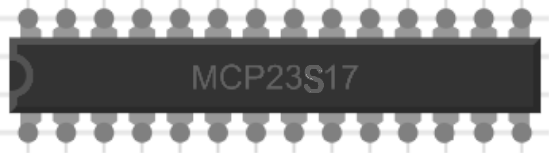
The MCP23S17 is a 16-bit I/O expander with an SPI (Serial Peripheral Interface) communication interface. It is designed to expand the number of GPIO (General Purpose Input/Output) pins available in microcontroller-based applications. The device features two 8-bit ports (PORTA and PORTB), which can be individually configured as input or output. Additionally, it supports interrupt-on-change functionality, making it ideal for applications requiring event-driven input monitoring.
Explore Projects Built with MCP23S17


Explore Projects Built with MCP23S17
Common Applications and Use Cases
- Expanding GPIO pins in microcontroller systems
- Keypad and button matrix interfacing
- LED control and multiplexing
- Sensor data acquisition
- Industrial control systems
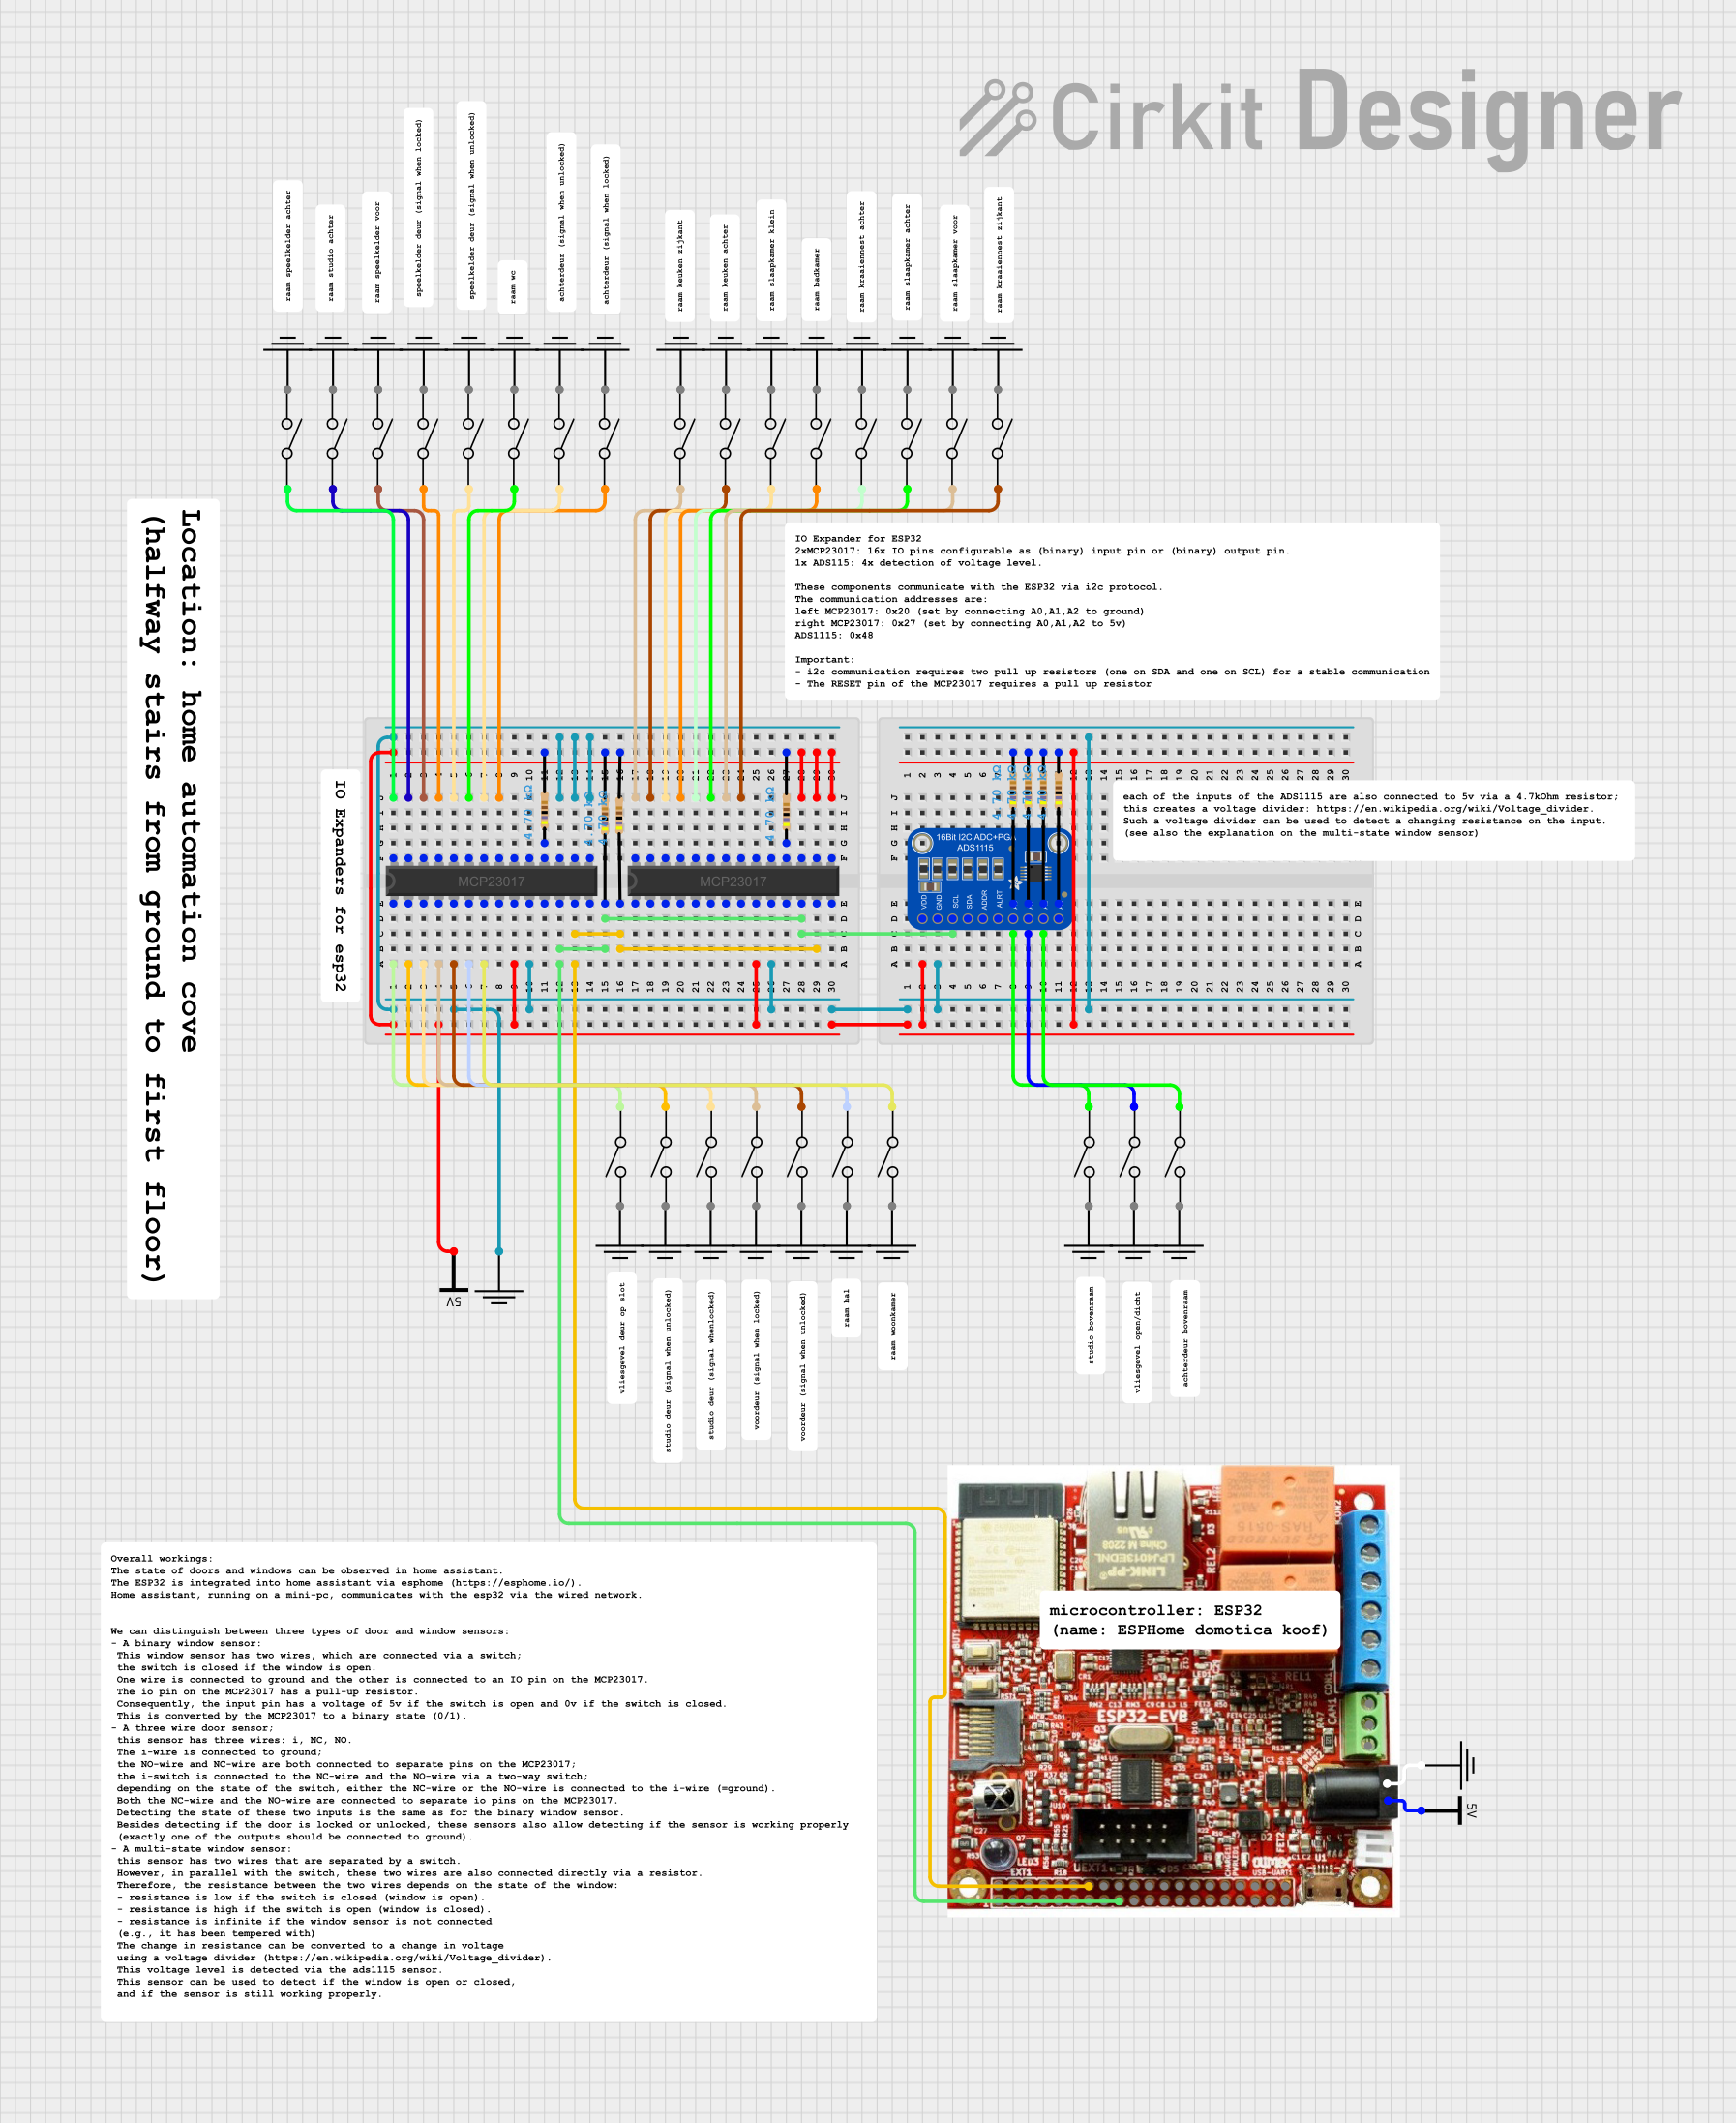
- Home automation projects
Technical Specifications
The MCP23S17 is a versatile and robust I/O expander. Below are its key technical details:
| Parameter | Value |
|---|---|
| Operating Voltage (VDD) | 1.8V to 5.5V |
| Communication Interface | SPI (up to 10 MHz) |
| GPIO Pins | 16 (split into two 8-bit ports) |
| GPIO Voltage Levels | 0V to VDD |
| Interrupt Pins | 2 (INTA, INTB) |
| Maximum Sink Current | 25 mA per pin |
| Maximum Source Current | 25 mA per pin |
| Package Options | PDIP, SOIC, SSOP, QFN |
| Operating Temperature | -40°C to +125°C |
Pin Configuration and Descriptions
The MCP23S17 has 28 pins. Below is the pin configuration and description:
| Pin Number | Pin Name | Description |
|---|---|---|
| 1 | A0 | Address pin 0 (used for device addressing) |
| 2 | A1 | Address pin 1 (used for device addressing) |
| 3 | A2 | Address pin 2 (used for device addressing) |
| 4 | RESET | Active-low reset input |
| 5 | CS | Chip Select (active-low) |
| 6 | SCK | SPI Clock input |
| 7 | SI | SPI Data input |
| 8 | SO | SPI Data output |
| 9 | VSS | Ground |
| 10-17 | GPA0-GPA7 | GPIO Port A pins |
| 18-25 | GPB0-GPB7 | GPIO Port B pins |
| 26 | INTA | Interrupt output for Port A (active-low) |
| 27 | INTB | Interrupt output for Port B (active-low) |
| 28 | VDD | Power supply input |
Usage Instructions
The MCP23S17 is straightforward to use in a circuit. Below are the steps and considerations for integrating it into your project:
Connecting the MCP23S17
- Power Supply: Connect the VDD pin to a power source (1.8V to 5.5V) and the VSS pin to ground.
- SPI Interface:
- Connect the SCK pin to the SPI clock pin of your microcontroller.
- Connect the SI pin to the SPI MOSI (Master Out Slave In) pin.
- Connect the SO pin to the SPI MISO (Master In Slave Out) pin.
- Connect the CS pin to a GPIO pin on your microcontroller to act as the chip select.
- GPIO Pins: Use the GPA0-GPA7 and GPB0-GPB7 pins as needed for input or output.
- Interrupts: If using interrupts, connect the INTA and/or INTB pins to GPIO pins on your microcontroller.
Configuring the MCP23S17
The MCP23S17 is configured using its internal registers. Below is an example of how to configure the device using an Arduino UNO:
Example Code
#include <SPI.h>

// MCP23S17 SPI commands
#define OPCODE_WRITE 0x40  // Write command opcode
#define OPCODE_READ  0x41  // Read command opcode

// MCP23S17 register addresses
#define IODIRA 0x00        // I/O direction register for Port A
#define IODIRB 0x01        // I/O direction register for Port B
#define GPIOA  0x12        // GPIO register for Port A
#define GPIOB  0x13        // GPIO register for Port B

// Chip Select pin for MCP23S17
const int CS_PIN = 10;

void setup() {
  // Initialize SPI and Chip Select pin
  SPI.begin();
  pinMode(CS_PIN, OUTPUT);
  digitalWrite(CS_PIN, HIGH);

  // Configure MCP23S17
  configureMCP23S17();
}

void loop() {
  // Example: Toggle GPIOA0 every second
  digitalWrite(CS_PIN, LOW);
  SPI.transfer(OPCODE_WRITE);  // Send write opcode
  SPI.transfer(GPIOA);         // Select GPIOA register
  SPI.transfer(0x01);          // Set GPA0 high
  digitalWrite(CS_PIN, HIGH);

  delay(1000);

  digitalWrite(CS_PIN, LOW);
  SPI.transfer(OPCODE_WRITE);  // Send write opcode
  SPI.transfer(GPIOA);         // Select GPIOA register
  SPI.transfer(0x00);          // Set GPA0 low
  digitalWrite(CS_PIN, HIGH);

  delay(1000);
}

void configureMCP23S17() {
  // Set all pins on Port A and Port B as outputs
  digitalWrite(CS_PIN, LOW);
  SPI.transfer(OPCODE_WRITE);  // Send write opcode
  SPI.transfer(IODIRA);        // Select IODIRA register
  SPI.transfer(0x00);          // Set all pins on Port A as outputs
  digitalWrite(CS_PIN, HIGH);

  digitalWrite(CS_PIN, LOW);
  SPI.transfer(OPCODE_WRITE);  // Send write opcode
  SPI.transfer(IODIRB);        // Select IODIRB register
  SPI.transfer(0x00);          // Set all pins on Port B as outputs
  digitalWrite(CS_PIN, HIGH);
}
Important Considerations
- Pull-up Resistors: If using GPIO pins as inputs, enable the internal pull-up resistors or use external ones.
- Interrupts: Configure the interrupt control registers if using the interrupt-on-change feature.
- SPI Speed: Ensure the SPI clock speed does not exceed 10 MHz.
Troubleshooting and FAQs
Common Issues
No Response from MCP23S17:
- Verify the SPI connections (SCK, SI, SO, CS).
- Ensure the MCP23S17 is powered correctly (VDD and VSS).
- Check the SPI clock speed (must be ≤ 10 MHz).
GPIO Pins Not Responding:
- Confirm the IODIR registers are configured correctly for input/output.
- Check for short circuits or incorrect wiring.
Interrupts Not Triggering:
- Ensure the interrupt control registers are configured properly.
- Verify the INTA/INTB pins are connected to the microcontroller.
Tips for Troubleshooting
- Use an oscilloscope or logic analyzer to monitor SPI signals.
- Test the MCP23S17 with a simple setup (e.g., toggle one GPIO pin) before implementing complex functionality.
- Double-check the device address if multiple MCP23S17 devices are used on the same SPI bus.
By following this documentation, you can effectively integrate the MCP23S17 into your projects and expand your microcontroller's GPIO capabilities.