How to Use Elektro Pad: Examples, Pinouts, and Specs
Introduction
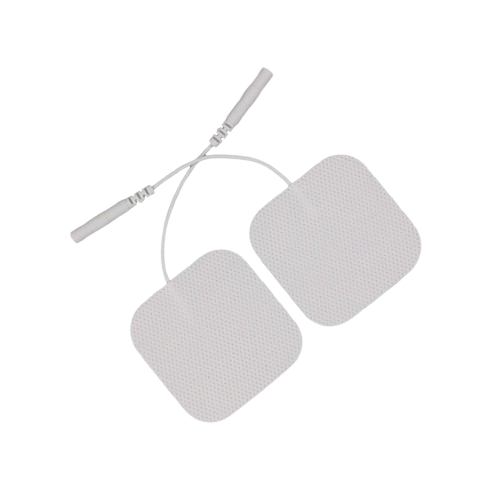
The Elektro Pad (Manufacturer Part ID: elektropad) is a versatile electronic component designed for touch-sensitive interfaces and sensor arrays. Manufactured by Pad, this component is widely used in applications such as touchscreens, interactive displays, and various sensor-based projects. Its ease of integration and reliable performance make it a popular choice among hobbyists and professionals alike.
Explore Projects Built with Elektro Pad
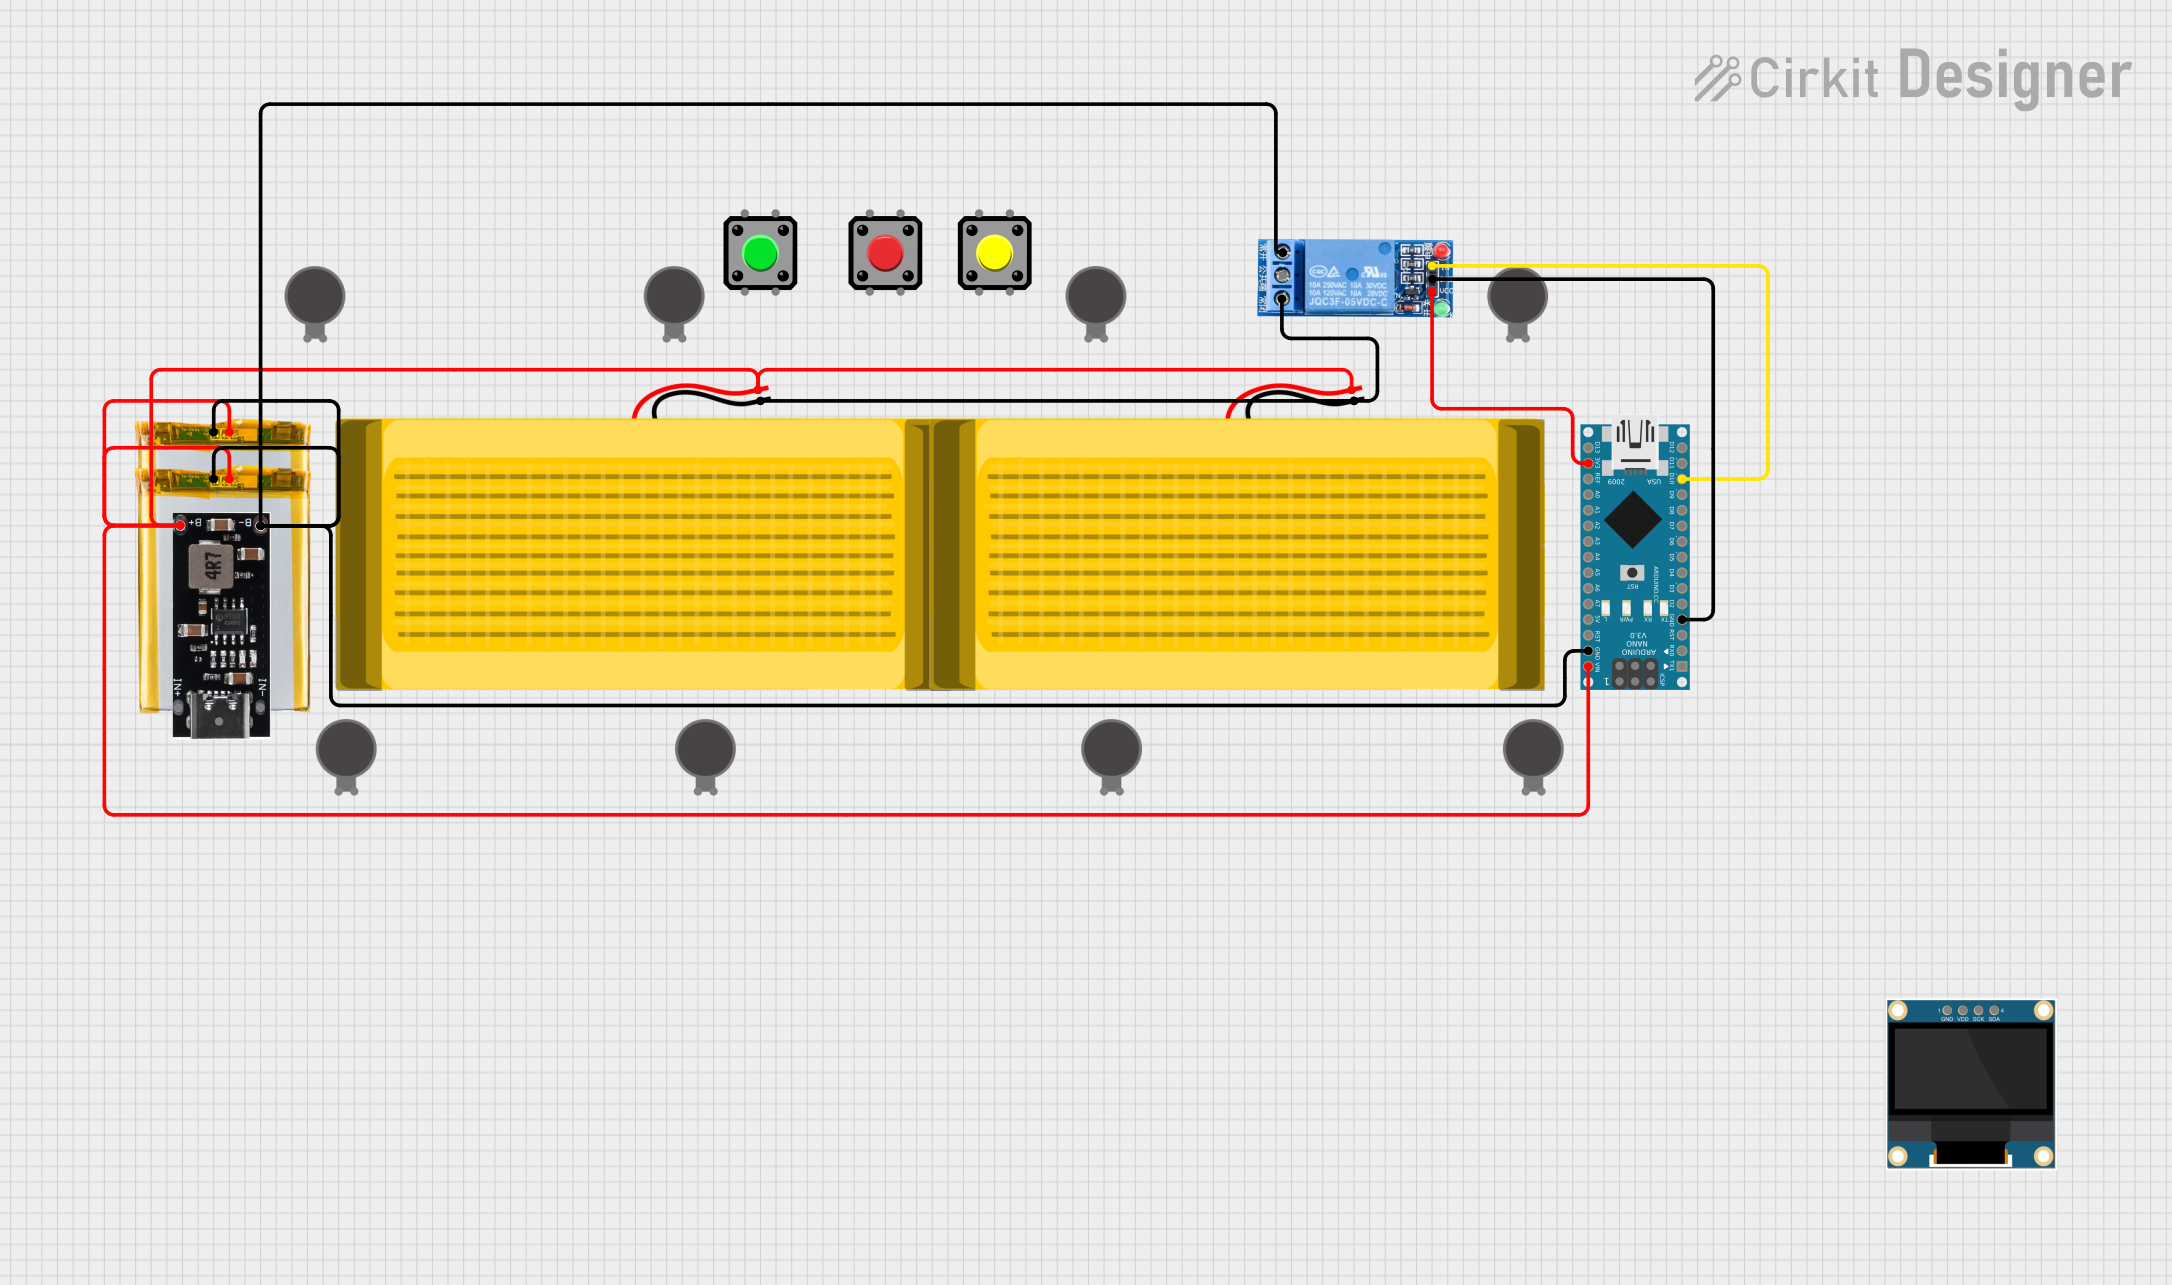

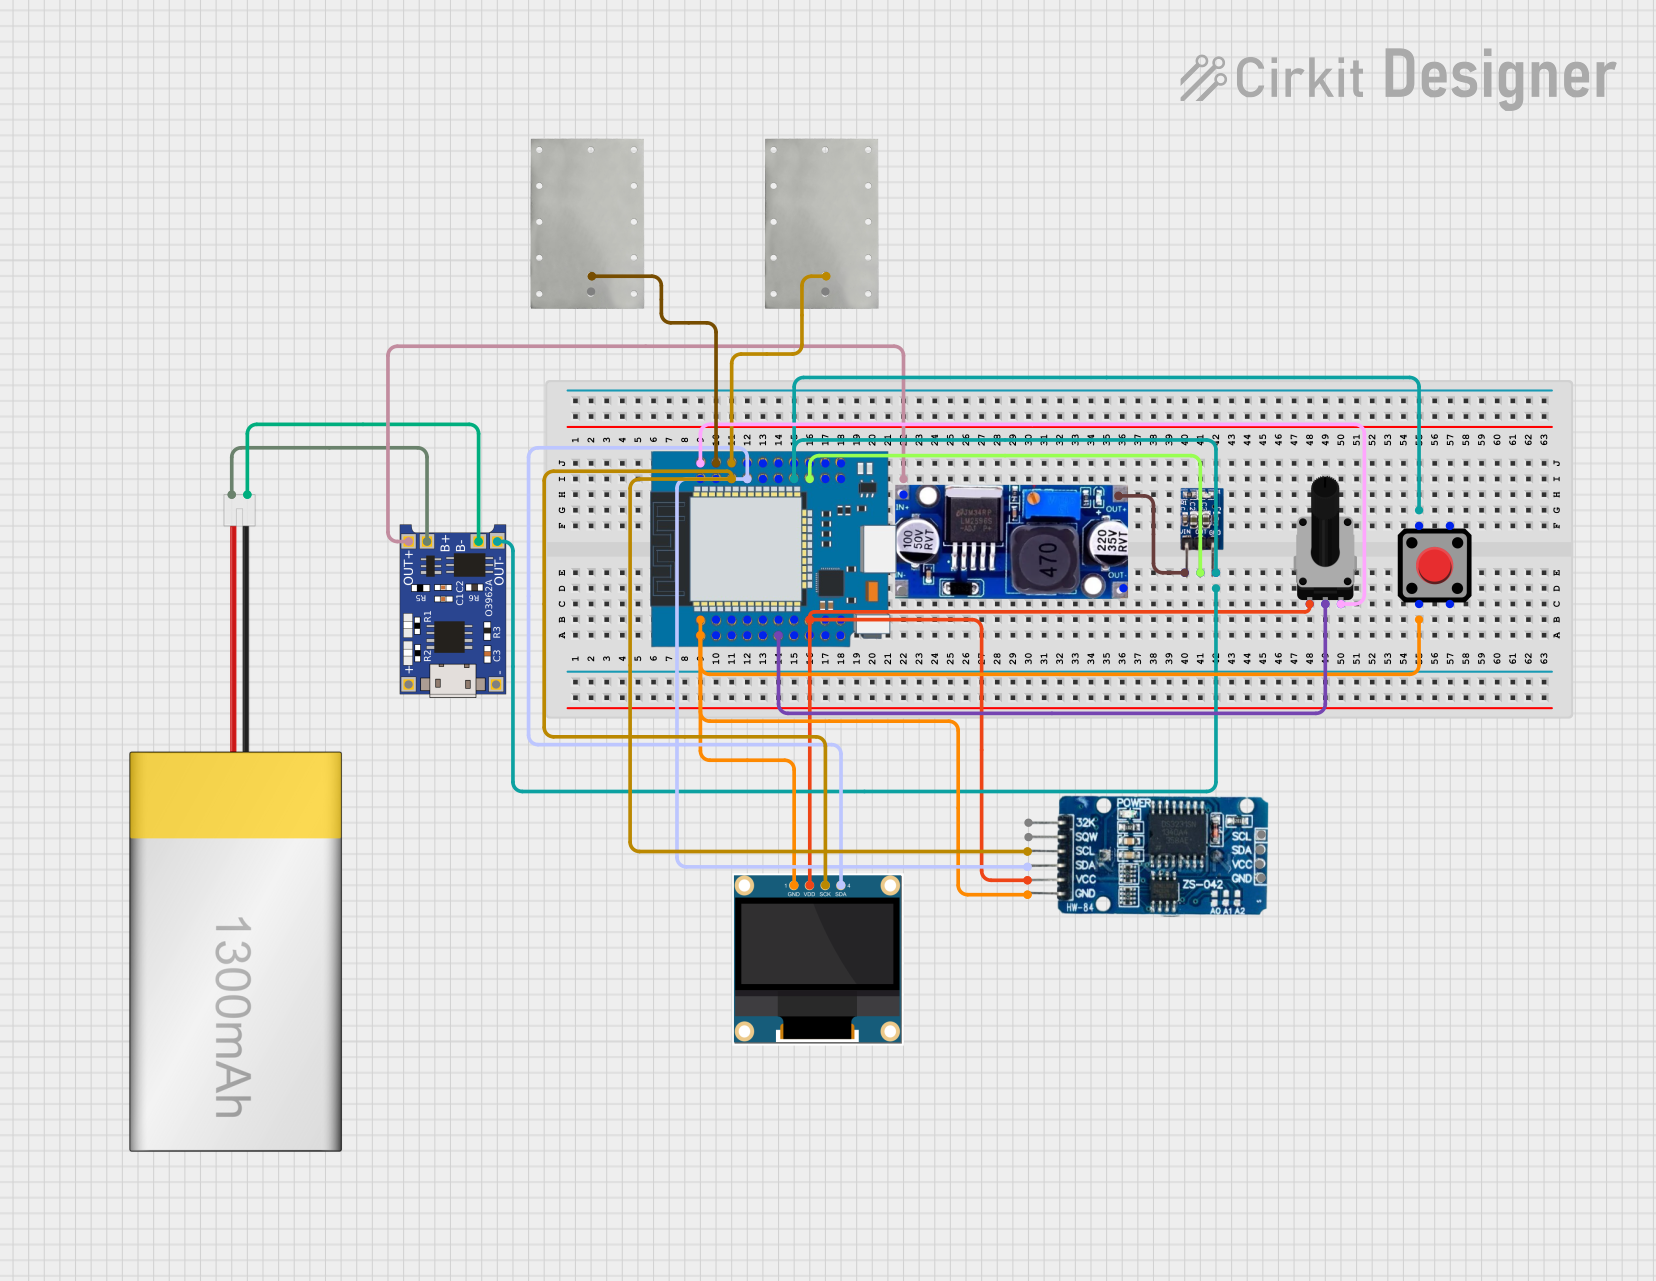
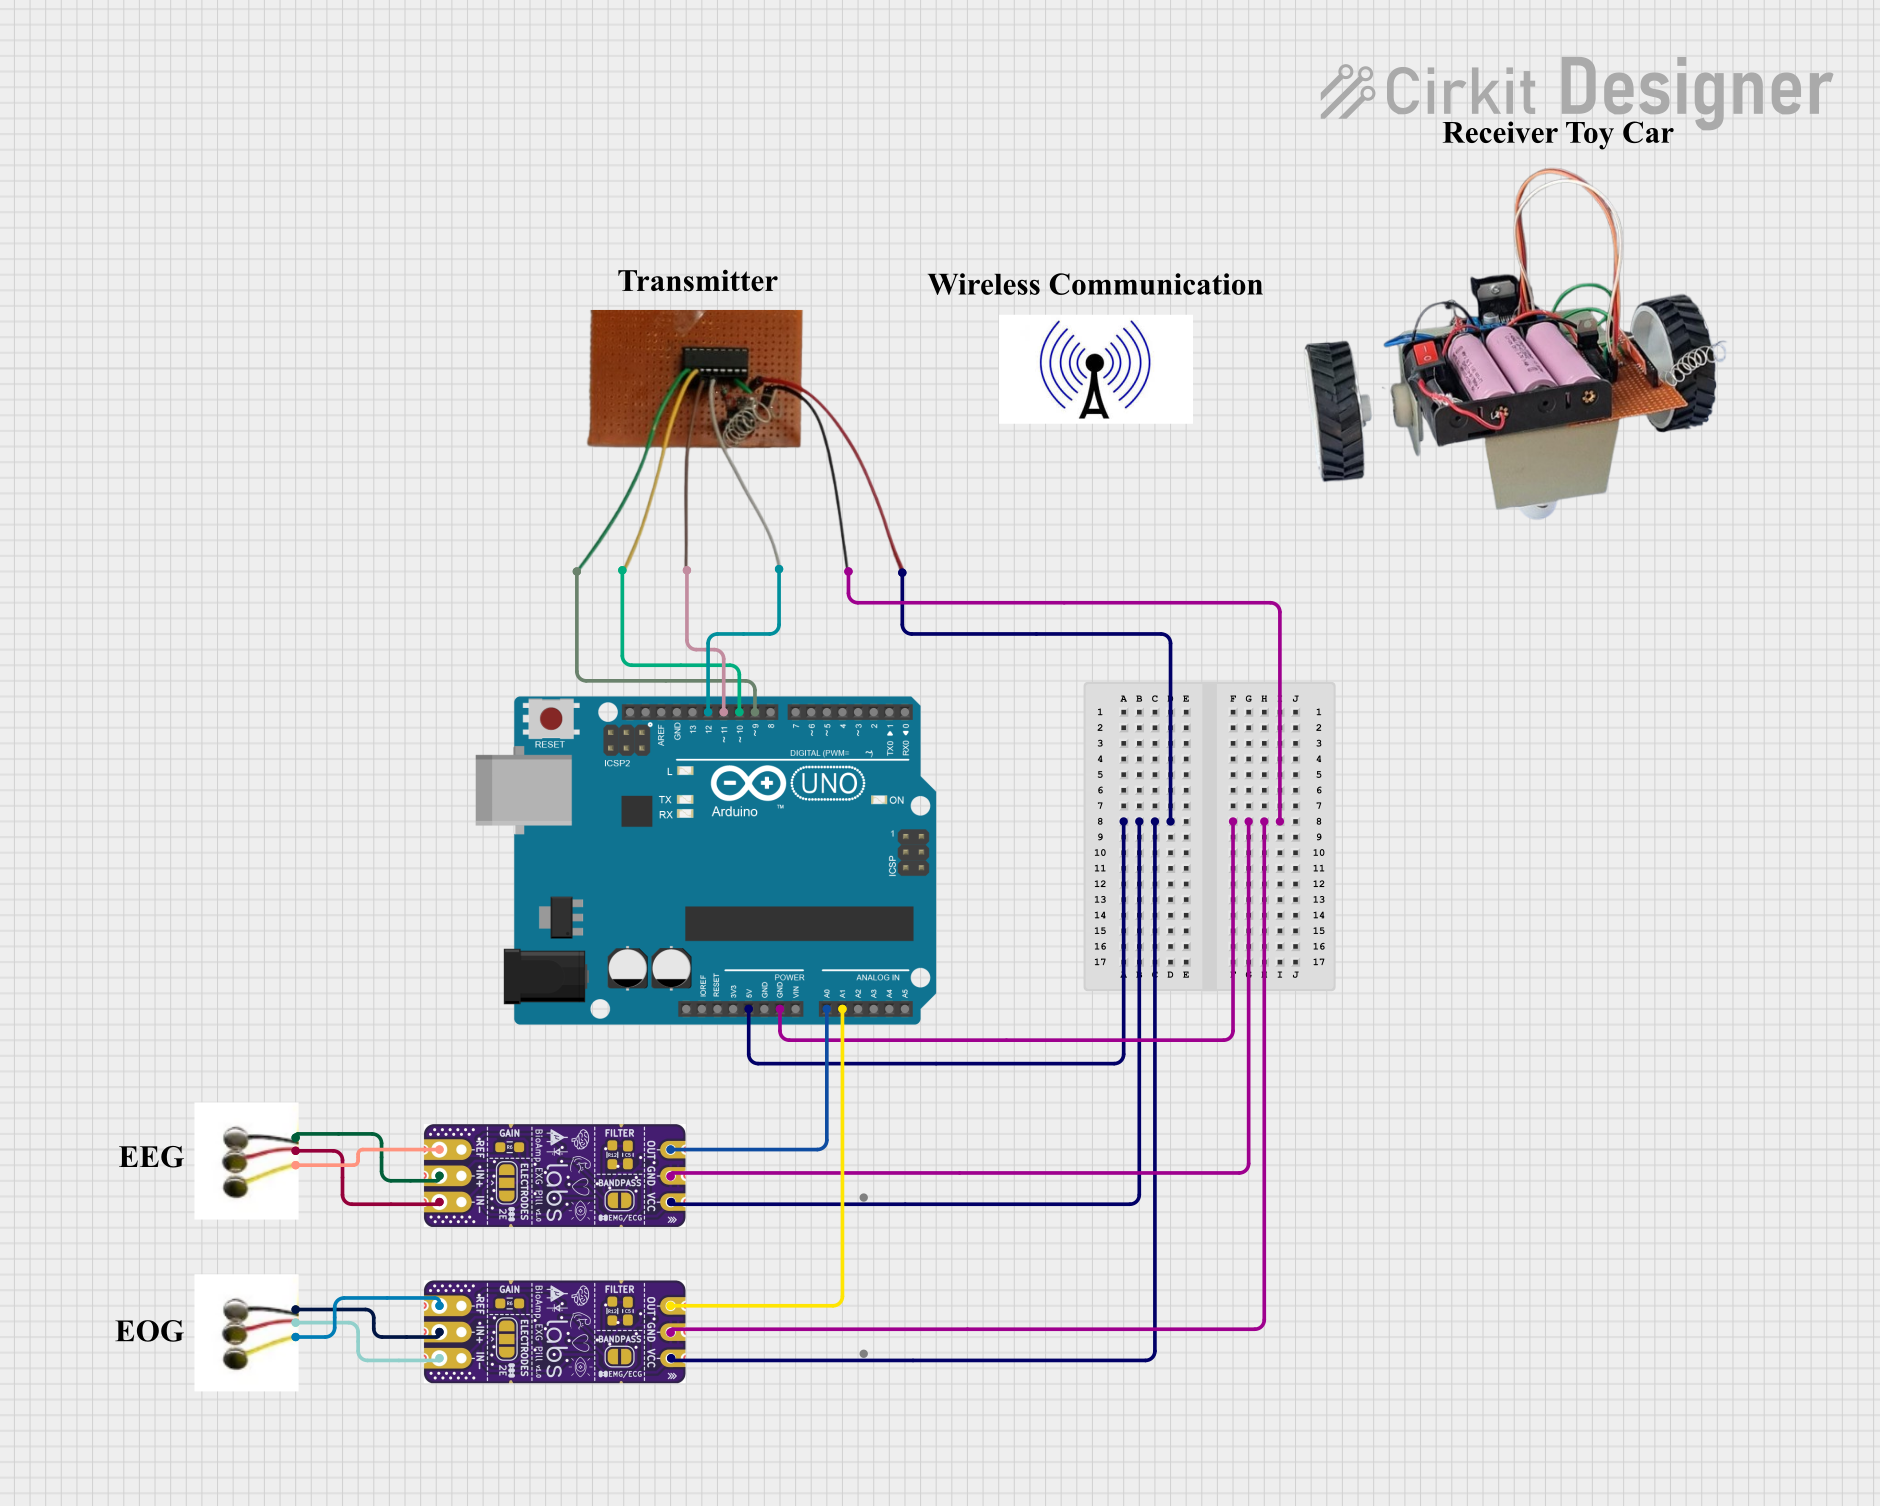
Explore Projects Built with Elektro Pad
Technical Specifications
Key Technical Details
| Parameter | Value |
|---|---|
| Operating Voltage | 3.3V - 5V |
| Operating Current | 10mA |
| Power Rating | 50mW |
| Response Time | < 10ms |
| Operating Temperature | -20°C to 70°C |
| Dimensions | 50mm x 50mm x 2mm |
Pin Configuration and Descriptions
| Pin Number | Pin Name | Description |
|---|---|---|
| 1 | VCC | Power supply (3.3V - 5V) |
| 2 | GND | Ground |
| 3 | OUT | Output signal (High when touched, Low otherwise) |
| 4 | NC | Not Connected |
Usage Instructions
How to Use the Component in a Circuit
- Power Supply: Connect the VCC pin to a 3.3V or 5V power supply.
- Ground: Connect the GND pin to the ground of your circuit.
- Output Signal: Connect the OUT pin to a digital input pin on your microcontroller (e.g., Arduino UNO).
Important Considerations and Best Practices
- Debouncing: Implement software debouncing to ensure stable touch detection.
- Power Supply: Ensure a stable power supply to avoid erratic behavior.
- Environmental Factors: Avoid exposure to extreme temperatures and humidity to maintain performance.
Example Circuit with Arduino UNO
// Example code to interface Elektro Pad with Arduino UNO

const int touchPin = 2; // Pin connected to OUT pin of Elektro Pad
const int ledPin = 13;  // Pin connected to an LED

void setup() {
  pinMode(touchPin, INPUT); // Set touchPin as input
  pinMode(ledPin, OUTPUT);  // Set ledPin as output
  Serial.begin(9600);       // Initialize serial communication
}

void loop() {
  int touchState = digitalRead(touchPin); // Read the state of the touch sensor

  if (touchState == HIGH) {
    digitalWrite(ledPin, HIGH); // Turn on LED if touch is detected
    Serial.println("Touch detected!");
  } else {
    digitalWrite(ledPin, LOW);  // Turn off LED if no touch is detected
    Serial.println("No touch detected.");
  }

  delay(100); // Small delay for stability
}
Troubleshooting and FAQs
Common Issues Users Might Face
No Response from the Elektro Pad
- Solution: Check the power supply connections and ensure the VCC and GND pins are properly connected.
Erratic Behavior or False Touches
- Solution: Implement software debouncing and ensure a stable power supply.
Output Signal Always High or Low
- Solution: Verify the connection to the OUT pin and ensure it is connected to the correct digital input pin on the microcontroller.
FAQs
Q1: Can the Elektro Pad be used with a 3.3V power supply?
- A1: Yes, the Elektro Pad can operate with both 3.3V and 5V power supplies.
Q2: How can I increase the sensitivity of the Elektro Pad?
- A2: Sensitivity adjustments are typically done through software. You can experiment with different debounce times and thresholds in your code.
Q3: Is the Elektro Pad waterproof?
- A3: No, the Elektro Pad is not waterproof. Avoid exposure to moisture to prevent damage.
Q4: Can I use multiple Elektro Pads in a single project?
- A4: Yes, you can use multiple Elektro Pads in a single project. Ensure each pad is connected to a separate digital input pin on your microcontroller.
By following this documentation, users can effectively integrate and troubleshoot the Elektro Pad in their projects, ensuring optimal performance and reliability.